
Today was quite the rainy day, at least up until about 1700. I started out this morning by doing some much needed updates on this website. That took well over 2 hours. No worries though. I had plenty of time to finish any administrivia tasks due to the rain forecast that kept slipping later as to when the rain was going to stop. Originally the rain was due quit about 1300, but alas, that was not to be.
I used my time indoors to write out a detailed To-Do list for the canard installation. I reread Chapter 12 of the plans, reread the install section of the Roncz Canard Installation Instructions, and then did some online crosschecking of some of my fellow Long-EZ builders’ blogs.
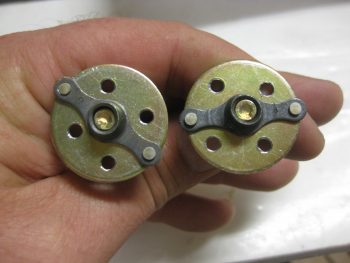
One thing I noted was on Dave Berenholtz’s blog, which was that he drilled holes into the AN970-4 washers that serve as the base for the K1000-4 nutplates — the entire assembly used for mounting the main 1/4″ canard bolts. He drilled the holes as flox anchors, which is of course a common practice for Clickbonds. Since there is understandably a fair amount of torque applied to these nutplate assemblies, I decided it was worth the 10 minutes to drill these flox anchor holes.
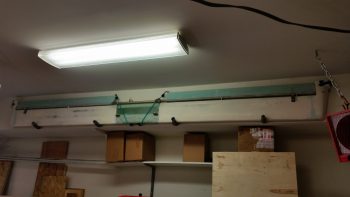
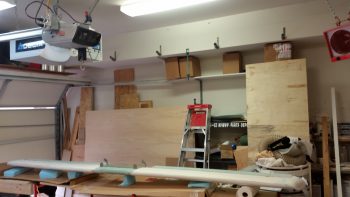
After cleaning and organizing the shop for about a good hour, it was time to take down the canard from its storage perch on high.
I carefully took it down and set it on a bed of cardboard & scrap blue wing foam pieces. I then spent a good half hour removing the elevators.
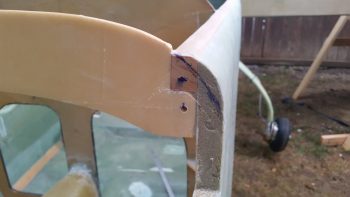
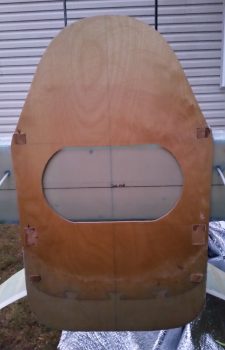
Before hauling the canard out to the plane, I went ahead and drilled 3/16″ holes into the spruce longeron doubler (actual doubler not shown here, just F28). As per plans, I’ll run a #10 drill bit into these holes, which are for inserting the 3/16″ canard alignment pins that the canard upper tabs mate to. I’ll be using these alignment pins to mount the canard, but then I’ll modify the canard doubler by adding a wedge to square it off, drill this hole all the way through, then install a K1000-3 nutplate on the aft side of the newly extended/shaped canard doubler. The mechanism for keeping the top tabs in place will be a longer AN3 bolt that will simply screw into the face of the top mounting tab (with a washer of course), through the doubler and into the nutplate assembly on the aft side of the doubler.
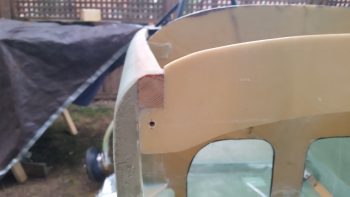
You may note by the chicken scratch marking below that I missed the memo on shaping the front of the top longeron & fuselage correctly. I will go back and correct that, I just wanted to get the canard mounted first.
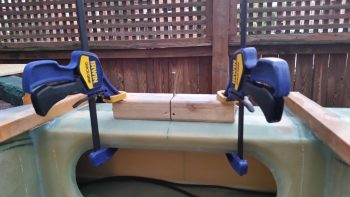
Mike Beasley had this little contraption in his build photos, which is nothing more than a nail mounted on the marked center line of a scrap piece of wood, that is then mounted on the CS Spar’s CL. This is an EZ method for having a standard reference point for helping determine sweep while mounting the canard.
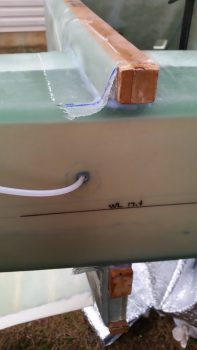
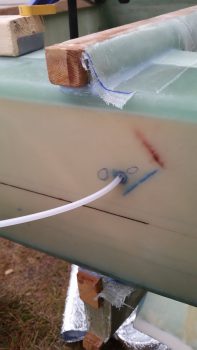
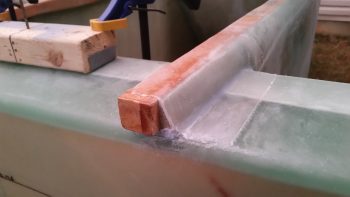
I also wanted to temporarily mount the firewall, which required the trimming of the end glass hanging from the layup I did to mount the CS Spar to the fuselage. I marked the glass, as you can see in the pics below, in order to have a reference line while cutting the glass.
I then used the Fein saw to trim up the dead glass. After trimming the glass, I hit the edges with my sanding block.
It was then time to mount the firewall on the fuselage. Uh, just one slight issue. When I marked up the CS spar with the fuselage attached back in 2013, apparently I did it with the firewall off the fuselage. Thus my lines were a hair farther out (say, 0.03″ to 0.04″) than if the firewall had been mounted in place. Doh!
Well, it was fairly tight, but with the help of a “persuader” (rubber mallet) the firewall went back on. Besides my one little spacing SNAFU, everything else with the firewall looks fine!
With the firewall back in place, and although it was nearly dark, I decided to get the canard onto the fuselage to at least collect some actionable intelligence for tomorrow. I should note that besides having to spend half an hour getting the rainwater out of my “canoe” earlier, the soft ground also allowed the entire wing/spar/fuselage set-up to settle and thus move off the 0° mark in both the fwd/aft and left/right axes by a whopping 0.1°. I’ll attend to the leans tomorrow, but for tonight I just wanted to get a general idea of what shimming I was going to have to do, and answer the question: “What size spacers (shims) do I need?”
Below you can see that for sweep I’ll need about 0.15″ (2 small Popsicle sticks) on the left side face of F28 for the canard to be even. With these spacers in place, I got 114-1/16″ for both left & right sides from my spar CL reference point block to the outboard forward corner of the elevator cutout. From the aft outboard corner of the wing I got 174″ on the dot on the right side, and about 1/32″ less than that on the left side.
Also, just as a point of note, I remeasured the aft outboard corner of both wings to the tip of the pitot tube and am still spot on at 247-5/8″ for each side.
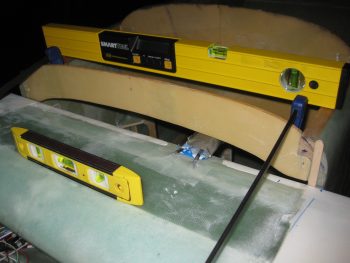
To level the canard at the spar caps, it look likes I’ll need to add a shim/spacer about 0.165″ thick to the right side fuselage. I’ll have to tweak this since I’ll most likely have to contour the sides of the fuselage immediately below the canard to get the canard to set in correctly, at which point I’ll merely make the right side contour 0.165″ higher than the left.
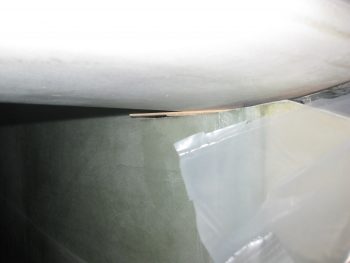
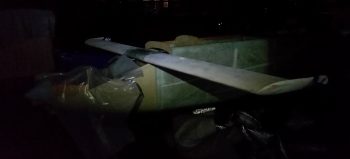
I realized I hadn’t got a pic of the canard on the fuselage, so even though it was fully dark outside, I took this shot.
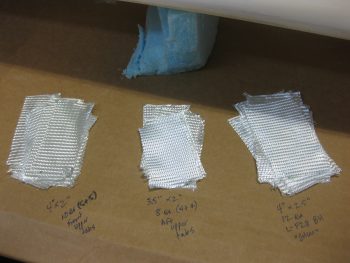
My final official act of the evening was cutting a myriad of BID patches for the upper alignment tabs and the 0.15″ spacer that will be glassed to the left front of F28 (after determining actual spacer thickness & confirming the number of plies required).
With the majority of preliminary tasks out of the way, I’m fairly confident that I’ll be able to get the canard mounted onto the fuselage tomorrow. If not tomorrow, I’d say definitely by the end of Wednesday . . . as long as the weather cooperates!.