
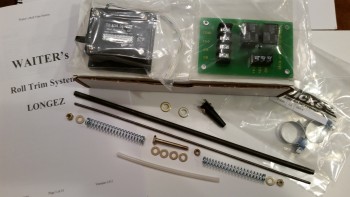
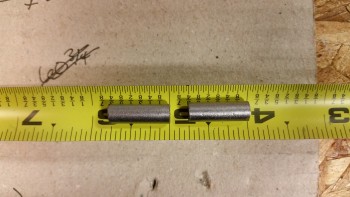
With all the parts assembled and on hand for the new Roll Trim System, I went to work making the ‘X’ tube (which is actually more akin to a plus sign +) that is created by welding two 3/4″ pieces of the 1/4″ dia 4130 steel tubing together. After welding (or soldering) these two pieces together, one tube will get a washer slid onto each end that is also welded/soldered into place.
I went to work to finalize the setup of my TIG welding corner and dial in my TIG welder.
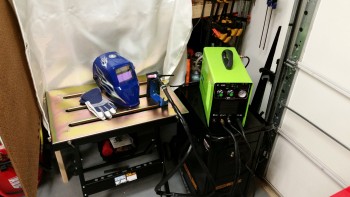
After getting the welding station situated, I ran a number of beads to get back into the swing of things. Although woefully still needing much more stick time on the TIG, I set about making the ‘X’ tube by knocking off the protective coating of the 4130 tube and then cutting the two 3/4″ pieces.
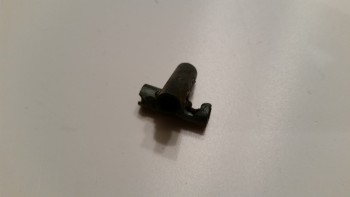
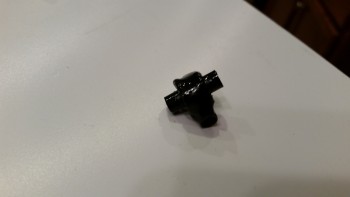
I realized after blowing a couple of holes in the thin-walled tubing on my first attempt at making the X-Tube, that I had dialed in the wrong numbers on the TIG box. Since I was using a 1/16″ Tungsten electrode, I had mistakenly dialed in the amperage for 1/16″ thick 4130 steel versus the correct amps required for 0.028″ walled tubing. Another issue I had was that my filler rod was about twice the size I needed, so getting it to flow out without burning a hole in the thin tubing was a bit tricky. Regardless, here was my first attempt at making the X-Tube:
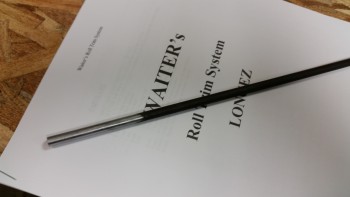
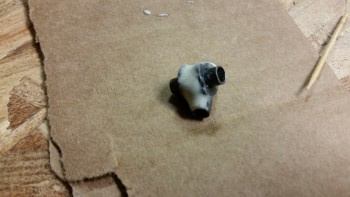
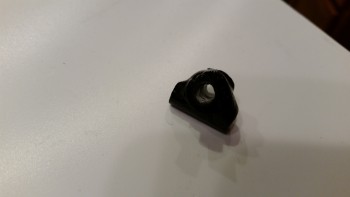
After dialing the amps way down on the TIG welder, I was able to eke out an X-Tube that would handily do the job. X-Tube #2 was not pretty by any standards, but a quick brush up with the Dremel and some “Flocro” (Flox + Micro) using 4-year old MGS 335 proved to do the trick to make it presentable (see side note below).
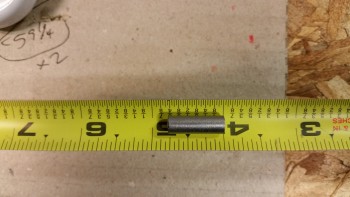
Although not a beautiful specimen of welding, this little guy is strong! I had re-read some of my notes on welding 4130 steel & it stated that 4130 is some tough stuff, and boy they weren’t kidding! I had a slight bubble on the inside of one of the tubes that protruded about 60 thou (0.060″) into the tube. No problem, I grabbed a cheap Harbor Freight 3/16″ drill bit to hone out the holes to ensure both tubes were clean. That 60 thou 4130 slag bump chewed up the end of my bit like it was nothing! I had to pull out my high-end drill bits to clean this sucker out.
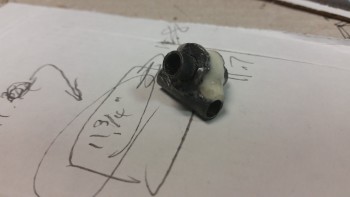
I let the Flocro cure until is was just still soft enough to work. I cleaned it up and then let it cure another couple of hours as I messed about with my headrest/rollover design. After it had cured, I did one final clean up and then shot it with gloss black Rustoleum primer/paint.

I then set up a shop light about a foot away and let it dry.
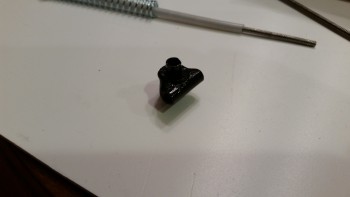
After a few more hours I dry fitted the X-Tube onto the other components, and all fit well. I then left it alone to get in a good overnight cure.
OLD MGS 335 side note:
As I mentioned before, I was playing around with some old MGS 335 epoxy and hardener for a cosmetic makeover of the X-Tube. When I say old, this is stuff that I had left with Marco back in the Summer of 2011 when I went to Germany. The hardener had turned a puke brownish-green color and I had no idea what it would do. But, my experience with MGS is that the stuff is magic, and since this was for purely cosmetic use without any structural expectations, I figured what the heck. At first I thought the hardener was chemically dead, since after a couple of hours it was still pretty mushy. But I left it in front of a heater, and lo & behold, a couple hours later it was hard as a rock.