Awright, today was all about the side rails. It appears that these are becoming the long pole in the tent for welding up the rollbar assembly.
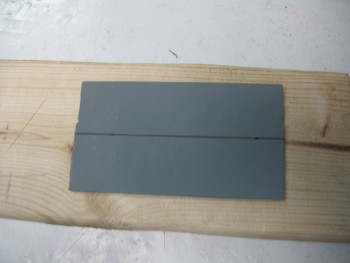
I started out by shooting the forward side rail reinforcement plate (still to be cut in half) with weldable primer.
As the weldable primer cured, I marked up the bottom edge of each side rail plate that covers the inboard longeron. These plates are just a tad long, so I trimmed then up to reduce weight and to ensure the GIB doesn’t get snagged by overhanging metal.

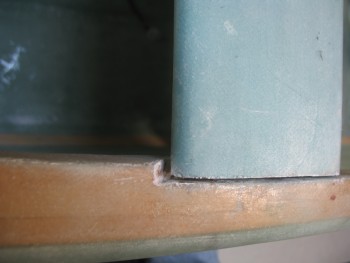
I trimmed up the right side rail to allow a better install of this removable rollbar assembly. With the rounded edge, it creates a better angle when installing the rollbar.
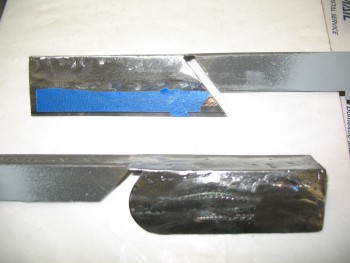
Here is the left side rail also trimmed up.
I then cleaned out the longeron notch on each side to create a channel immediately behind the seat back where it meets the longeron.
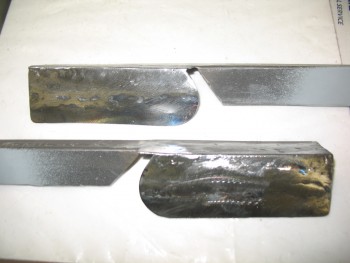
Here’s a shot of the side rail, with the welded-in connection piece that ties in the aft side rail to the front side rail. As you can see, it’s the little piece that makes up the notch that allows the side rail to expand out for the thicker aft longeron. I will say, that up to this point that this was the most difficult welding endeavor I’ve undertaken thus far on this project.
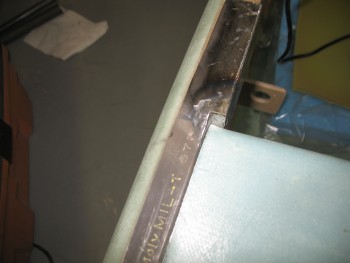
Here’s a closer view of the inserted metal piece that connects the different widths of the side rails.

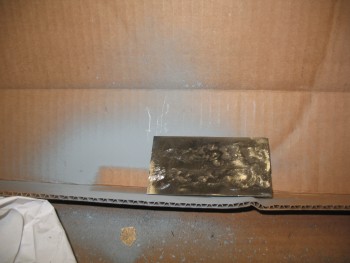
Here’s the cured plate that will be cut in half that will make up the reinforcement plates on each side rail at the furthest forward point of the side rail.
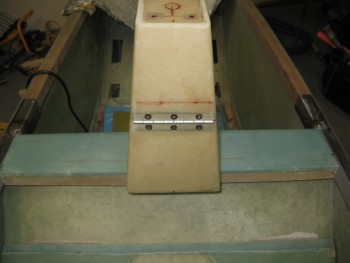
Here’s a shot of the side rails installed.
And a shot of the left side rail.

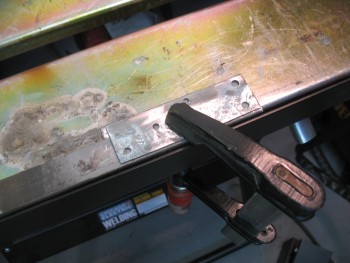
Here’s the final shot of the evening, which is the prep for welding the reinforcement plate to the right side rail.