
I had a little time this morning so I tried to knock out as much as possible to prep for the GPS antenna puck cover build later this evening.
I went downstairs to find that the glass was nice and cured. Unfortunately, I found about 4 decent sized delam “bubbles” as well. I say bubbles since they’re pockets of air, but there was no real surface deformation of the glass. No worries, a few shots from Dr. Inject Epoxy and they’ll be fine. Sometimes I think heater air on a layup can be a double-edged sword: the layup can cure faster, but I think it can facilitate off-gassing as well causing some delams.
I razor trimmed the excess glass and pulled the peel ply to find the surface nice and uniform. Besides a few delams, everything else looks great.
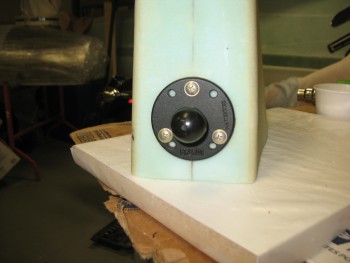
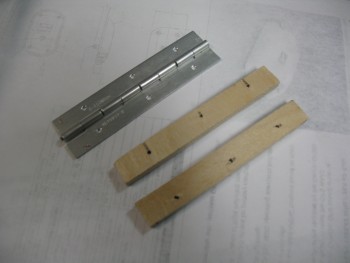
I then turned my focus onto the threaded inserts that were embedded for the RAM ball mount. Starting with a TINY drill bit, I very carefully drilled out the glass covering the holes over the each threaded insert. A lot of builders have a lot of different techniques for covering holes, or filling them, to protect the threads during glassing. I simply put a very small, square piece of duct tape over the hole, just barely big enough to cover the hole. Then when I drill out the hole, it usually grabs the tape enough to rip it out of the layup so I’m left with a very clean access hole to my threaded inserts.
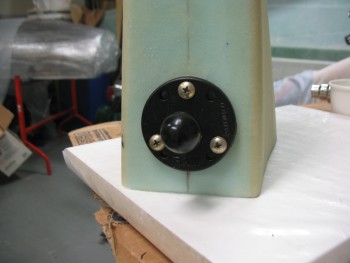
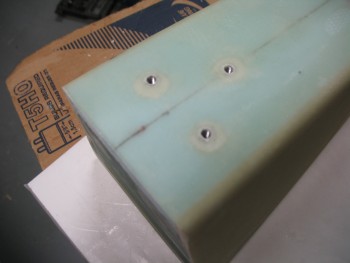 Of course I had to test out my handiwork by quickly mounting the RAM ball mount.
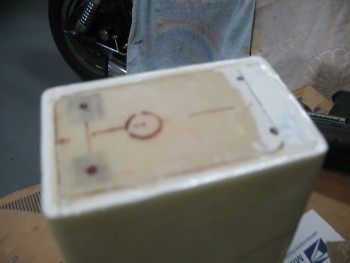
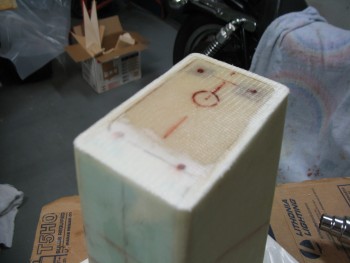
 With the RAM ball mount threaded hard points good, I started working on the GPS antenna shelf. Since there’s bare foam on the edges, I want to trim away the foam in the corners to make a nice micro corner. I’m concerned about the strength of the corner itself, not the entire headrest structure so I’m only using micro (vs. flox).
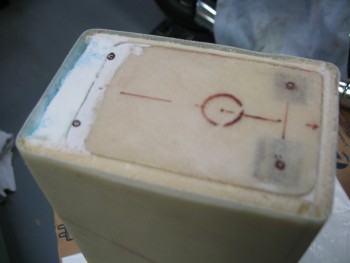 I’ll lay up 1-ply BID across the entire top of the headrest to get it all uniform and capped off. I then test fitted my BID.

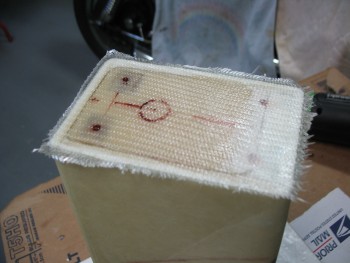
And then mixed up some micro using fast hardener & micro’d the edges of the glass/foam junctions at the top of the headrest (sorry for the blurry pic).
And then laid up 1 ply BID on the headrest top that will serve as the GPS antenna mount.
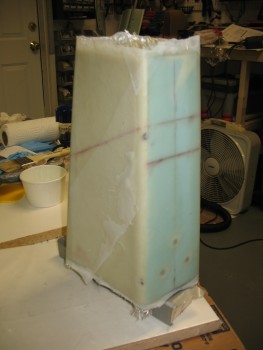
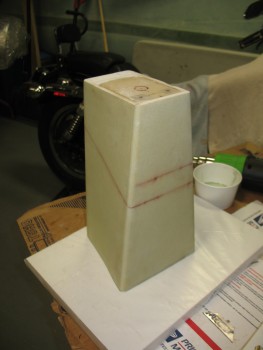
Later in the day, I knife trimmed the antenna mount layup while it was still just barely pliable, and then set to work on the hinge that I’ll use when I finally turn the headrest into its secondary purpose as a storage box. You may have noticed the diagonal lines on the side of the headrest. These lines are the cut lines so the top will hinge-open forward to allow me to store stuff inside. Thus, the hinges will be on the front face of the headrest and hidden from plain view by the headrest pad.
After spending some time on the hinges, I finished trimming & sanding the edges of the fully cured GPS antenna mounting shelf/headrest top.
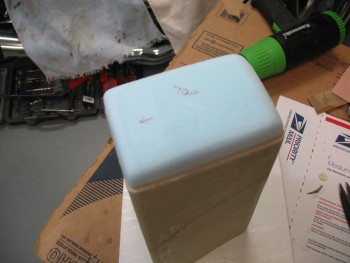
With the GPS antenna mount glass cured, I started in on making the GPS antenna cover that will cap off the top of the headrest assembly. Since the GPS antenna is 0.9 inches tall, I wanted the interior height of the antenna cover to be about 1.05″ high. Well, I simple added a piece 0.8″ thick blue foam to 0.25″ thick yellow foam, and 1.05″ thick…voila!
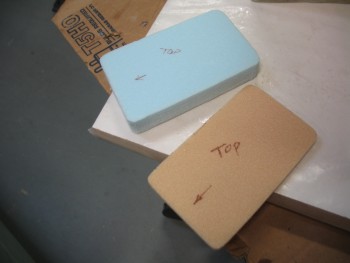
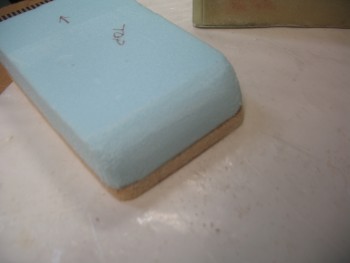
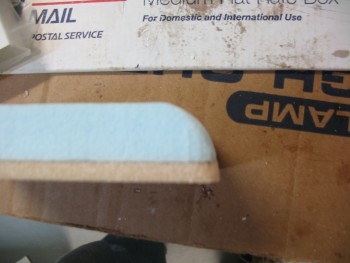
I started with the yellow foam as the base of essentially a plug for the antenna cover. I shaped the yellow foam to match the top of the headrest, minus the approximate width of 2 plies of BID. I concentrated on ensuring the angle at the back of the cover matched the angle of the back wall of the headrest.
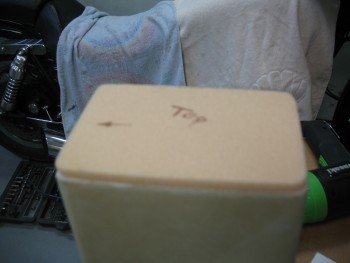
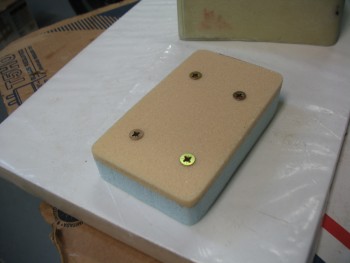
With the base finished, I then went into artistic carving mode on the blue foam, keeping Burt’s eternal words running through my mind: “Carve to a pleasing shape . . .” First, I simply screwed the thinner yellow foam to the blue foam with 4 small screws.
Then I again concentrated on the back side of the antenna cover to now make the blue foam match the angle on the 1/4″ yellow foam.
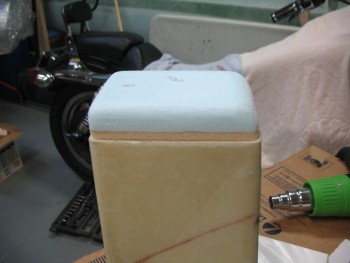
It took about a half an hour of carving, shaping & reshaping, but I eventually came up with a shape that was pleasing to me & would serve nicely as a GPS antenna cover. I mocked it up on top of the headrest to see how it looked. Looks good…time to get ‘er glassed up!
I quickly assembled a glassing stand for the antenna cover plug to get the plug at a better working height and to allow the glass to hang straight down from the sides of the plug without any interference.
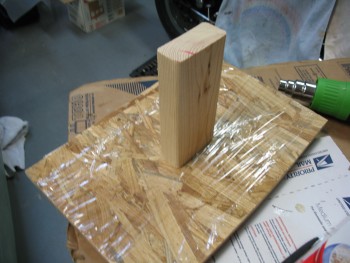 I then unscrewed the thinner yellow foam from the thicker blue foam, screwed the yellow foam to the glassing stand, and then remounted the blue foam to the yellow foam for a solid glassing base.
My next door neighbor & good friend Dave came over while I was getting all this set up, so I was remiss in getting any more pictures until after I was finished wetting out the glass and making sure the layup was complete. Again, I simply used 2 plies of BID for the antenna cover.
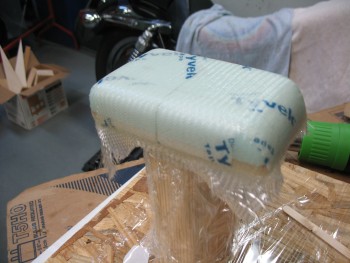
You can also see that I taped up as much of the plug as possible without creating any surface irregularities to enable a better release of the glass from the plug after it cures.