
I started today by taping up the side rails so that only the area that will lie under the ends of the cross bar was exposed.
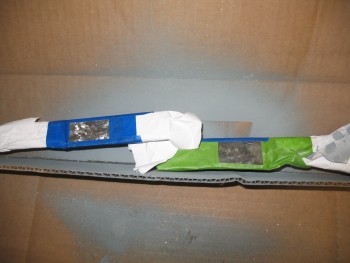
I then shot each side rail with weldable primer.
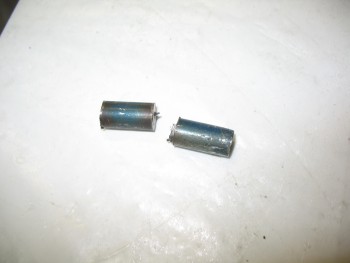
I then removed the tape after I had pulled out my chop saw from the back shed & prepped one of the 7/16″ stainless steel bars (that will be used for the aileron weight) to cut 2 pieces 7/8″ long.
Here are the two 7/8″ long pieces of the 7/16″ diameter stainless steel cut to be inserted into the crossbar as support inserts for the seat belt mounts. I’ll drill 1/4″ holes through the center of these inserts & weld them into place in the crossbar.
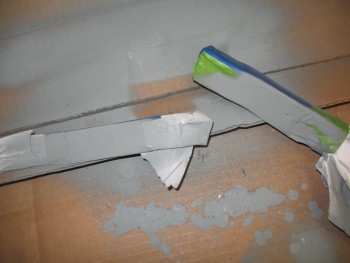
Here are the side rails re-inserted after the weldable primer had cured.
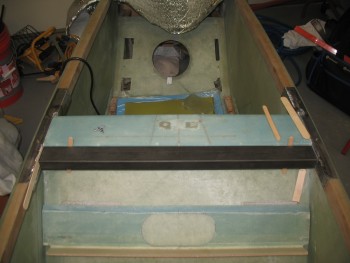
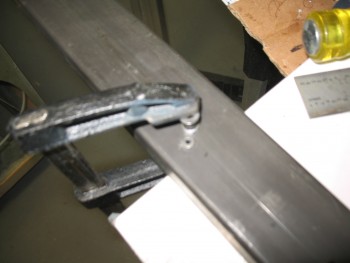
With the side rails completed, it was time to fit the crossbar into place. I marked the cross bar & trimmed each side a very little at a time.
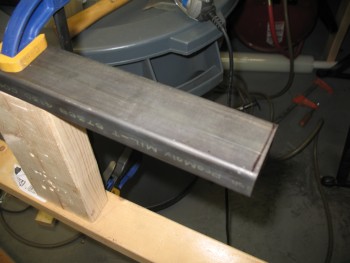
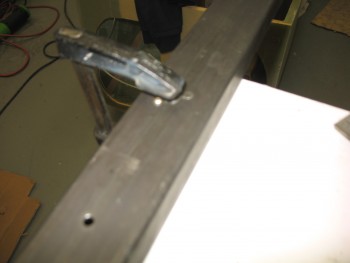
Here I’m trimming the left side of the cross bar.
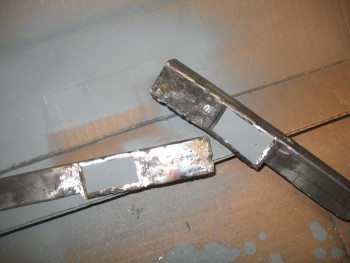
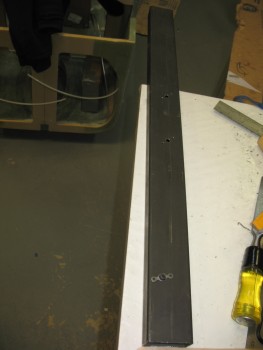
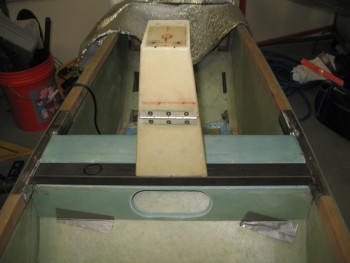
 Here’s the cross bar trimmed & inserted into place.
I then mounted the headrest (lower half) back into place with the aft bolts.
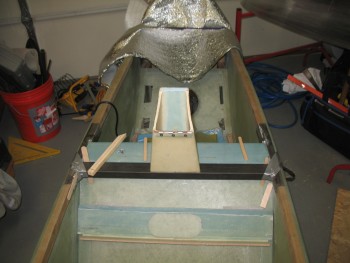 Here’s a side view of the remounted headrest.

I then opened up an extra long 1/8″ drill bit I picked up specifically to drill the front mounting holes for the headrest, that will attach it to the cross bar.
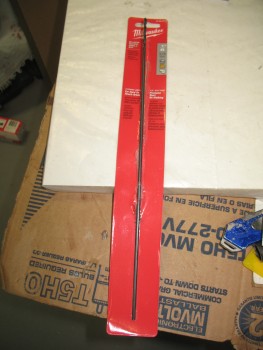
Here’s the drill bit ready to go!
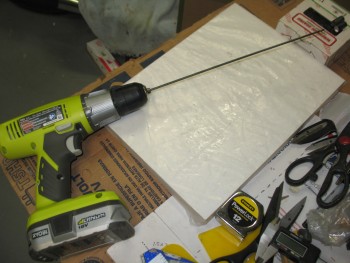
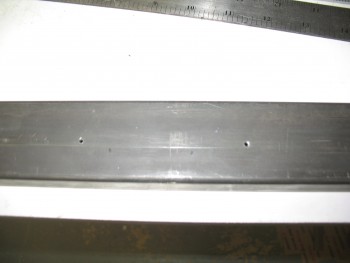
I marked the target drill points for the front headrest mounting holes.
And then used the extra long 1/8″ bit to drill the front headrest mounting holes.
Once I had drilled both mounting holes, and confirmed that I had drilled into the cross bar, I removed the headrest.
I then drilled out the initial 1/8″ holes to 3/16″, and test fitted the holes with a couple of AN3 bolts.
I then turned my sights on the cross bar.
I drilled the 2 spots I had marked by drilling my initial headrest mount holes with the 1/8″ long bit.
And repeated the process a couple times with thicker drill bits, ending up with 1/4″ holes.
I then clamped a K1000-3 nutplate to the surface, and drilled out the first rivet hole.
I then inserted a rivet on the just-drilled side, re-clamped the nutplate & drilled the other rivet hole.
With the right side holes drilled for the headrest mounting hole, I repeated the process for the left side.
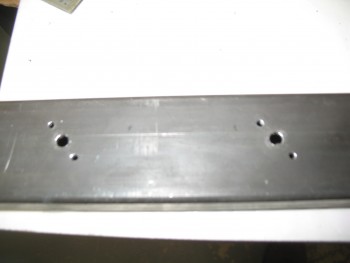
 Resulting in 2 set of holes for the headrest mount nutplates in the cross bar.
I had originally considered using flush mounted rivets but it would have been too difficult, so I simply used Cherry Pop rivets to hold the nutplates in place.
And tested the nutplates by quickly installing a couple of AN3 bolts.
I then mounted the headrest to the cross bar, or I guess at this point in time I actually mounted the crossbar to the headrest.
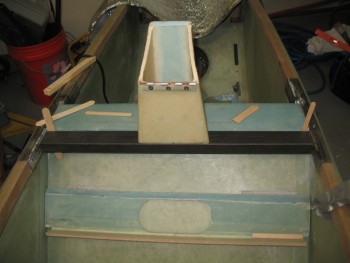 I placed the top of the headrest back in place and the lower seat back in place as well to get an idea of how the seat back, headrest & rollbar looked up to this point.
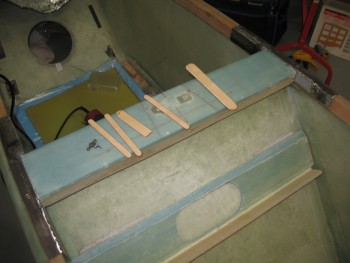
 With everything looking good, it was time to focus on the seatbelt mounts. But before I moved forward with mounting the seat belt reinforcement inserts, I wanted to verify the positioning of the upper seat belt mounts.
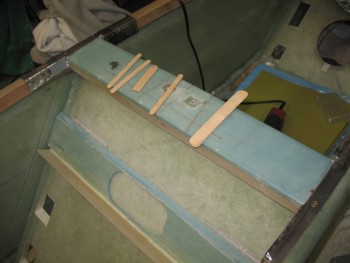
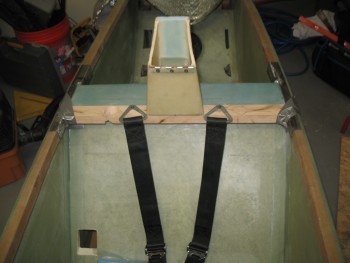
I grabbed the wood mock cross bar & screwed the upper seatbelts to my initial, proposed mounting locations. I climbed into the fuselage to check the fitting. All seemed good at first, but after moving my head around & moved around as if I were leaning to each side to look out of the canopy, the inside edges of the seatbelts were scraping the side of my neck. Not bad, but I decided to move the seatbelt mounting points outboard a mere 0.150″, so I remounted the seatbelts & it seemed to do the trick. Clearly if I move drastically to one side of the fuselage, I’ll get a belt in the neck. But for normal ops, moving the seatbelt mounting locations out just a tad seems to worked. BTW, as I’m sure many of you know, the original plans positions received a few bad reviews for being too far outboard & not fitting so well on the pilot’s shoulders.
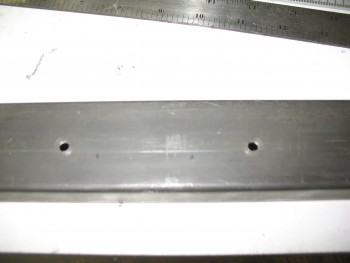
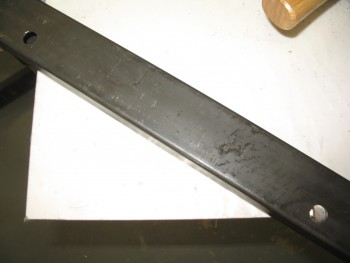
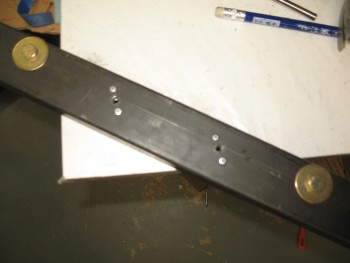
 With my new seatbelt mounting positions in hand, I started drilling the cross bar for the seatbelt mount reinforcement inserts [7/16″ SS bar drilled with a 1/4″ hole].
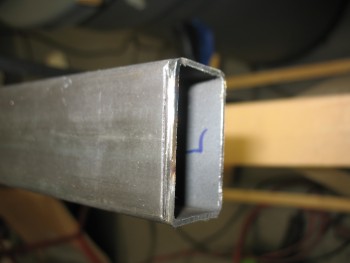
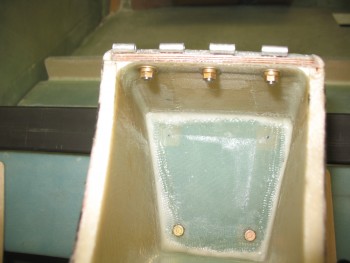
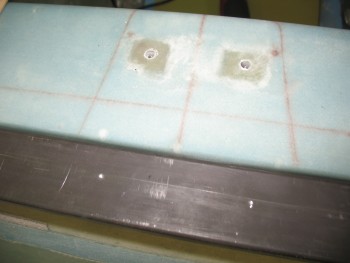
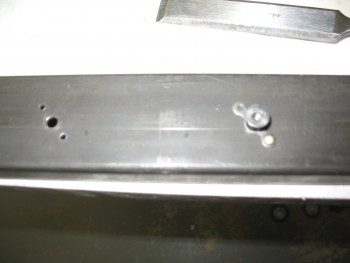
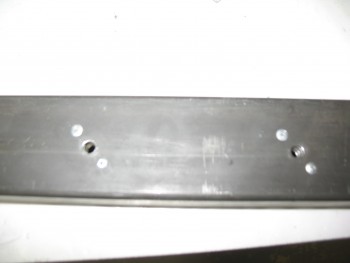
 I got the holes drilled: 3/8″ on top to provide a positive stop for the seat belt bolt & 7/16″ on the bottom to allow for the installation of the reinforcement inserts. I then test fitted the left side seatbelt mount reinforcement insert.
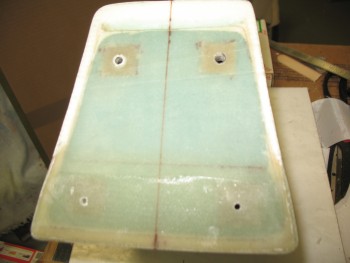
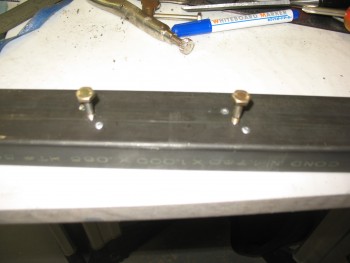
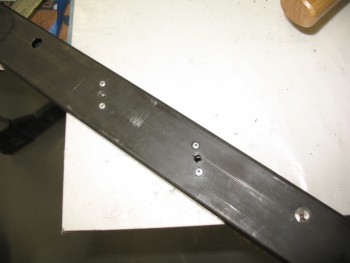 The cross bar from the bottom with one of the seatbelt reinforcement insert in place.
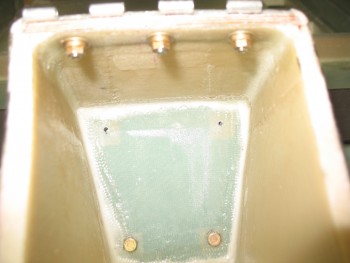
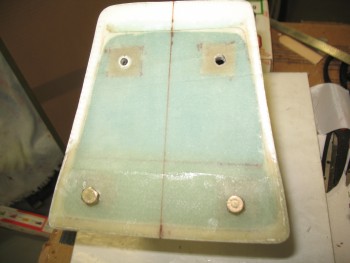
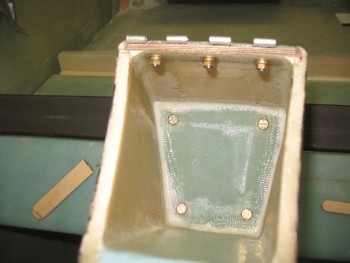
 And then tested the fitting & look of the 1/4″ seatbolt mounting bolts with their associated washers.
So I clearly busted my March deadline to finish Chapter 8, but I’m very pleased with the progress so far. I estimate that it should only take a few more days to finish the rollover assembly.