
I started this morning by cleaning up the flox from installing the lock pin into the upper headrest for the lock mechanism. I also cut the retaining toothpick in the areas that it was showing. The next time I whip up some flox I’ll put a couple drops on the interior side lock pin attach points to add a little strength.
I’ve been thinking that I will probably add some type of lightweight rubber/bungee positive attach clasp so that I can simply reach back before flight to ensure that the headrest top is held closed by feel. Obviously I can’t do that with the lock, and although it works well, I don’t want the lock to be the only thing keeping the top of the headrest from flopping forward when I hit my airbrake at Mach 2.0!
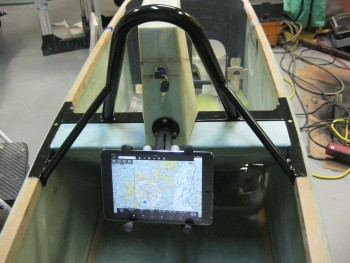
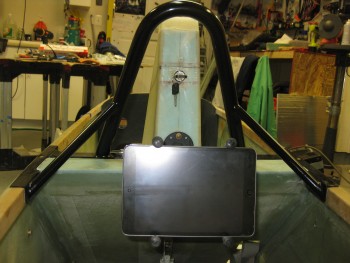
You can see that I also installed the RAM mount. In my last order from Aircraft Spruce, I picked up a medium and long arm for the ball mount.

I also picked up a universal tablet cradle that should handle any 7″ sized tablet. Here I have my iPad Mini mounted. At least initially, I think the long RAM arm should work well back here. Unfortunately, the area immediately behind the roll bar frame is the only area where I can position the canopy cross bar, so the RAM arm decision will have to wait until after the canopy is installed.
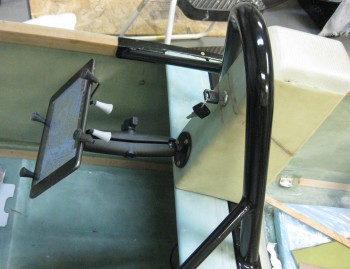
Here’s a side view of the GIB RAM mount setup.
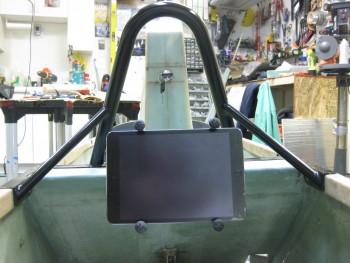
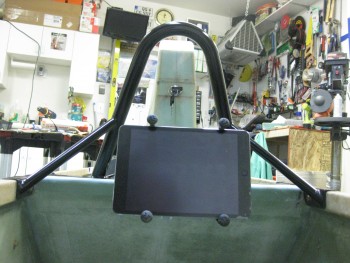
Here’s the view for the GIB:
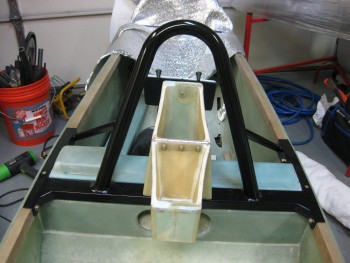
And a shot of the headrest opened up.
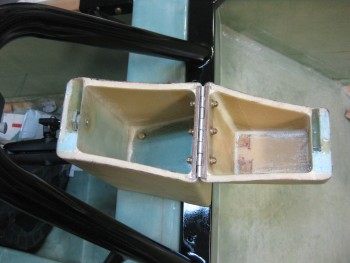
Front view of the open headrest.
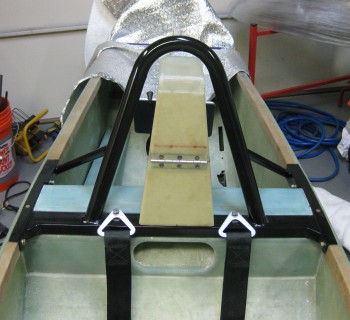
And a shot of all the Chapter 8 stuff I just spent the last 6 weeks working on!
You’ll note that the seatbelt bolts don’t sit down in the holes like they should since I have to still drill 2 quick holes in the bottom cross plate of the notch that sits just below the cross bar. This will give me access to each seatbelt attach bolt so I can put a socket on the underside nut to bolt it into place.
And here’s just couple more shots from the GIB’s POV.
I will do a final light sanding of the roll bar to smooth out just a few rough spots that are left, and then reshoot those areas with primer/paint.
Ahh, which reminds me! The final weight of the rollbar assembly with primer/paint is 5.95 lbs. Add 0.17 lbs. for the attach hardware (including embedded nutplate assemblies) and the total weight for the rollbar is 6.12 lbs. Of course there’s a few ounces of added glass & flox, so I think calling it no more than 6.5 lbs total added weight installed wouldn’t be a stretch.
Nice touch, I’ll be enjoying the iPad back there! Now, for the cup holder…
Haha! You got that right brother . . . I’ll get to work on YOUR cup holder!