
Last night I had a fairly lengthy discussion with my buddy Mike Beasley on the finer points of finishing the composite surfaces on Long-EZs. In fact, at Christmas-time last year, Joe Caraggio went down to Georgia (does that make Joe the devi . . . hmmmm? Interesting, but I digress) to assist in Mike in finishing (as in micro) his bird. So, during my discussion with Mike I got both his take and a lot of what he picked up from Joe on finishing techniques.
In addition, after having met the venerable Terry Schubert (Editor of Central States Association newsletter) at Rough River, I’ve been leaning on his guru-ship as well to ensure I don’t muck anything up! Terry has been very generous in offering me advice & info that has greatly facilitated my build progress.
Let me reiterate: this is the first round of finishing that I’ve done (ever!) and obviously the finish is the one HUGE thing that people see right off the bat when they look at your airplane. It doesn’t matter if the underlying construction of your airplane is strong or weak, or that it’s a thing of beauty or crying out to be covered in gobs of paint to hide its hideousness . . . none of that is truly judged when your bird is sitting on the flight line somewhere. Again, what is judged is how the surface & lines of your airplane flow, and how smooth & glossy the finish is on your paint job.
Thus, I want to get this finishing thing right from jump street.
So let me get off my soapbox and on to the build! Today I started out by taping up the outboard and inboard edges of each side of the canard. The outboard edges need to be epoxy free so that I can of course glass on the Roncz canard swoosh tips after I’m finished installing the elevators. Once the canard swoosh tips get glassed in place, then I’ll finish them as well and blend them into the existing finish on the bottom of the canard, and the top of the canard too for that matter.
The inboard areas will get smoothed out and feathered into the non-finished interior of the canard. This middle area doesn’t get finished to save weight, since once the canard is mounted it remains ‘buried’ & hidden inside the confines of the fuselage.
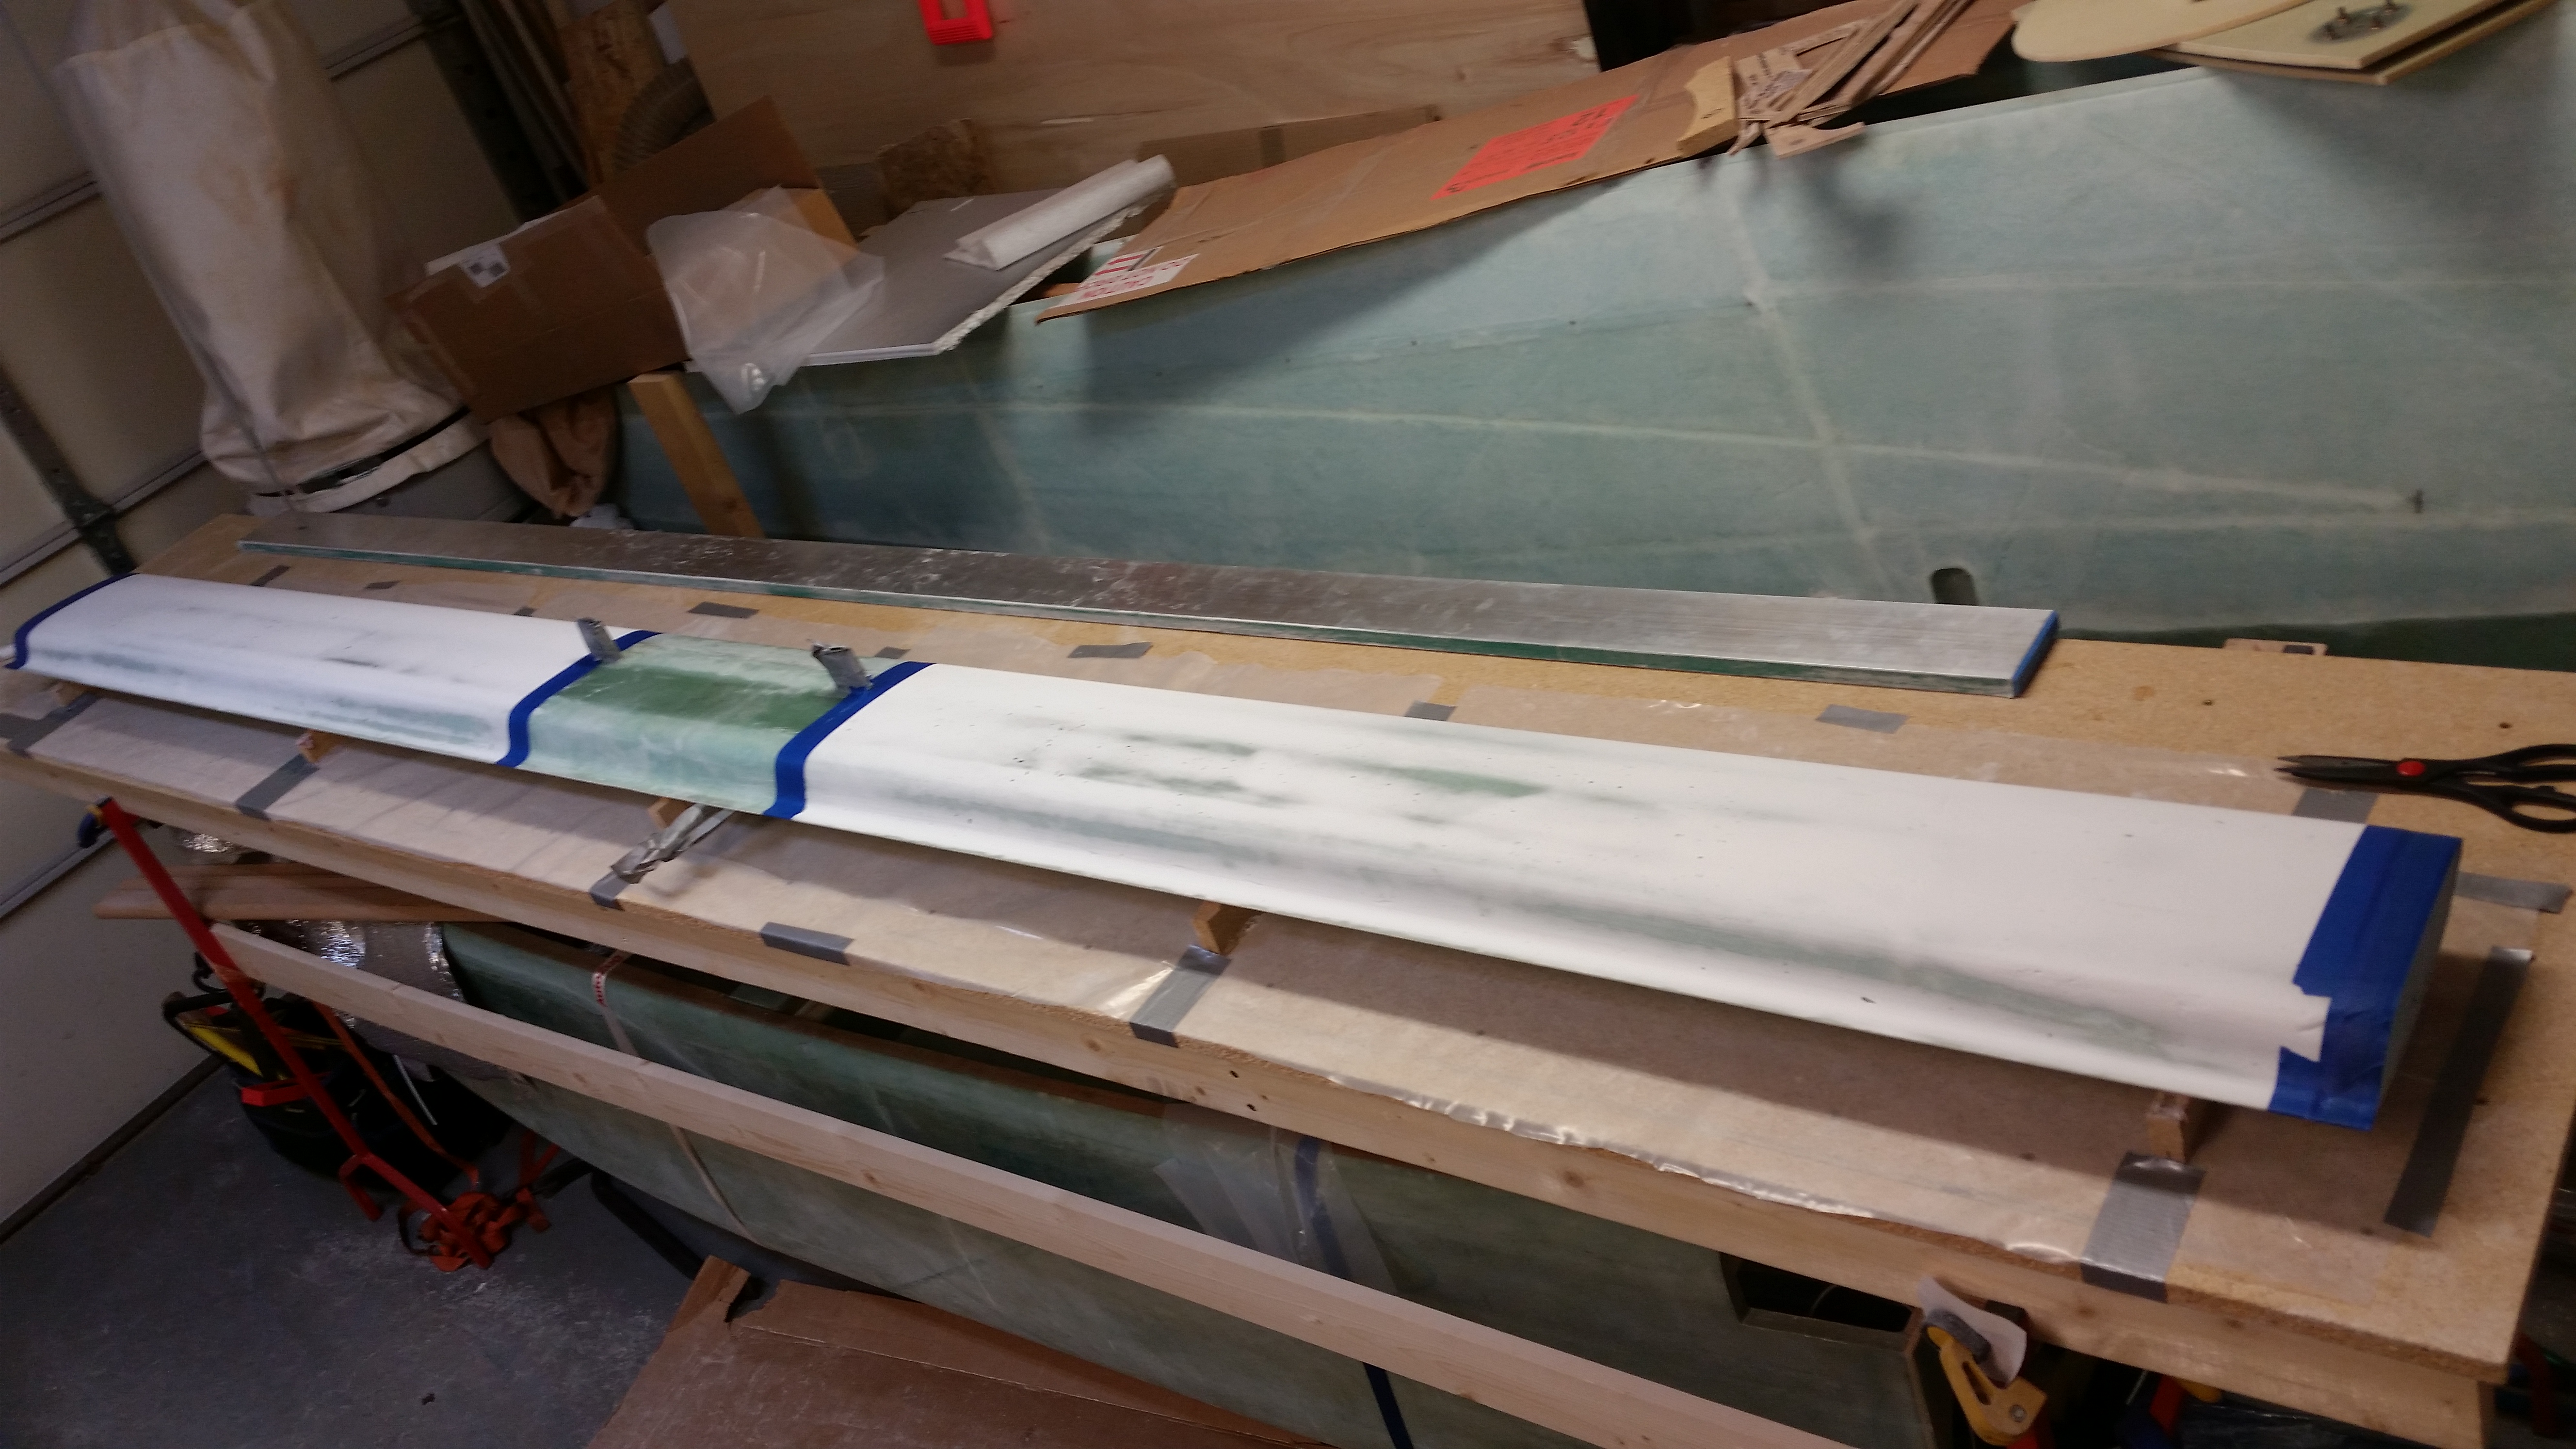
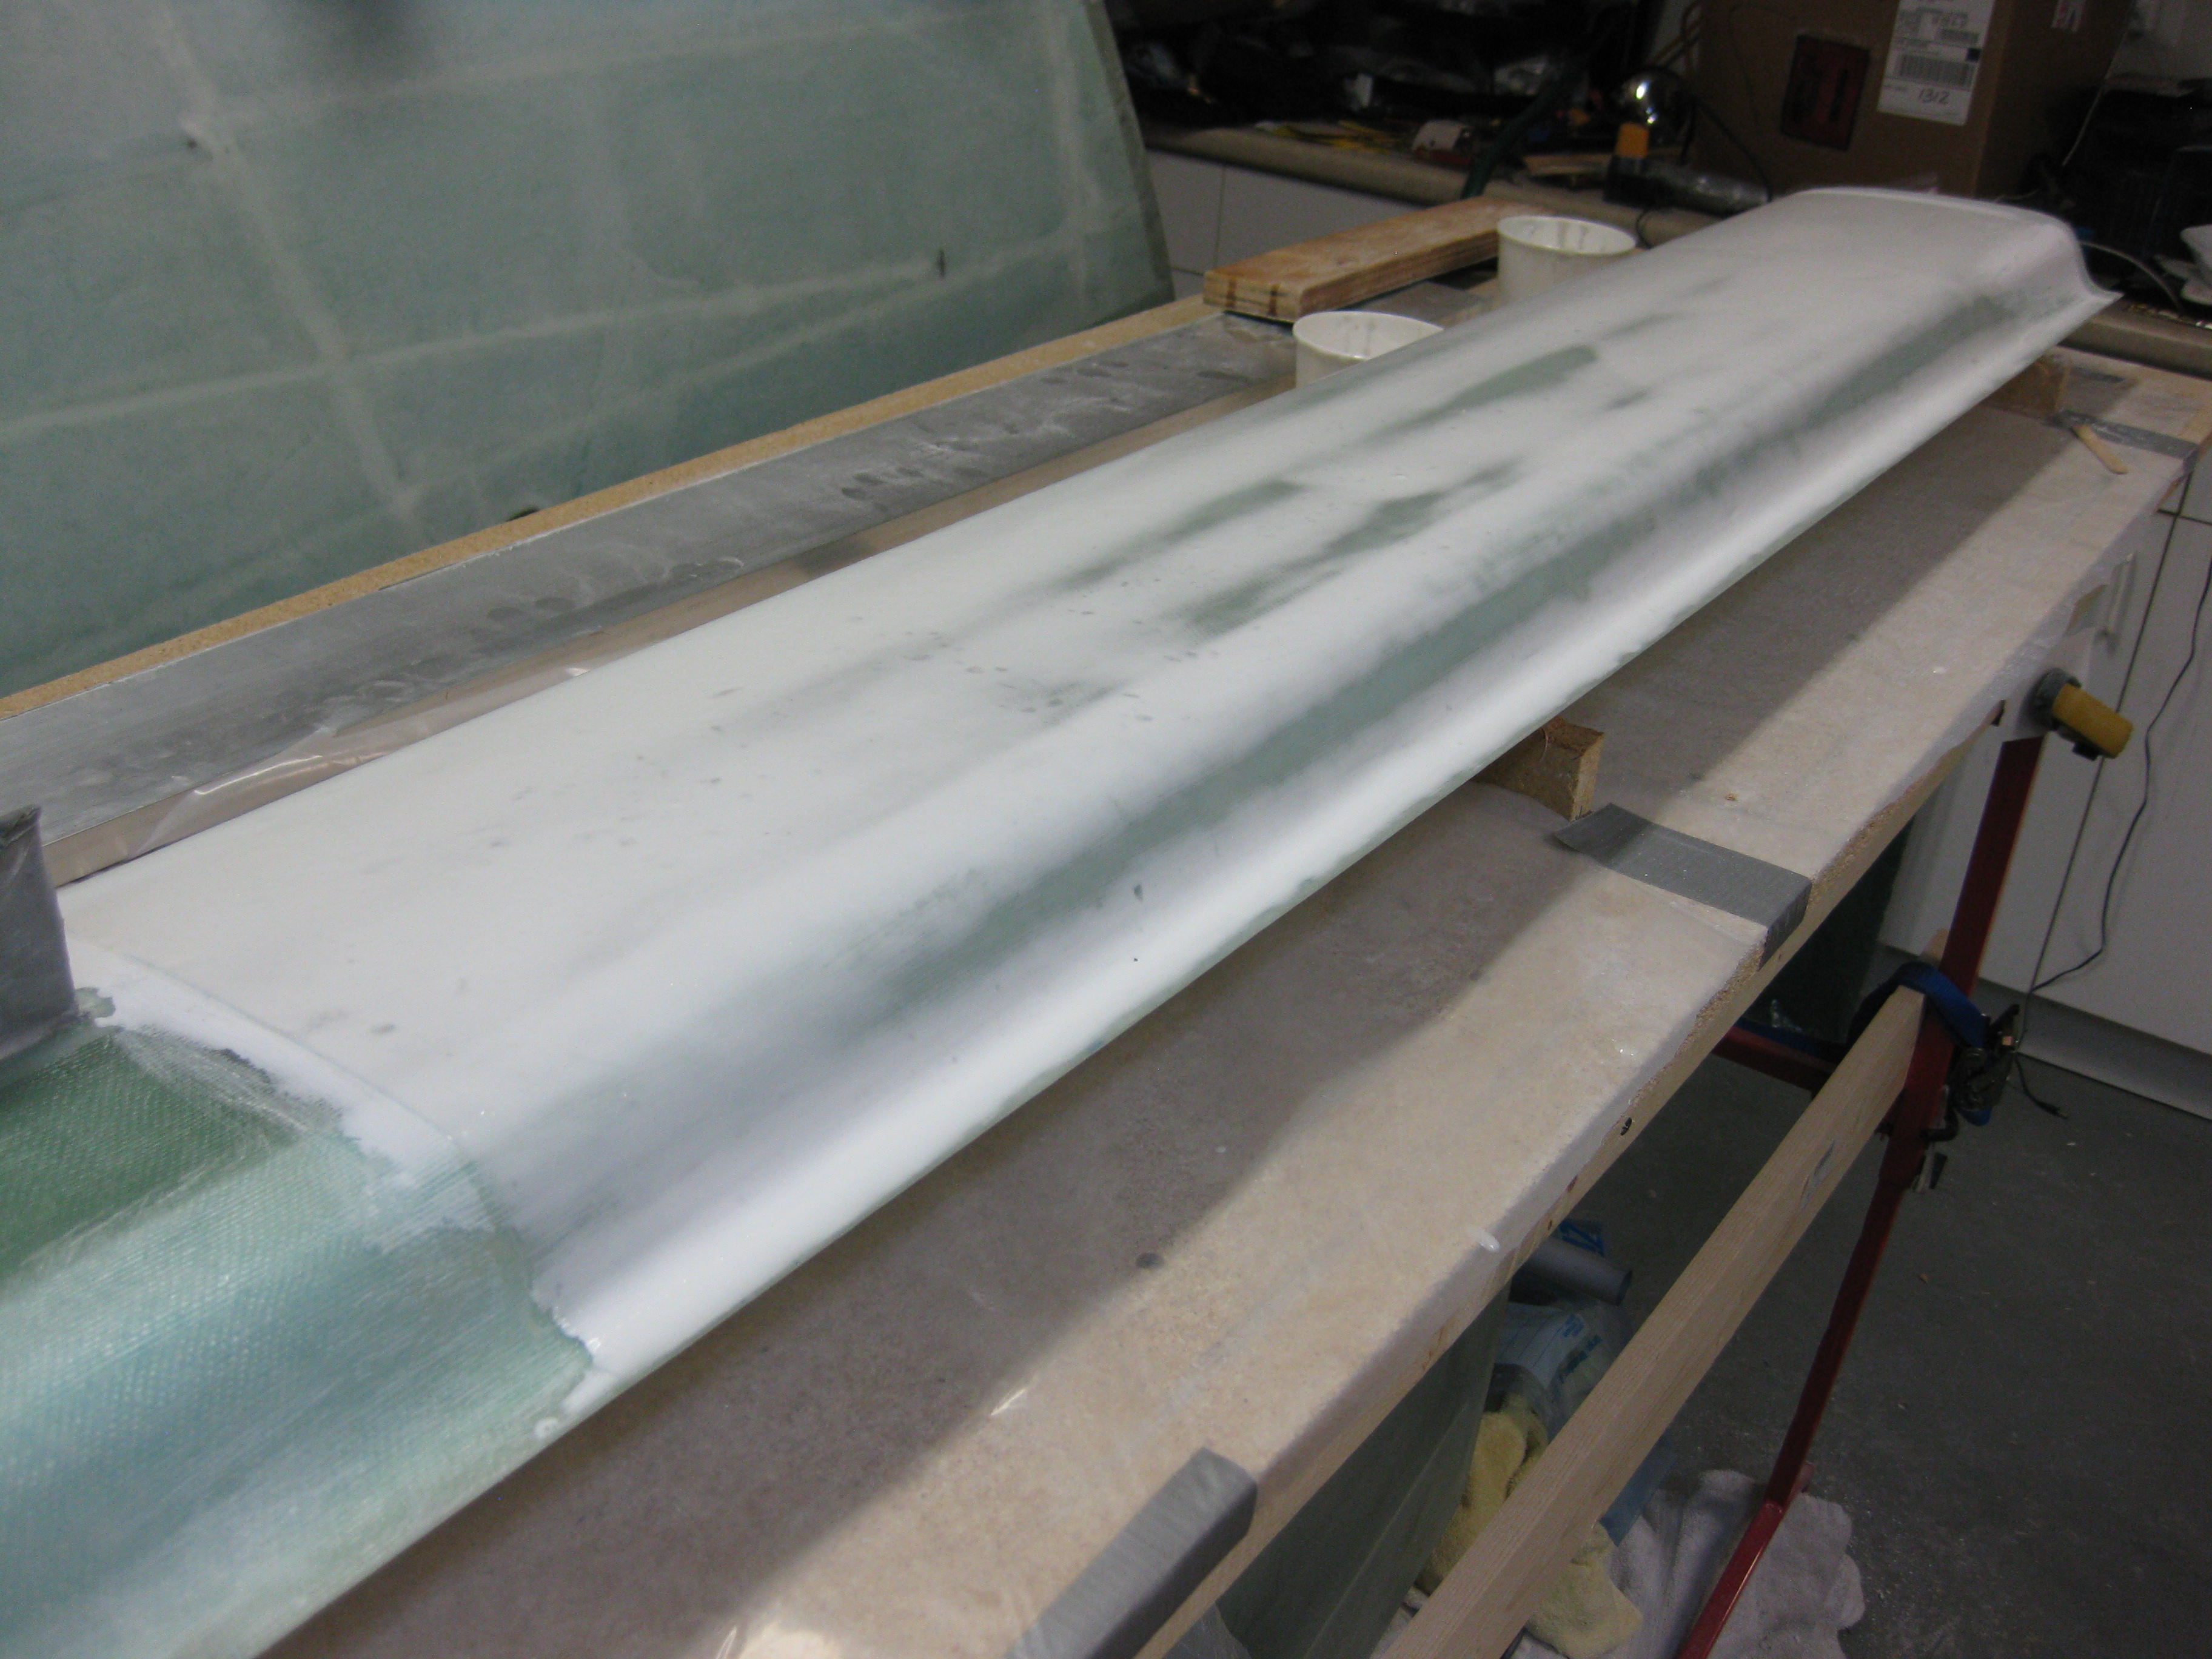
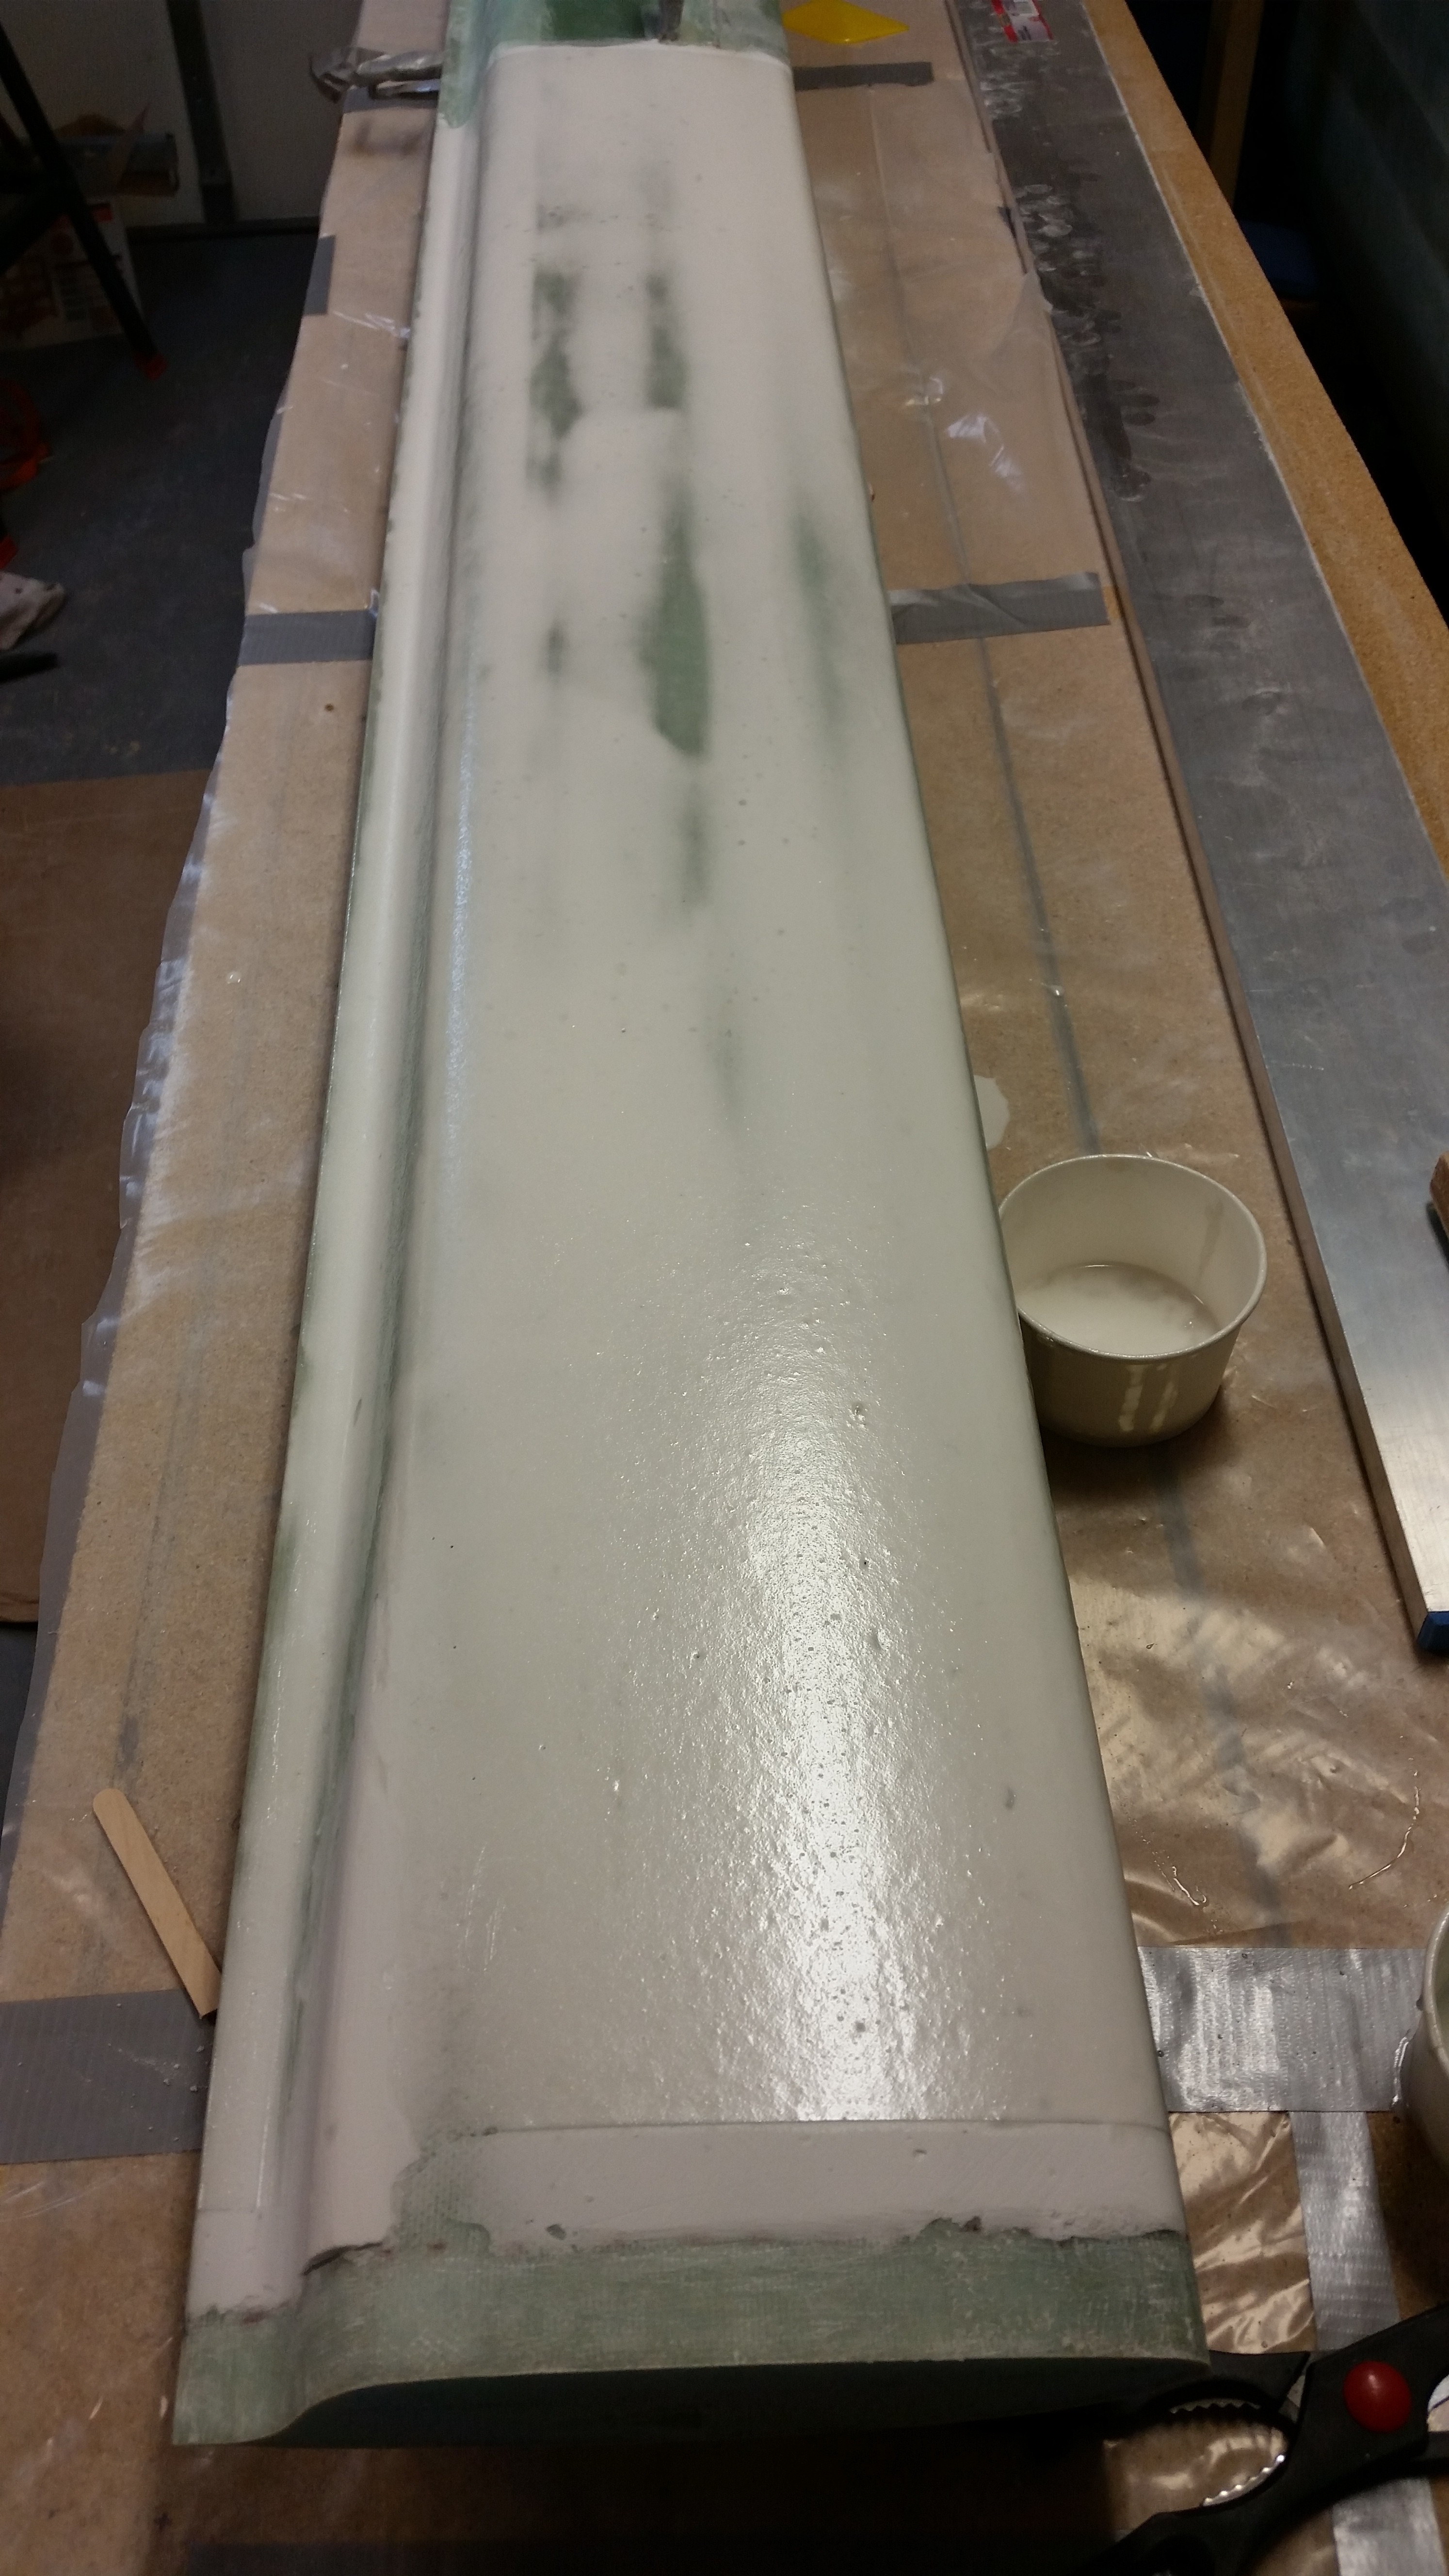
Now, I performed a little experiment on the bottom of the canard with the next step of finishing. On the Left surface in the photo below (which is the Right-side bottom of the canard), I used the now standard traditional Cory Bird method of wiping on 5 separate applications of pure fresh West epoxy, with an approximate 2-hour cure time in-between. Just as you might cheese grate the micro finish on the surface of the component after it has cured for around 2 hours so that it’s in the “green” stage, so too we let the pure epoxy cure to a “green” state before adding the next round of epoxy.
Thus, the picture below is the first application of pure epoxy onto the finished & cured micro finish.
If the Cory Bird method is test subject A, then Nate Mullins’ Micro Skim method is test subject B. Nate claims on his site that Micro Skim really cuts down on the post-sanding effort after the skim coat is applied. After talking with Nate about this method shortly after he developed it, I figured I would try it out on my first skim coat endeavor to see if it really is easier, and if so, perhaps save a fair amount of time & effort in finishing my bird. The essence of Nate’s Micro Skim coating method is simply adding a little bit of micro to the pure epoxy. The amount of micro is way less than what you add even for a micro-slurry, but just enough to give the epoxy a little bit of thickness when applied to the surface of the finished part. Application is a little easier since you simply roll on Micro Skim with a foam roller, whereas with the pure epoxy skim coating you are using a squeegee to apply the epoxy onto the surface (to be clear, some builders like Wayne Hicks have used a foam roller to apply to the epoxy skim coat and then used a squeegee to skim the excess epoxy off the surface).
Thus I used Nate’s Micro Skim on the Right side of the canard in the pictures (which is technically the L-side bottom of the canard when mounted).
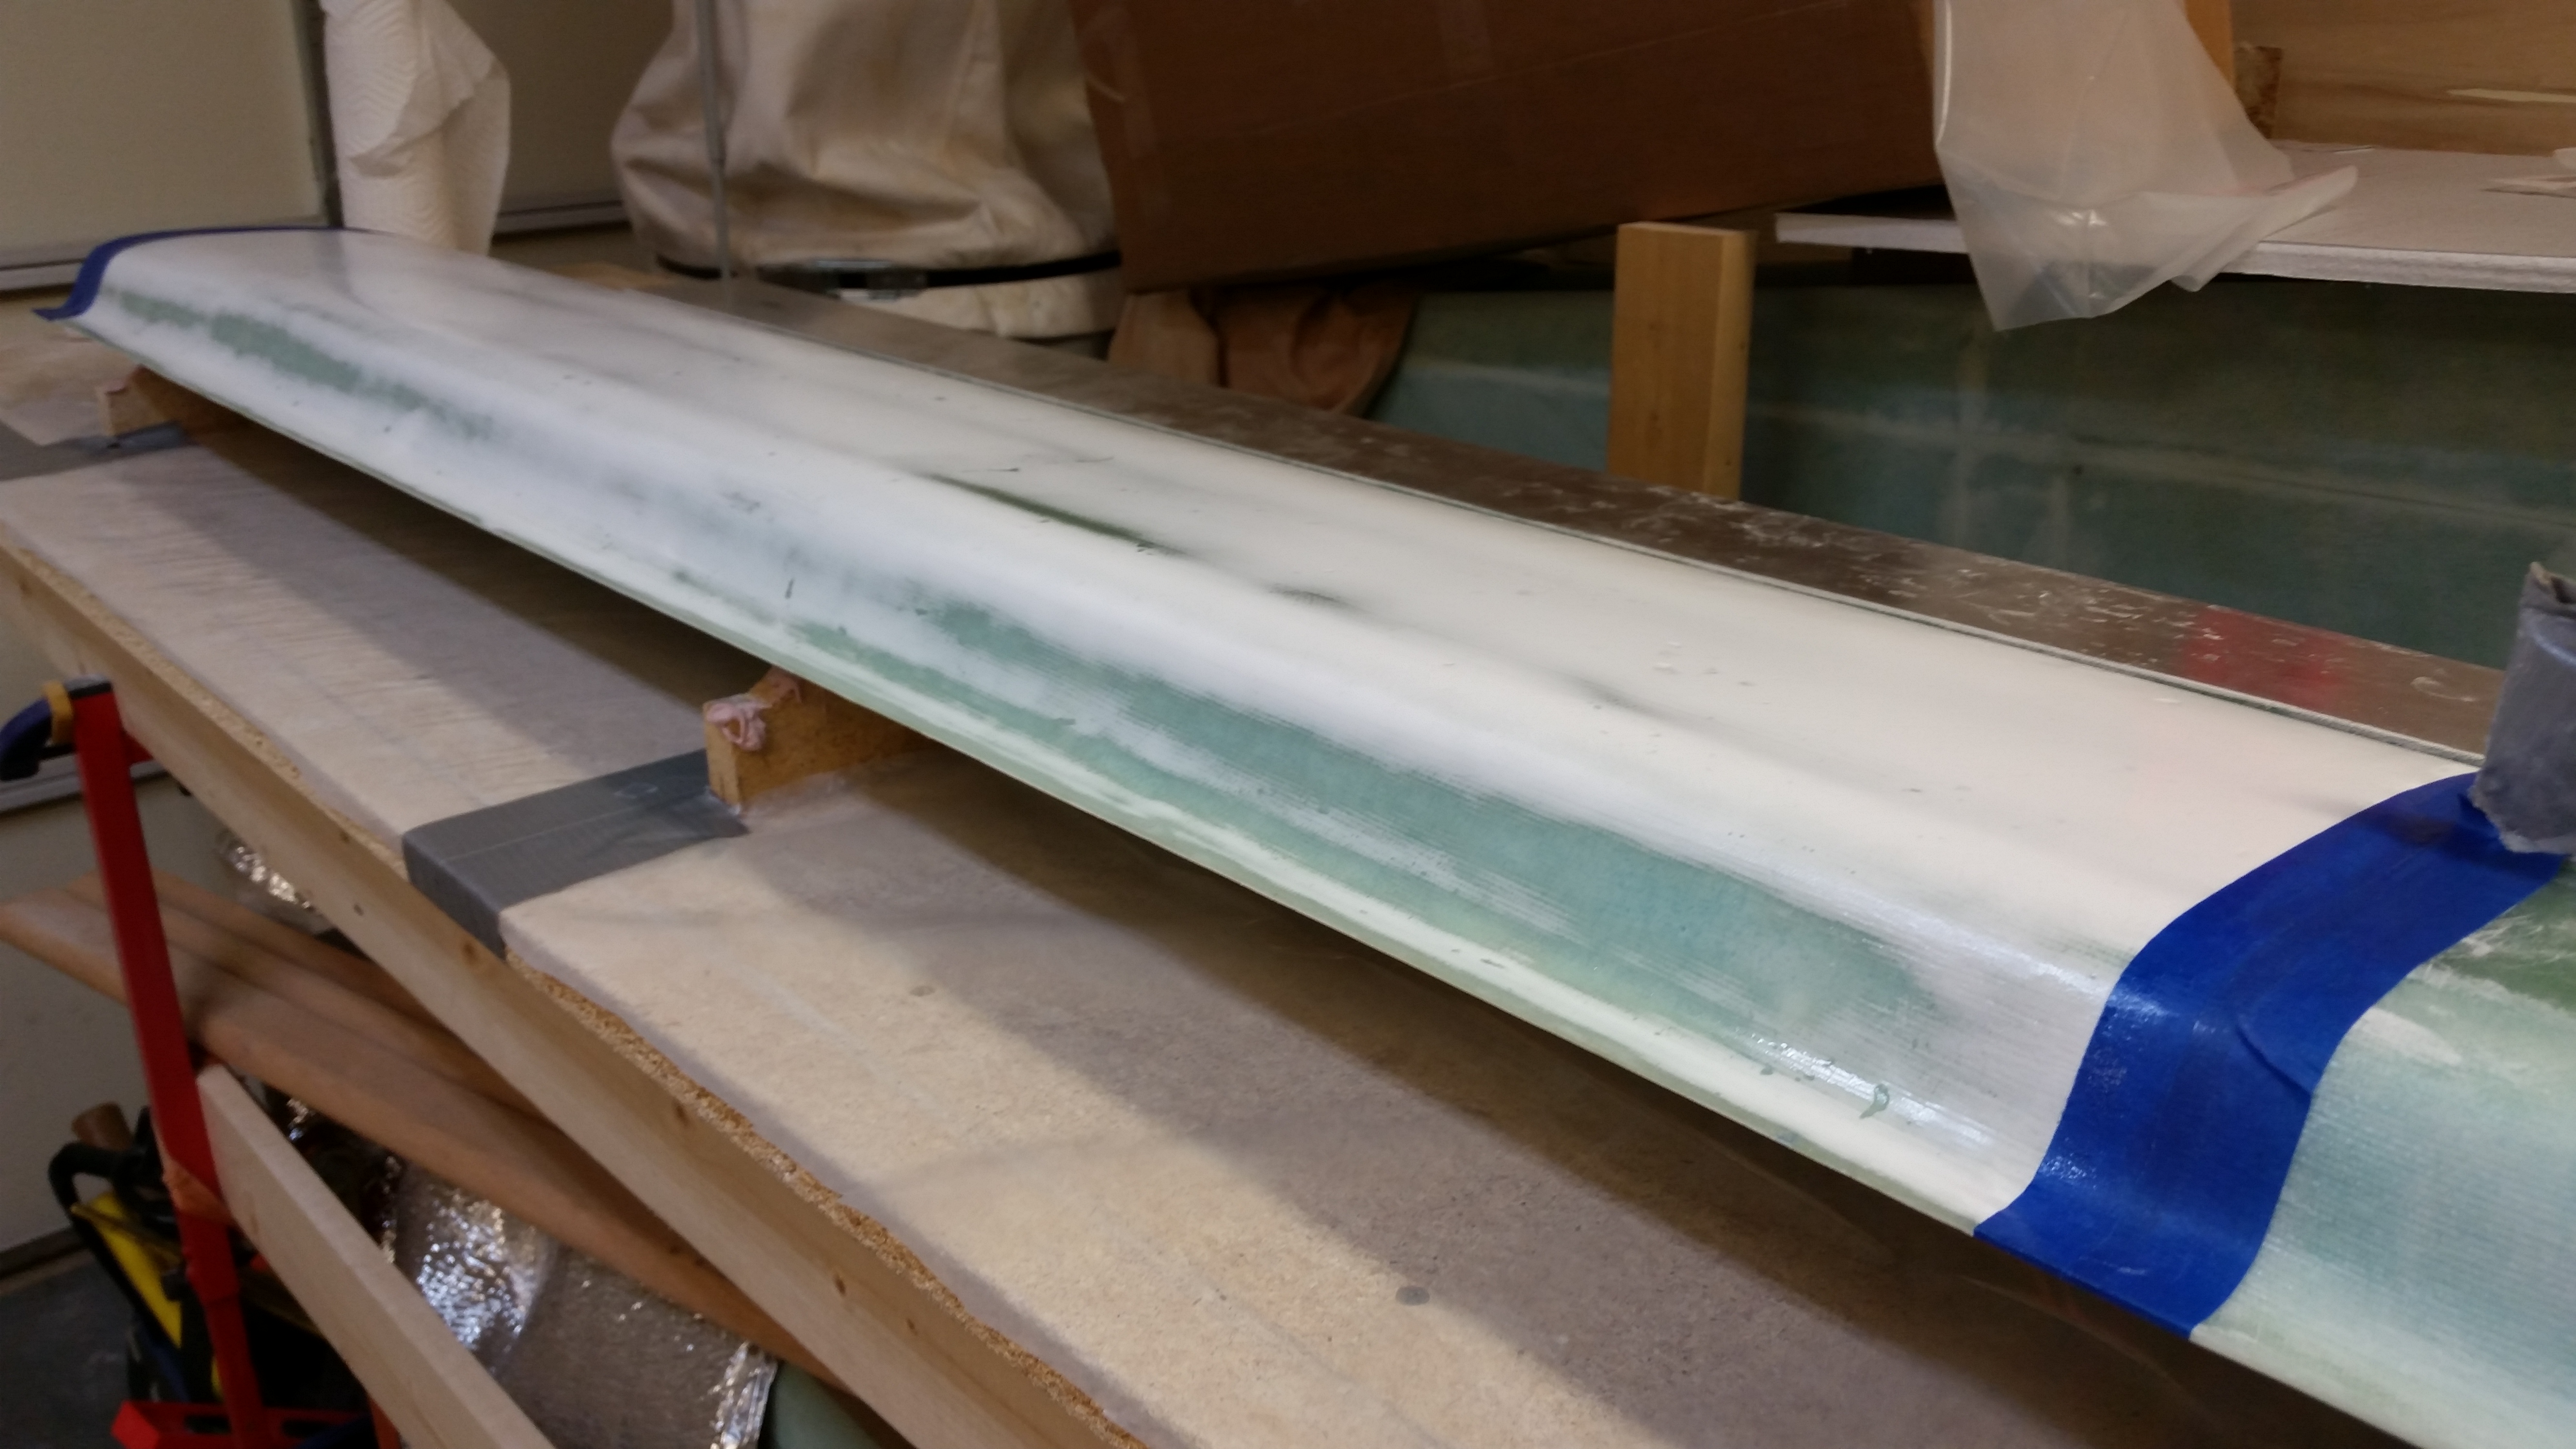
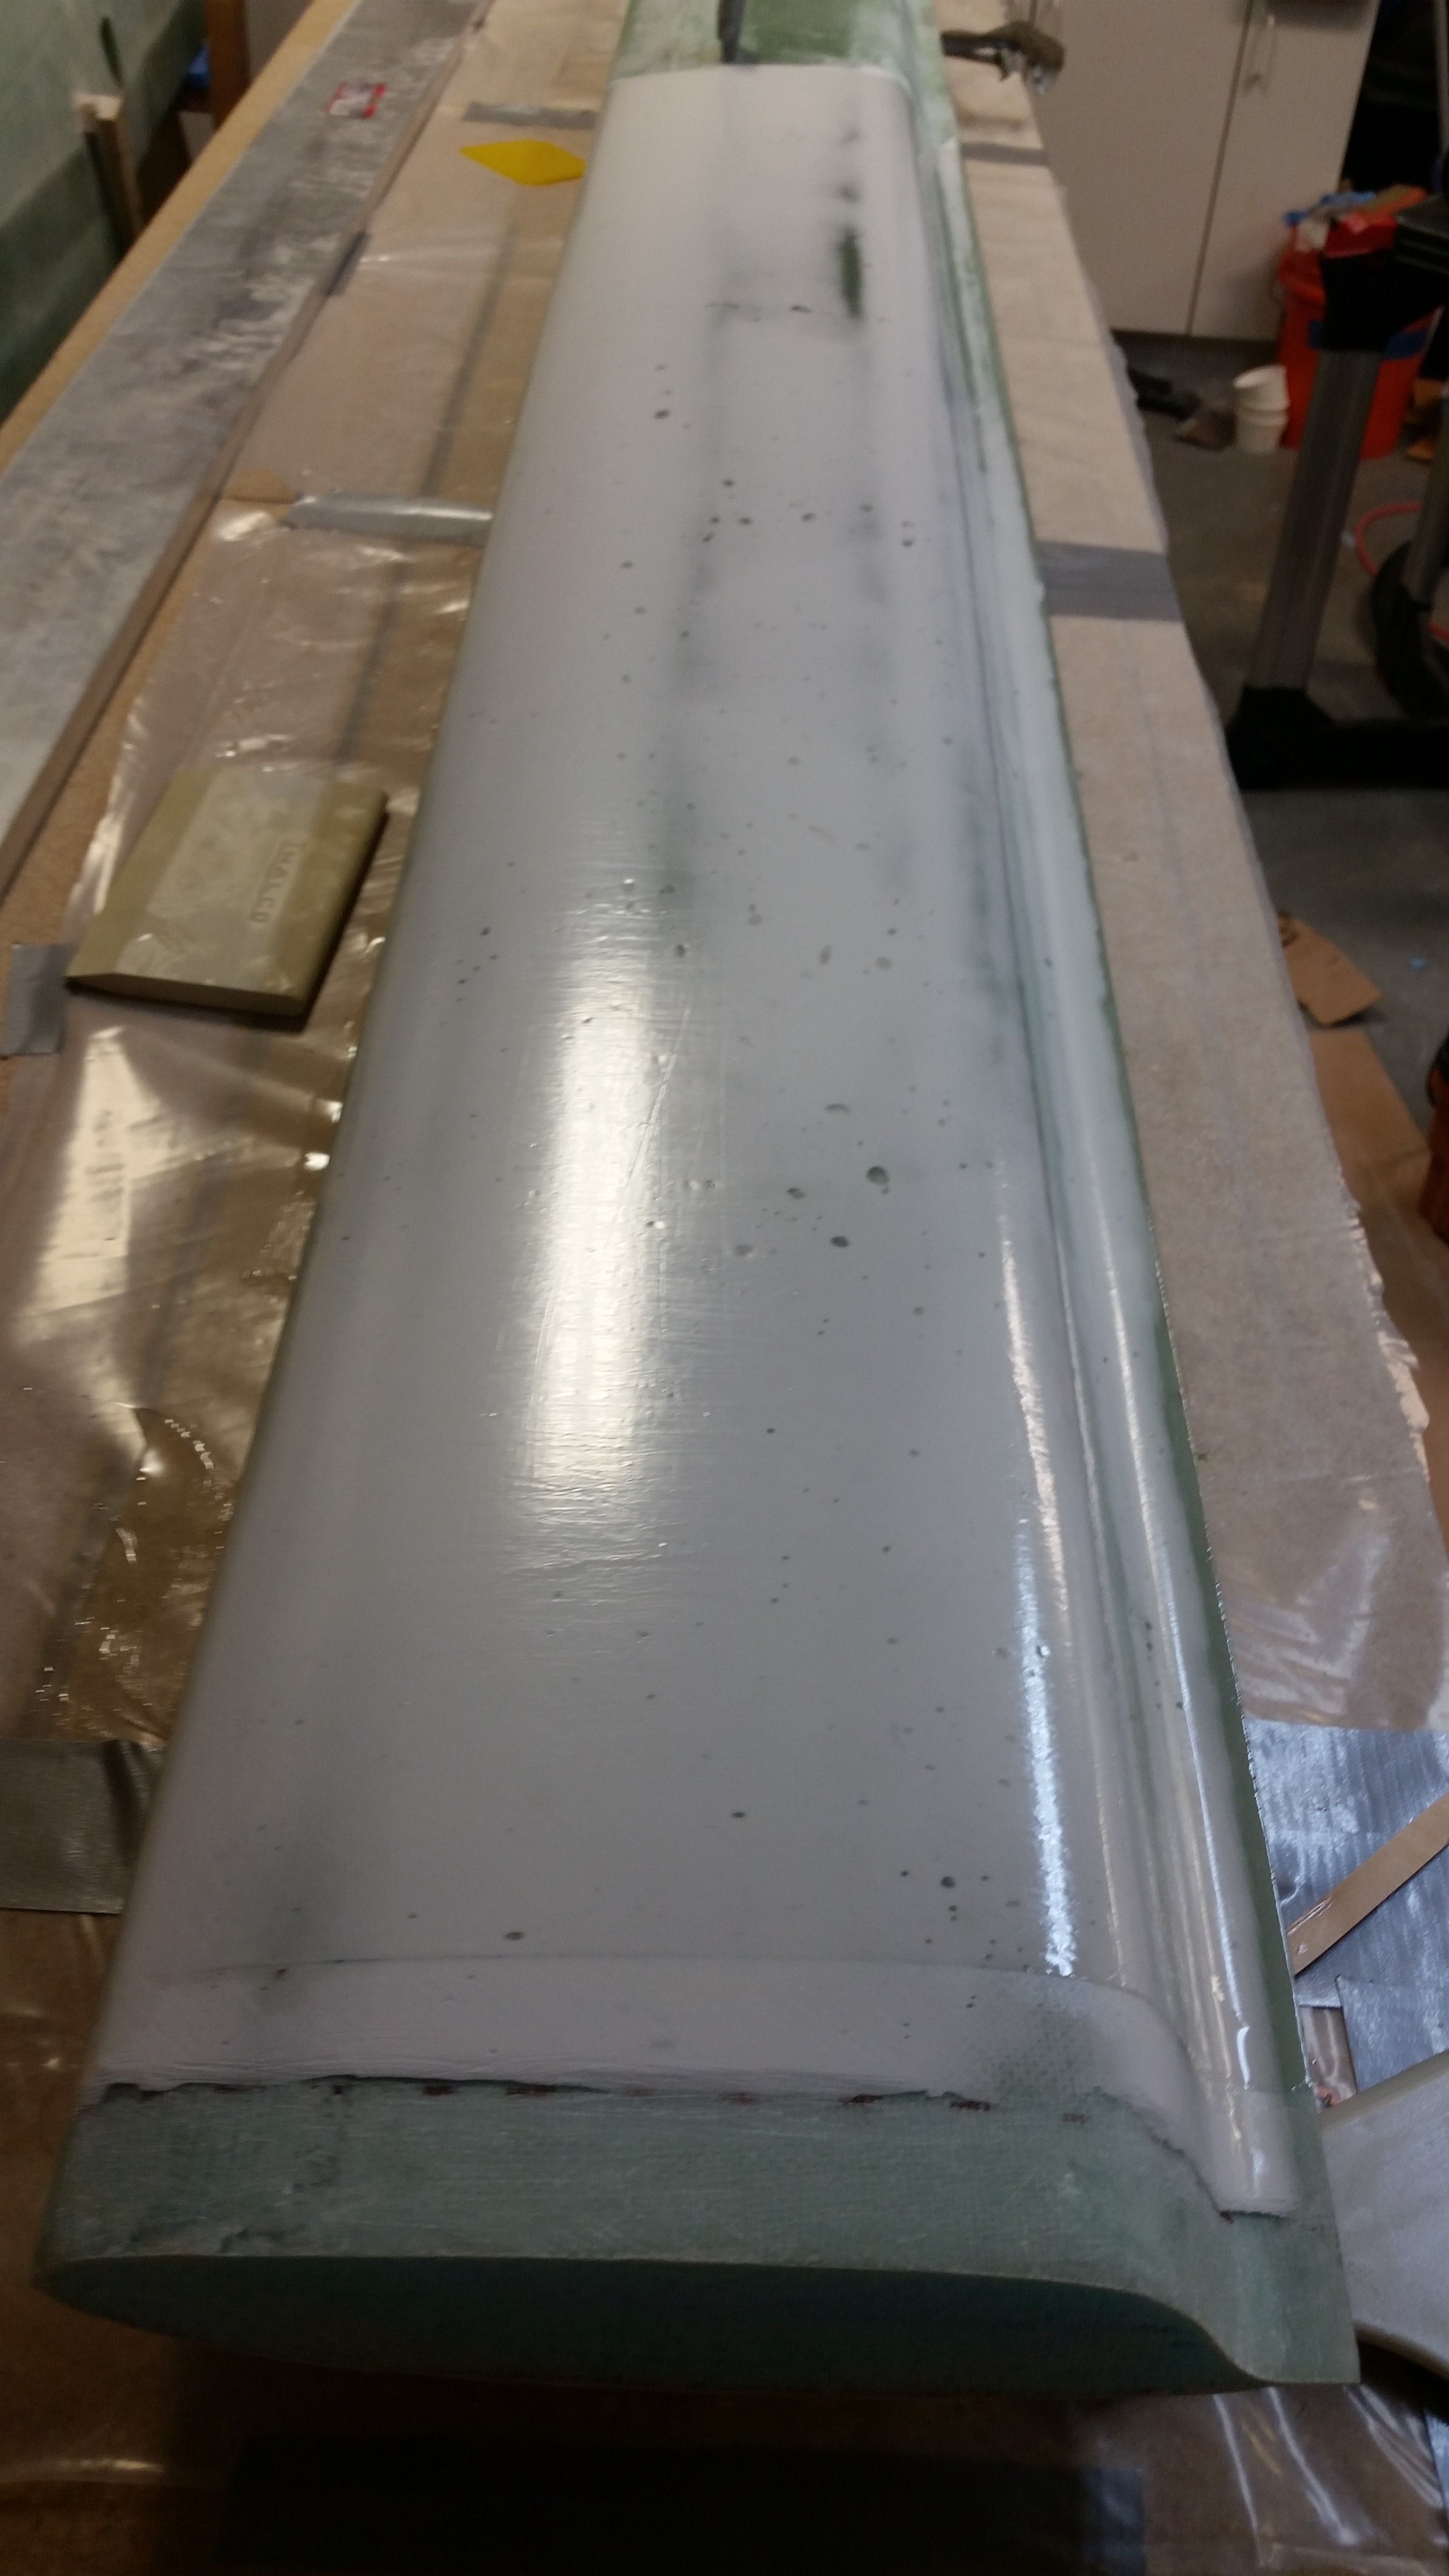
BTW, the resulting finish of the Micro Skim, not surprisingly, is much more grainy and opaque than is the pure epoxy skim coat. Again, the proof will be in the actual sanding & quality of surface finish after these two sides have cured and are block sanded.
Here’s a shot after 3 coats:

After I applied the third coat on each side, I started work on the Left elevator to get it ready for finishing. I double checked the width of the elevator and ended up sanding the trailing edge to get it to a uniform width along the whole length of the elevator. The outboard width of the elevator was 4.578″ inches wide while the inboard was 4.624″ wide. After some very minor sanding, focusing on the inner 2/3rds of the elevator, I got the very inboard edge right at 4.6″. With just a tad bit more sanding, while ensuring my TE was straight, I ended up with the inboard edge at right about 4.597″ …. less than 20 thou along that span is golden for me. Any more sanding was just asking for a “chasing of the numbers” with the result being an elevator that’s too narrow.
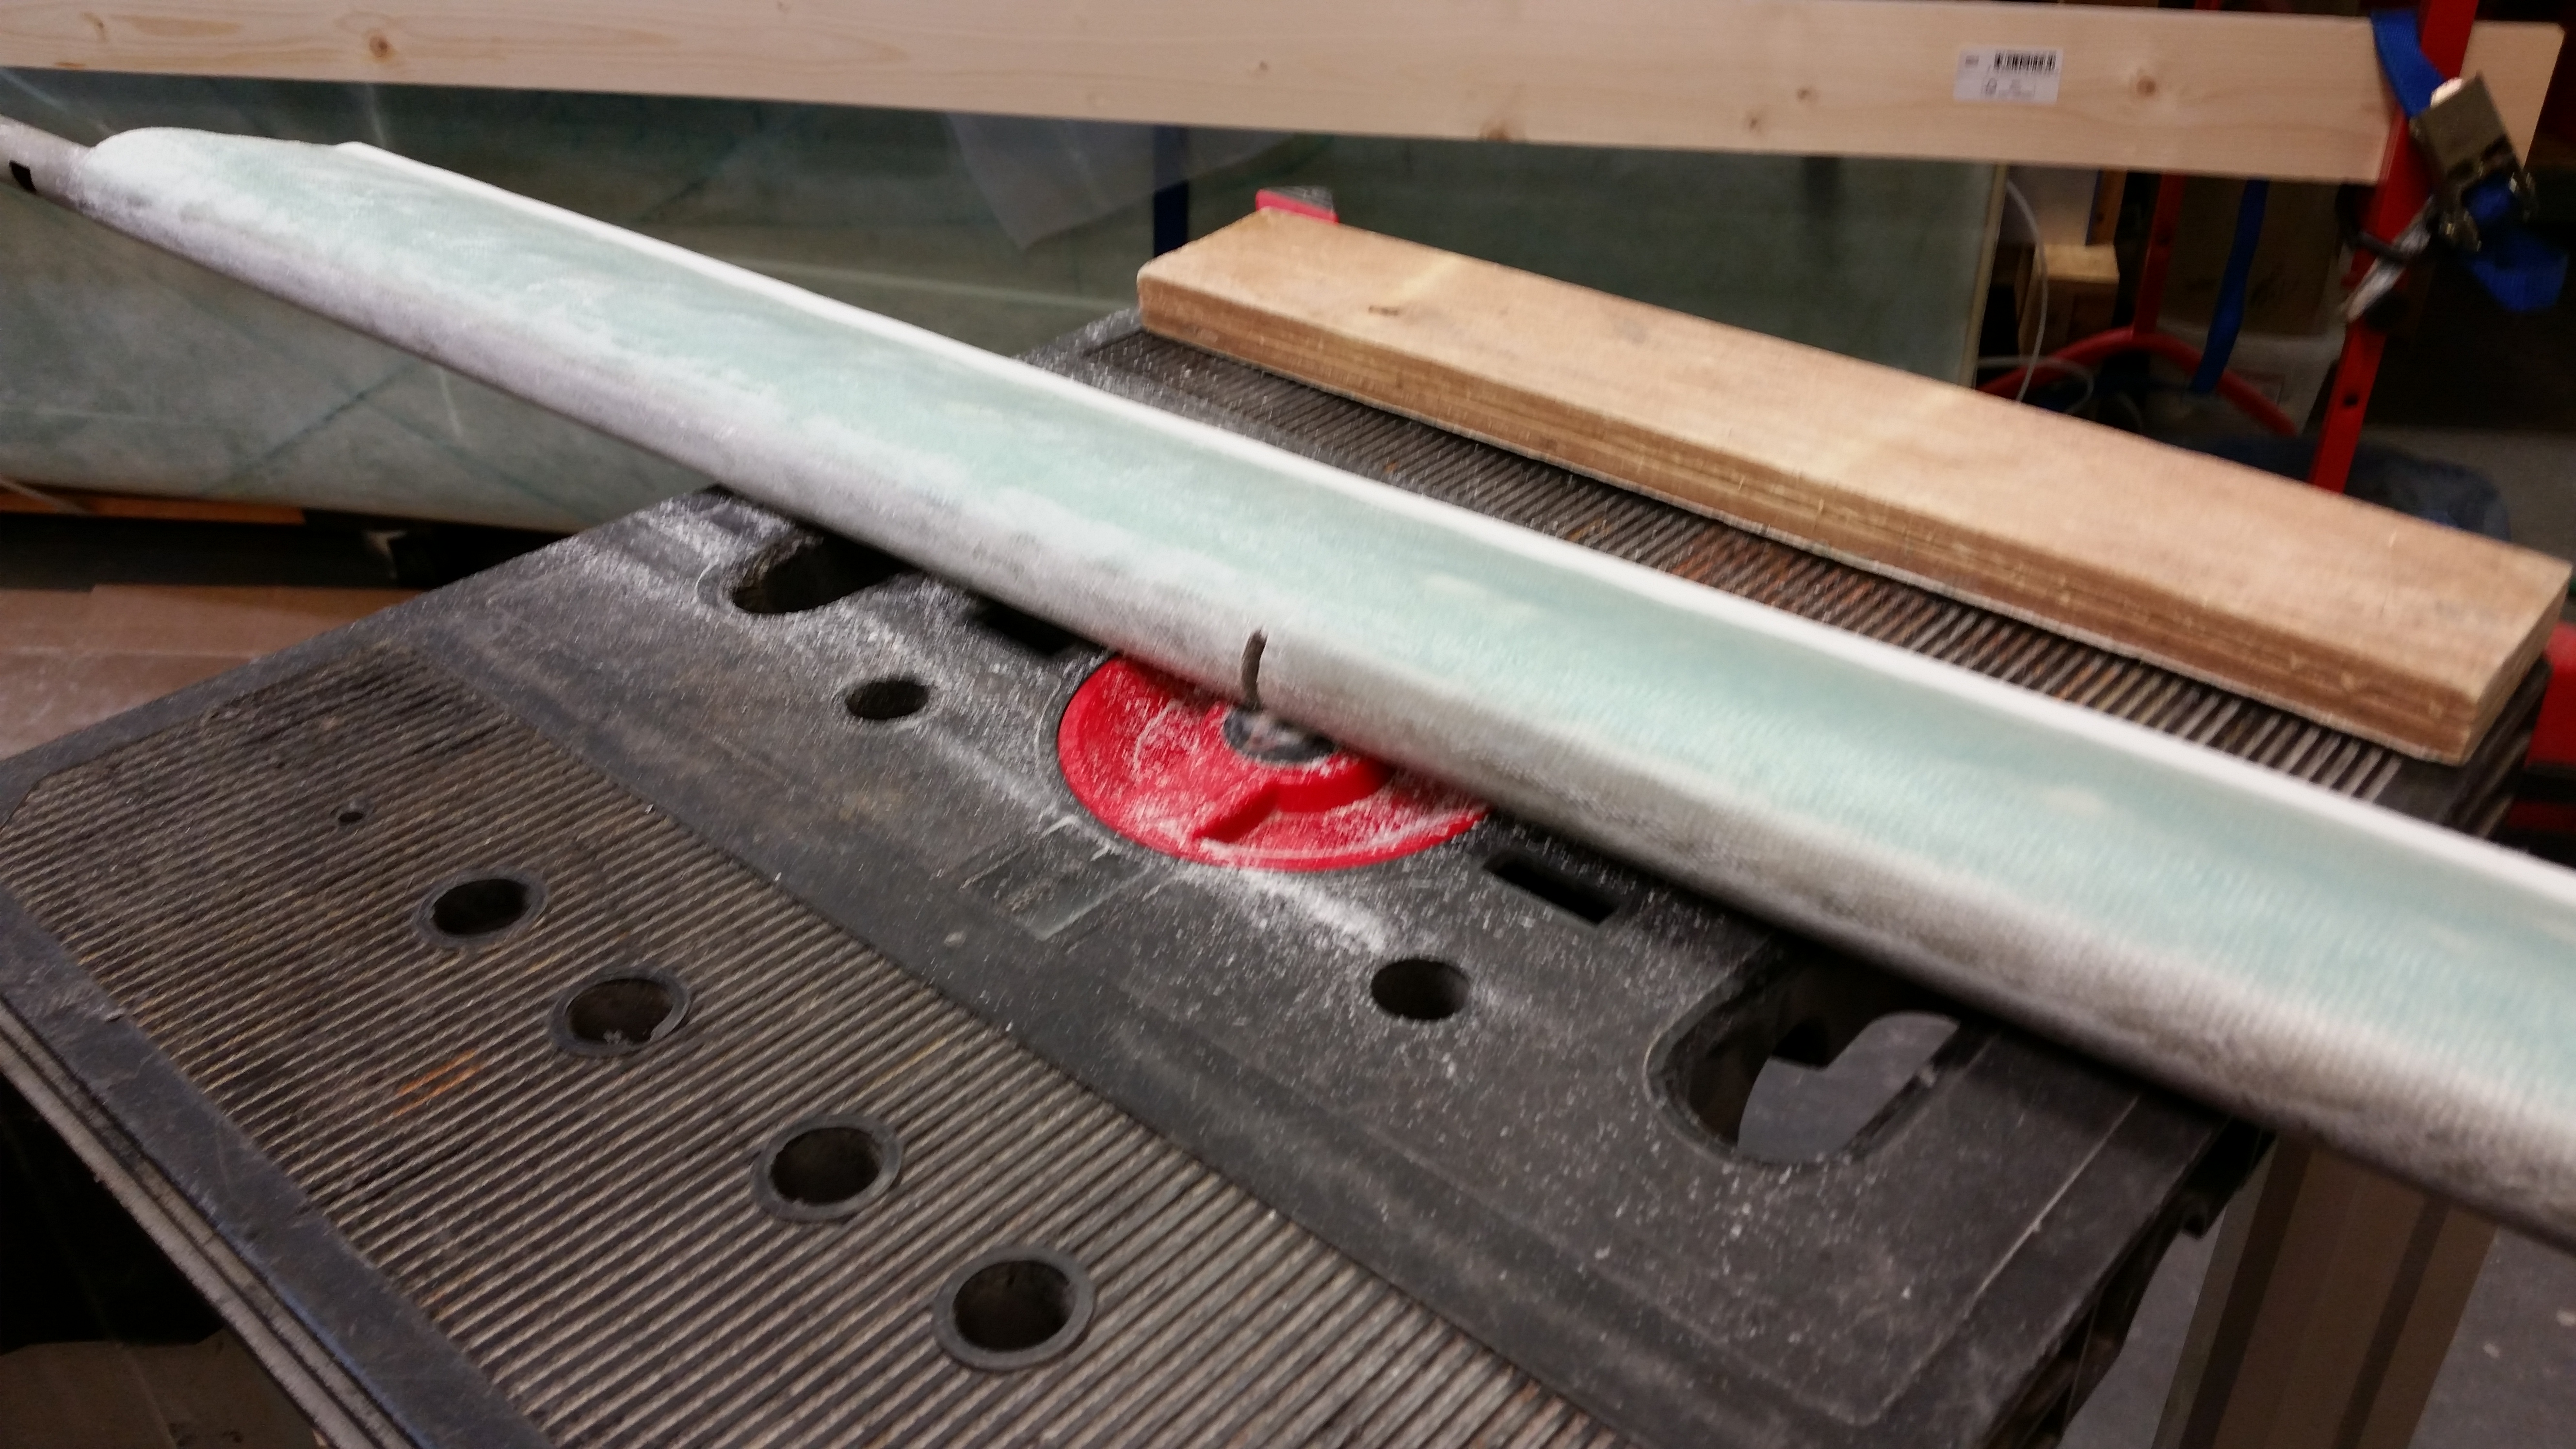
I then started sanding then entire front nose area & top of the elevator. Since I got the elevator foam cores from Feather Light, and since Feather Light uses the original Roncz elevator templates, a decent amount of foam along the razor-thin top front edge of the “C” shaped cutout (where the elevator tube is embedded) was broken off or torn away when I micro’d the foam to the elevator tube. I think this is fairly common since using the original template results in that “C” channel just being ever so slightly too narrow for the elevator tube to fit into. In other words, besides either cutting them myself and slightly modifying the channel before hot-wiring the foam, or using Steve’s Eureka CNC elevator cores, the bottom line is that minor carnage on each leading edge of the “C” channel was bound to ensue as the elevator foam is micro’d to the elevator tube.
Why am detailing all of this? Because after glassing the elevator skins, there remains a very slight depression (trough, if you will) along the length of my elevator right at the top junction between elevator tube and foam core. In the picture below, it is the line that is even with the top of the elevator hinge slot, and again, runs the full length of the elevator along the “nose”. Also note in the pic below that the area to the left of the elevator hinge slot is sanded while the area to the right is not.
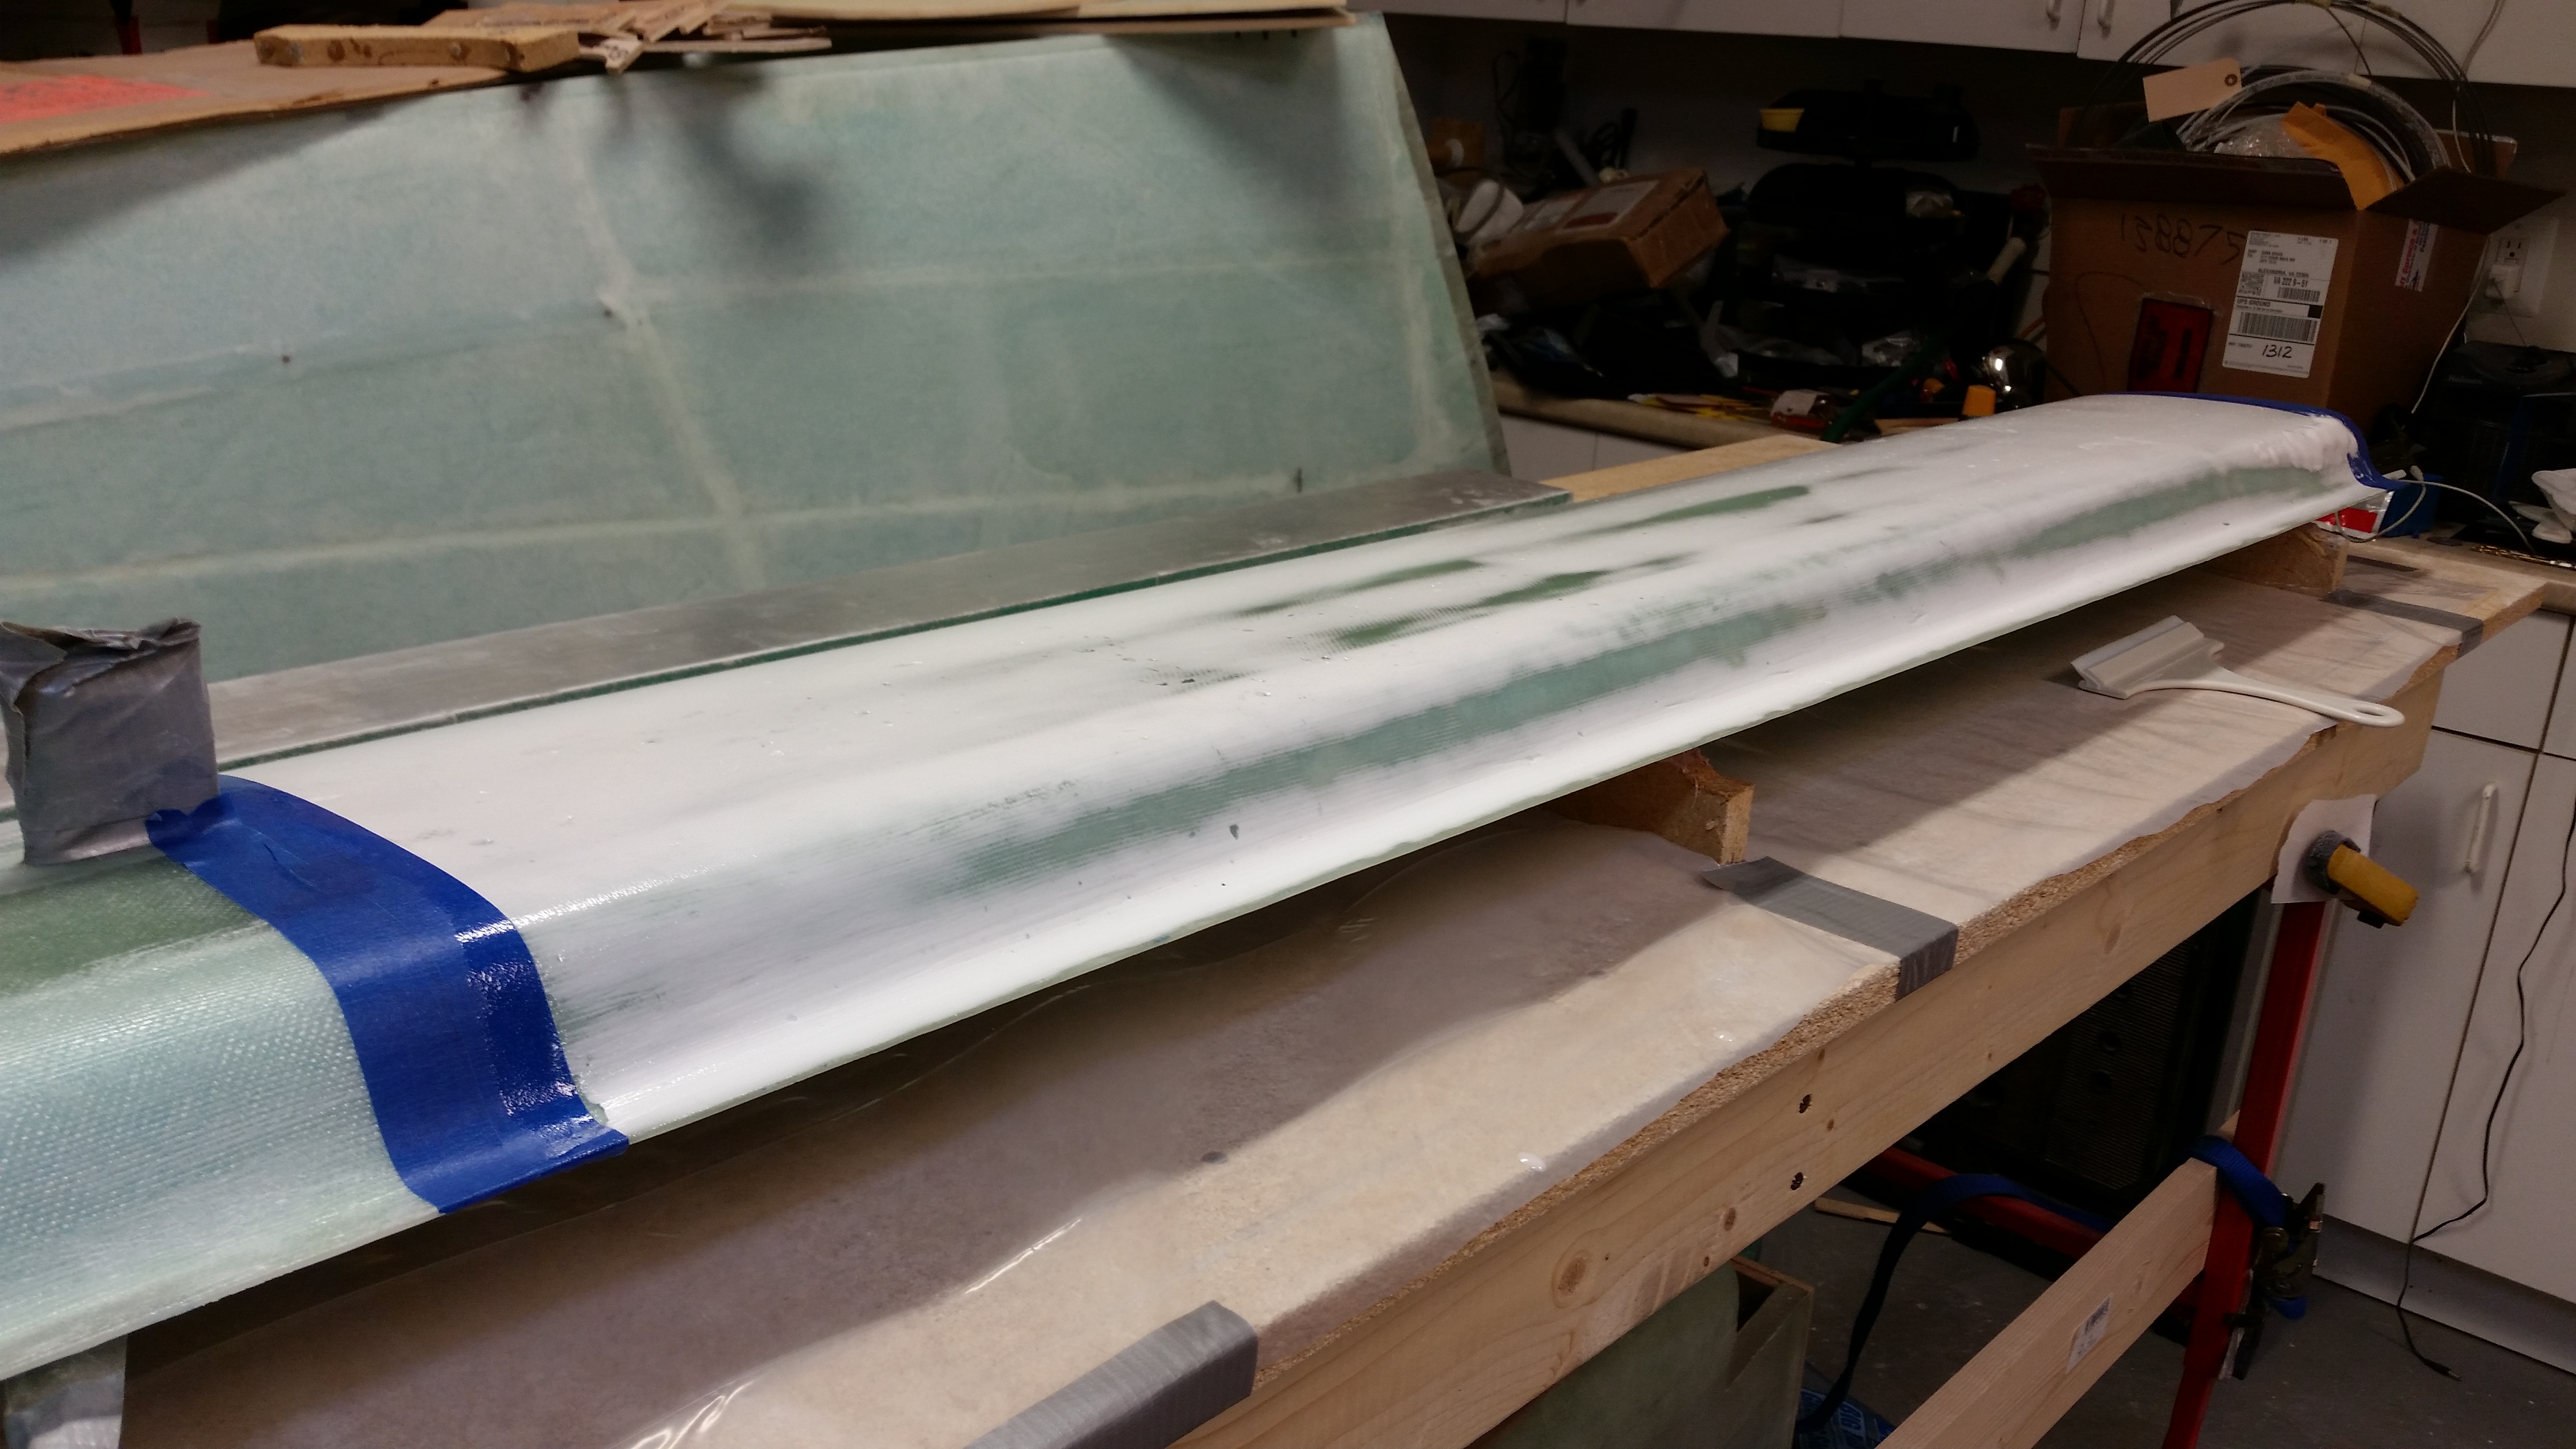
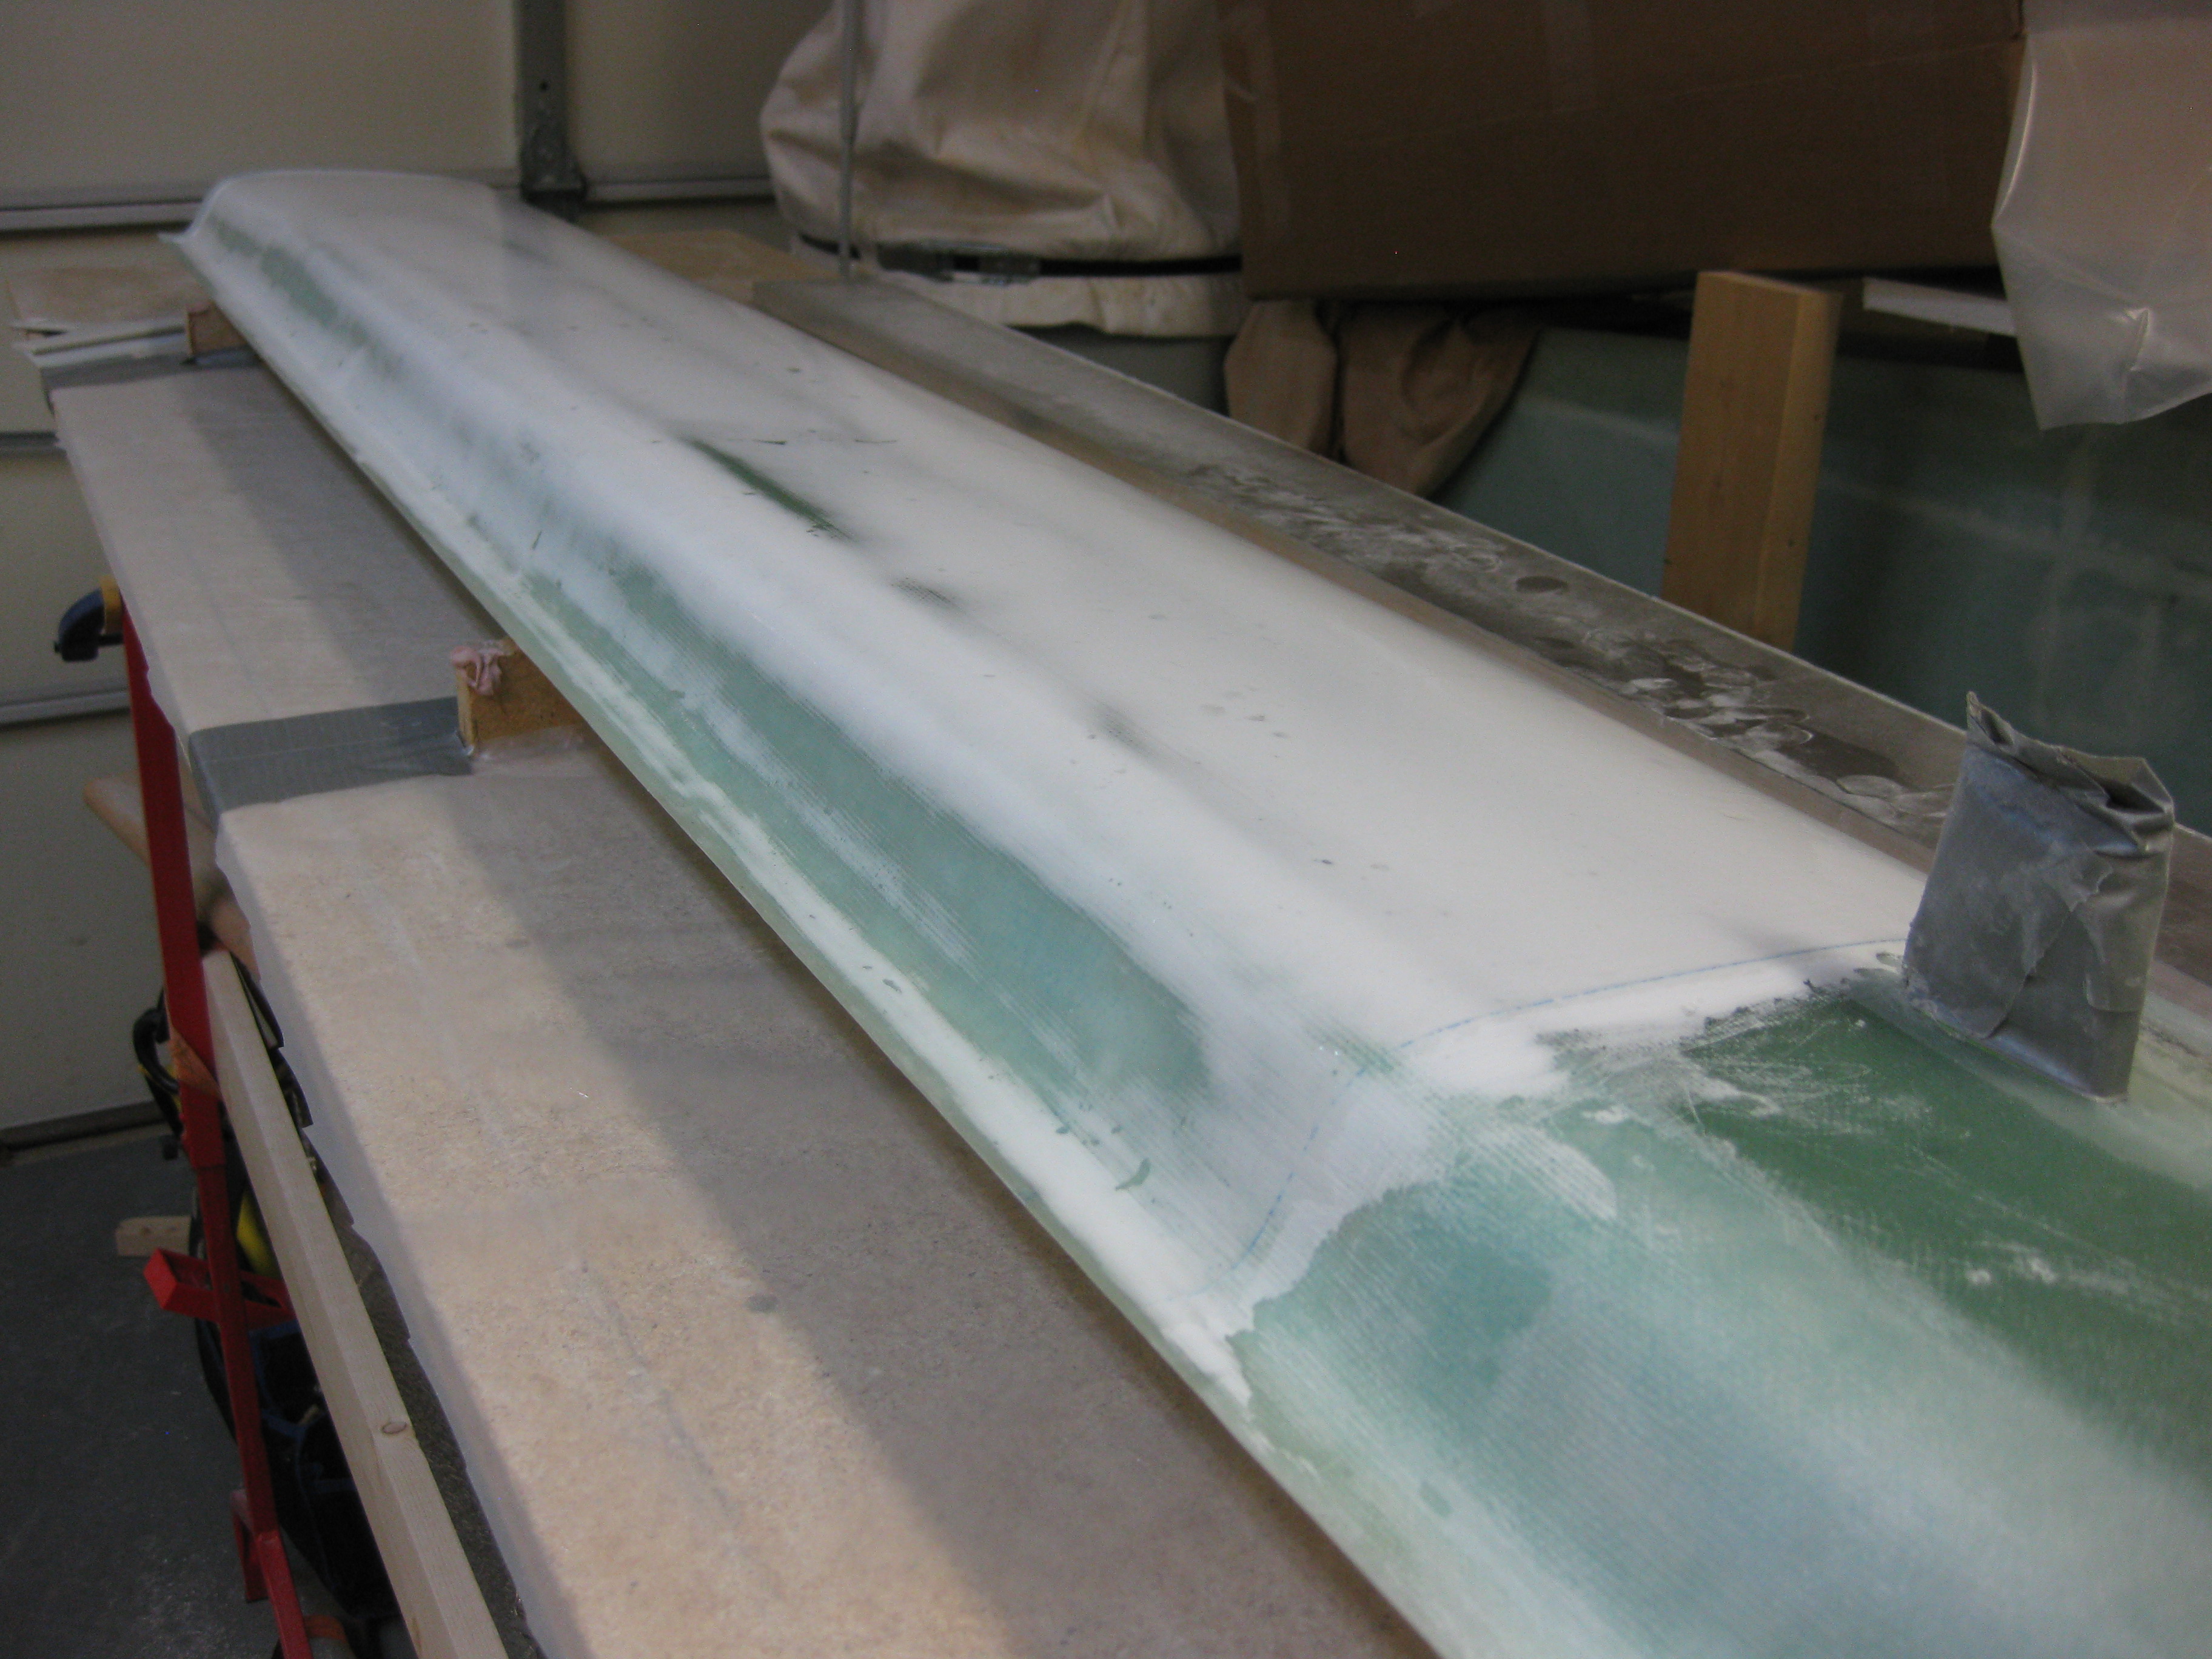
Back to the canard. After applying 5 coats to each side (and also filling in the very outboard left aft “corner” of the canard with dry micro – see pic below) I waited for about an hour before pulling up the blue edge tape. Below is the Micro Skim side about an hour after the final coat was applied.
And here is the pure epoxy skim coat side about an hour after the final coat was applied.
Here is the entire bottom of the canard after being skim coated & micro skimmed.
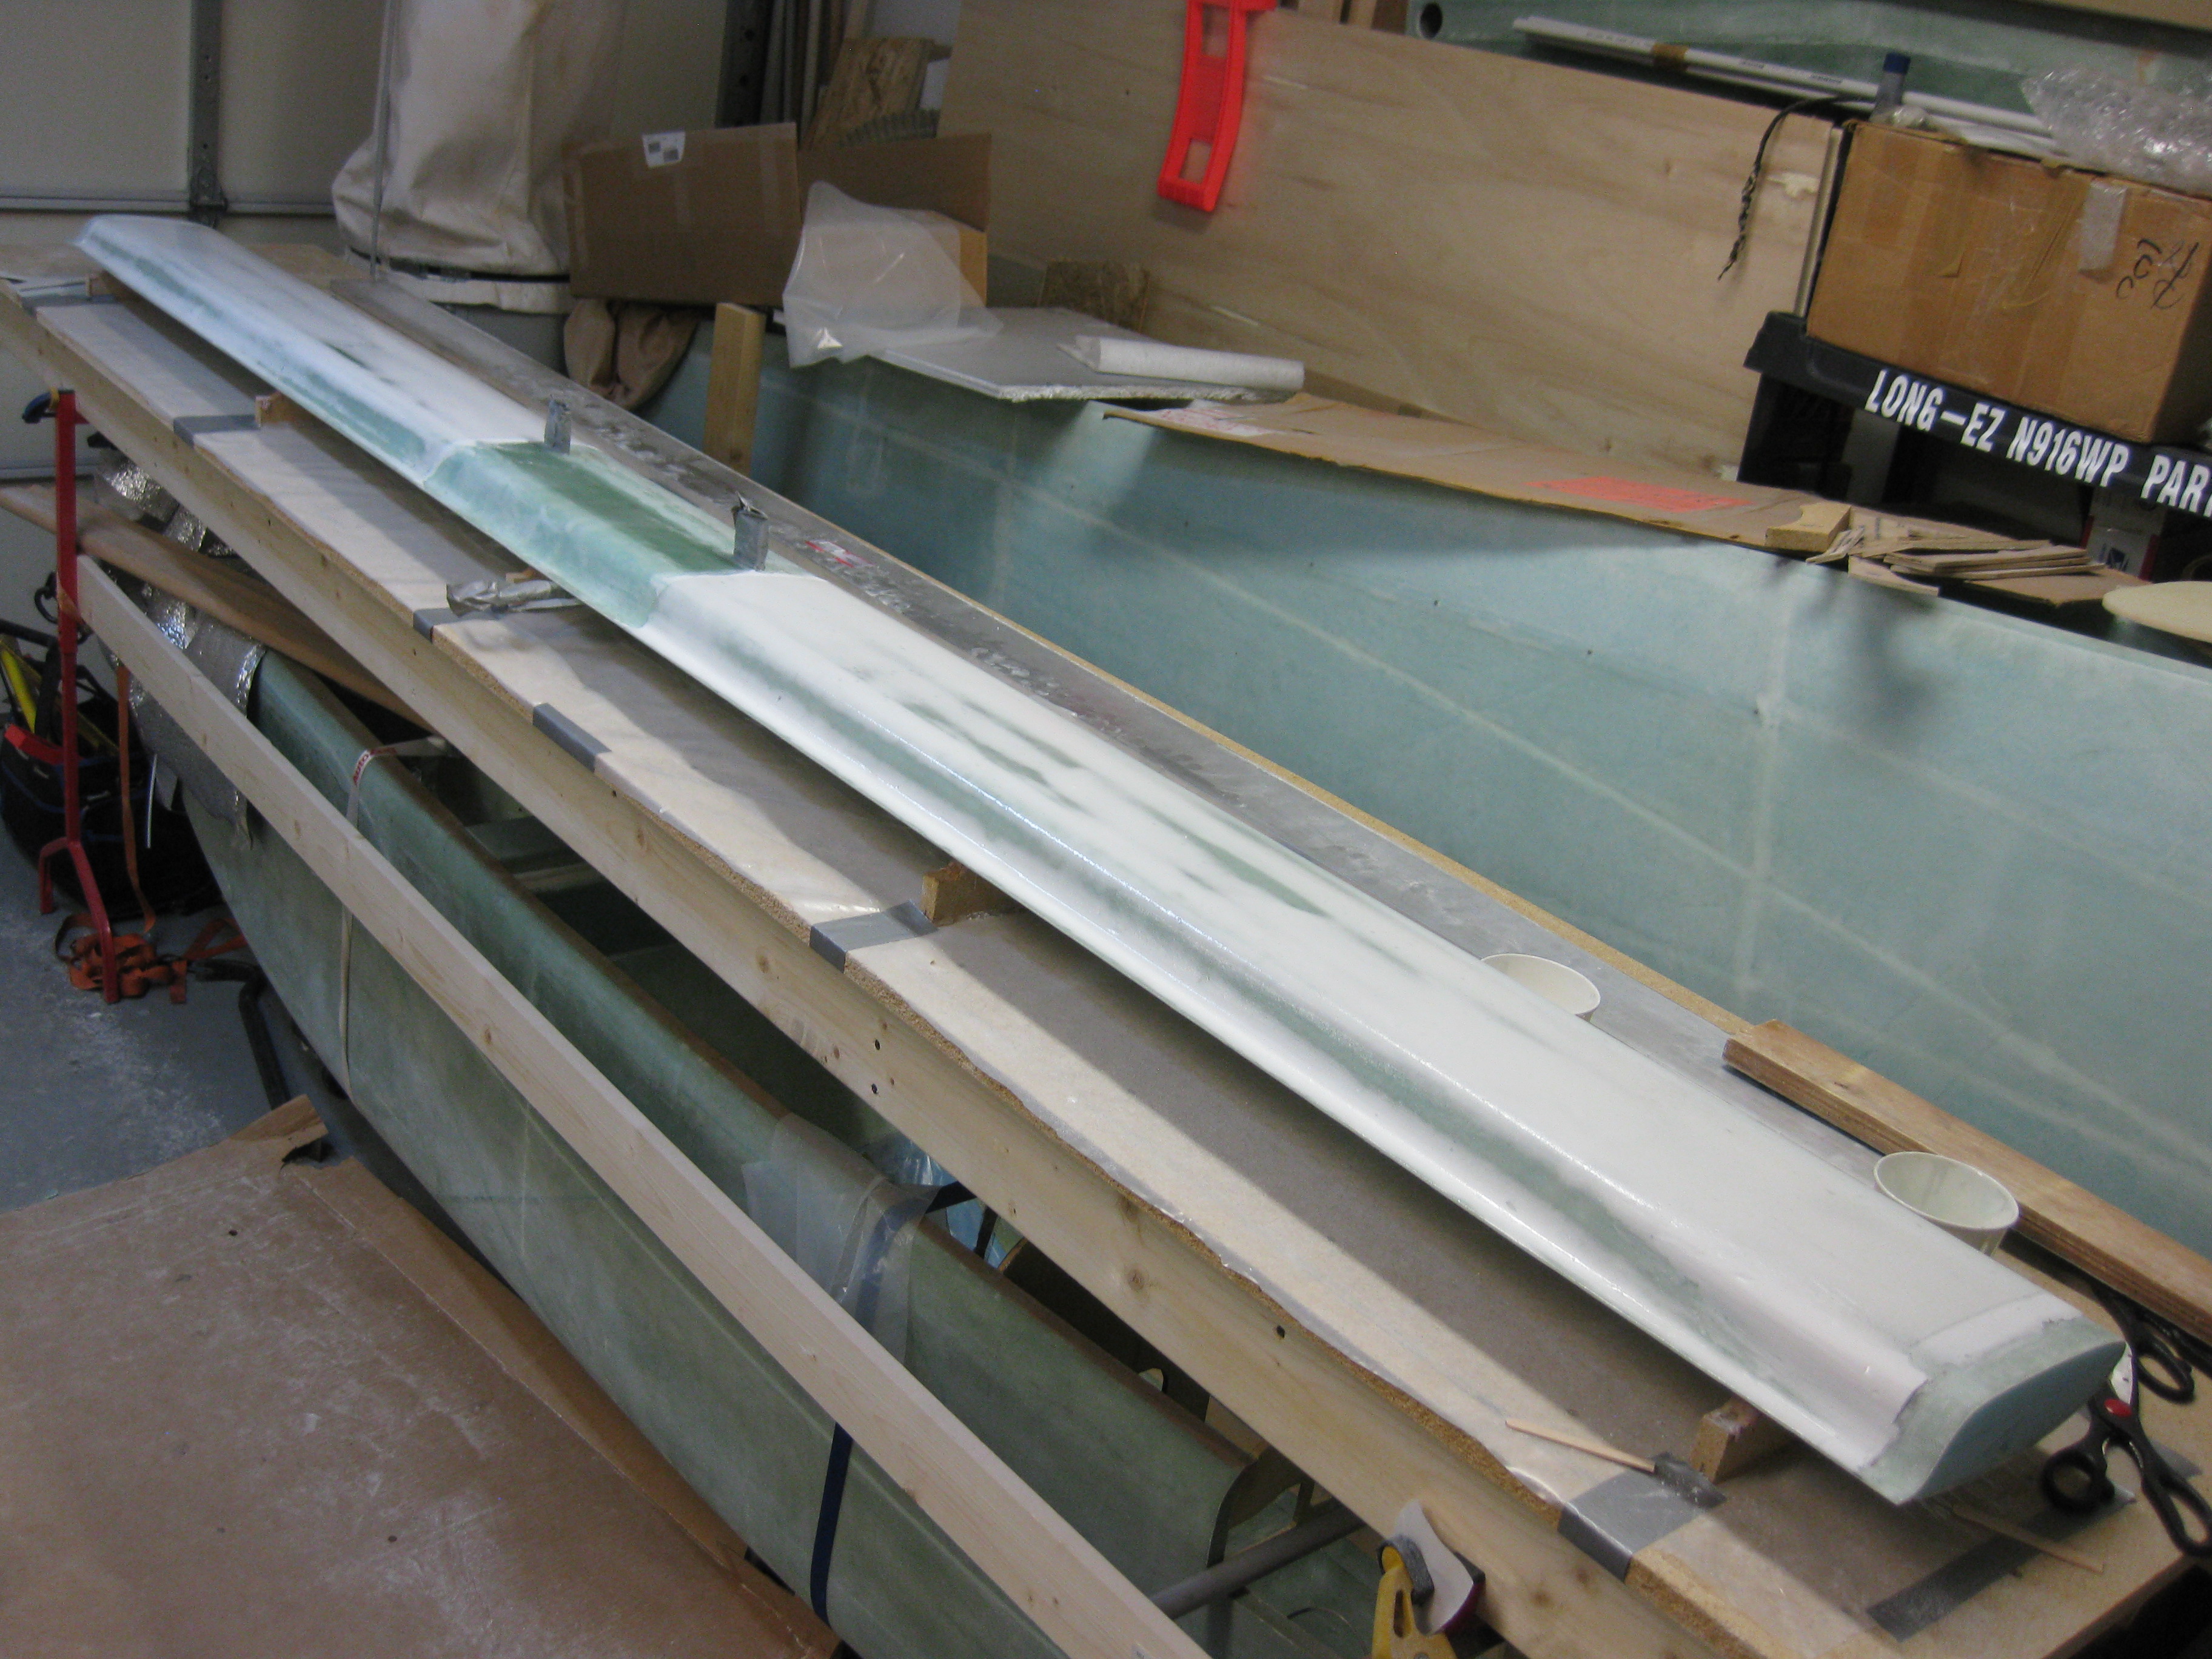
Although these are technically the next day, I added these two pics after the surface was pretty much cured. Pure epoxy skim coat is on the left, micro skim method is on the right.
Now, on to the elevators!