
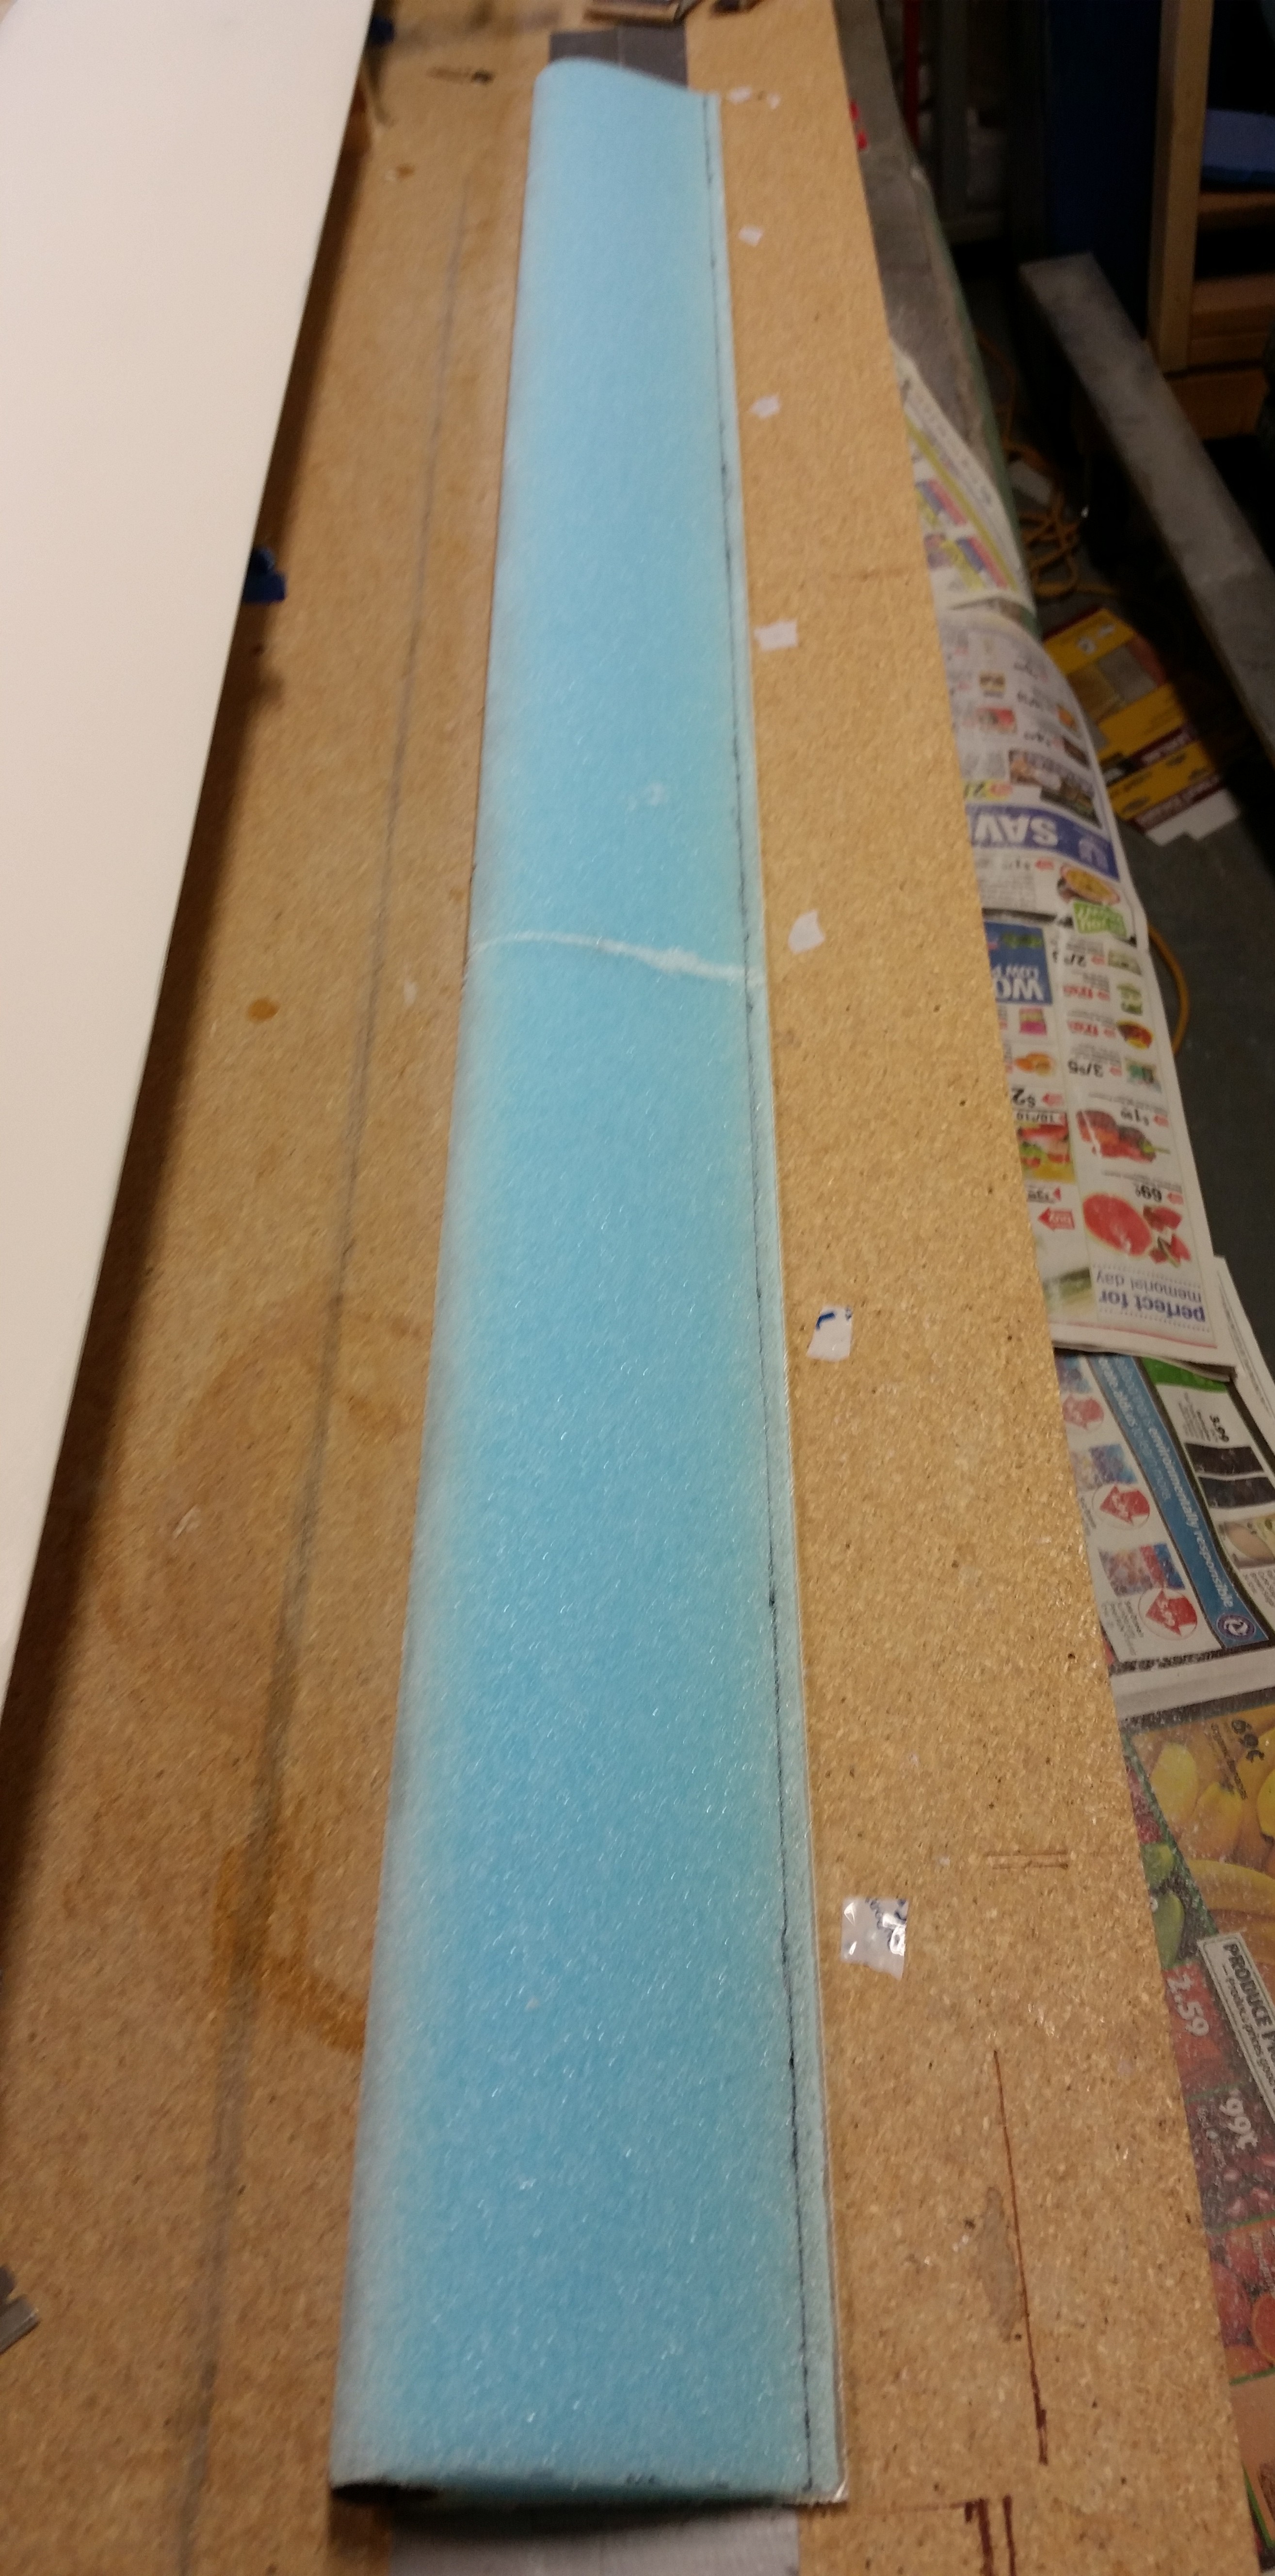
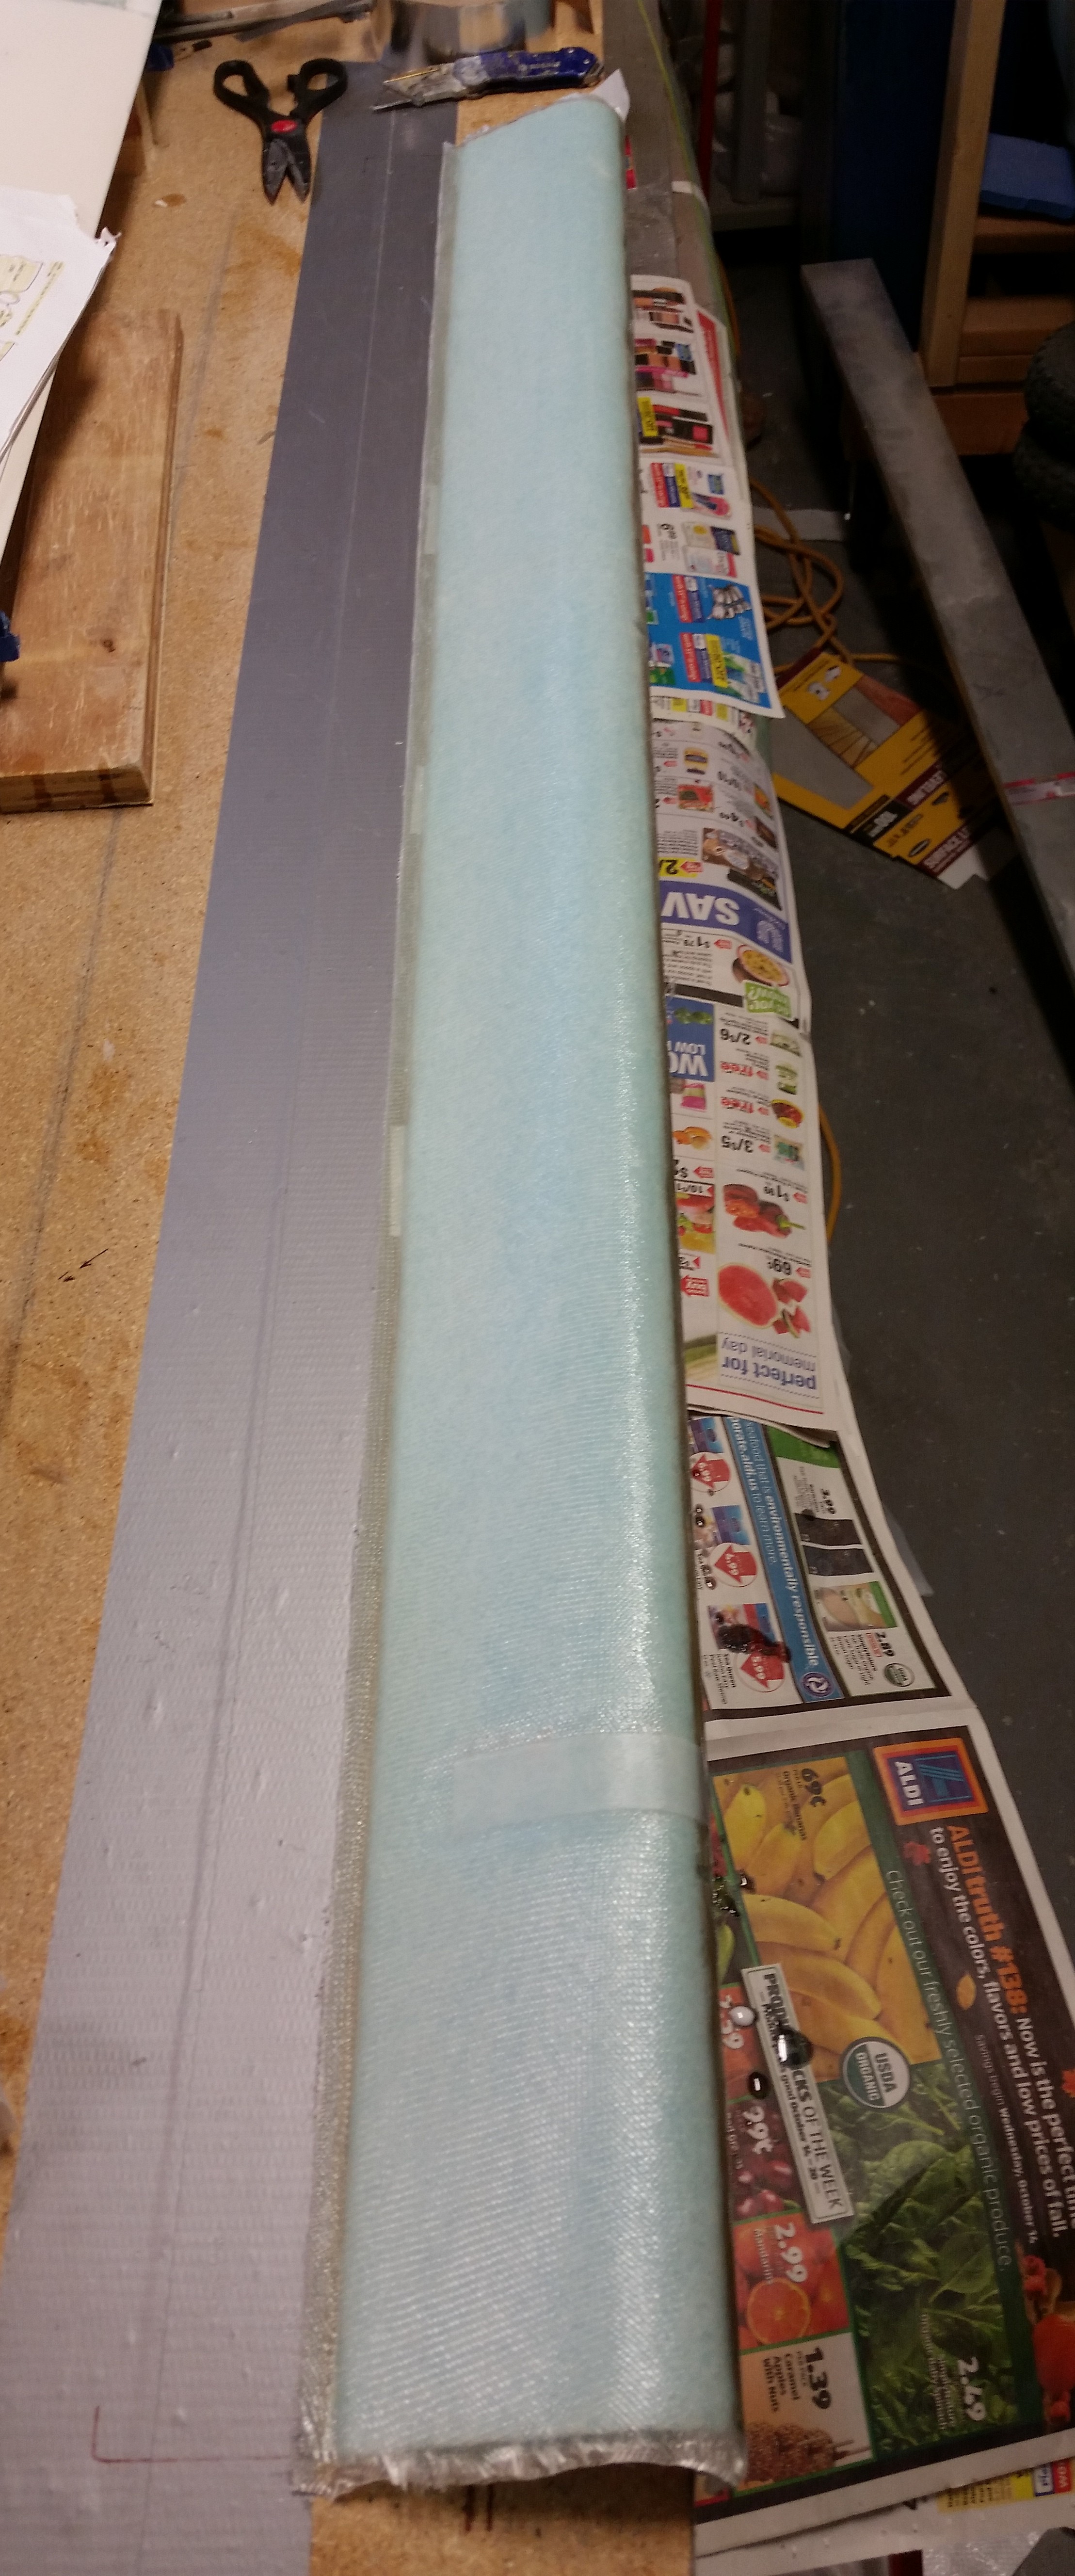
Here’s a shot of the trimmed elevator as it looked when I started working on it today.

I pulled the elevator off the workbench and was happy that by using the foil tape I had NO divots on the top of my elevator foam. In addition, you’ll note the blobs of 5 minute glue on the table.

For whatever reason the 5-minute glue blobs came off rather easily. After about 5 minutes with a chisel and a razor glade the table was clean.

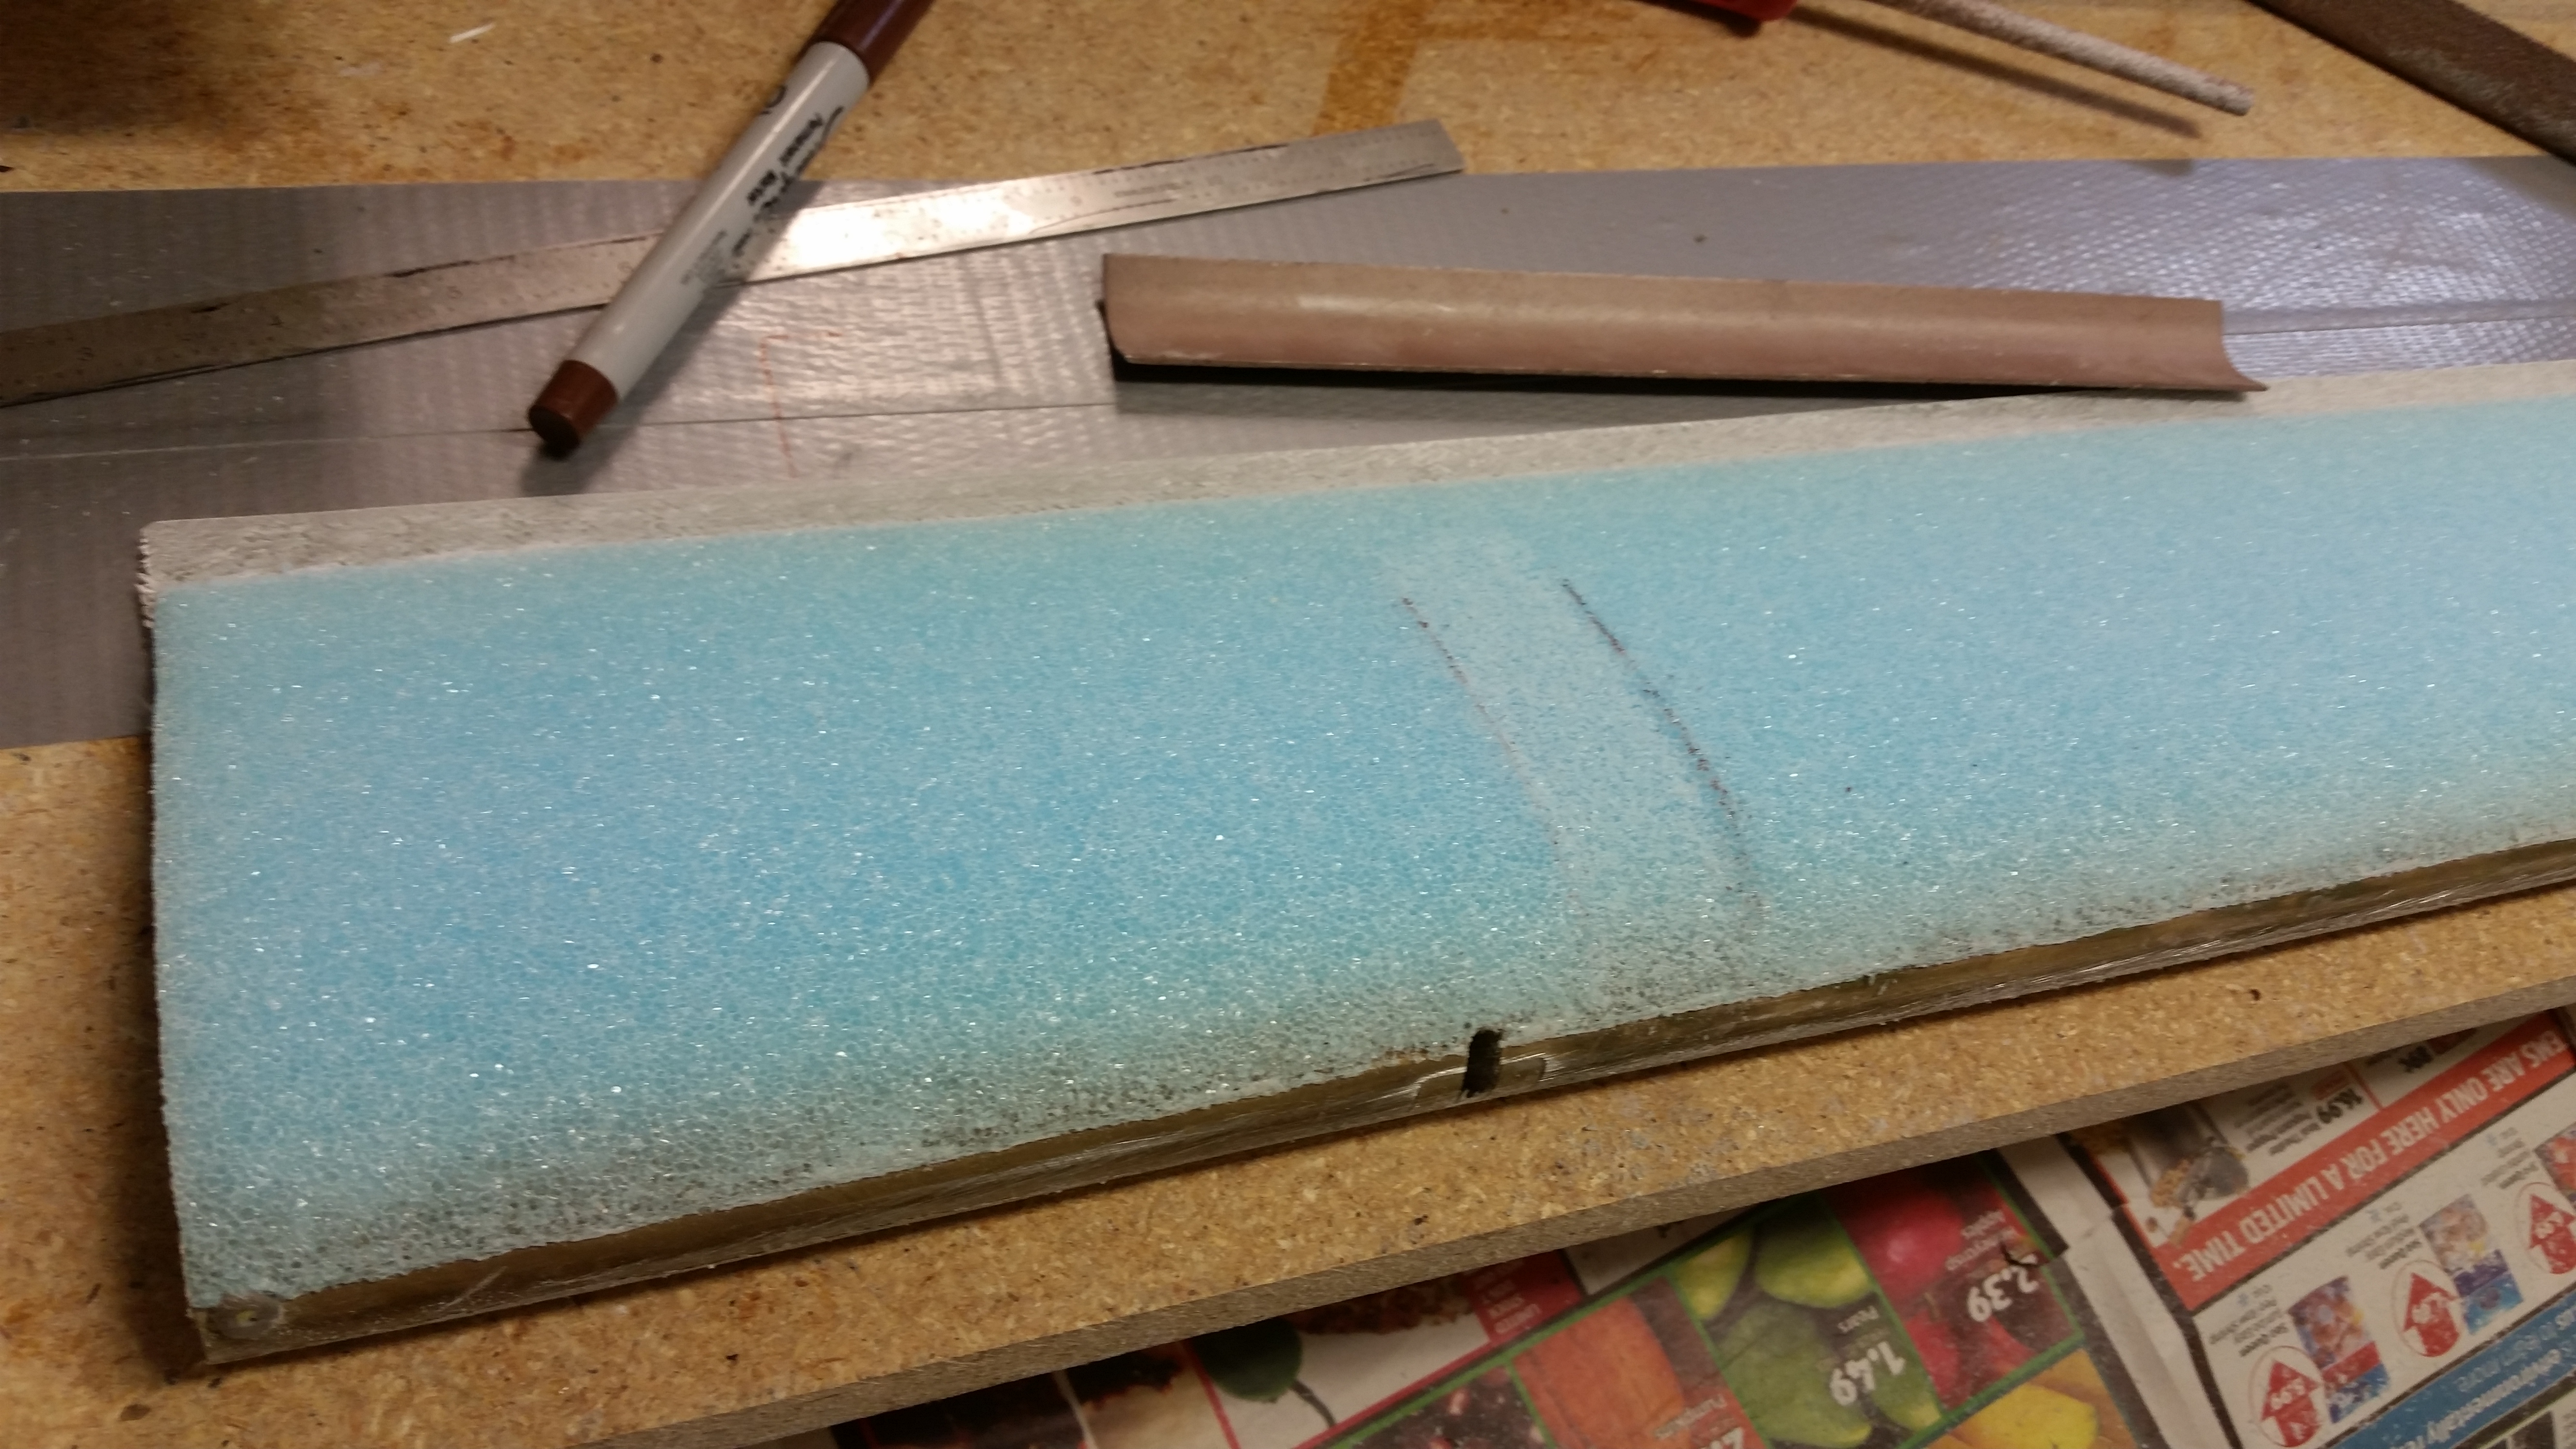
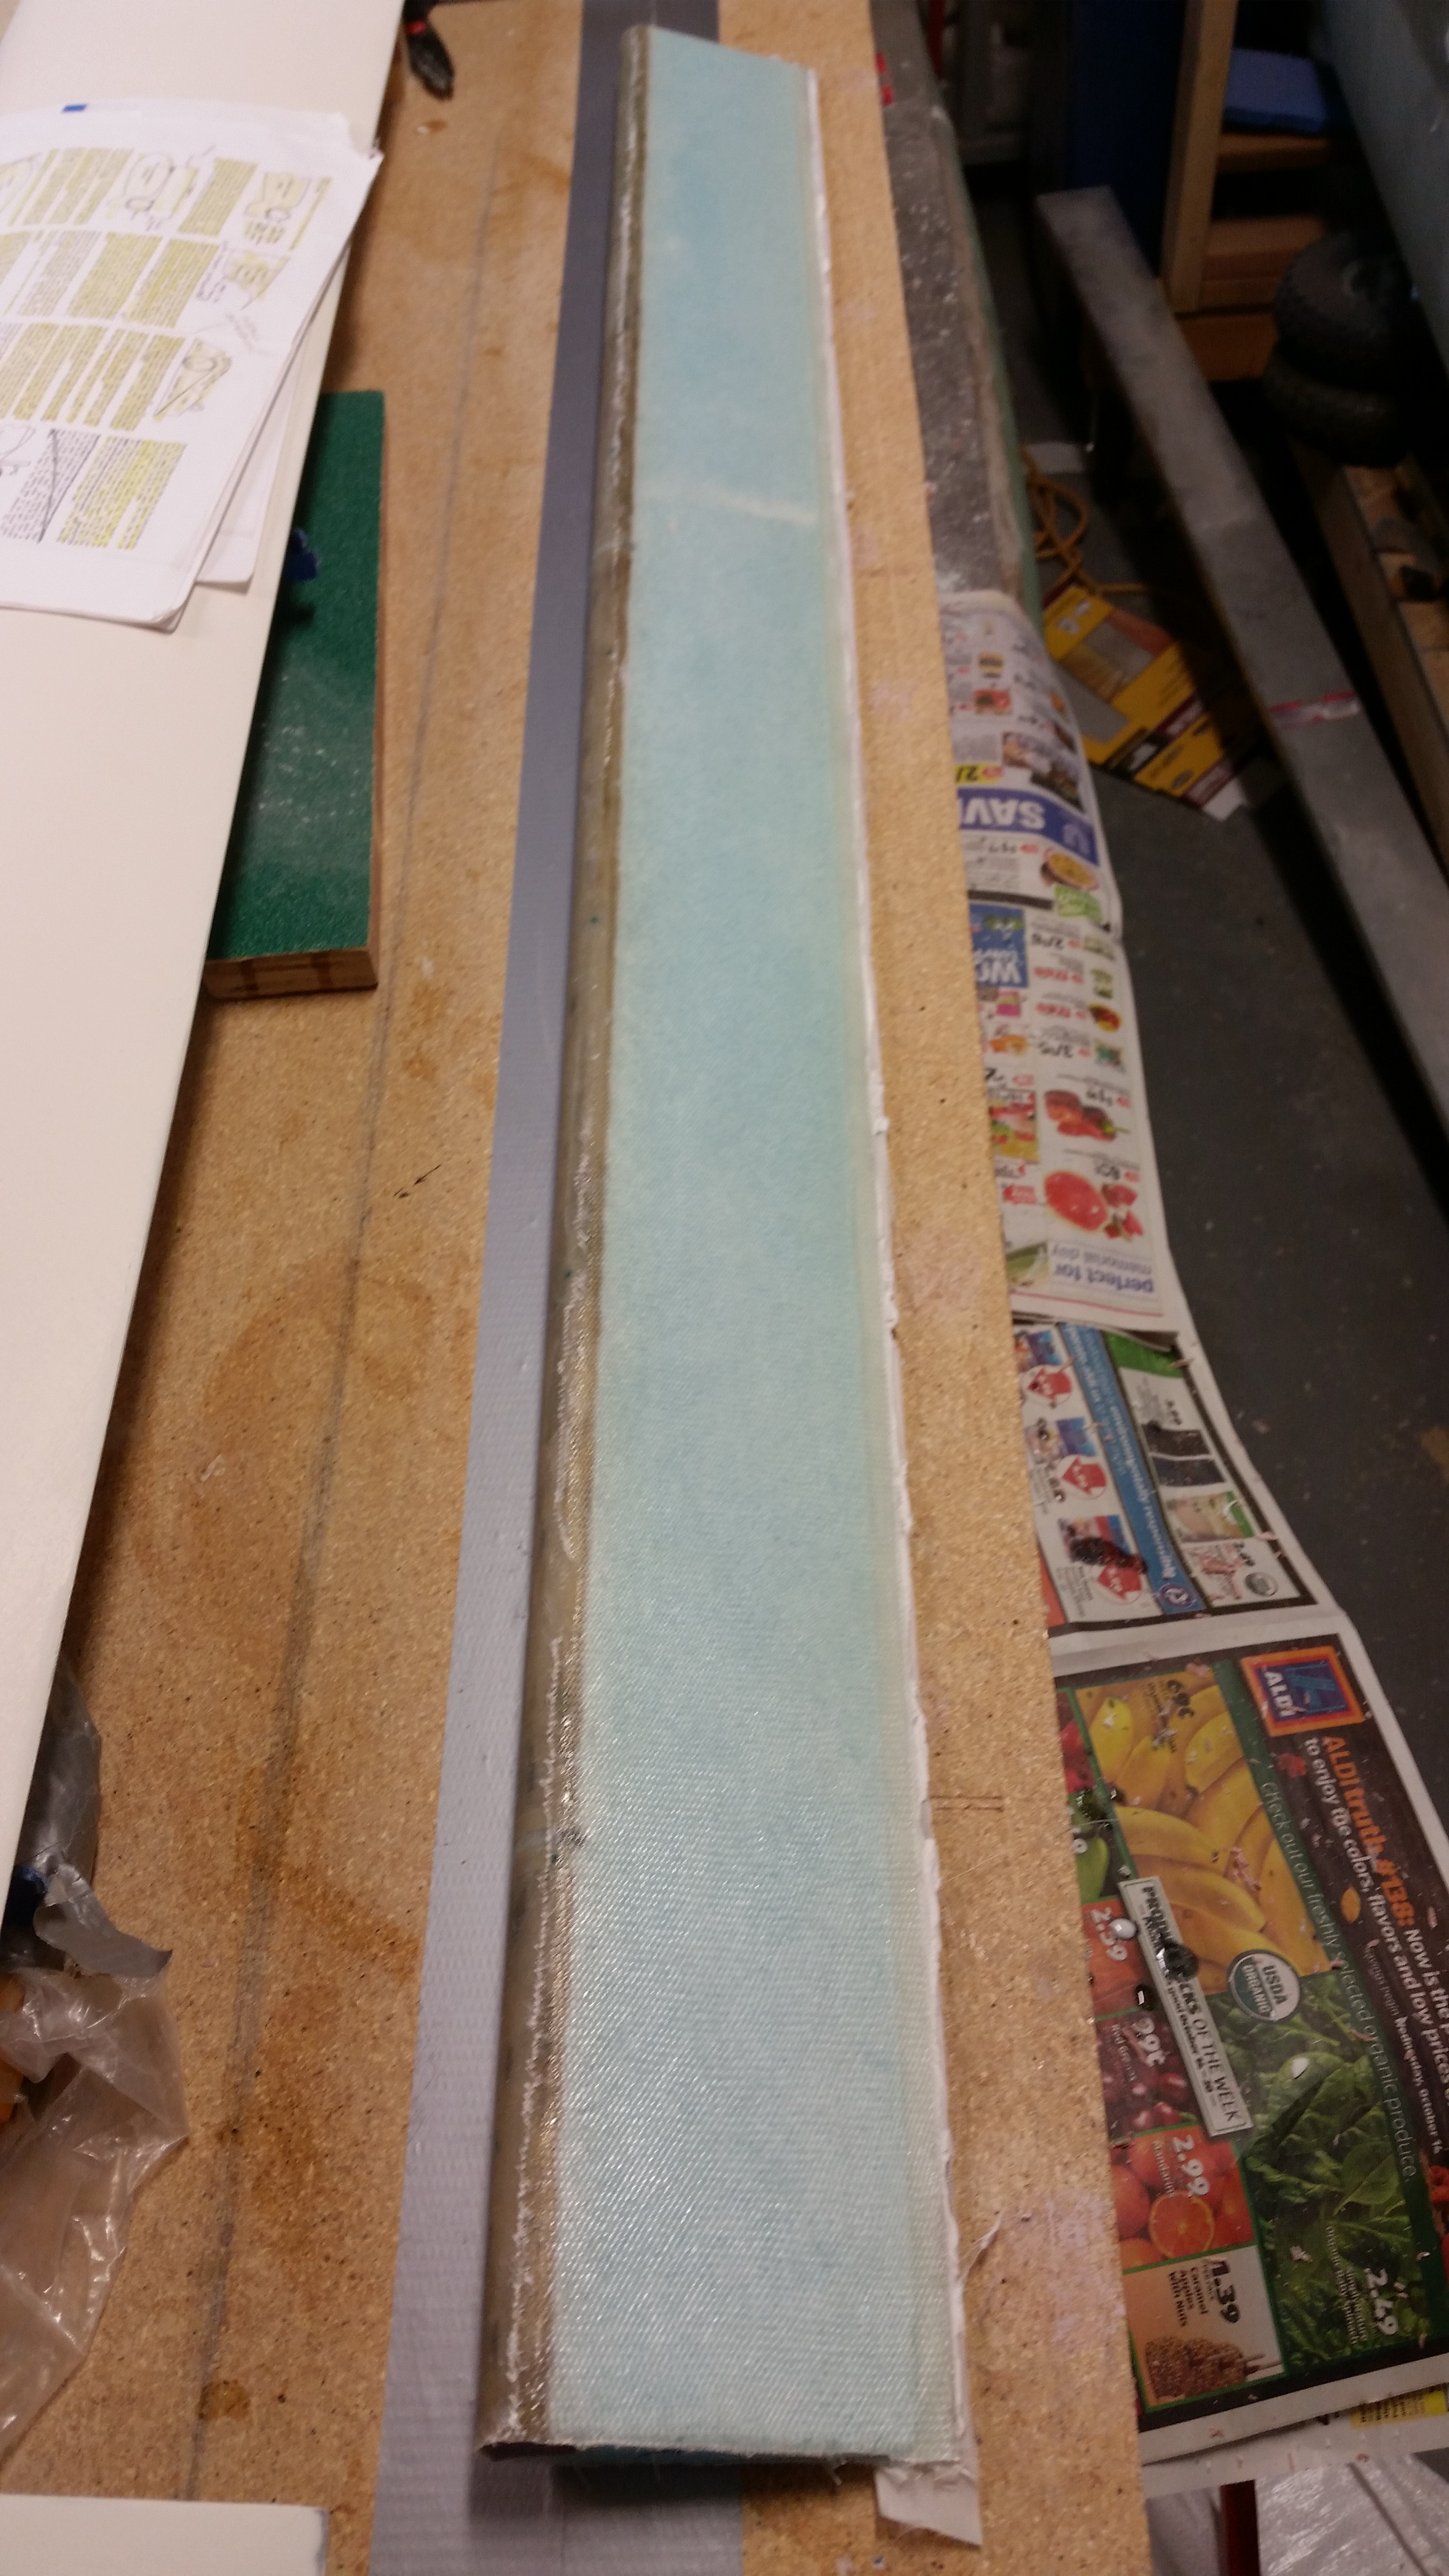
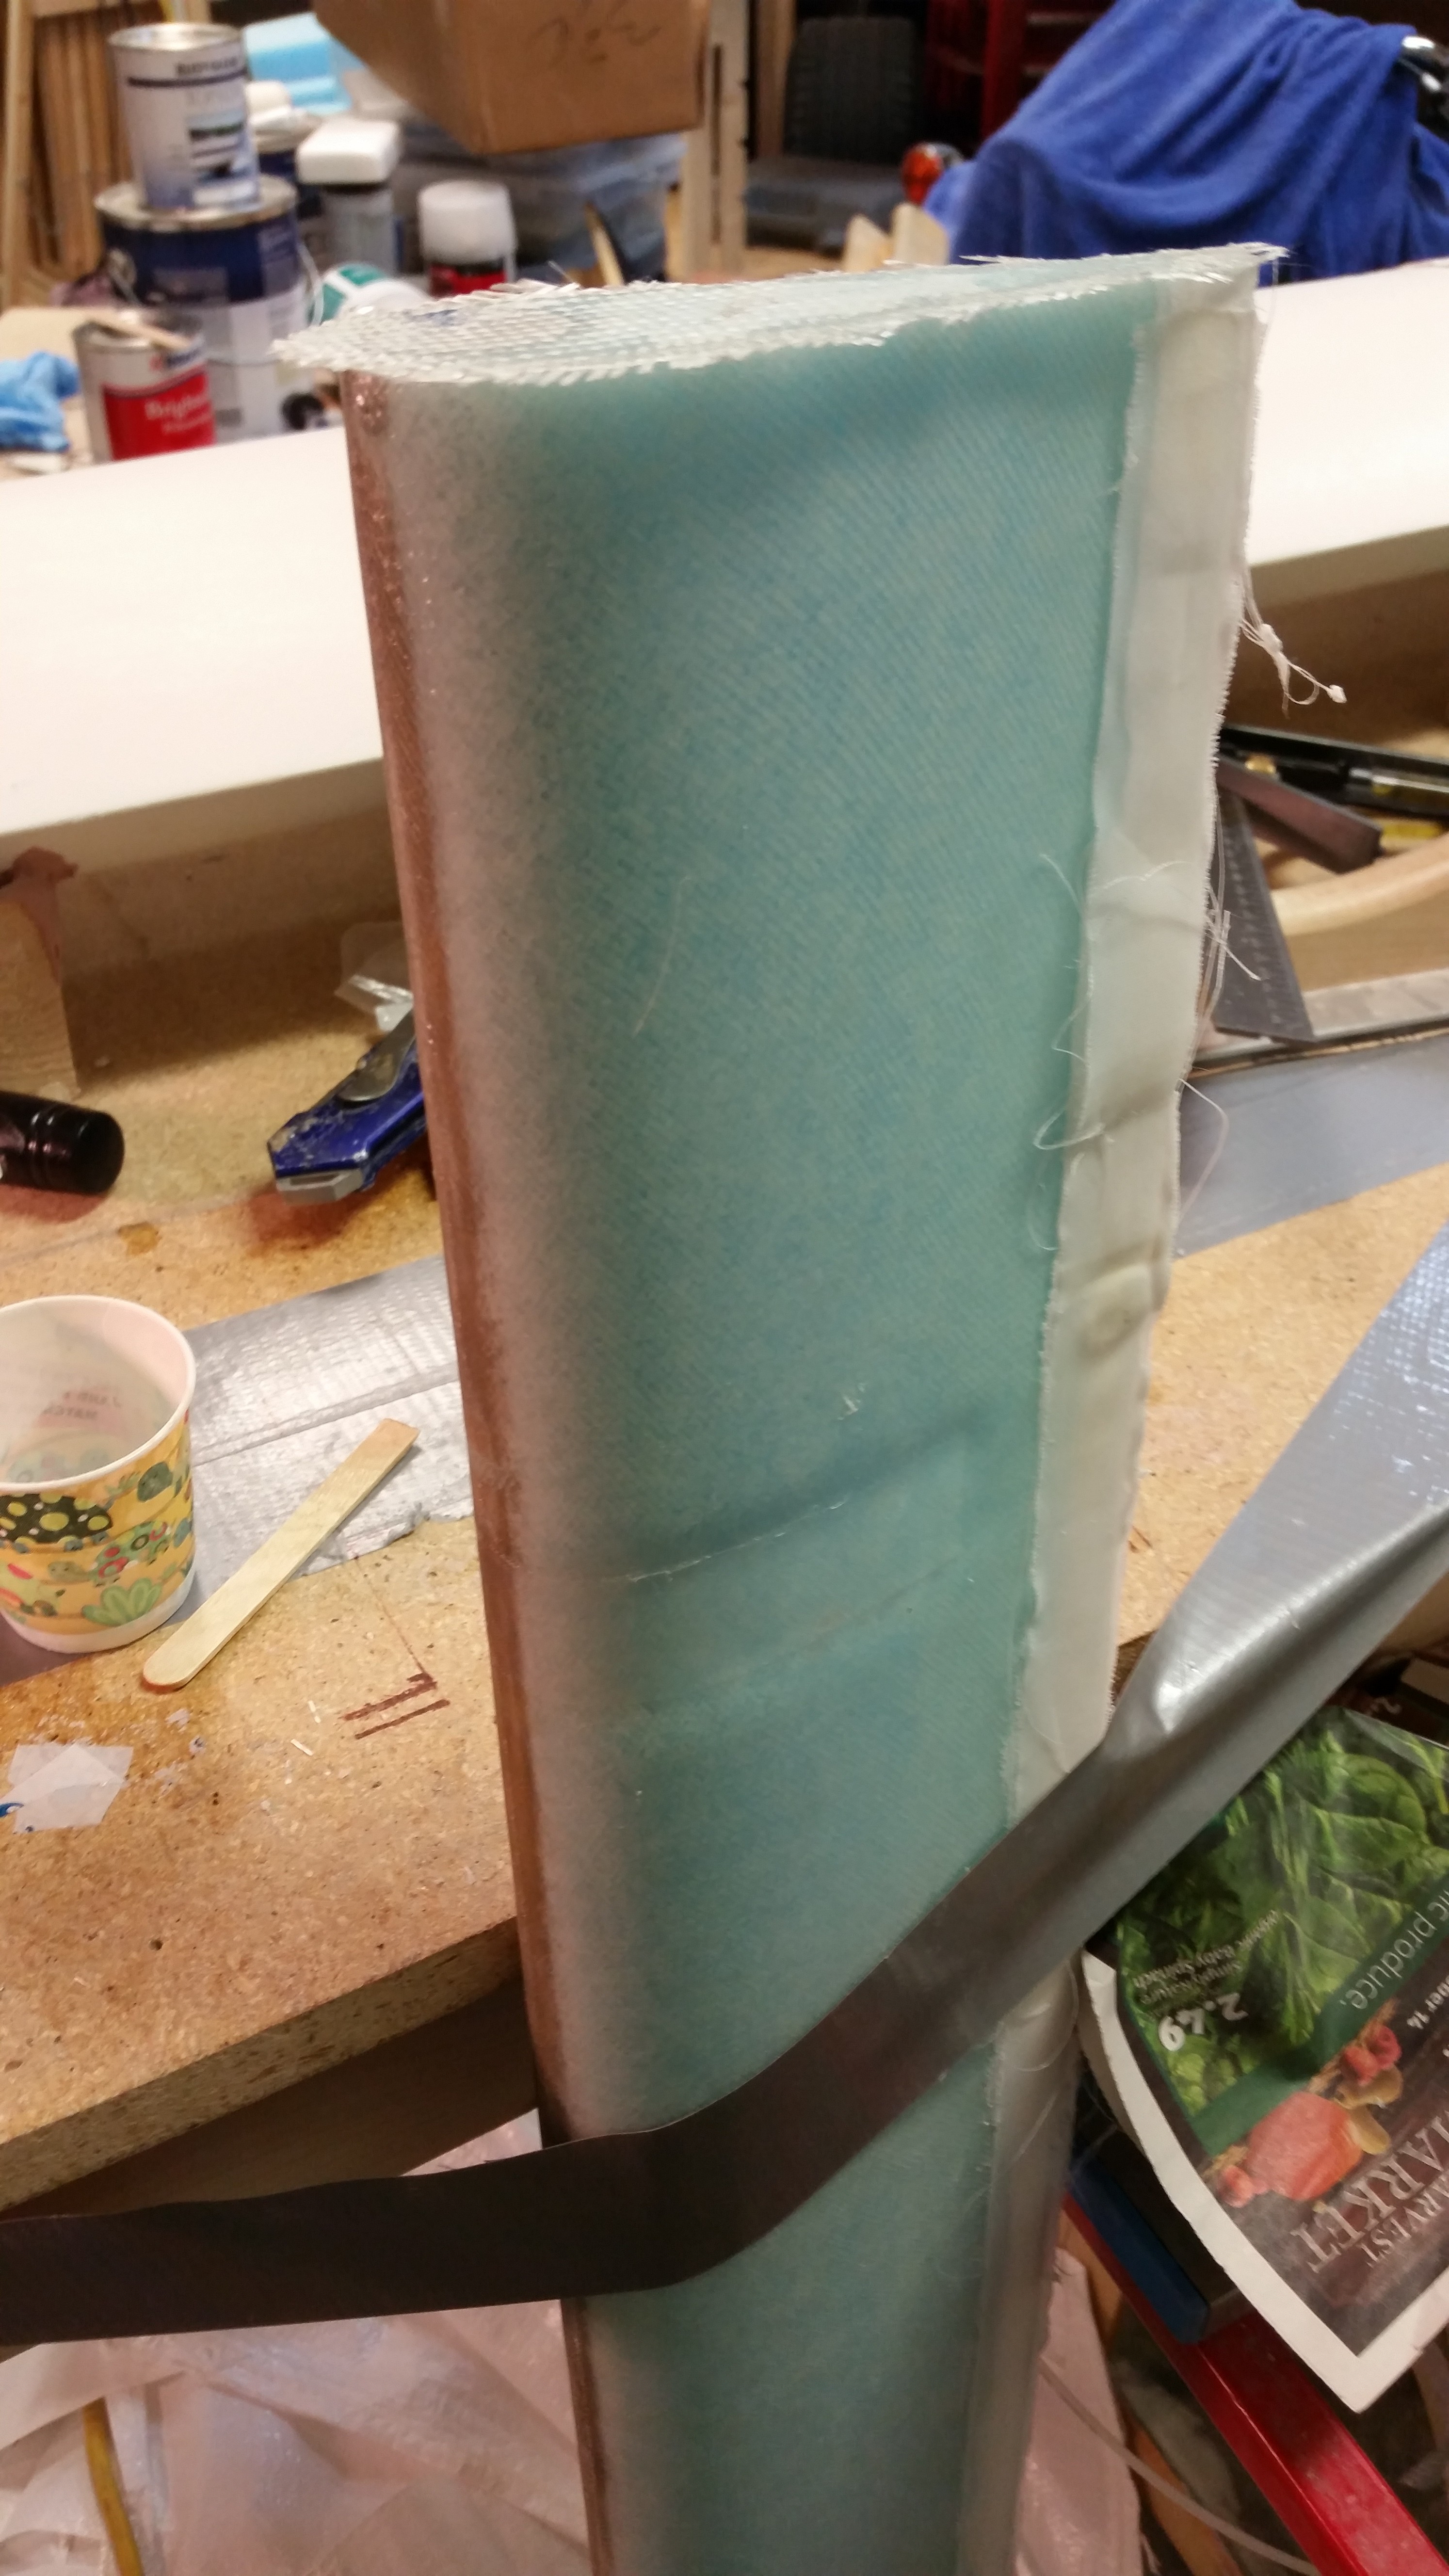
I then sanded the TE even. After sanding I marked a line about 0.32″ forward of the TE for the glass-to-glass continuity between top & bottom elevator skins.
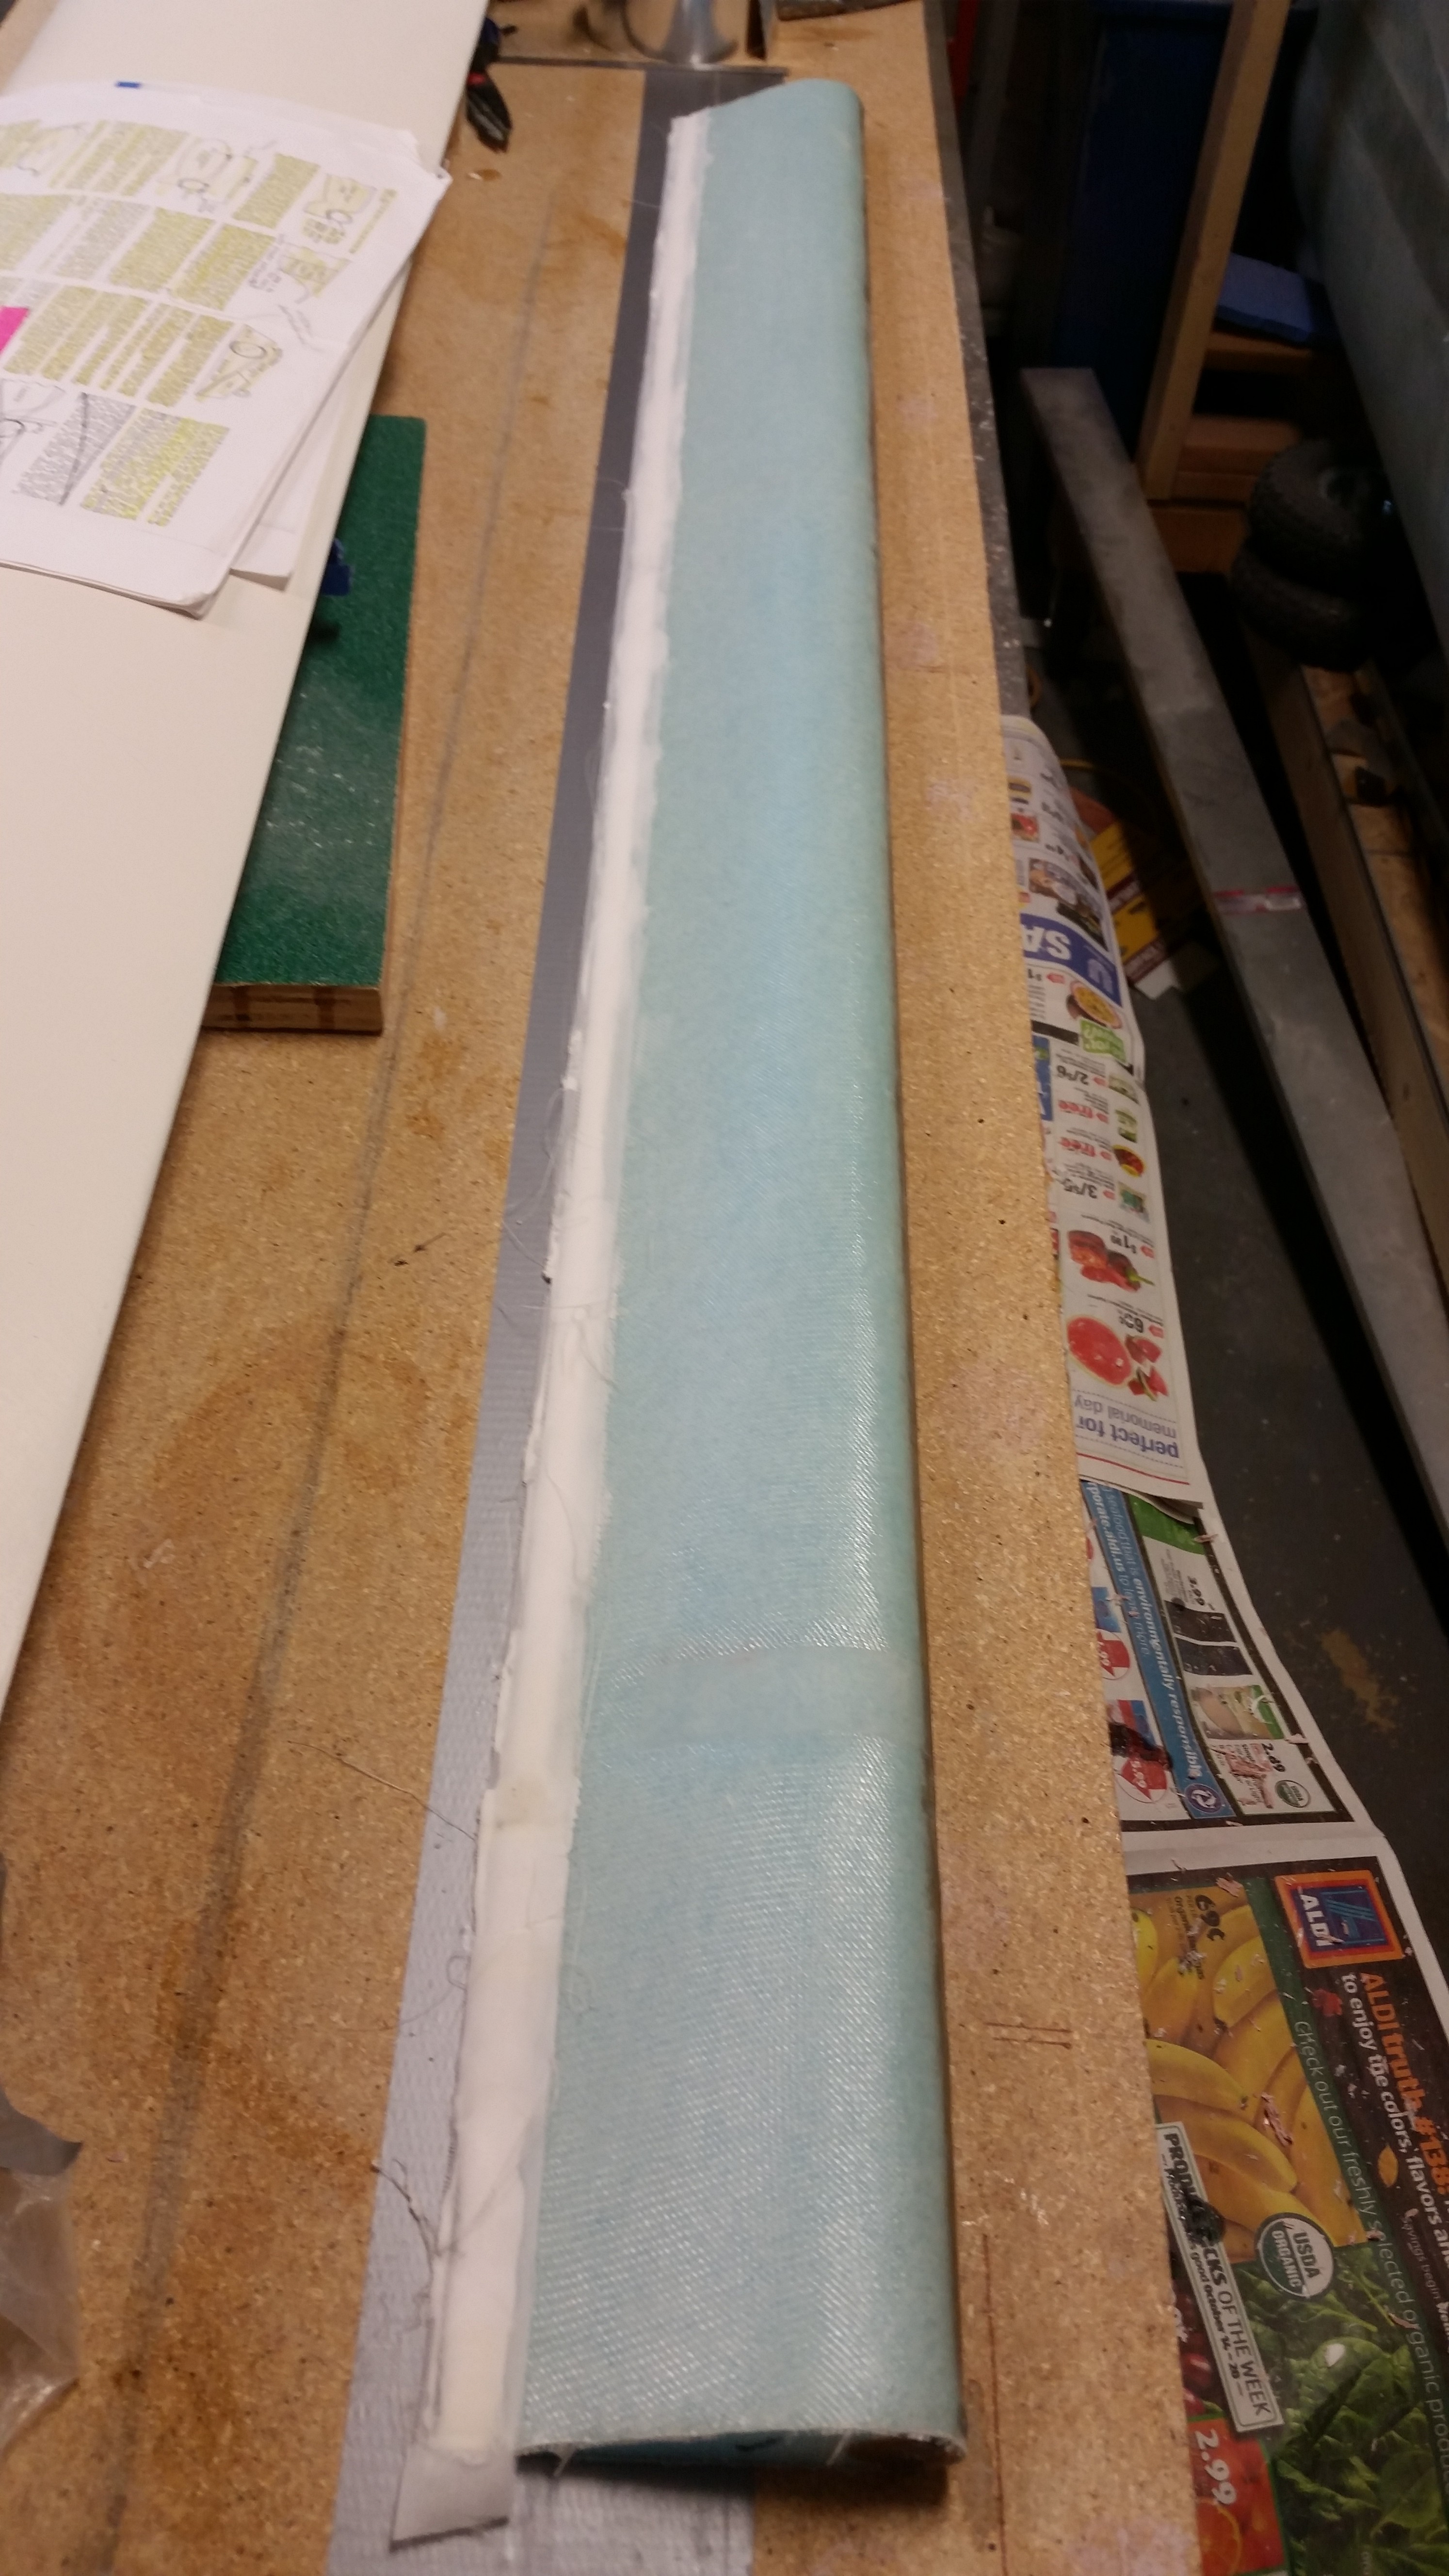
After removing the foam with my razor knife, i sanded down the TE glass with a sanding board.
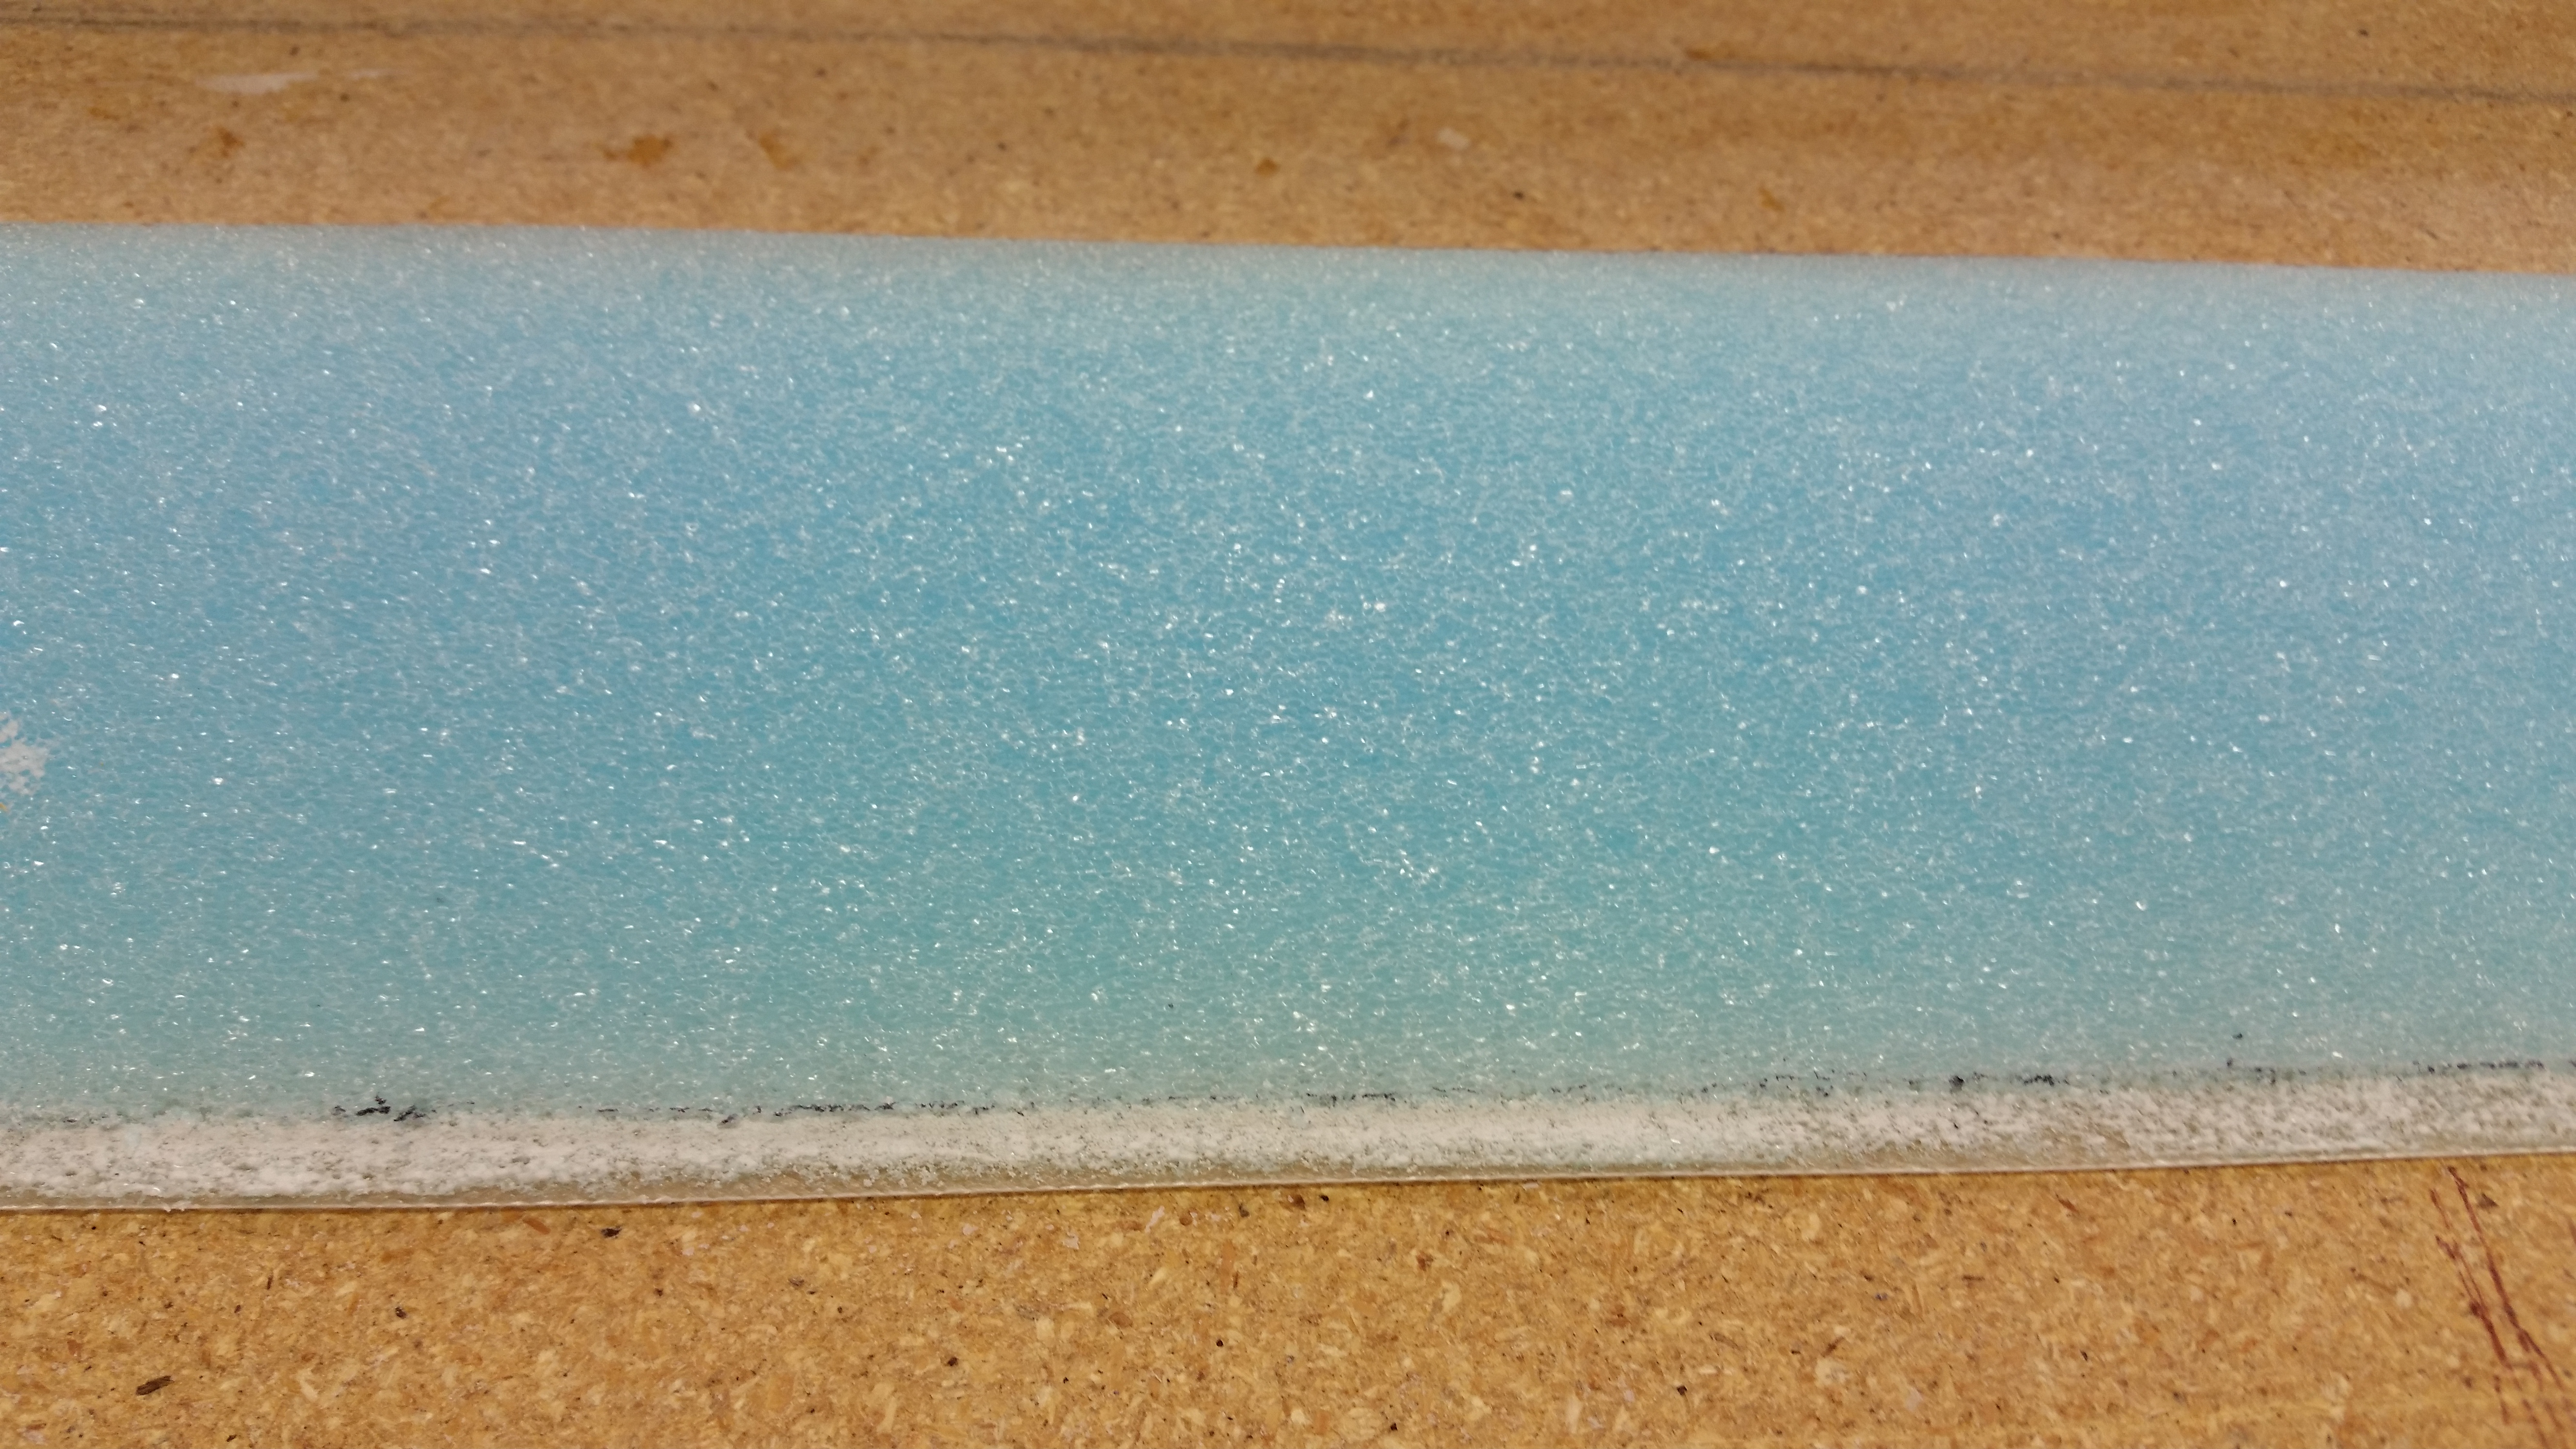
I then Dremeled the remaining crud off the TE to finalize the prep. And here’s the results: ha!
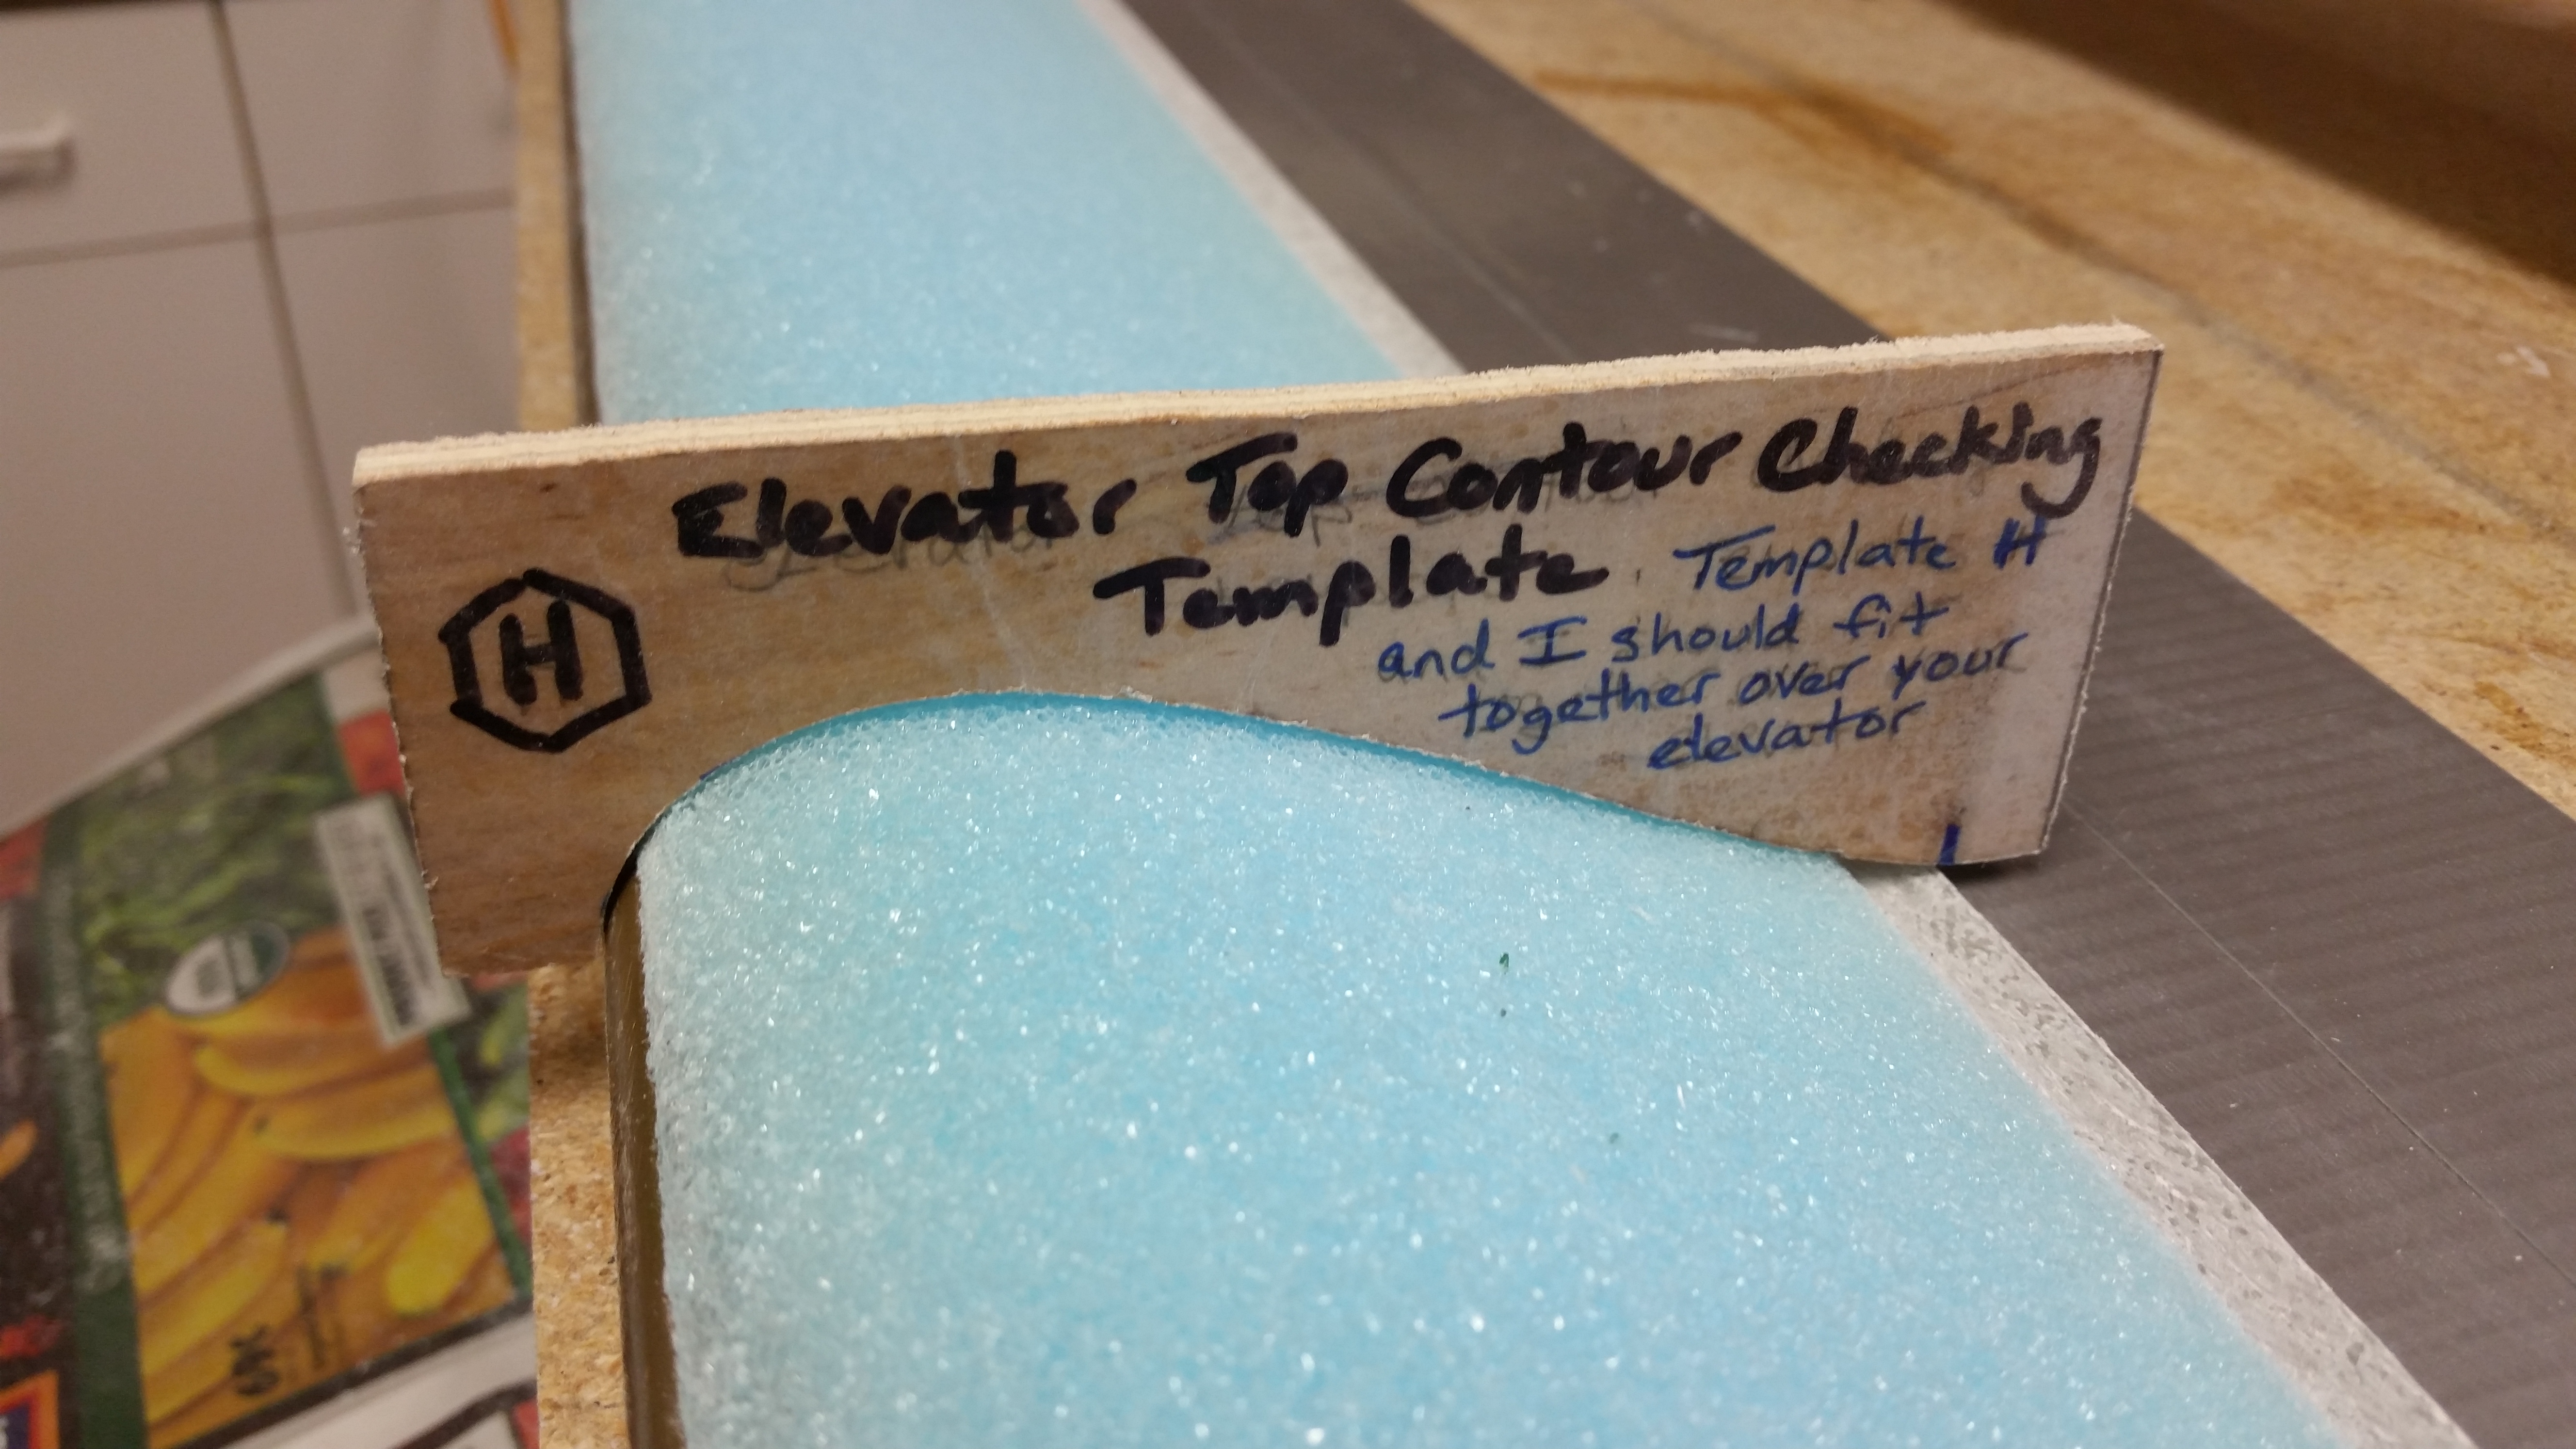
I again did a quick check of the top contour with the “H” template.
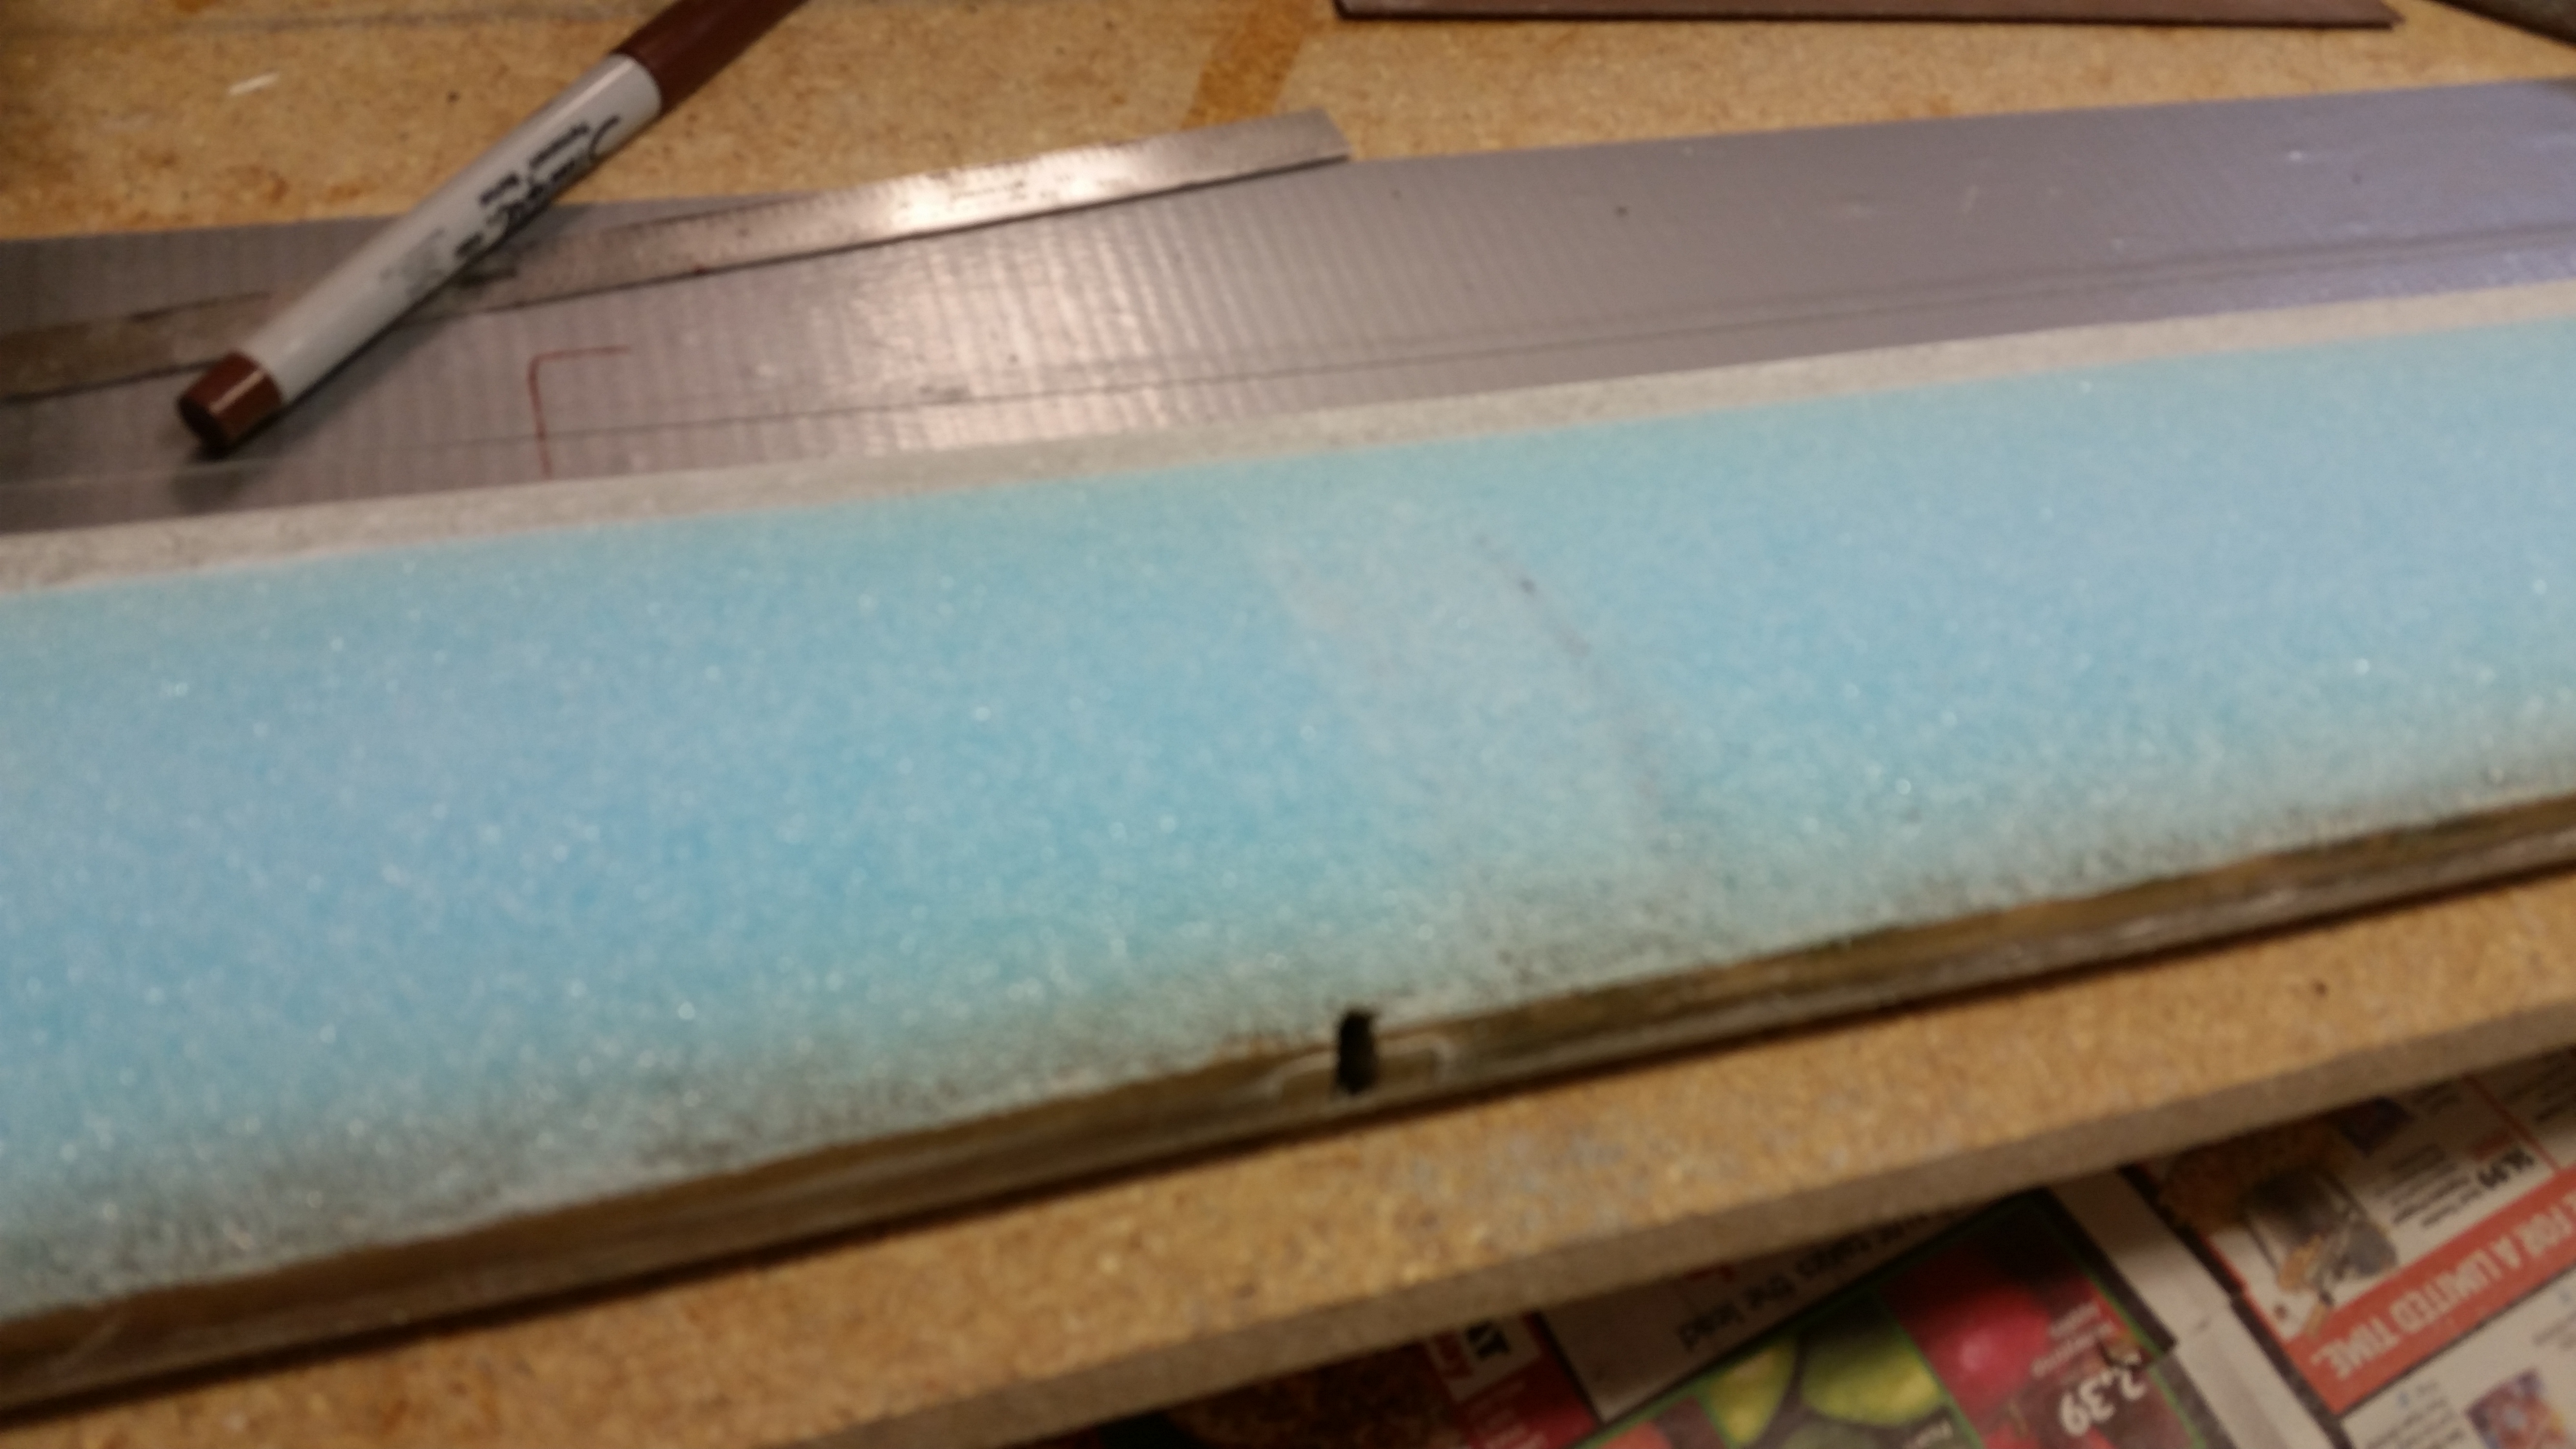
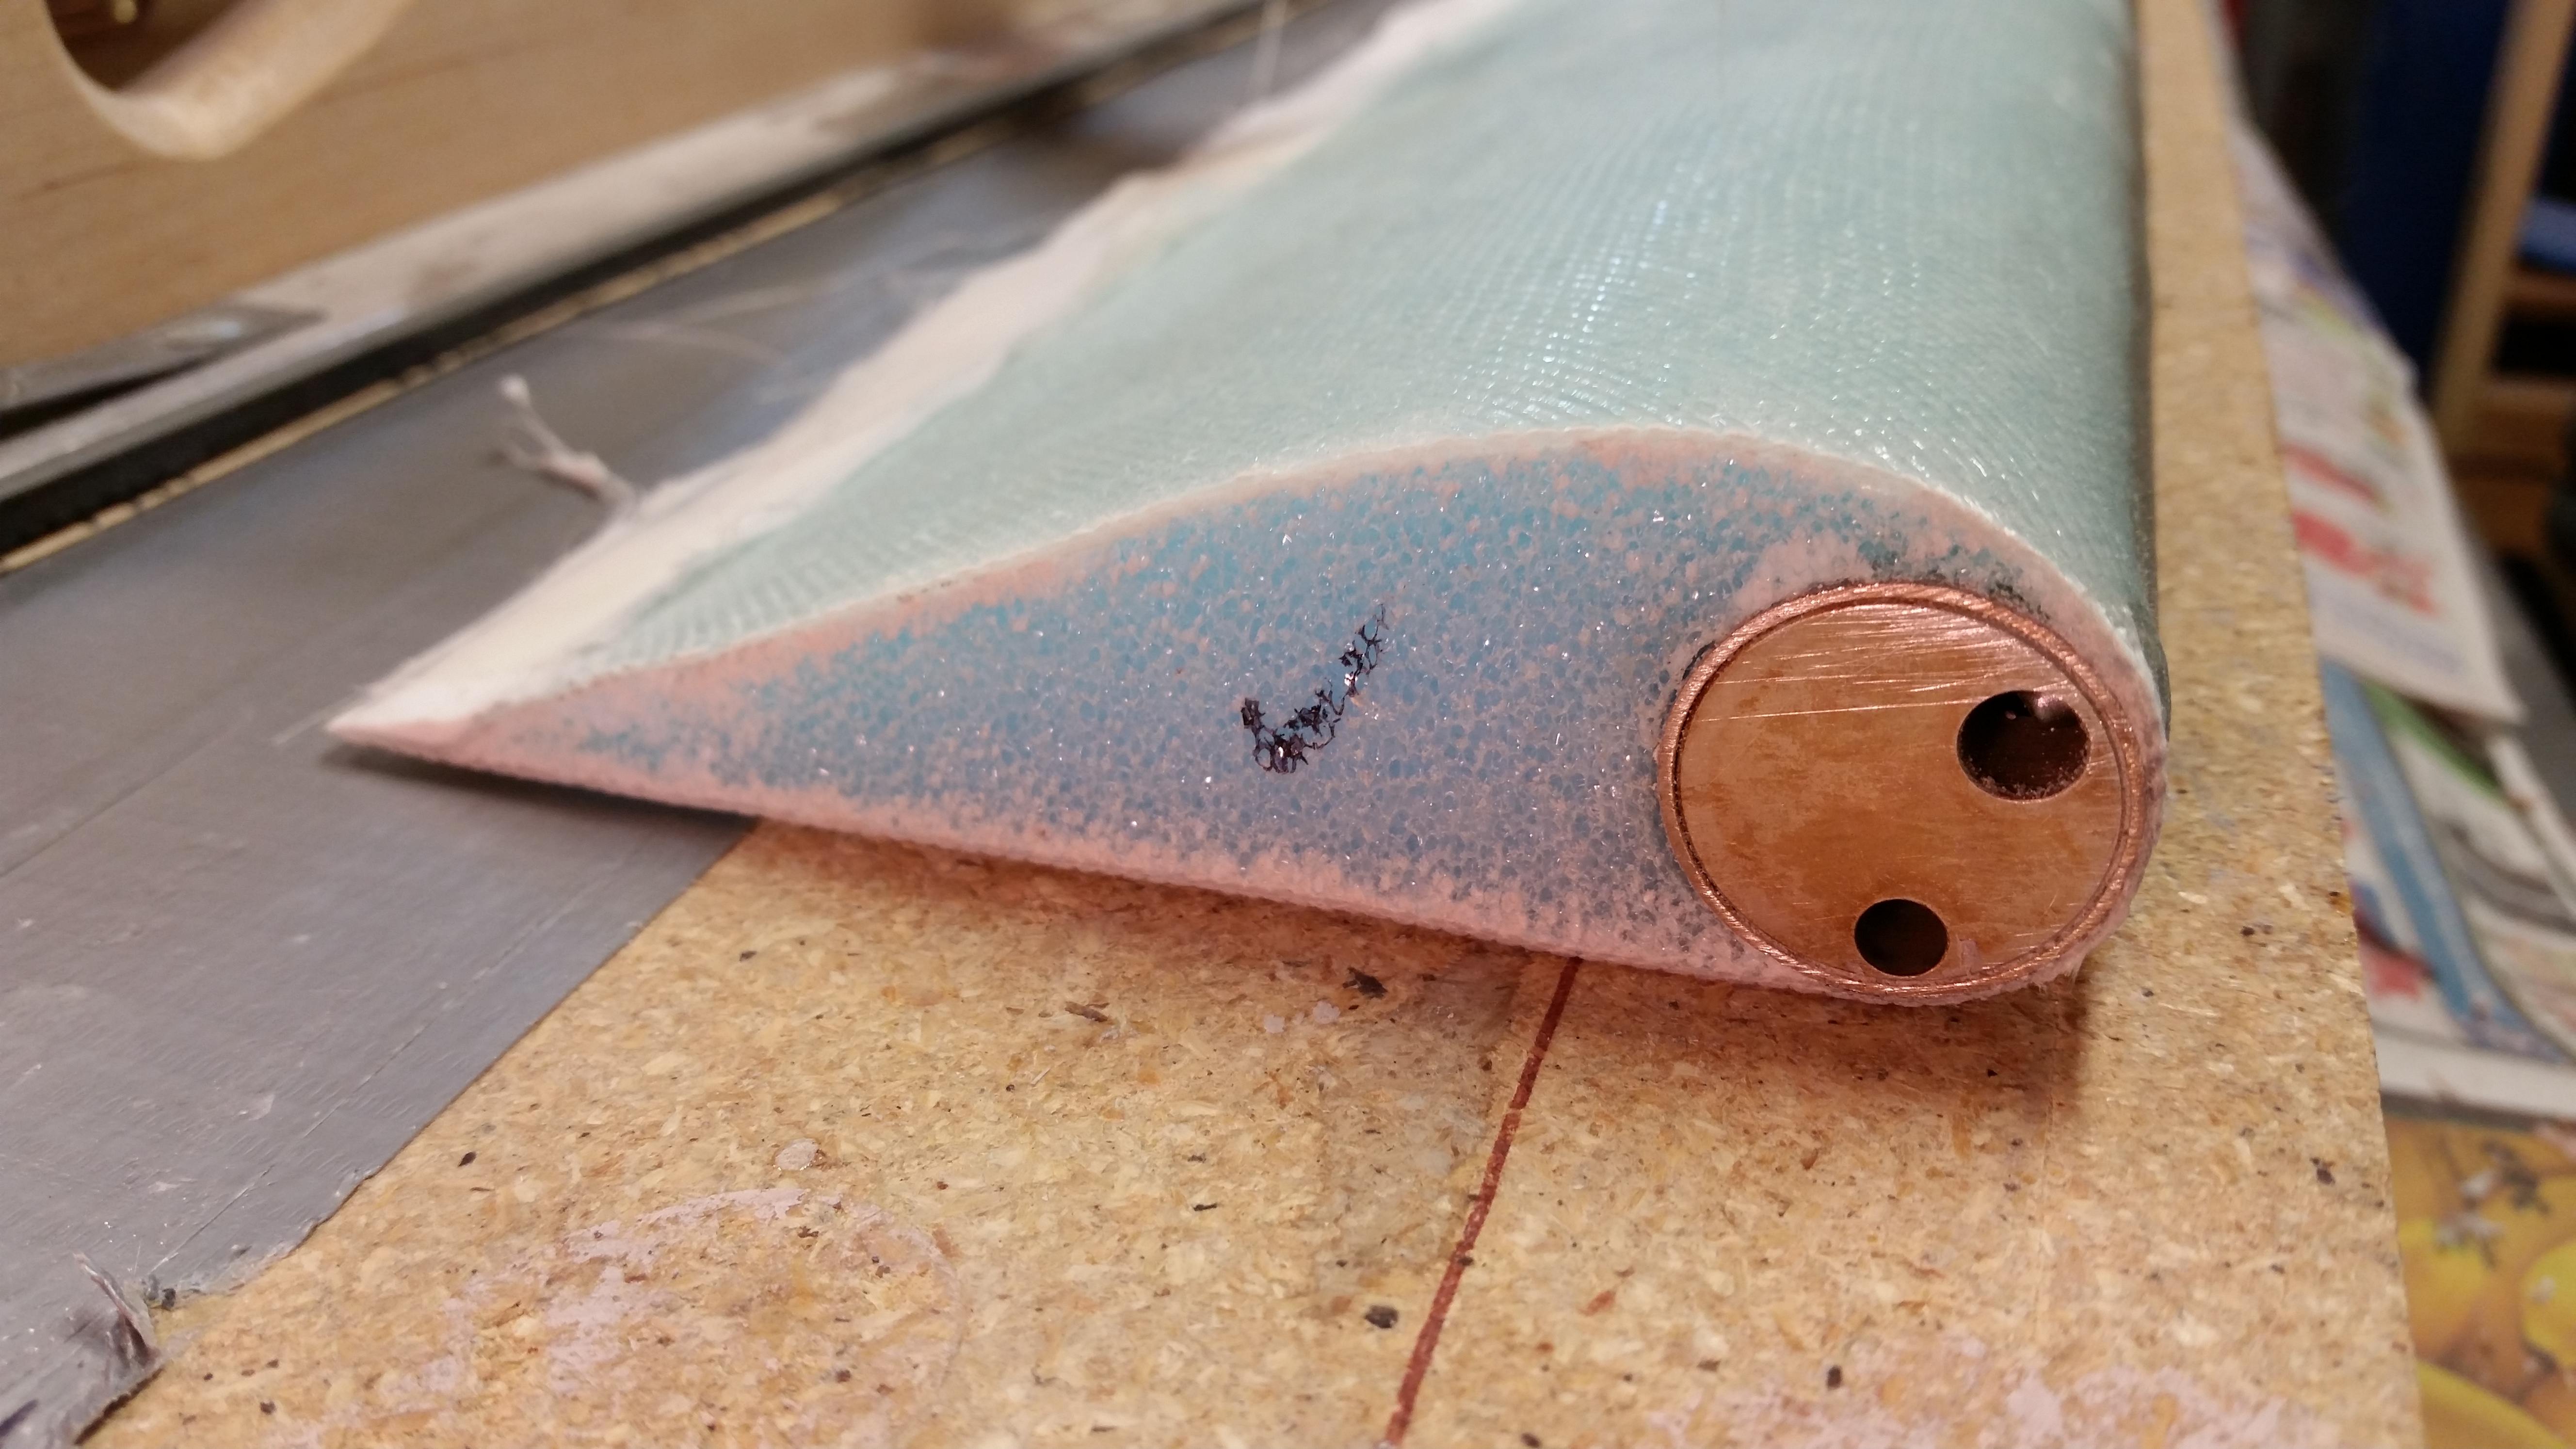
Although I forgot to do this on the bottom (Doh!) I did remember to add the depression in the foam for the UNI plies that attach the outboard elevator weight.
After I finished all the prep actions for the layup, I flipped the elevator over and applied foil tape to the underside of the elevator. Again, I’m doing this to avoid all the issues I had with the previous elevator, and exactly the reason why I’m rebuilding this elevator!
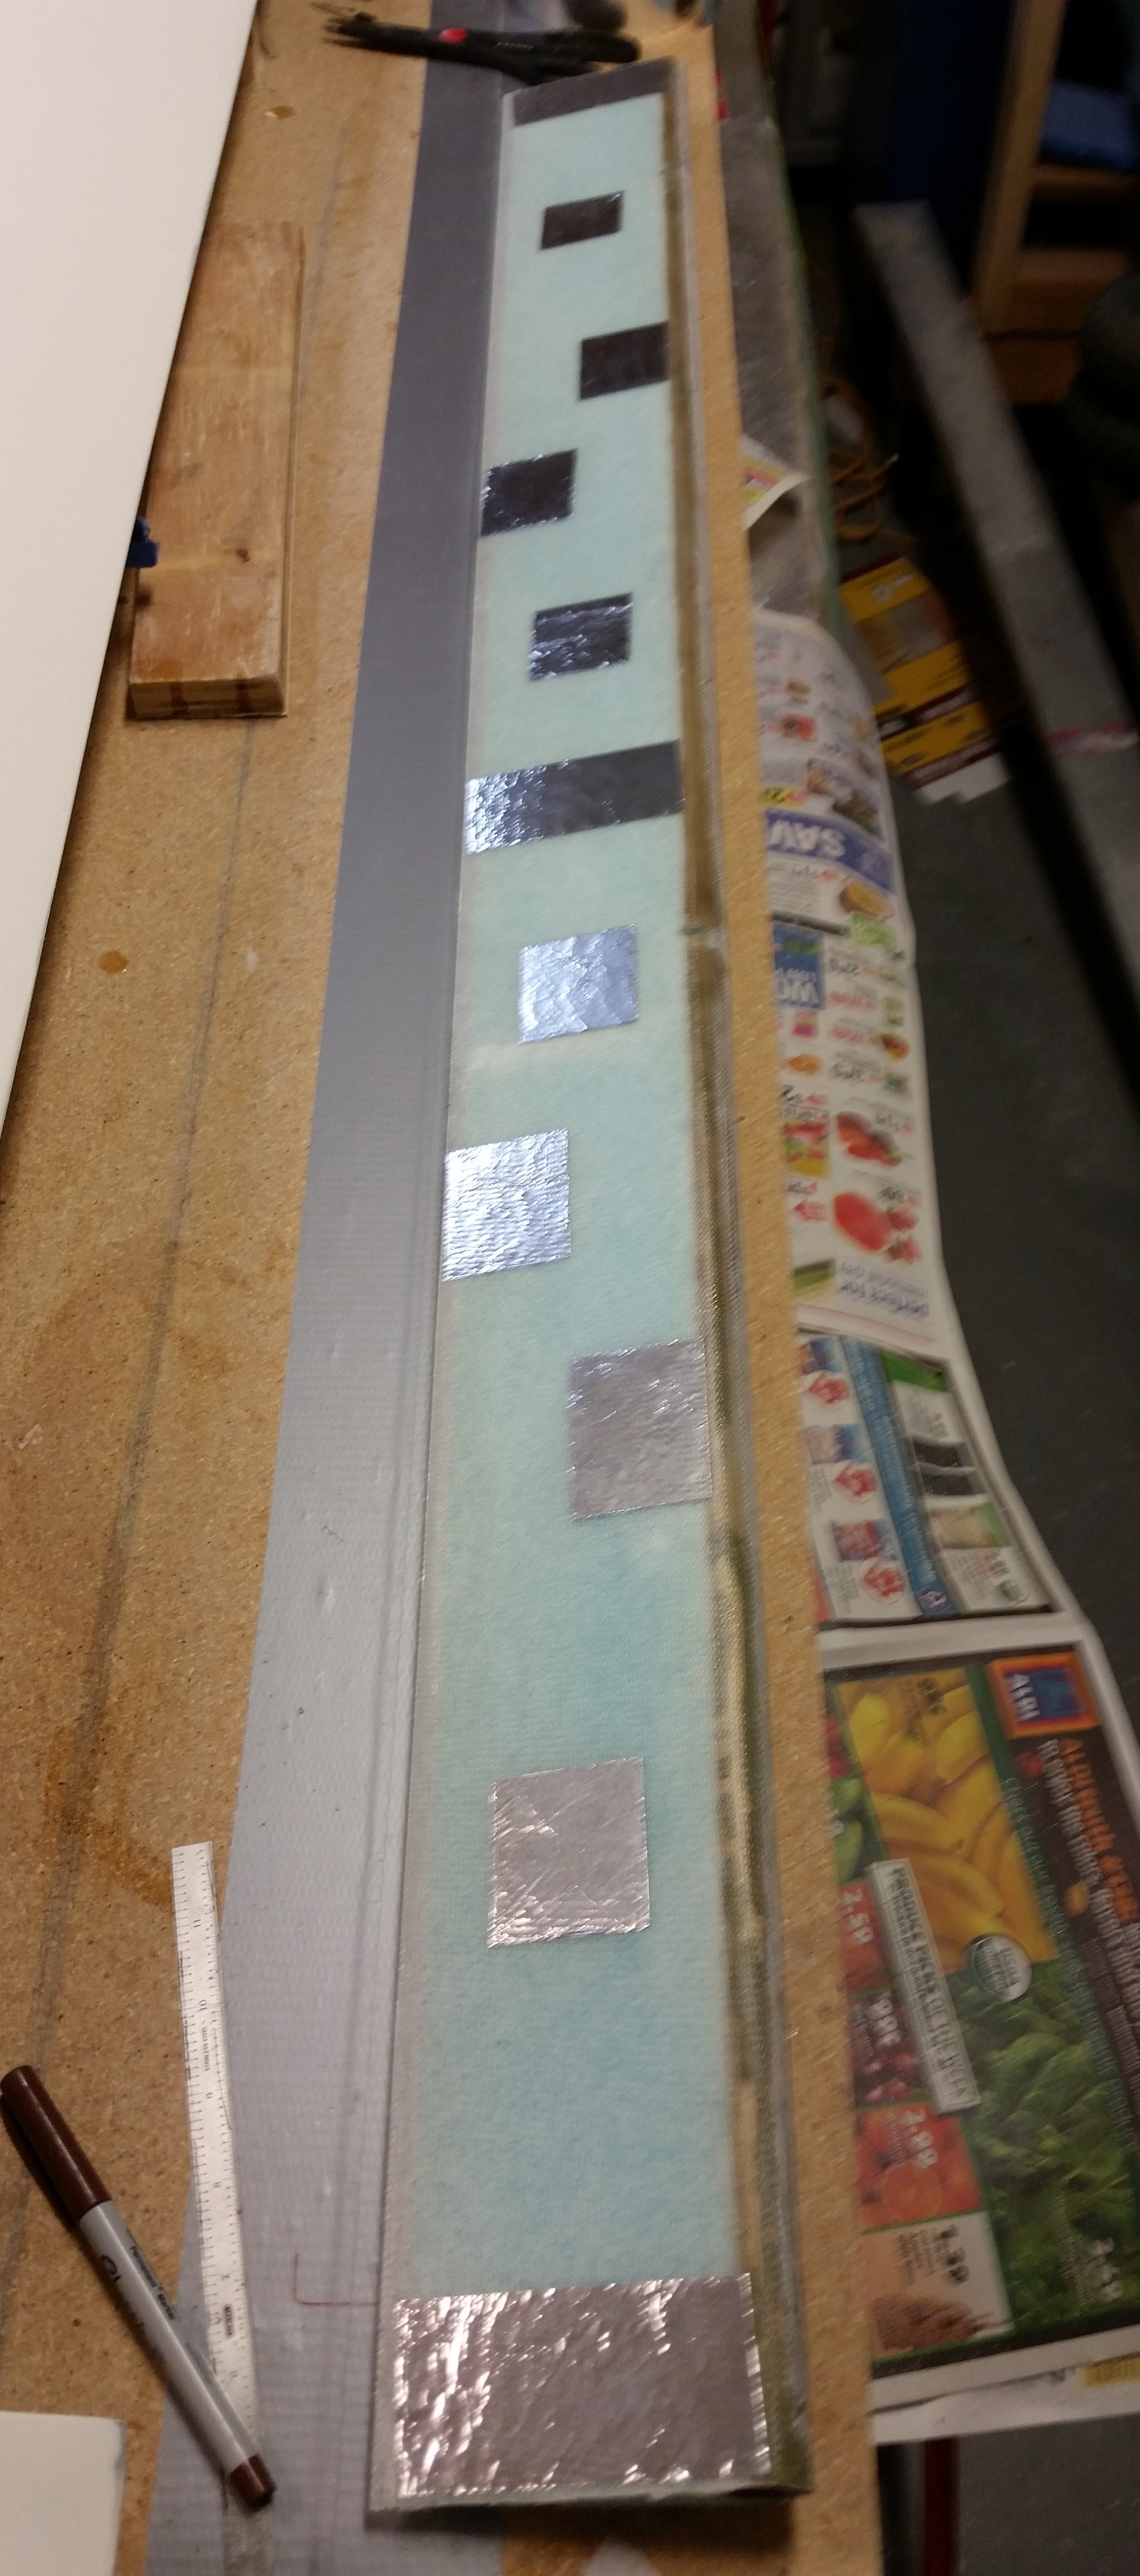
After applying SMALL Bondo blobs to the foil tape pieces I mounted the elevator to the table and then weighed it down with sandbags.

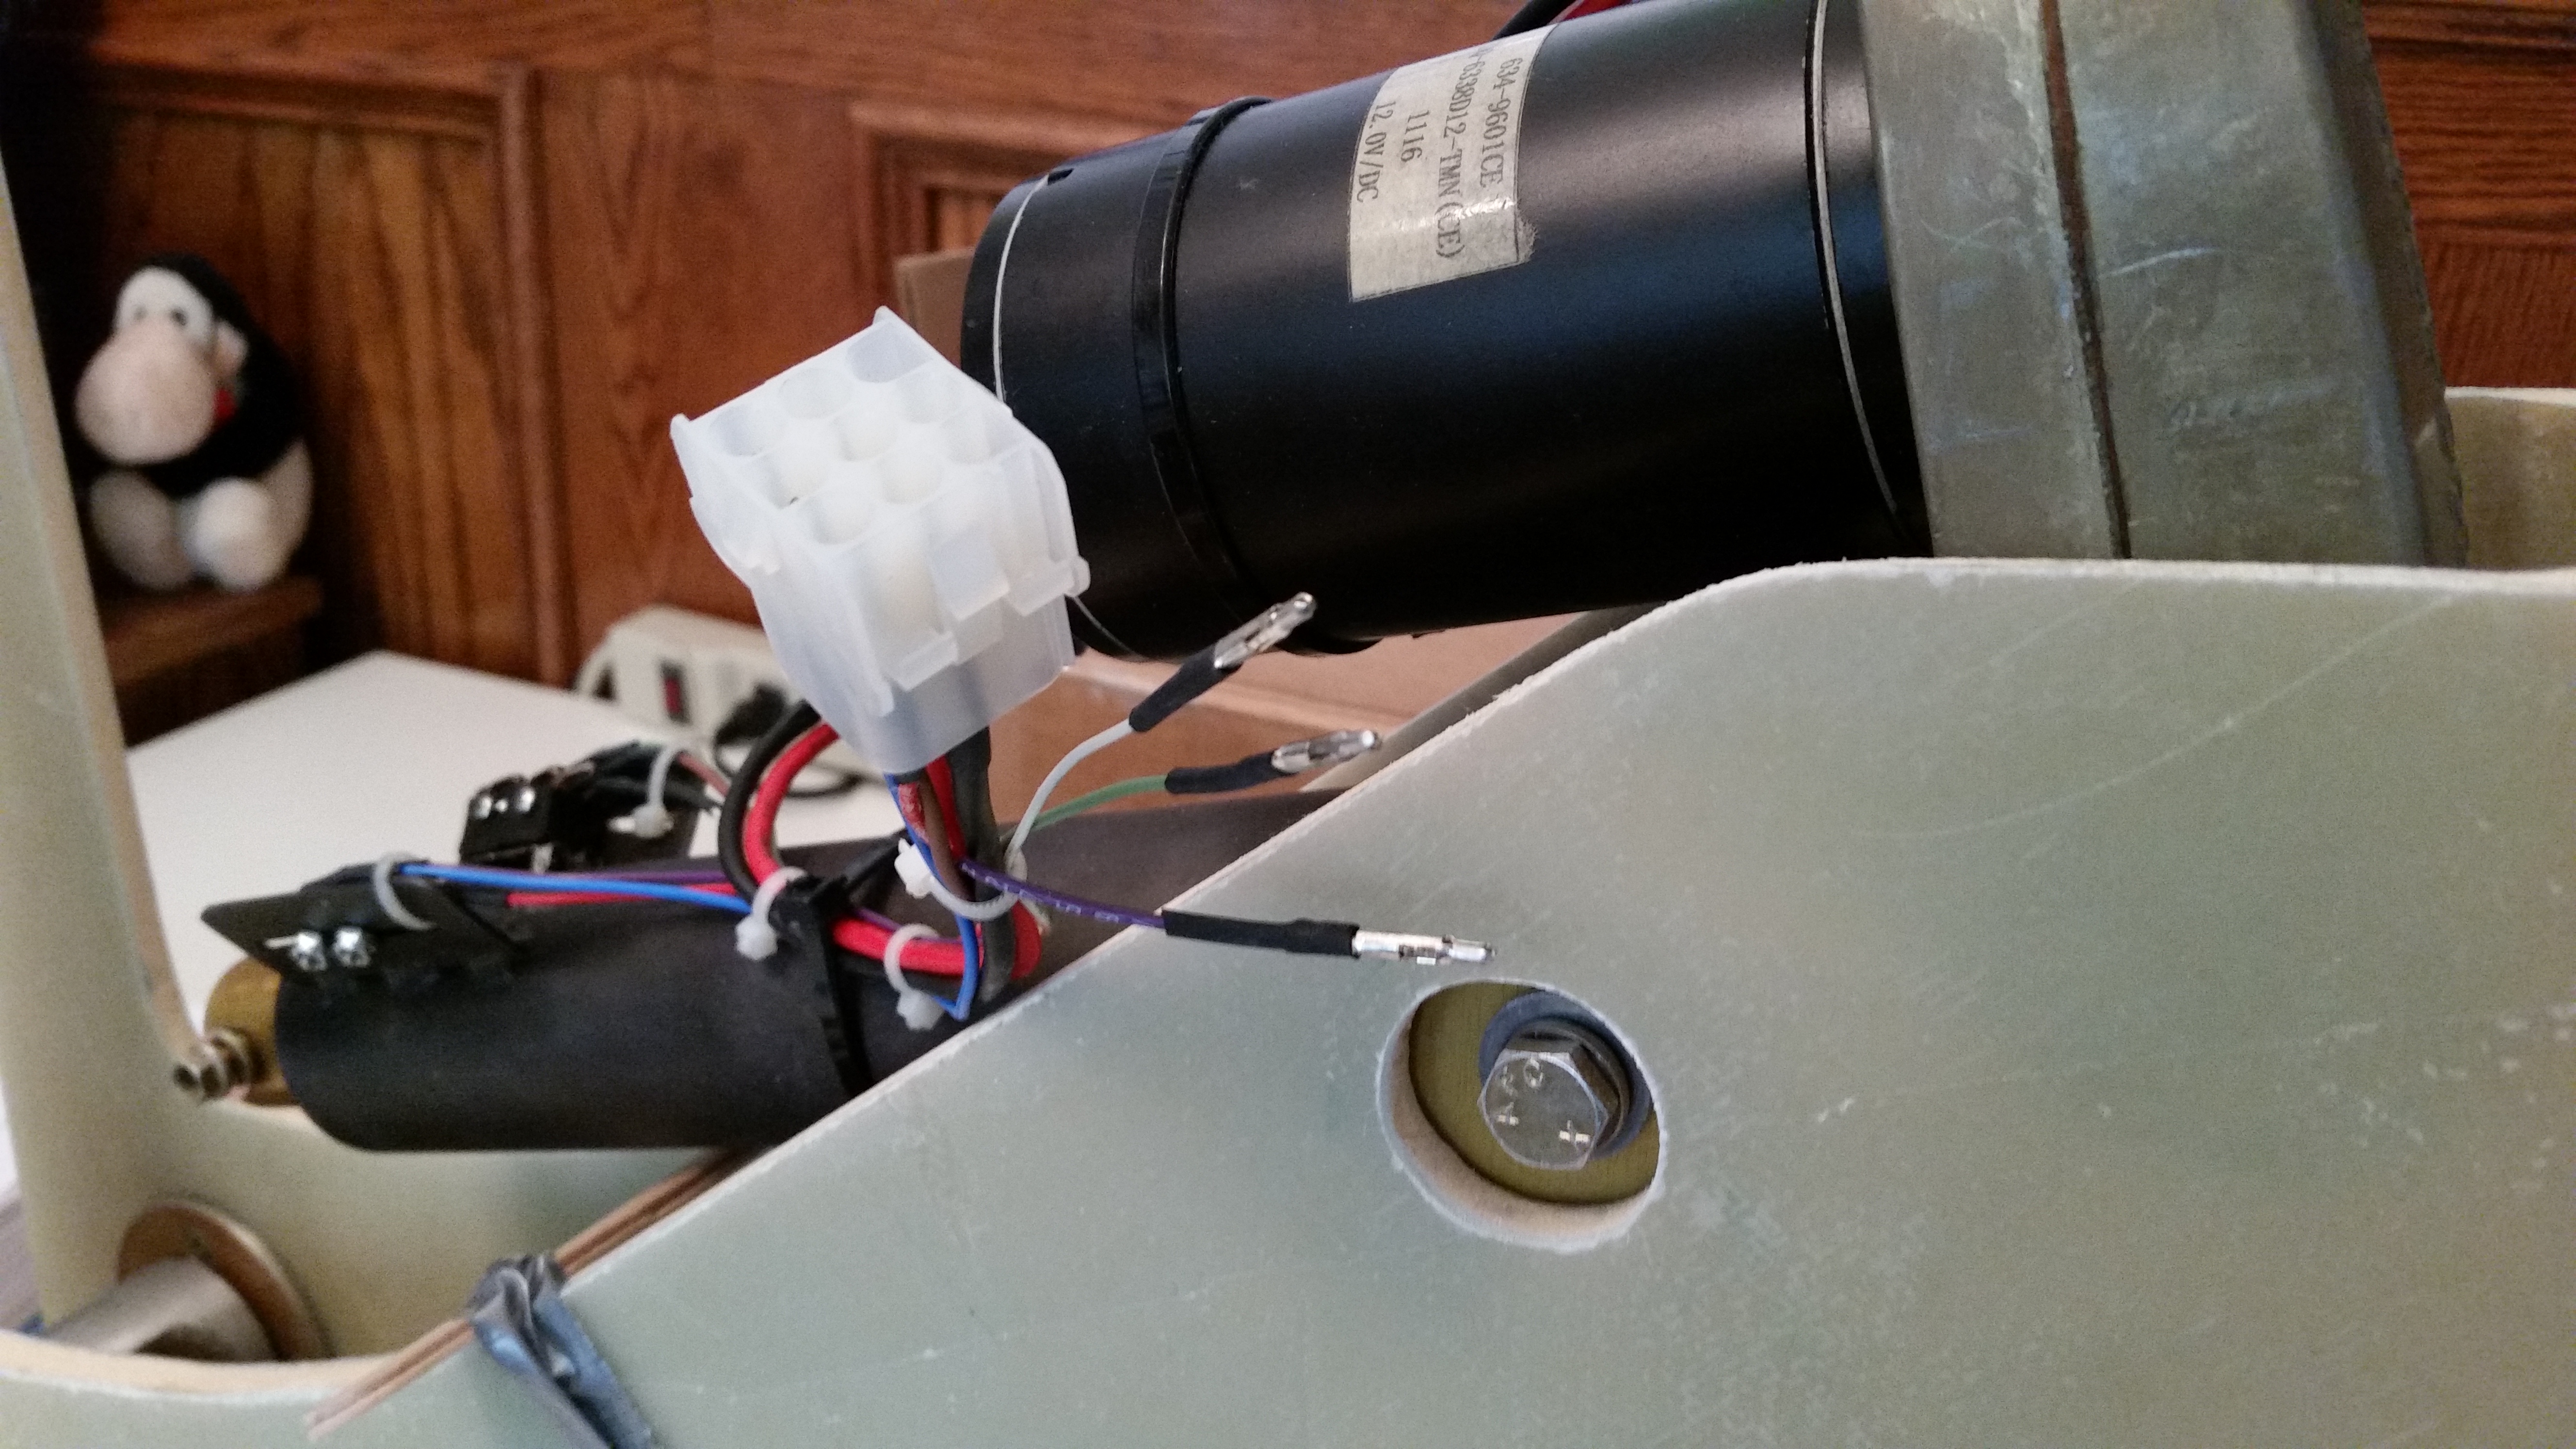
After affixing the elevator to the workbench with Bondo I had about an hour to go before a work webinar so I started working on the nose gear actuator wiring since I knew I didn’t have enough time to finish the top elevator skin layup.
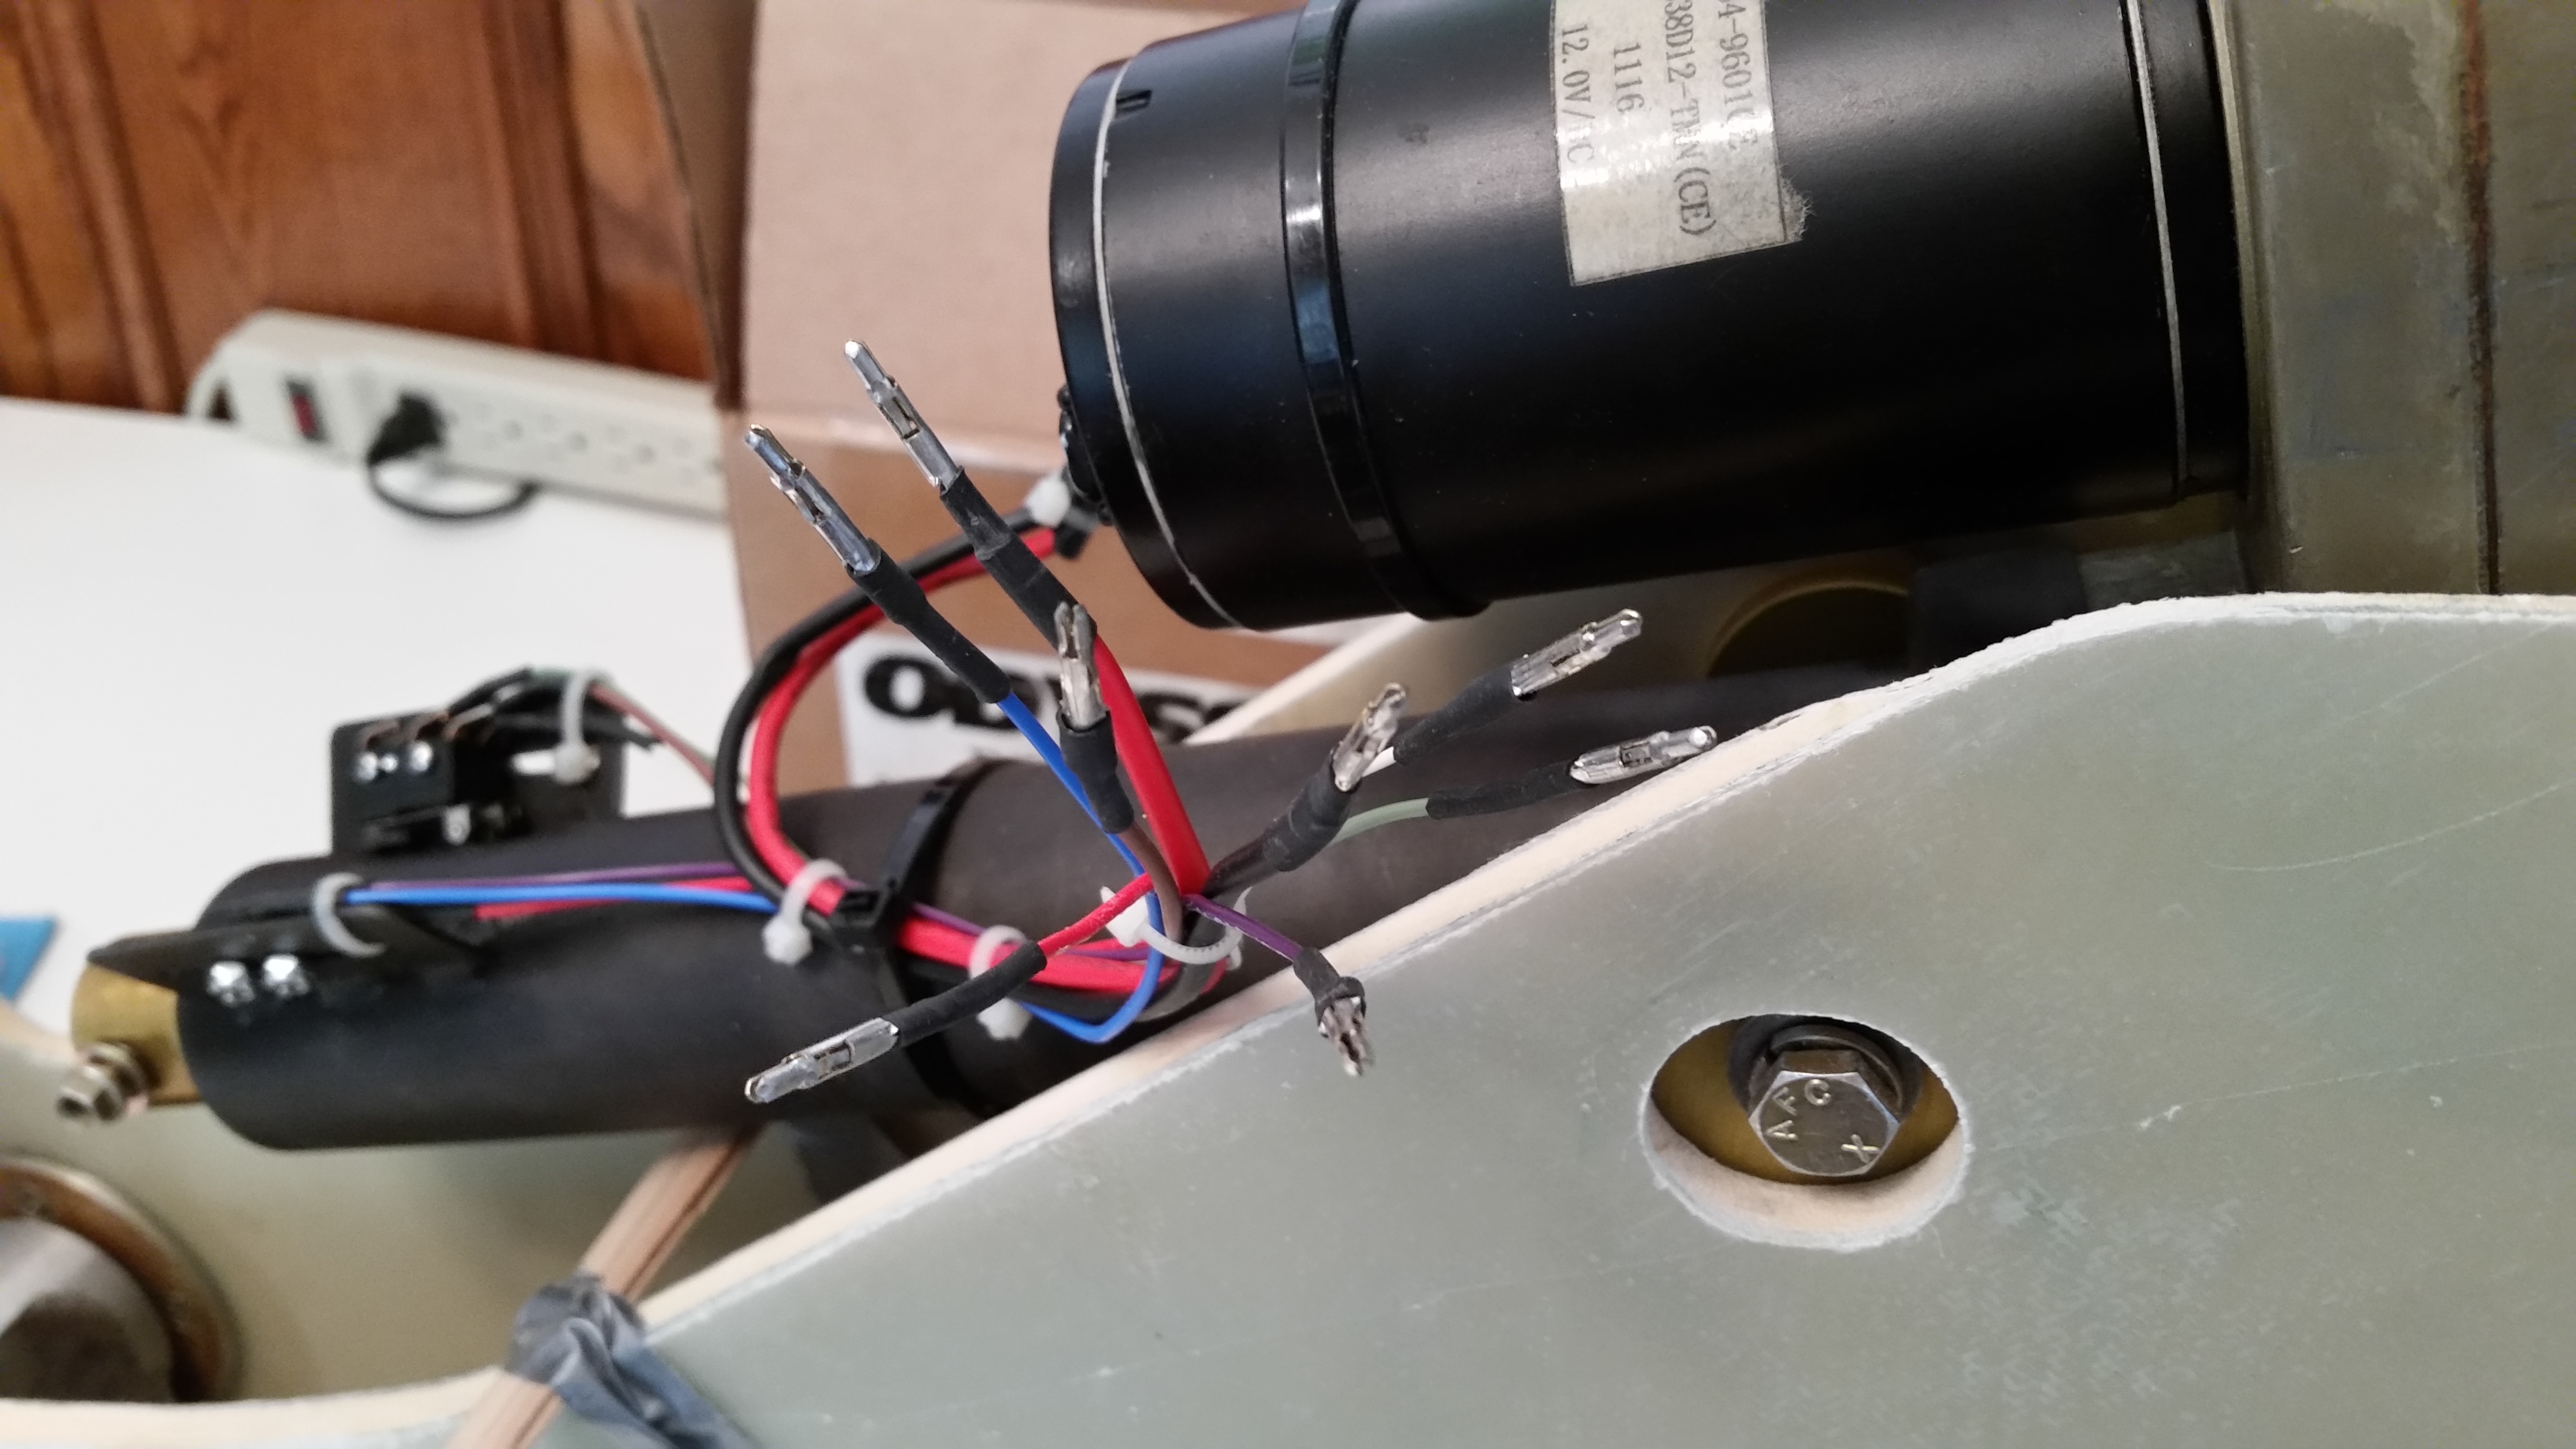
My first task was to pull off the motor side Molex connector, since I’ll be replacing it with an AMP CPC connector.
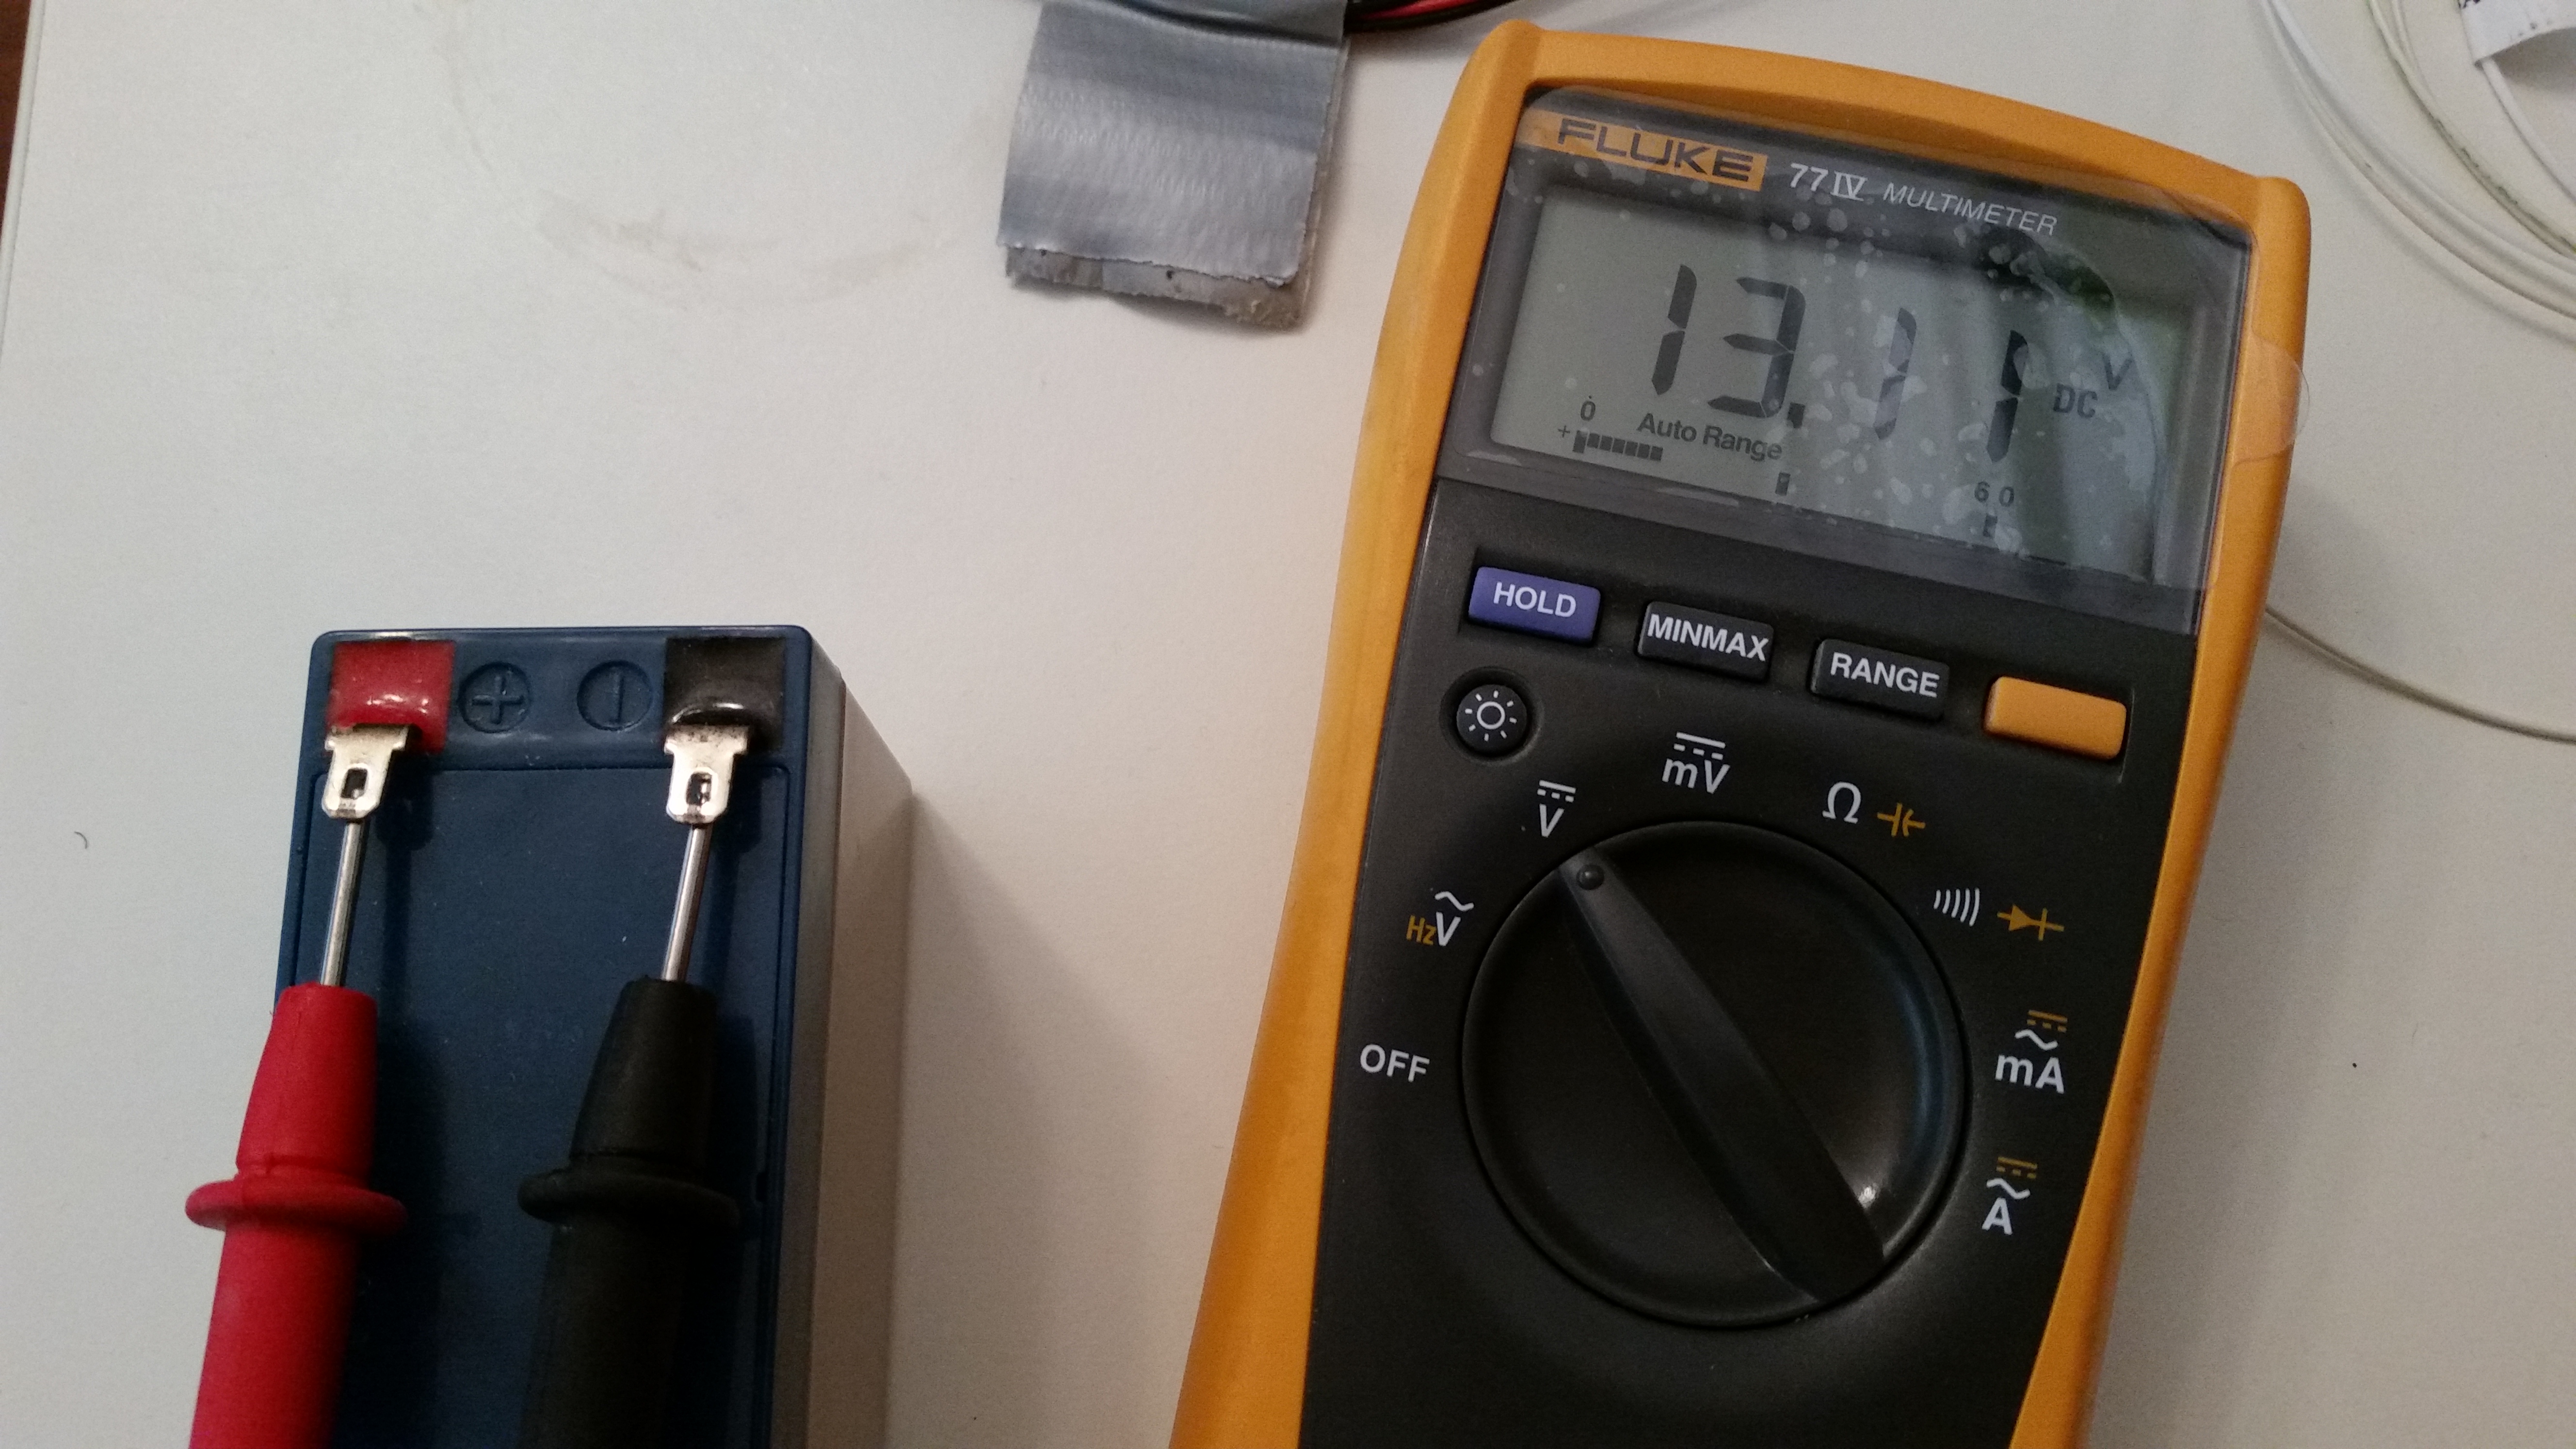
I then double-checked the charge on my nose gear back-up battery. At 13.11V it looked good and seems to be holding its charge well.
While tracing out & connecting the wires for the nose gear actuator I was able to integrate & plan out the wiring for the gear & canopy warning module. Basically, I figured out that I can use the up & down limiter “micro-switches” on the nose gear actuator to drive the warning signals to my gear/canopy warning module. Of course the only issue is that I’ll need to order another AMP CPC connector. No worries really, since I was going to have to do some finagling with the thick power wires to get them into the 9-pin AMP CPC connector. A larger connector will be able to accommodate bigger wires.
After my webinar and playing around with the nose gear actuator wiring for a bit, I went back downstairs and vacuumed the foam before starting the layup.
I then micro’d the top elevator surface.
And laid up 2 plies of UNI at 30° in opposite directions.

Since I used fast hardener I only had to wait about an hour before the layup was cured to a green stage. I then razor trimmed the TE.
And then applied dry micro on the TE and covered it with peel ply.

I turned on a heat lamp to help get this thing cured as fast as possible.
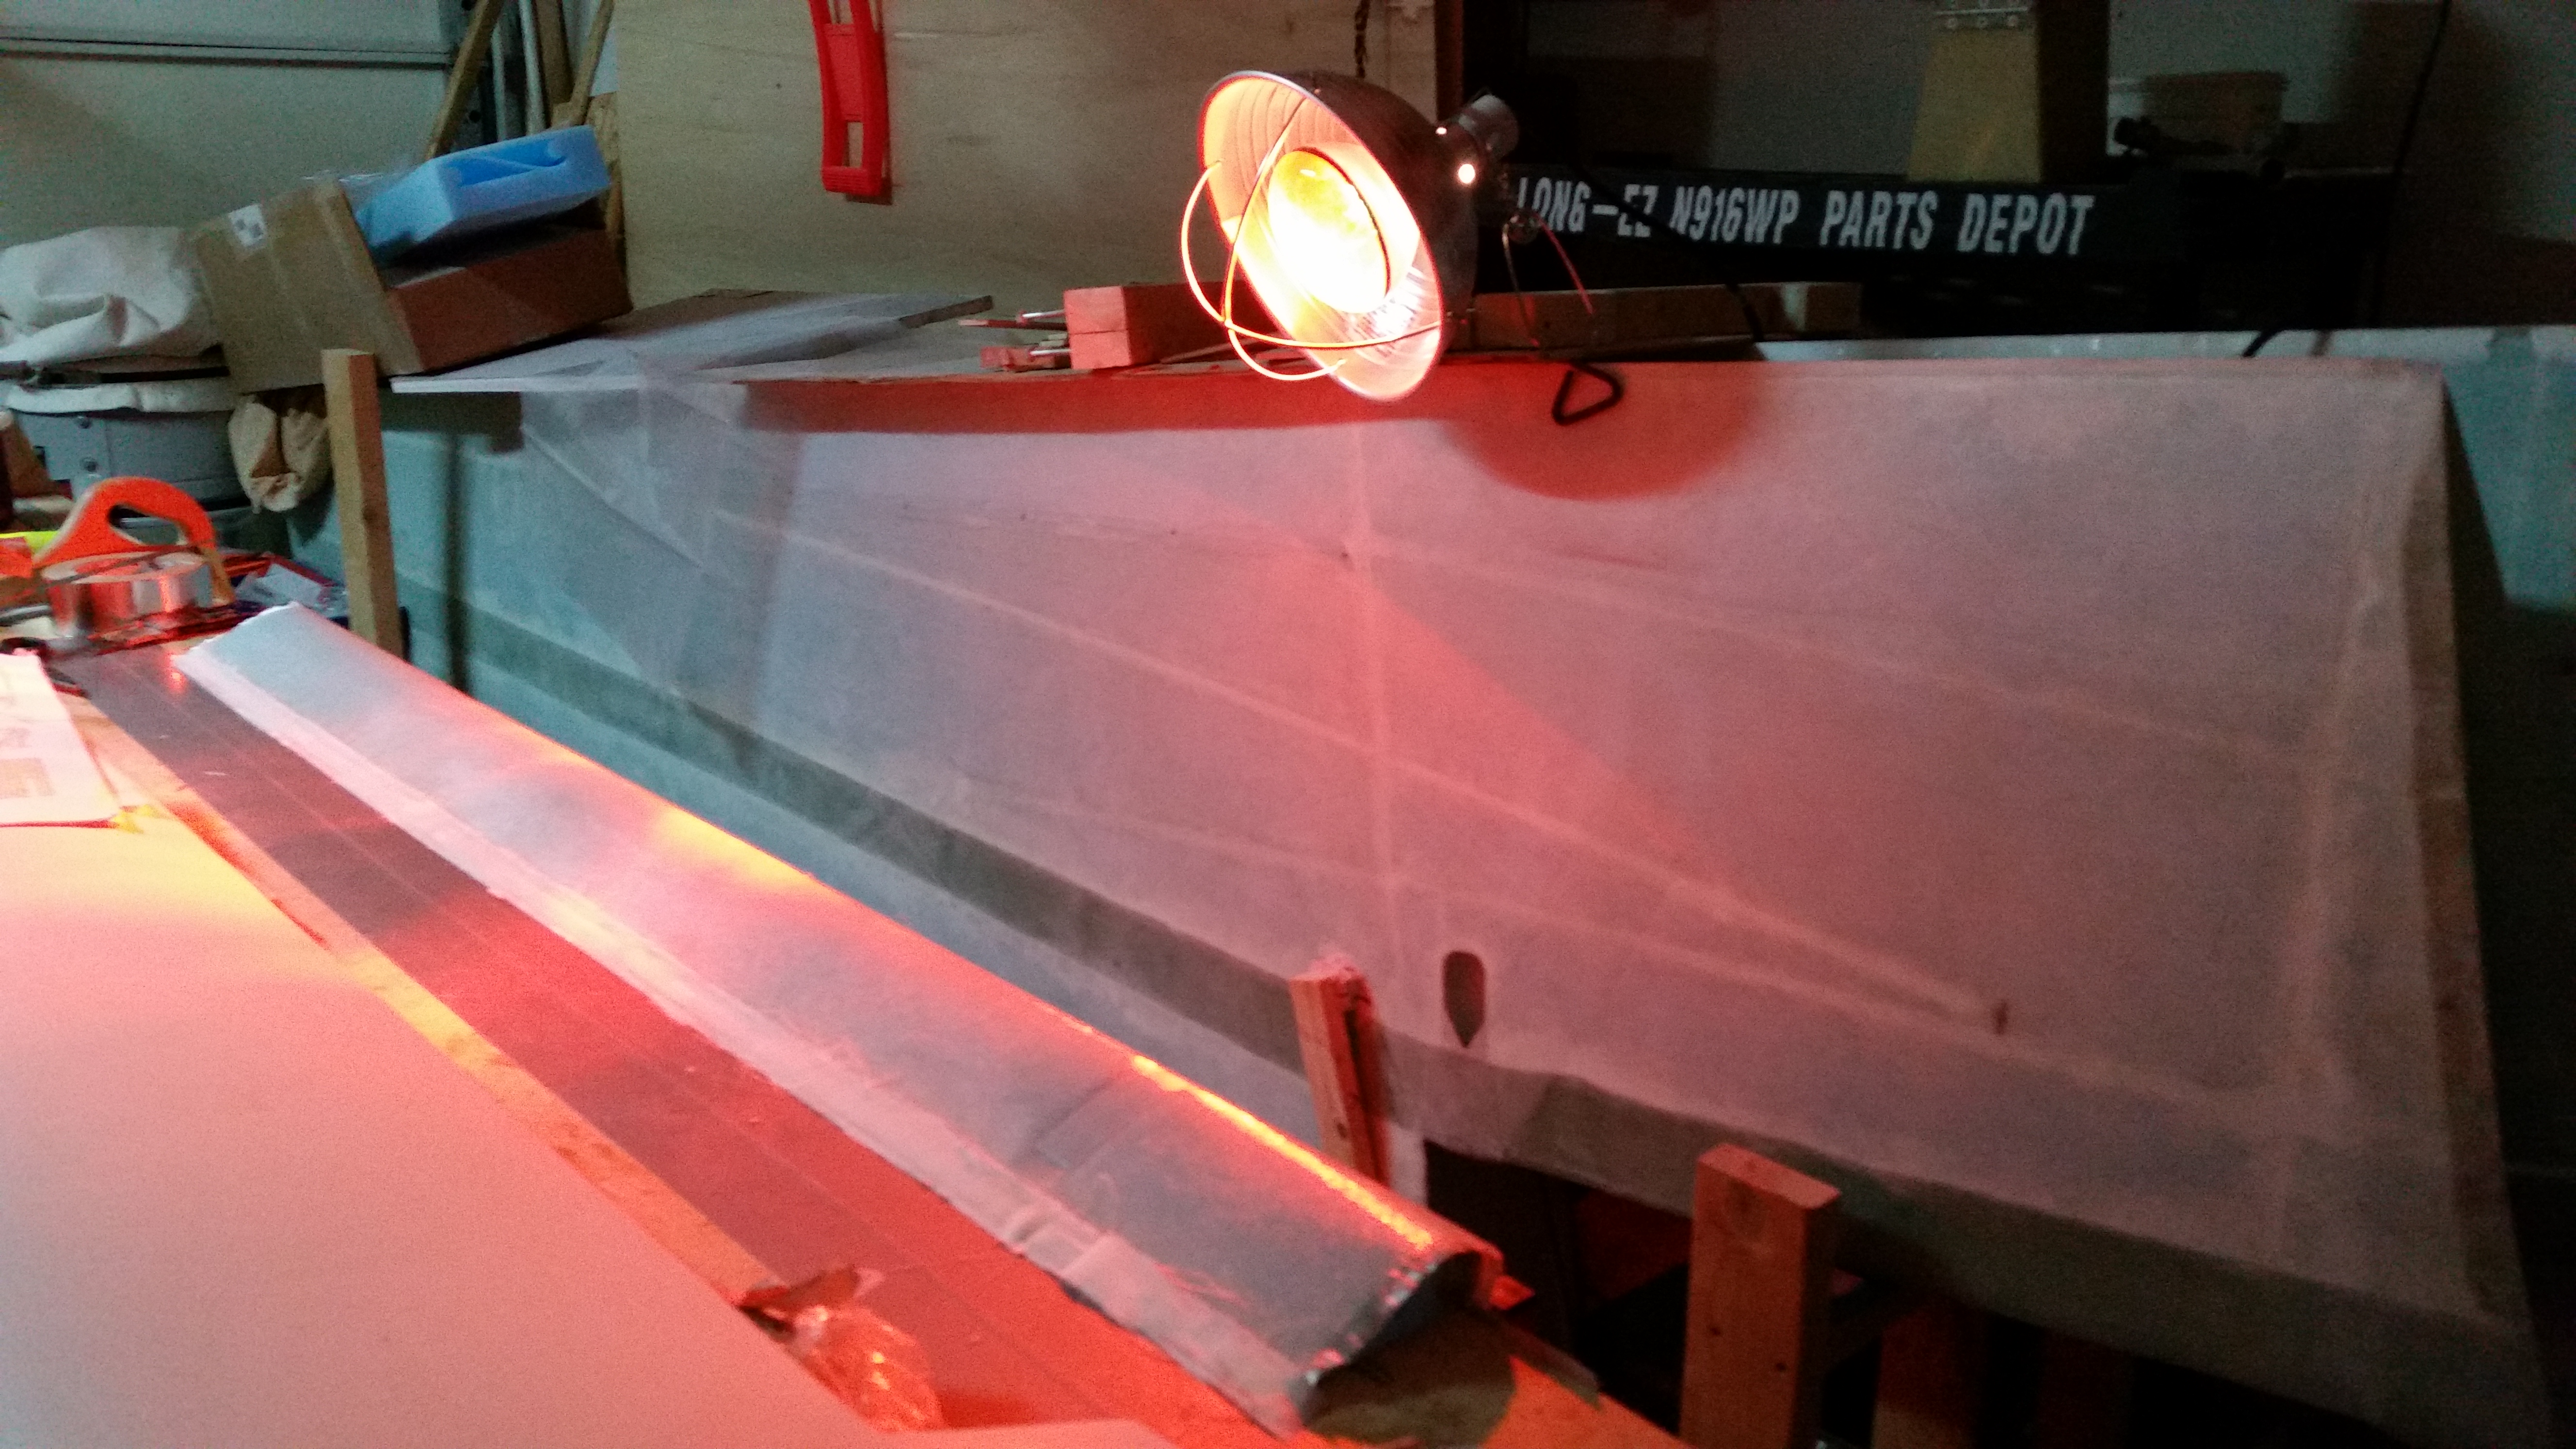
After watching some TV and working on this post for well over an hour, I then went down to the shop to check the elevator top skin layup. It all looked good and was pretty much cured. I carefully pulled the elevator away from the table mainly to keep the TE micro from securing the elevator permanently to the workbench and causing real mayhem if I had waited until tomorrow to pull it off the bench.
After pulling the foil tape off the elevator bottom I was ecstatic that the elevator bottom was SO clean & devoid of that Bondo crap that caused all the issues with the previous elevator! I couldn’t help but think how EZ this would have been had I known this trick back when I first built my elevators!
My next order of business was to cut away any stray LE glass overlap to keep any of the barbs-from-hell, that may have slipped past the peel ply, at bay. I also cleaned the blobs of Bondo off the table. Which thankfully came off fairly easily.

After cleaning up the LE, I then pulled the peel ply from the outboard weight depression.
I then checked the contour again, only this time obviously with the top skin glassed. Looking good!

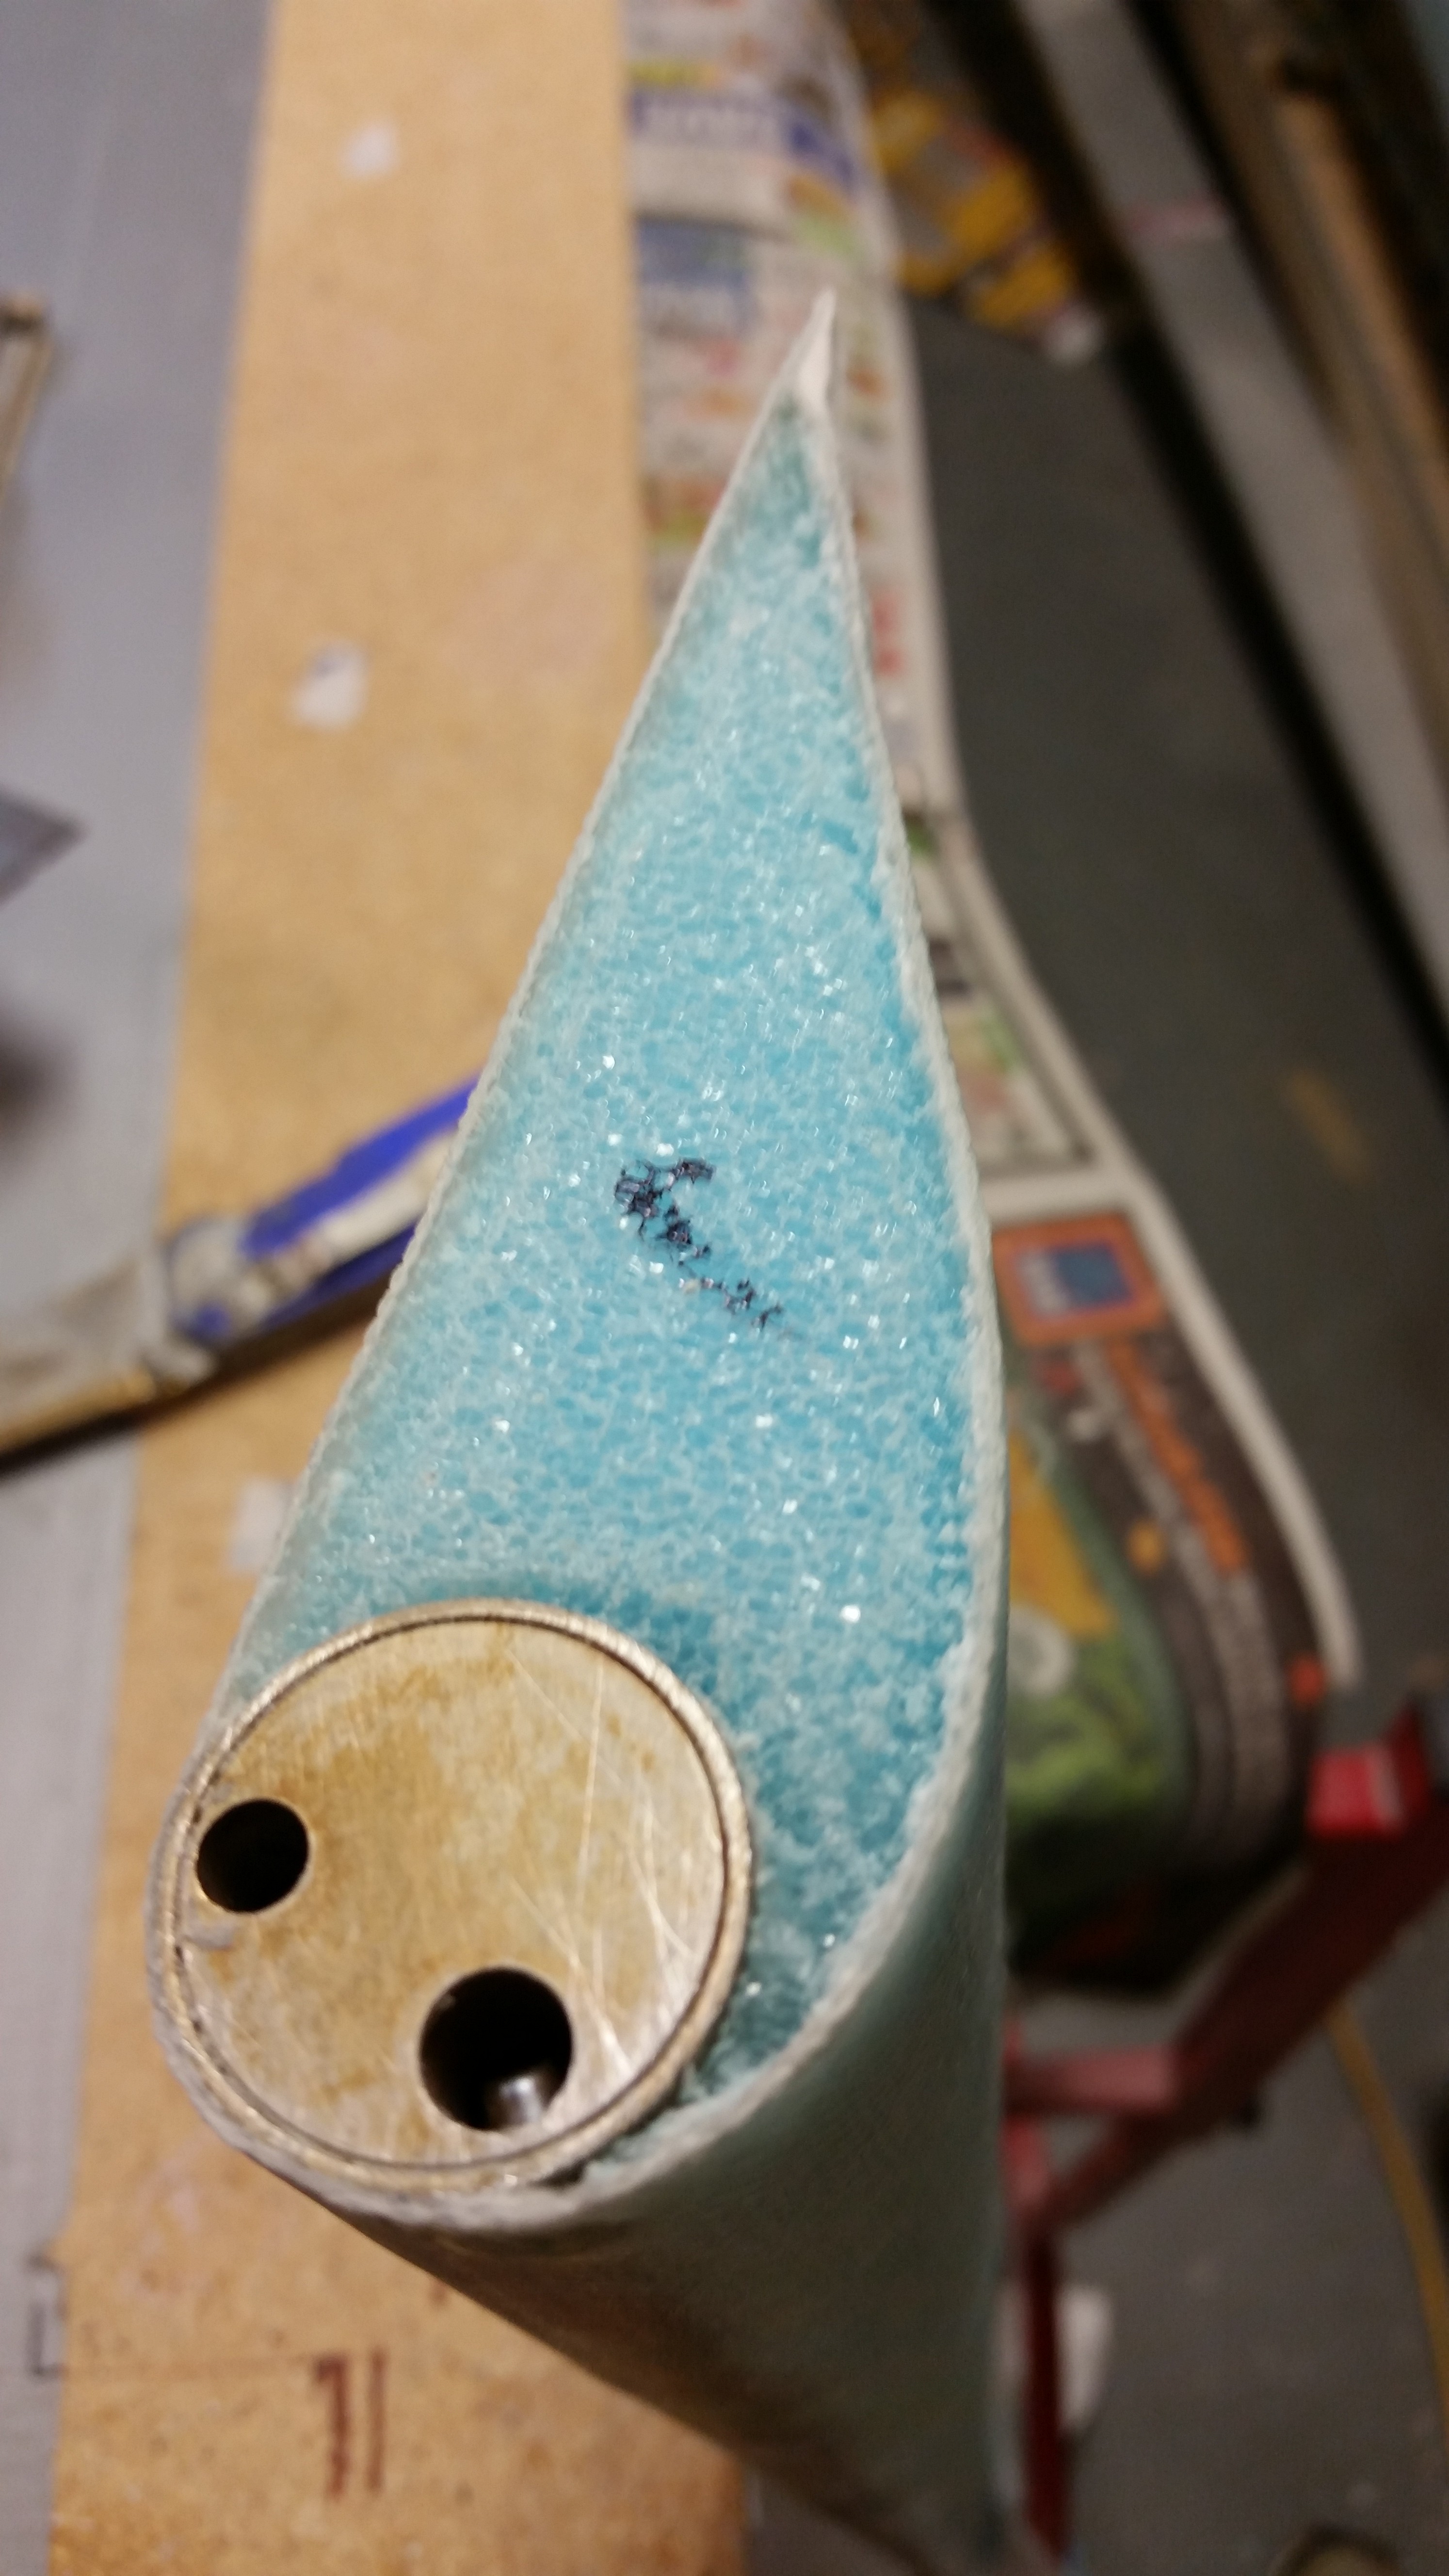
I then focused on the outboard elevator in order to prep that area for the 1-ply BID layup that it will receive. I sanded the glass edges square and even with NC-6.
I stood the elevator up on end & cut the foam to create a wedge shape near the glass for the flox corners.
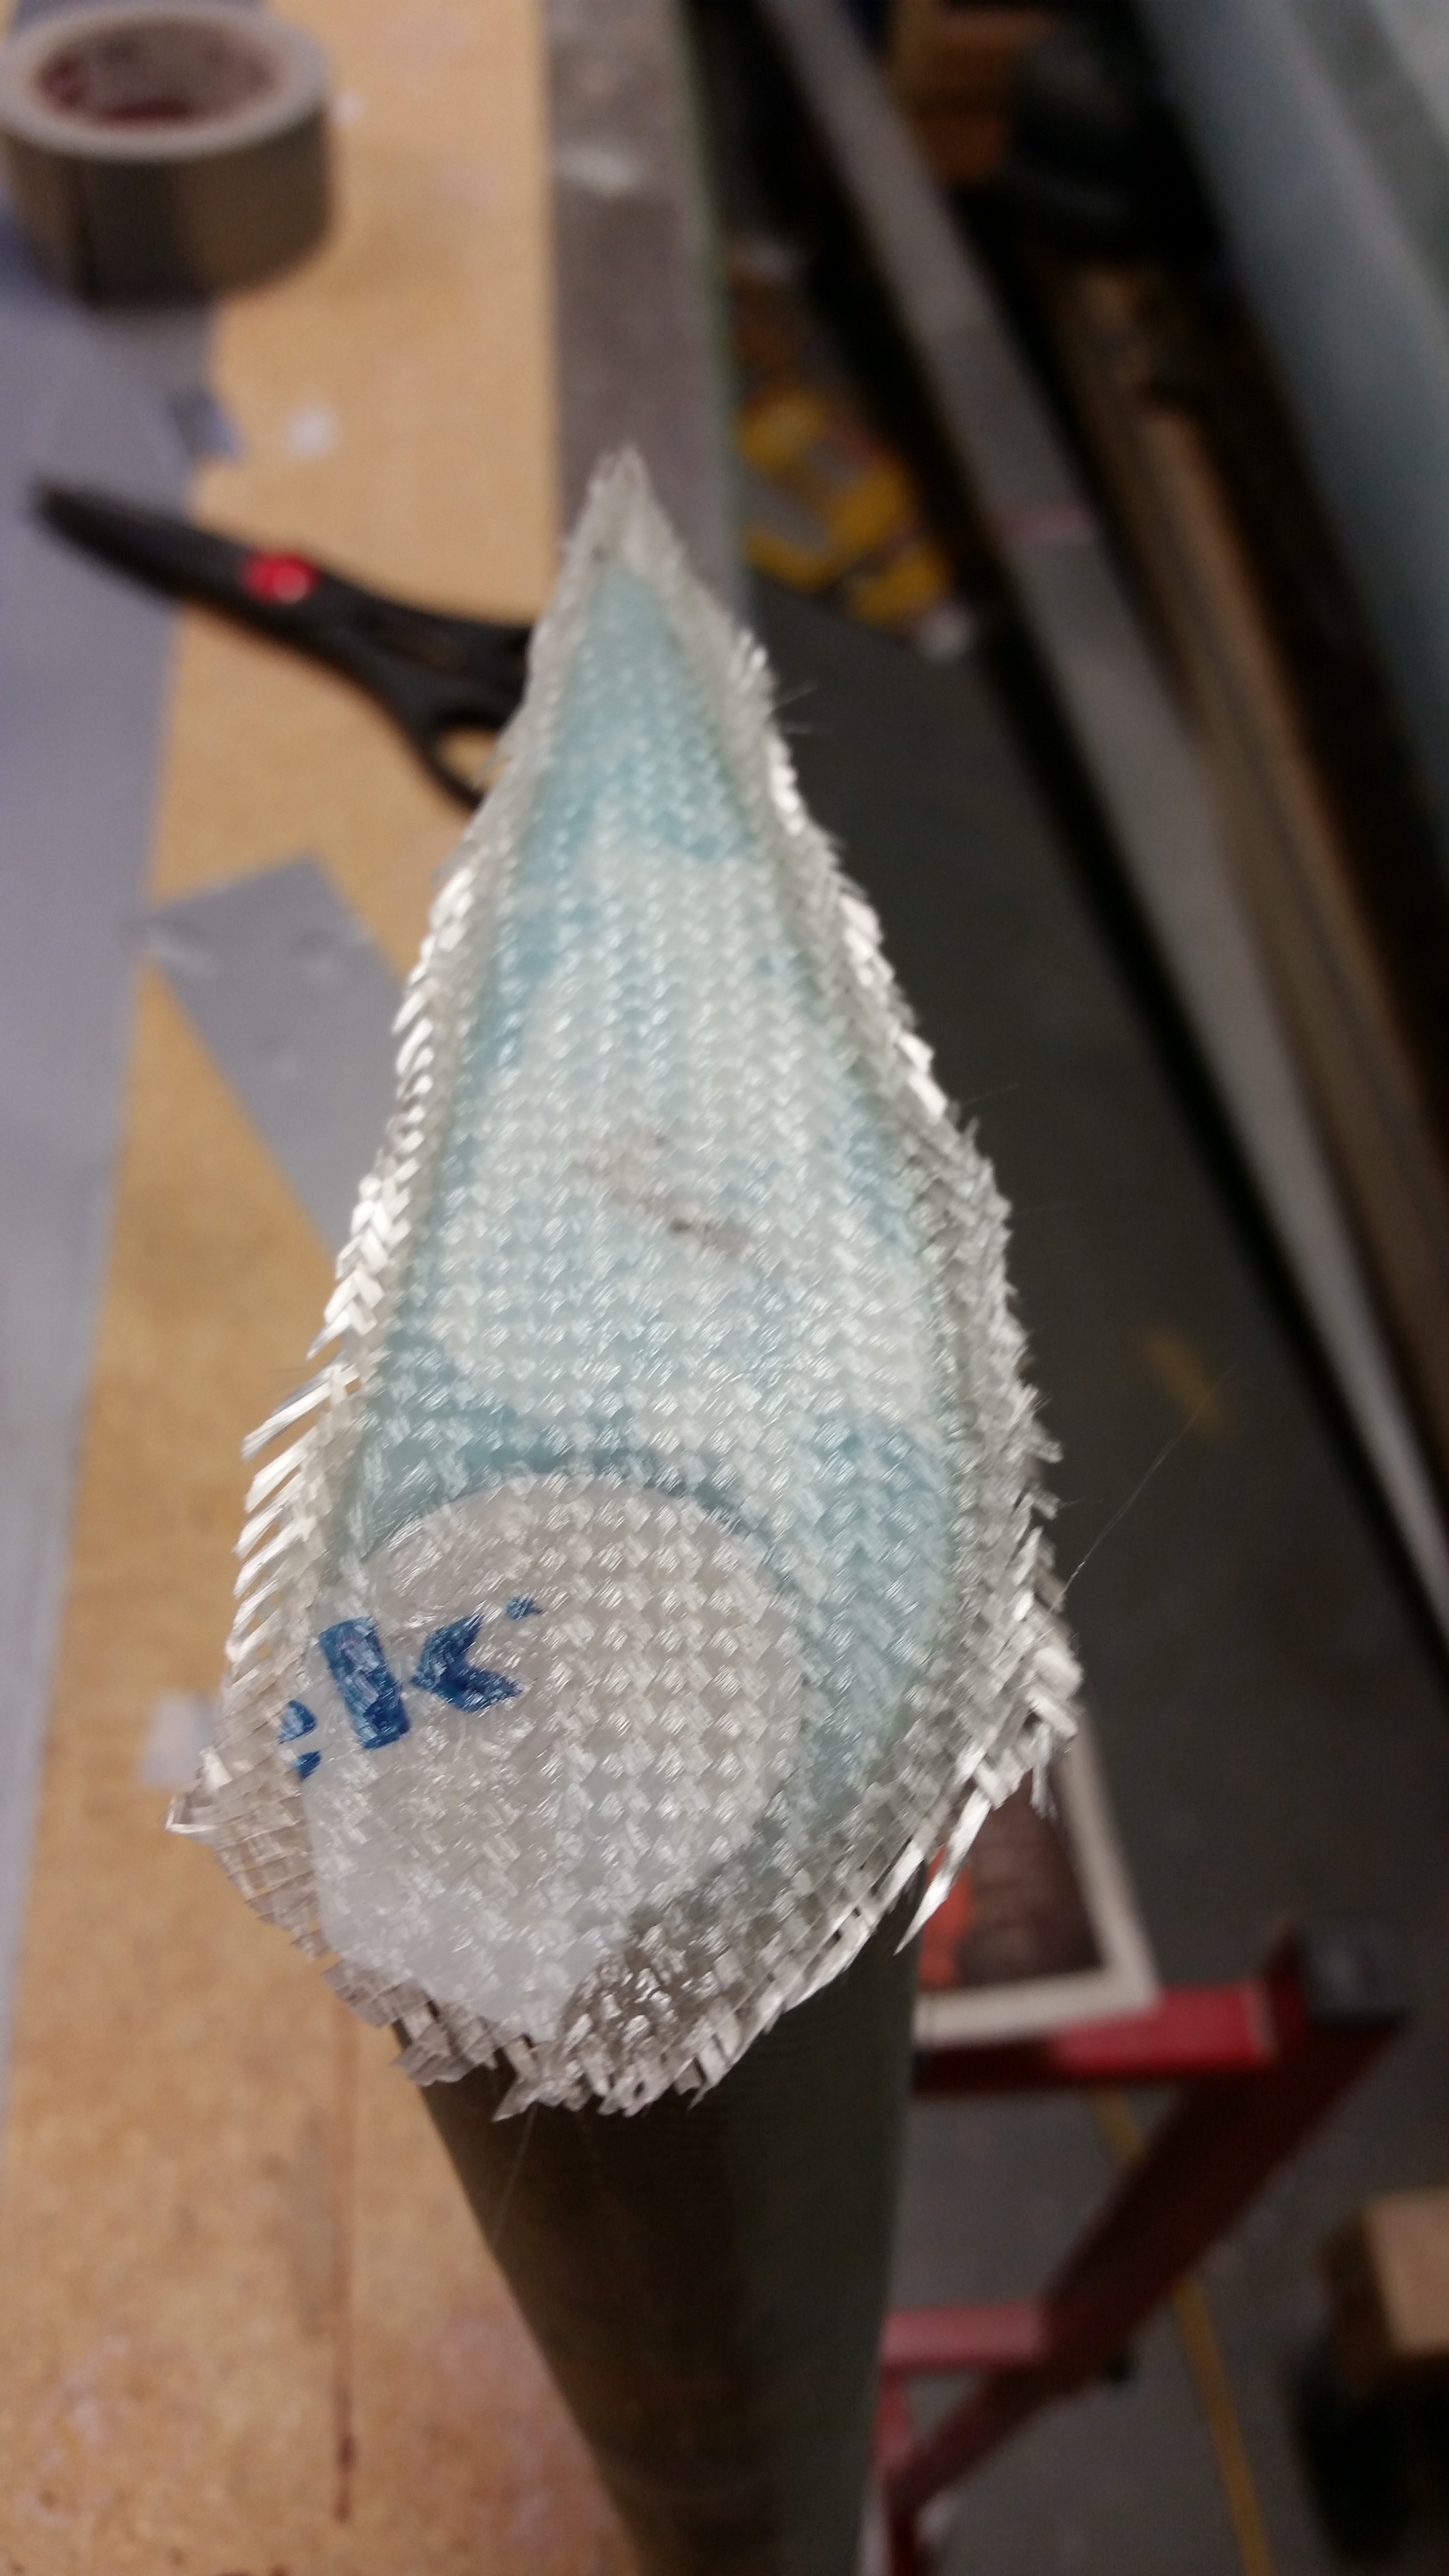
I grabbed a piece of scrap BID and cut it to roughly fit the end of the elevator.
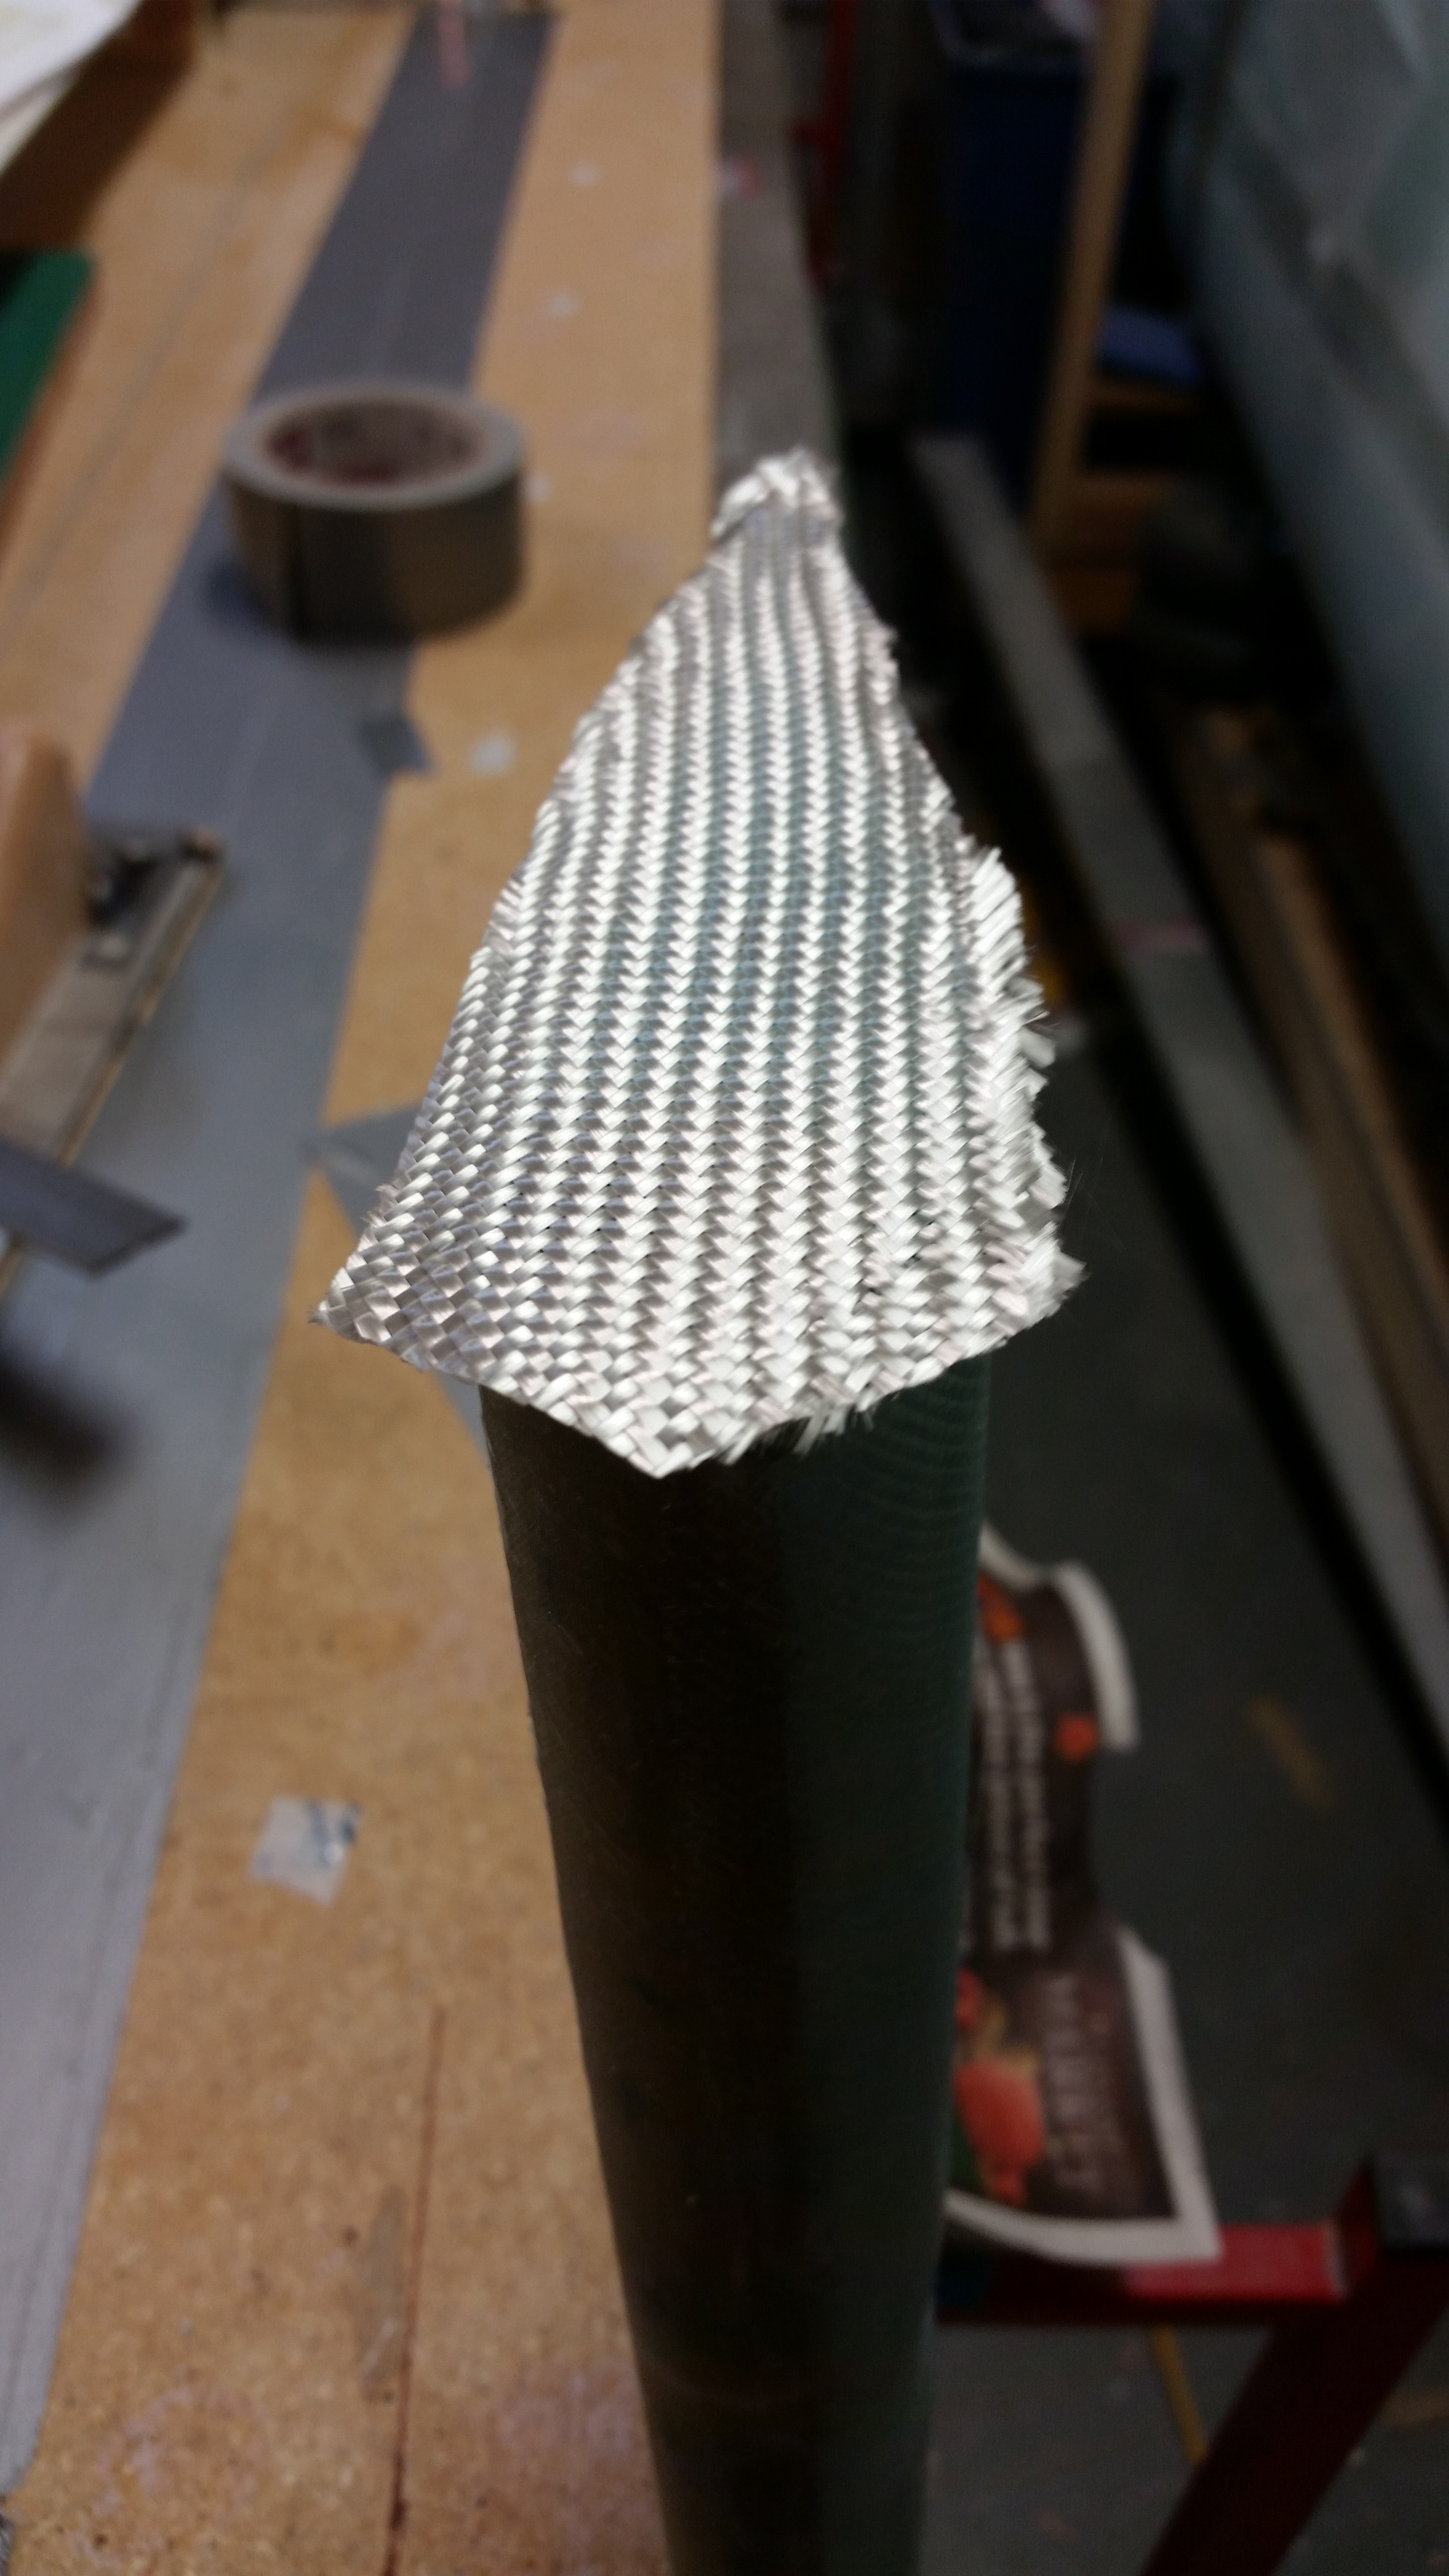
I then mixed up some epoxy with fast hardener, made some flox for the corners & some micro for the foam. I then laid up the 1 ply of BID, trimmed the glass a little and let it cure.
In a couple of hours I’ll check the layup and razor cut the edges.
Tomorrow I plan to finish the elevator rebuild by sanding the TE to its final shape and also attaching the outboard elevator weight. Then it will just be a matter of cutting, drilling & cleaning up the hinge slots & bolt holes and the elevator rebuild will be complete!