
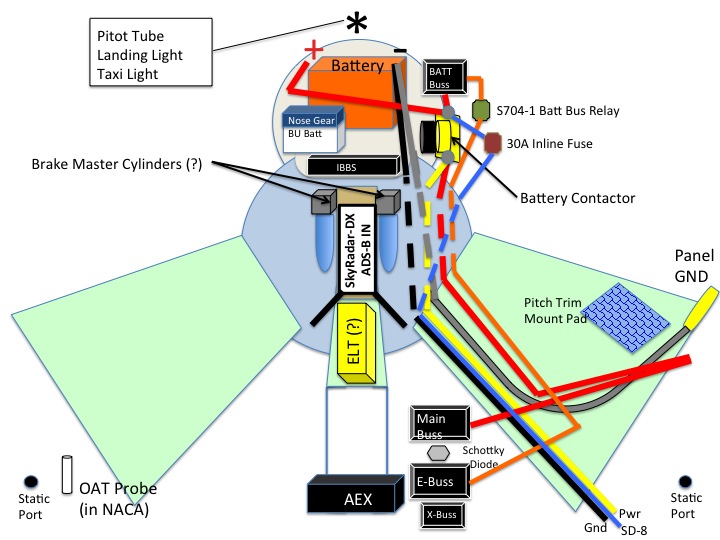
I mentioned that I had updated my electrical component placement plan for the nose. I finished the final mods this morning and figured I would post it for you all to see.
I installed the 5/16″ bolts that I bought last night at Home Depot into the forward & aft fuselage cradles.

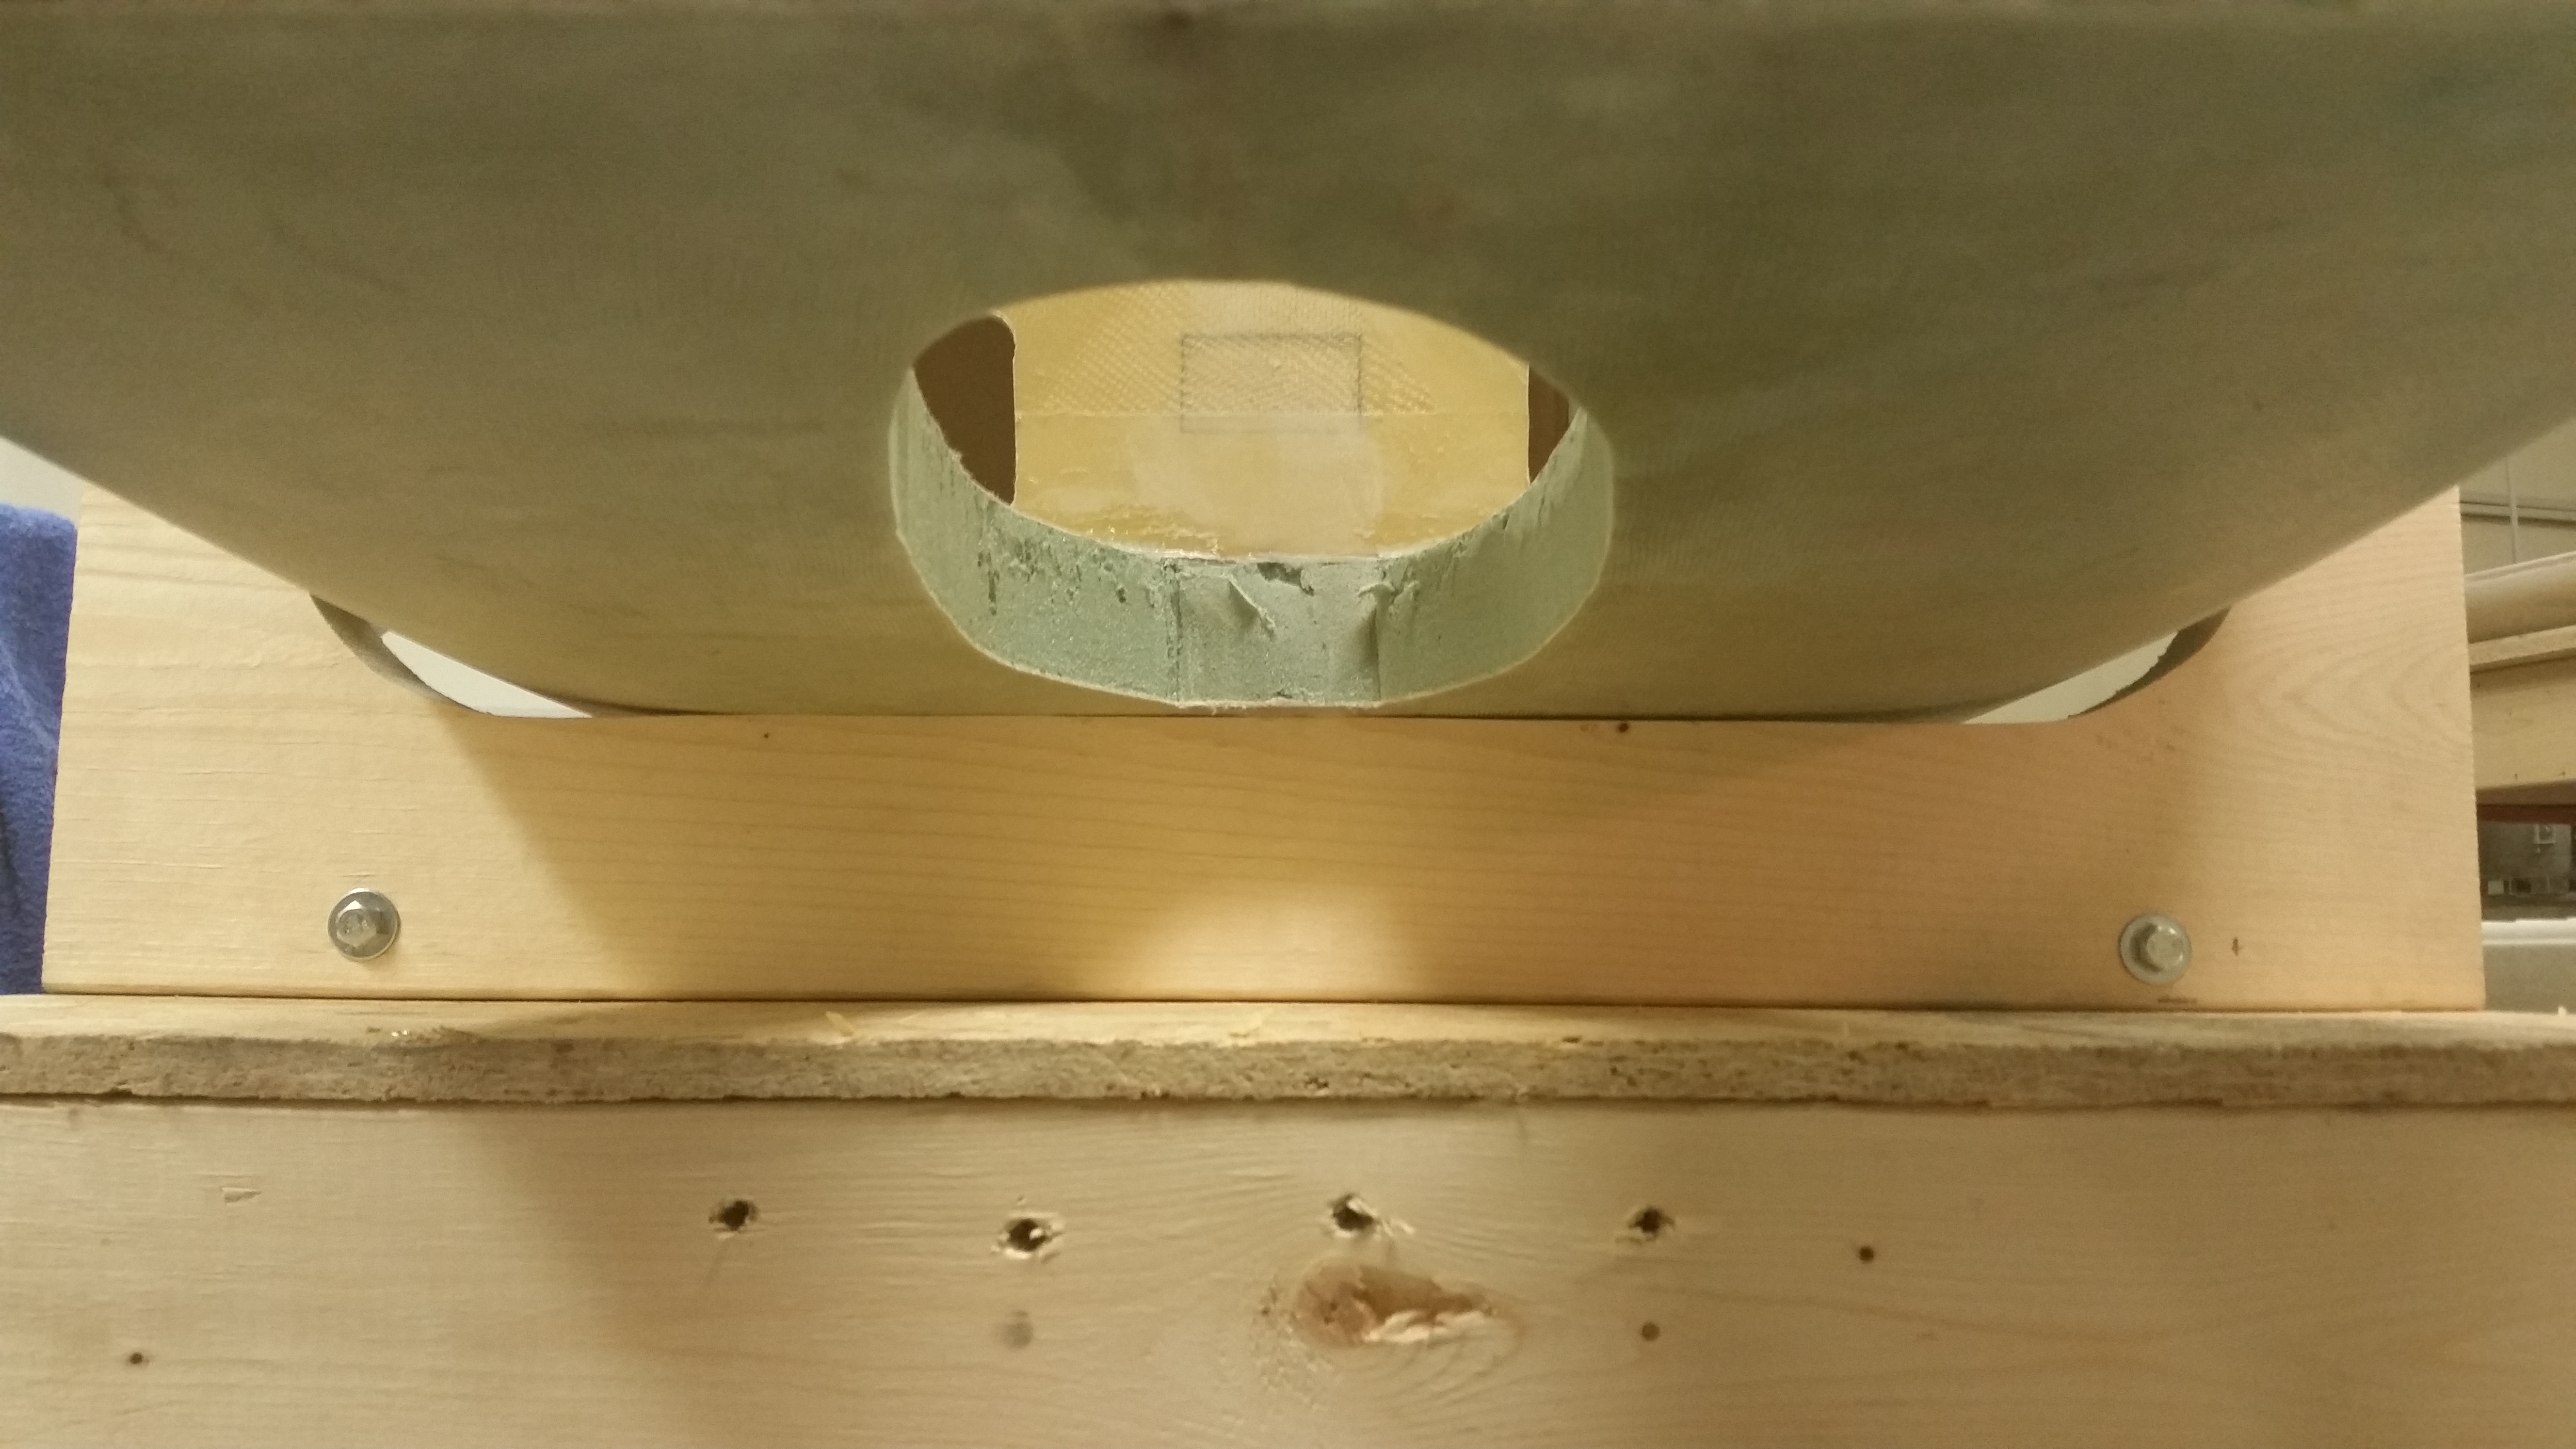
Here’s a shot of the front fuselage cradle bolted in place.
After using the Dremel tool on the elevator TE to clean off the foam & micro to ensure a good glass-to-glass bond, I applied foil tape to the bottom of the elevator and instead of Bondo I used 5-min glue to secure the elevator to the table.
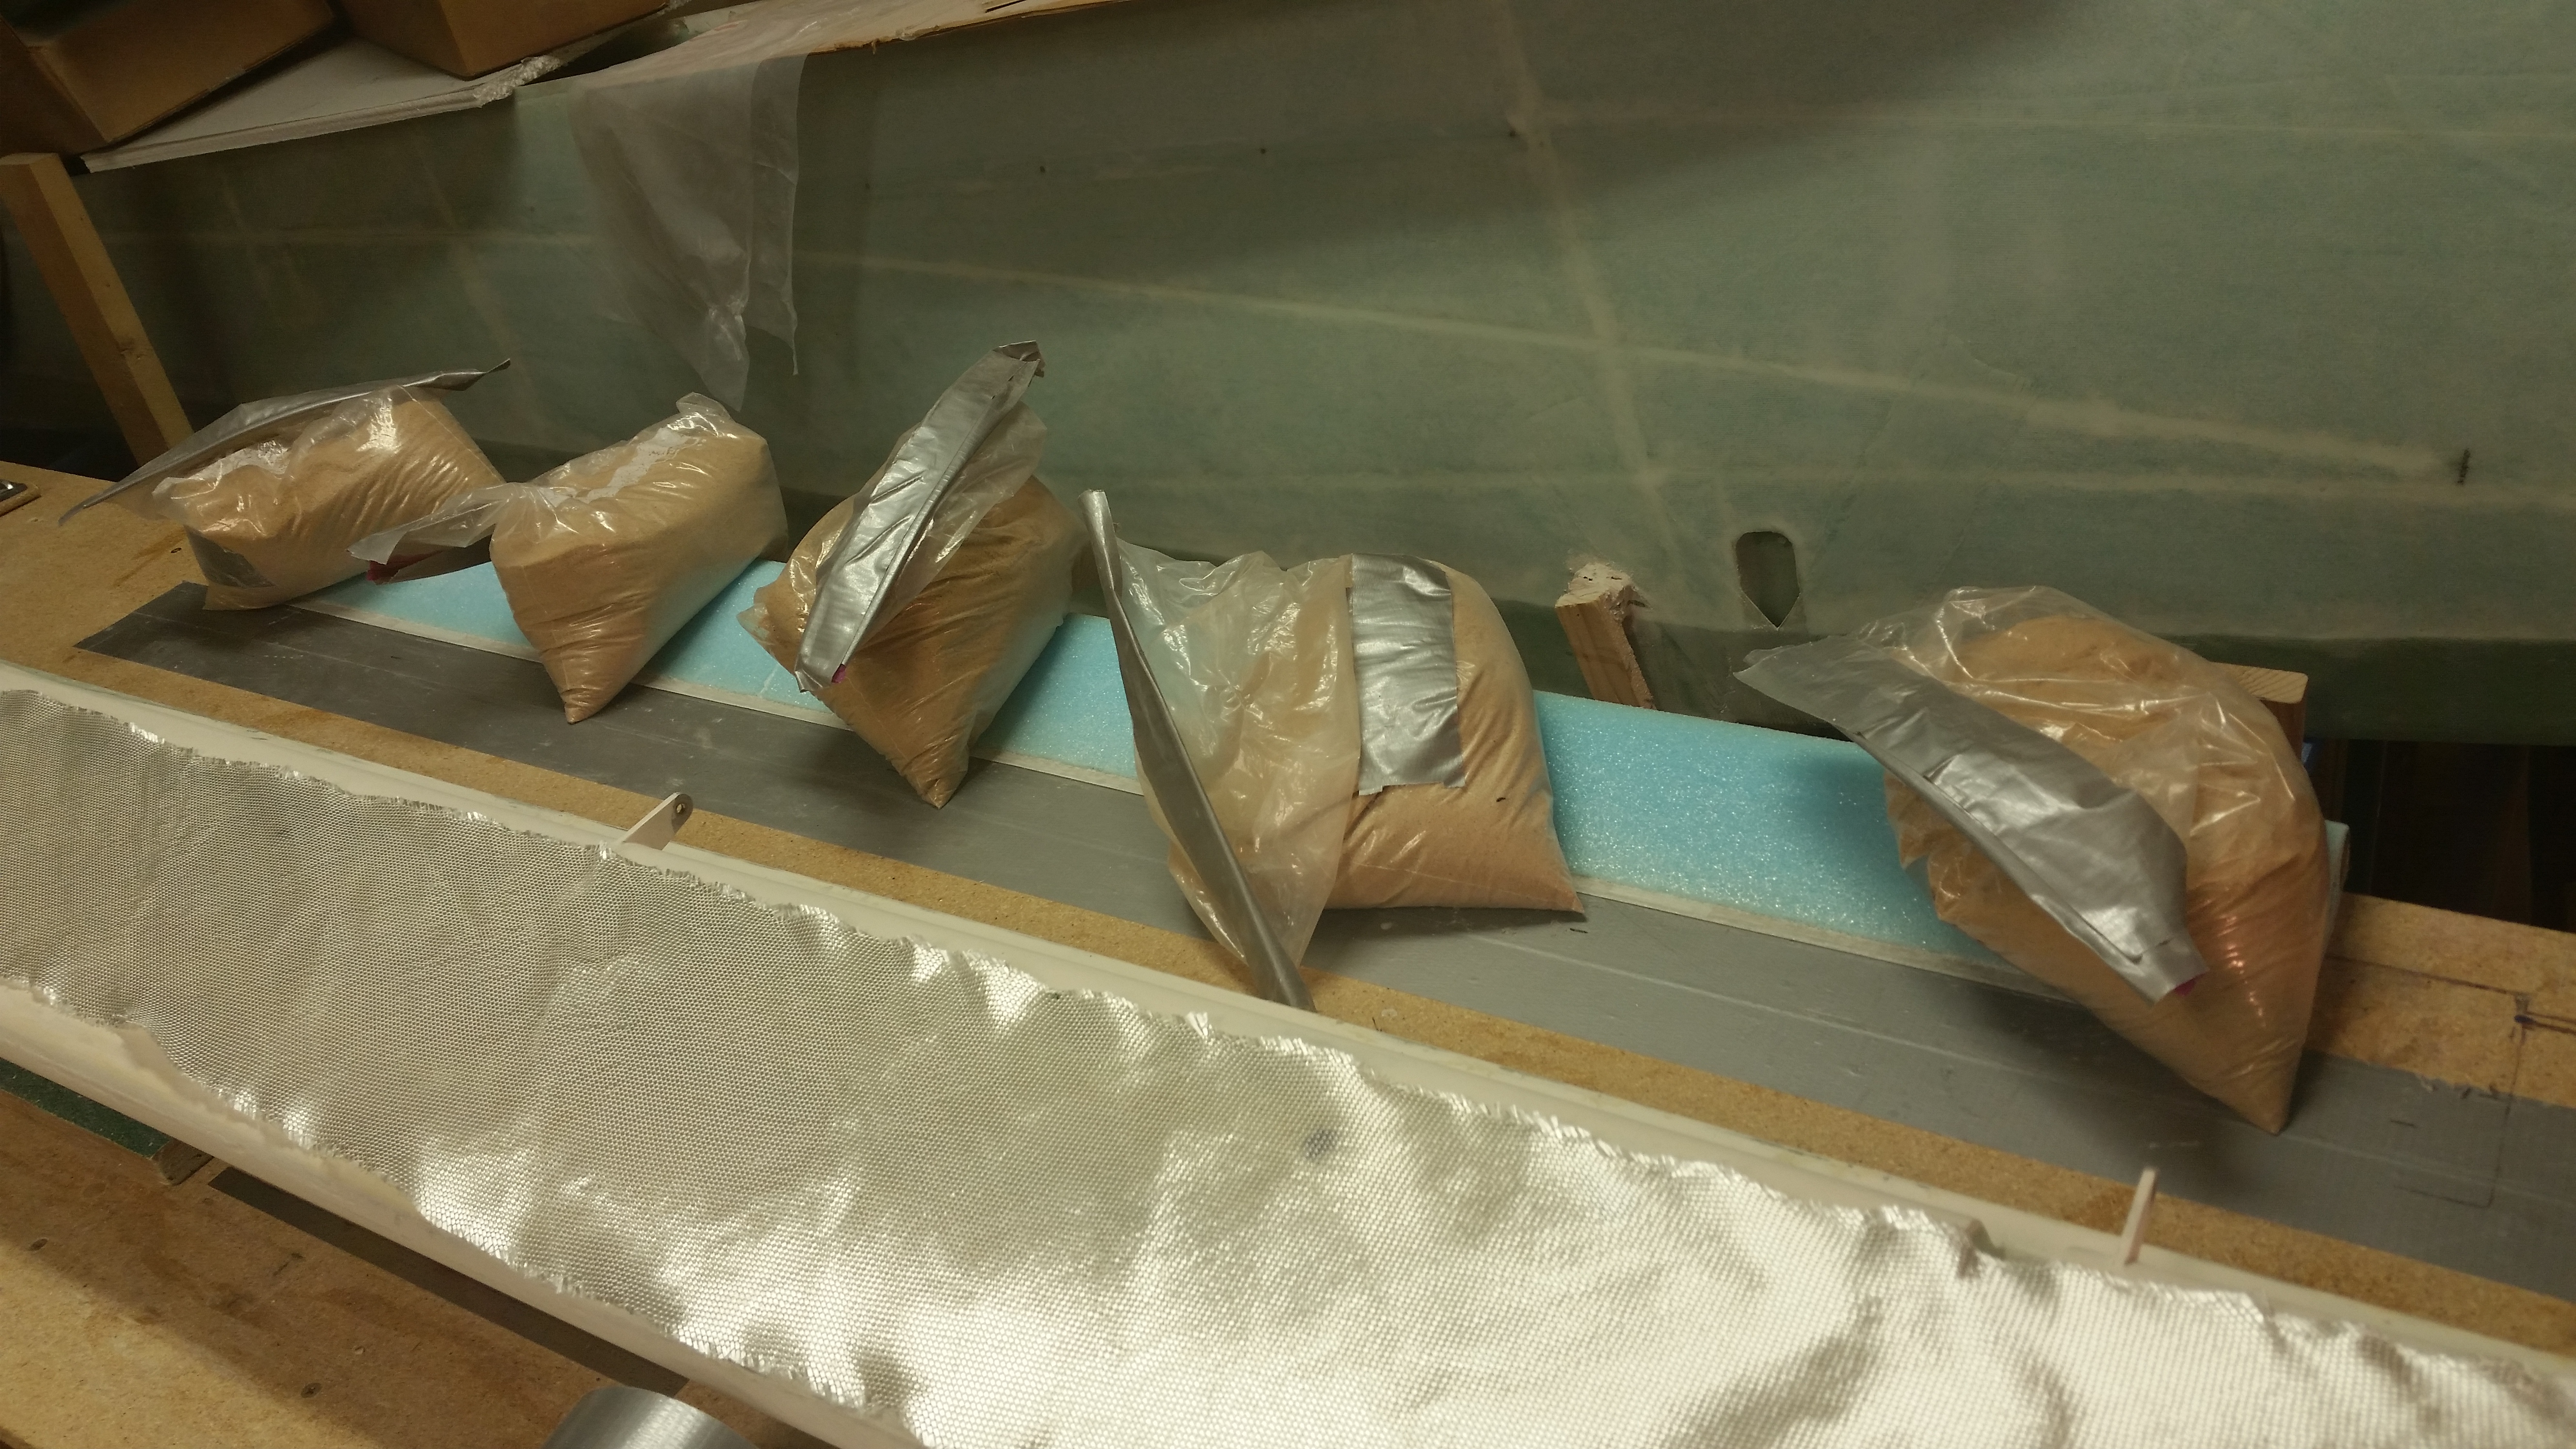
I weighed down the elevator as the 5-minute glue cured.
I re-vacuumed the top of the elevator after removing the sandbags and then whipped up some micro and applied it.
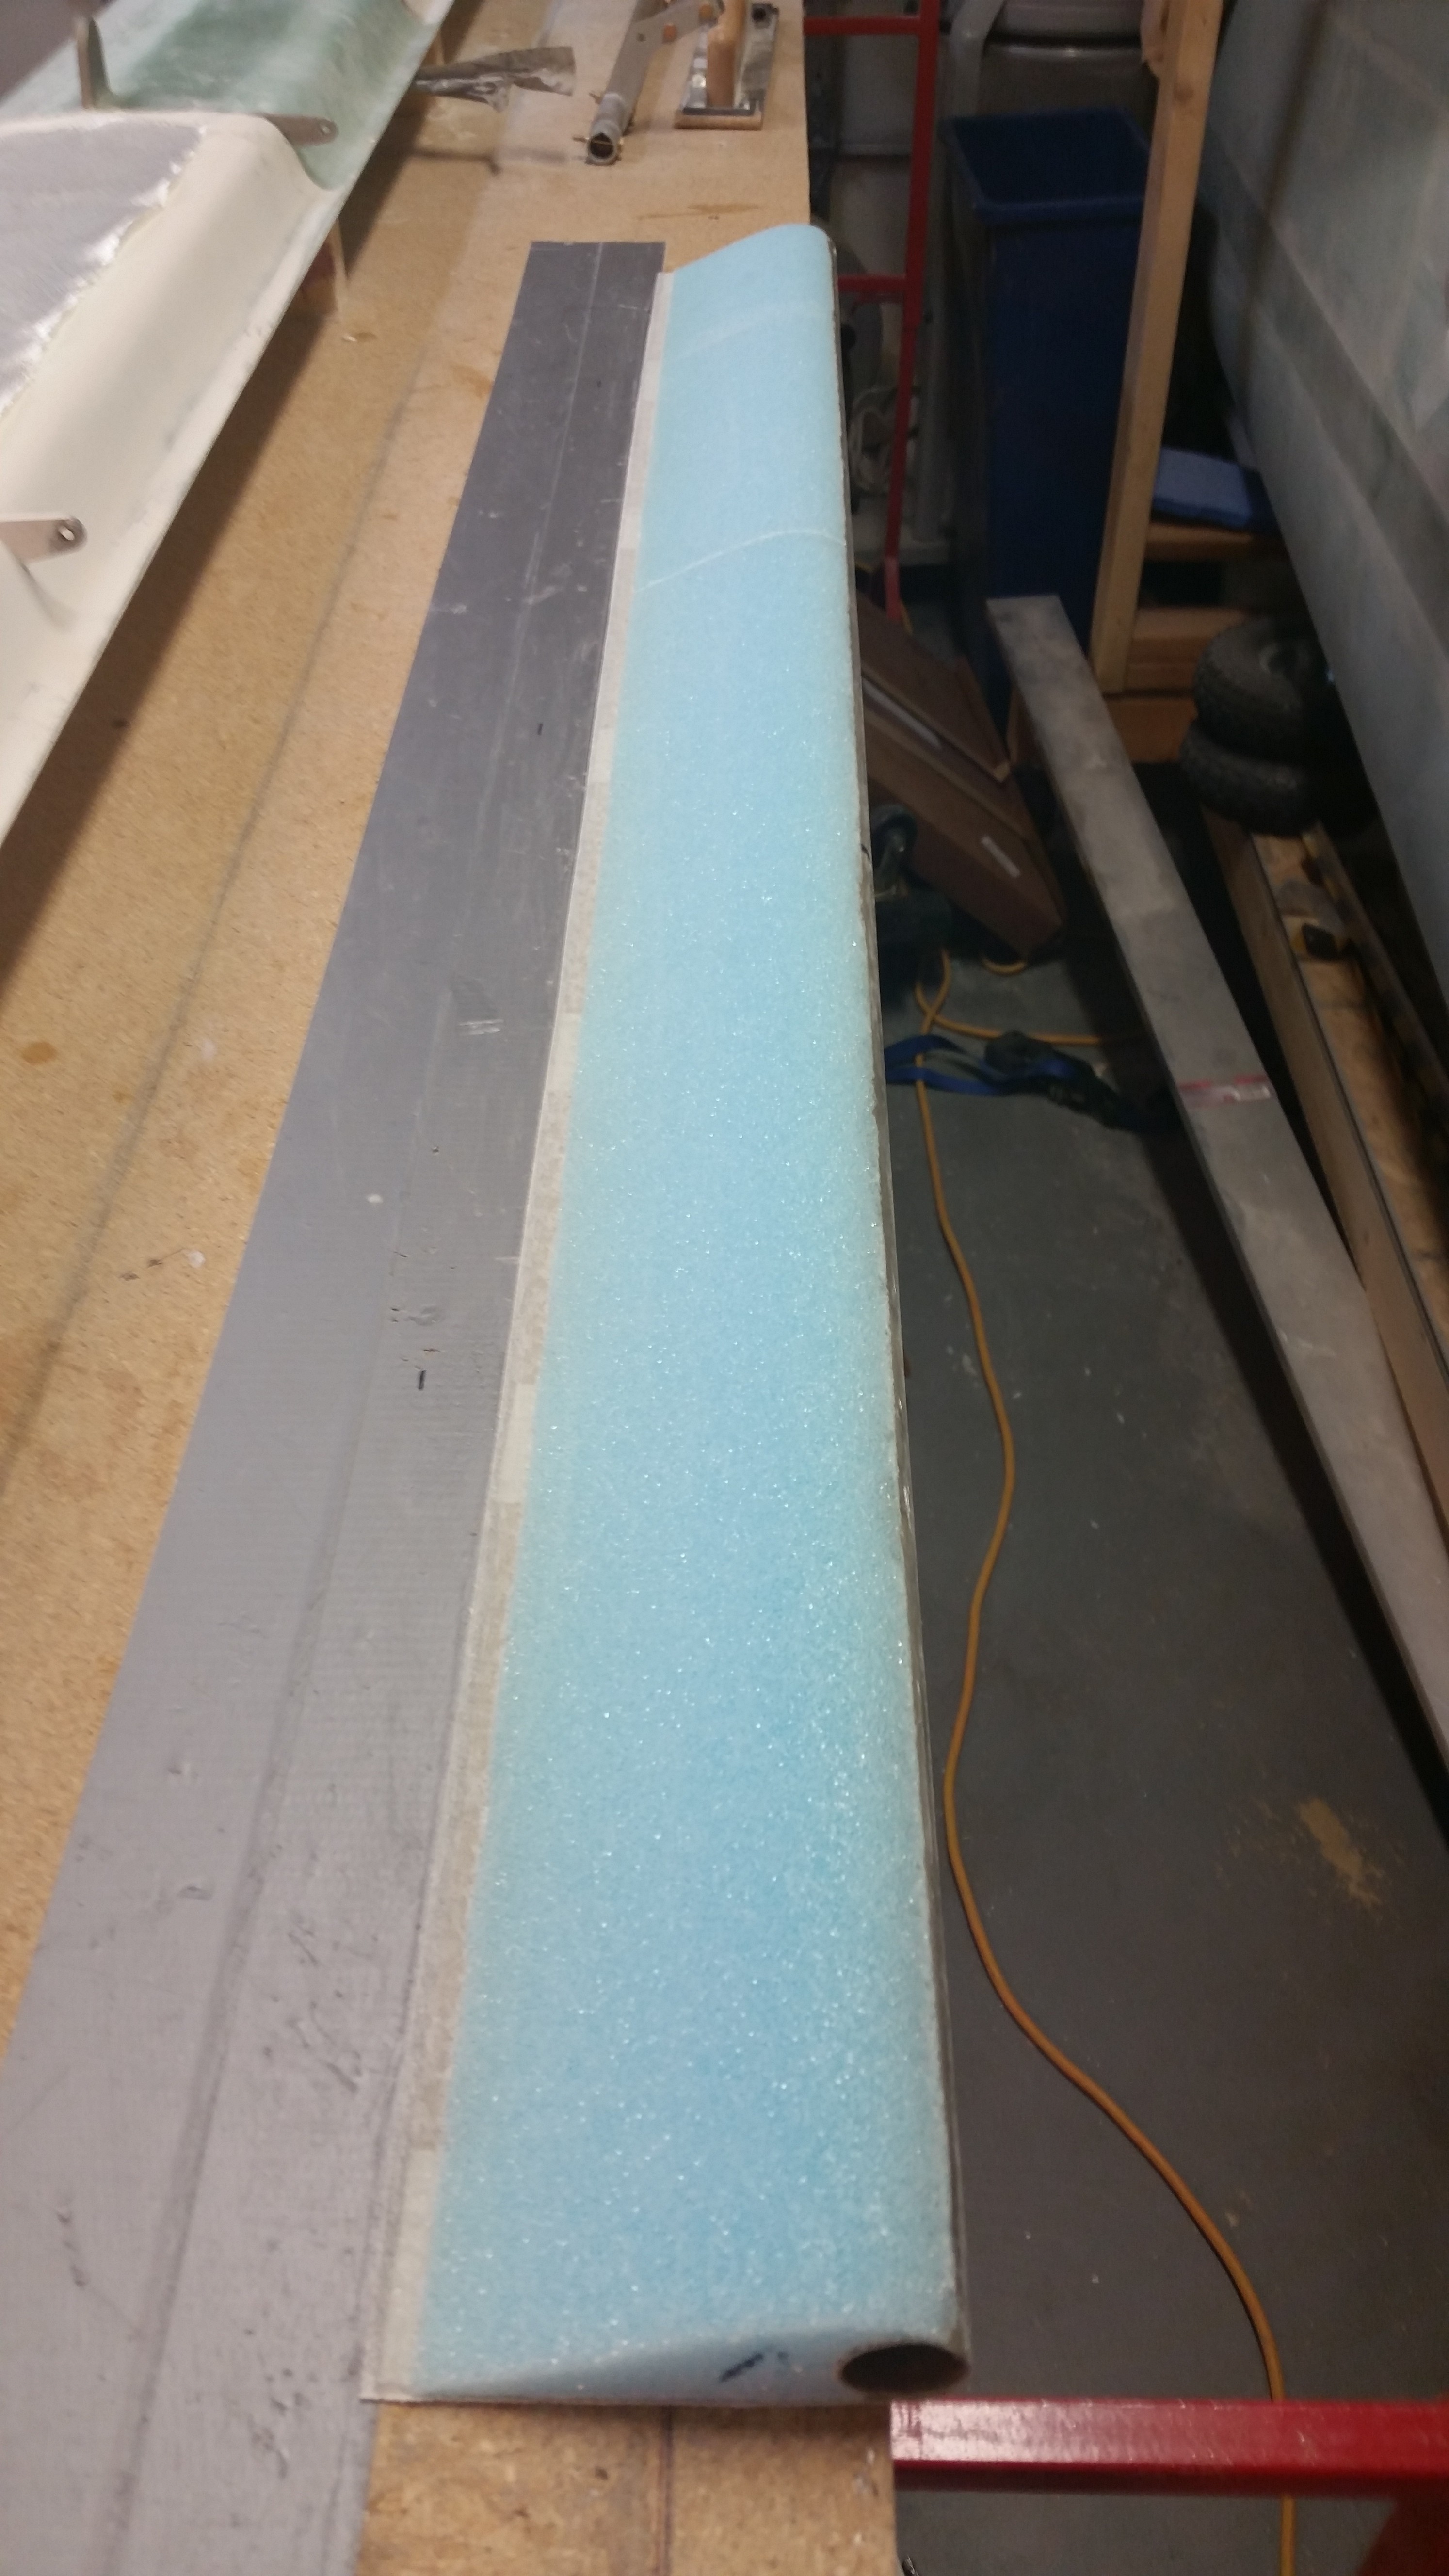
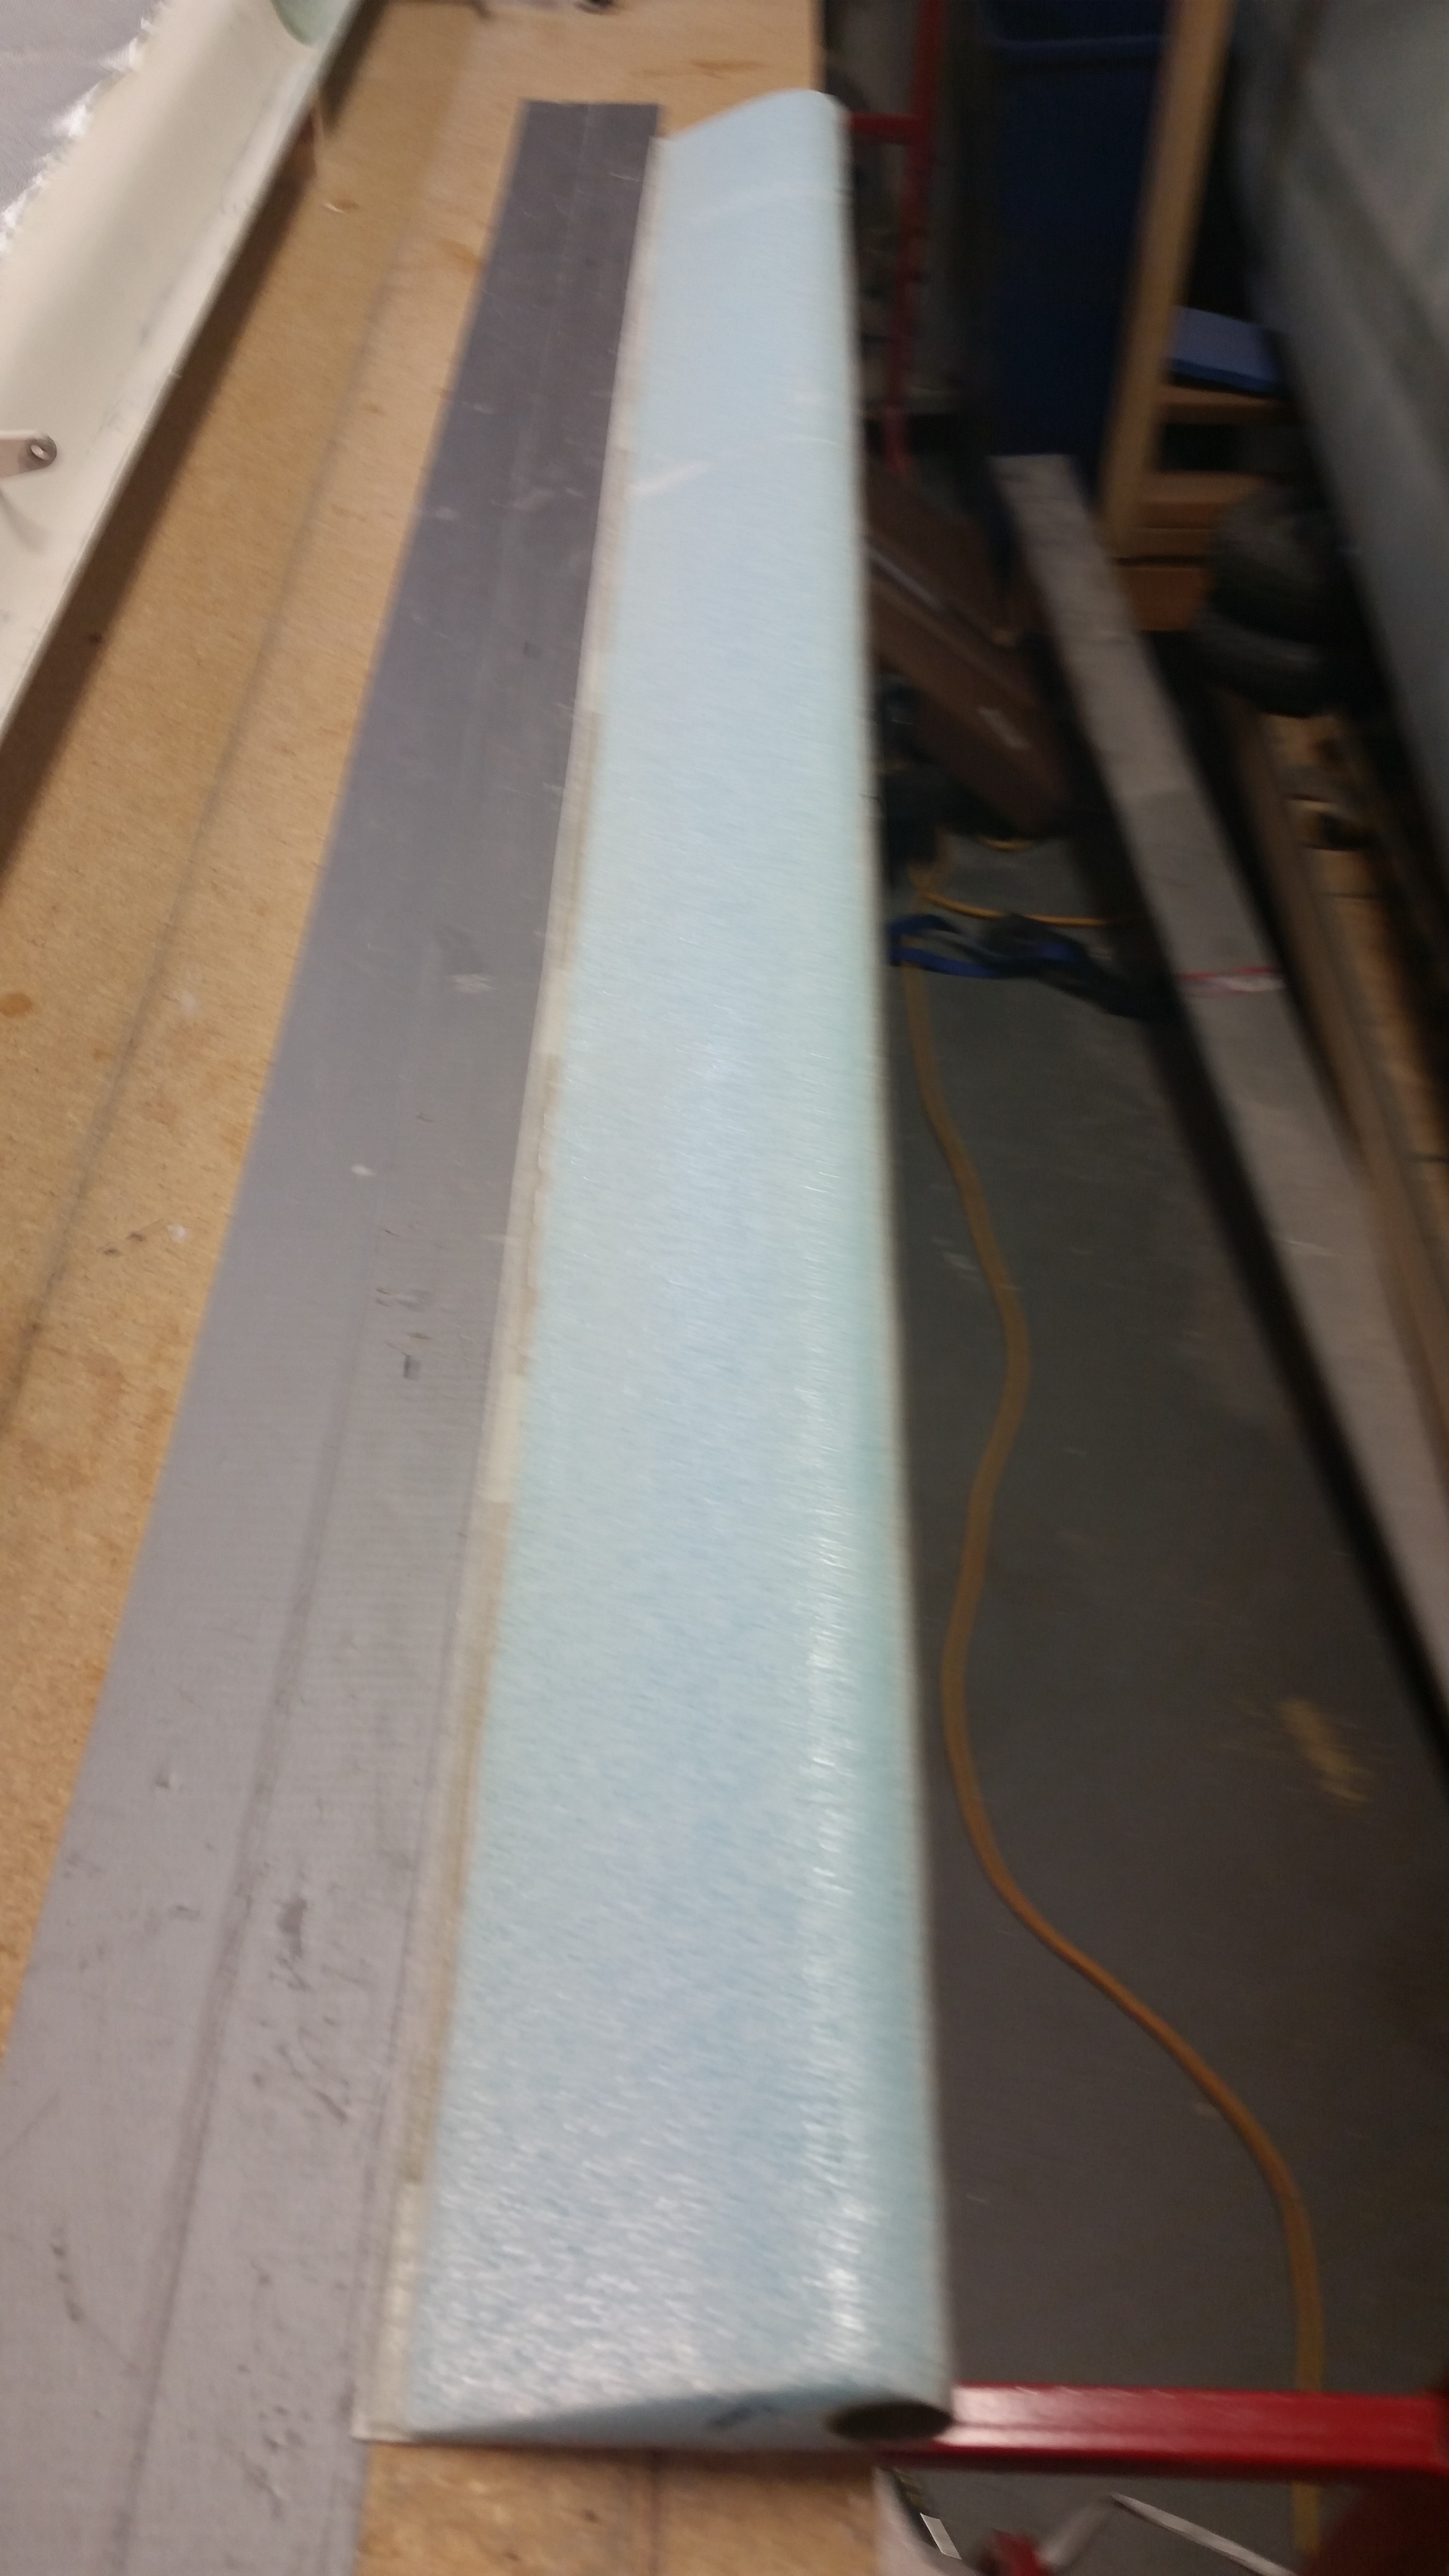
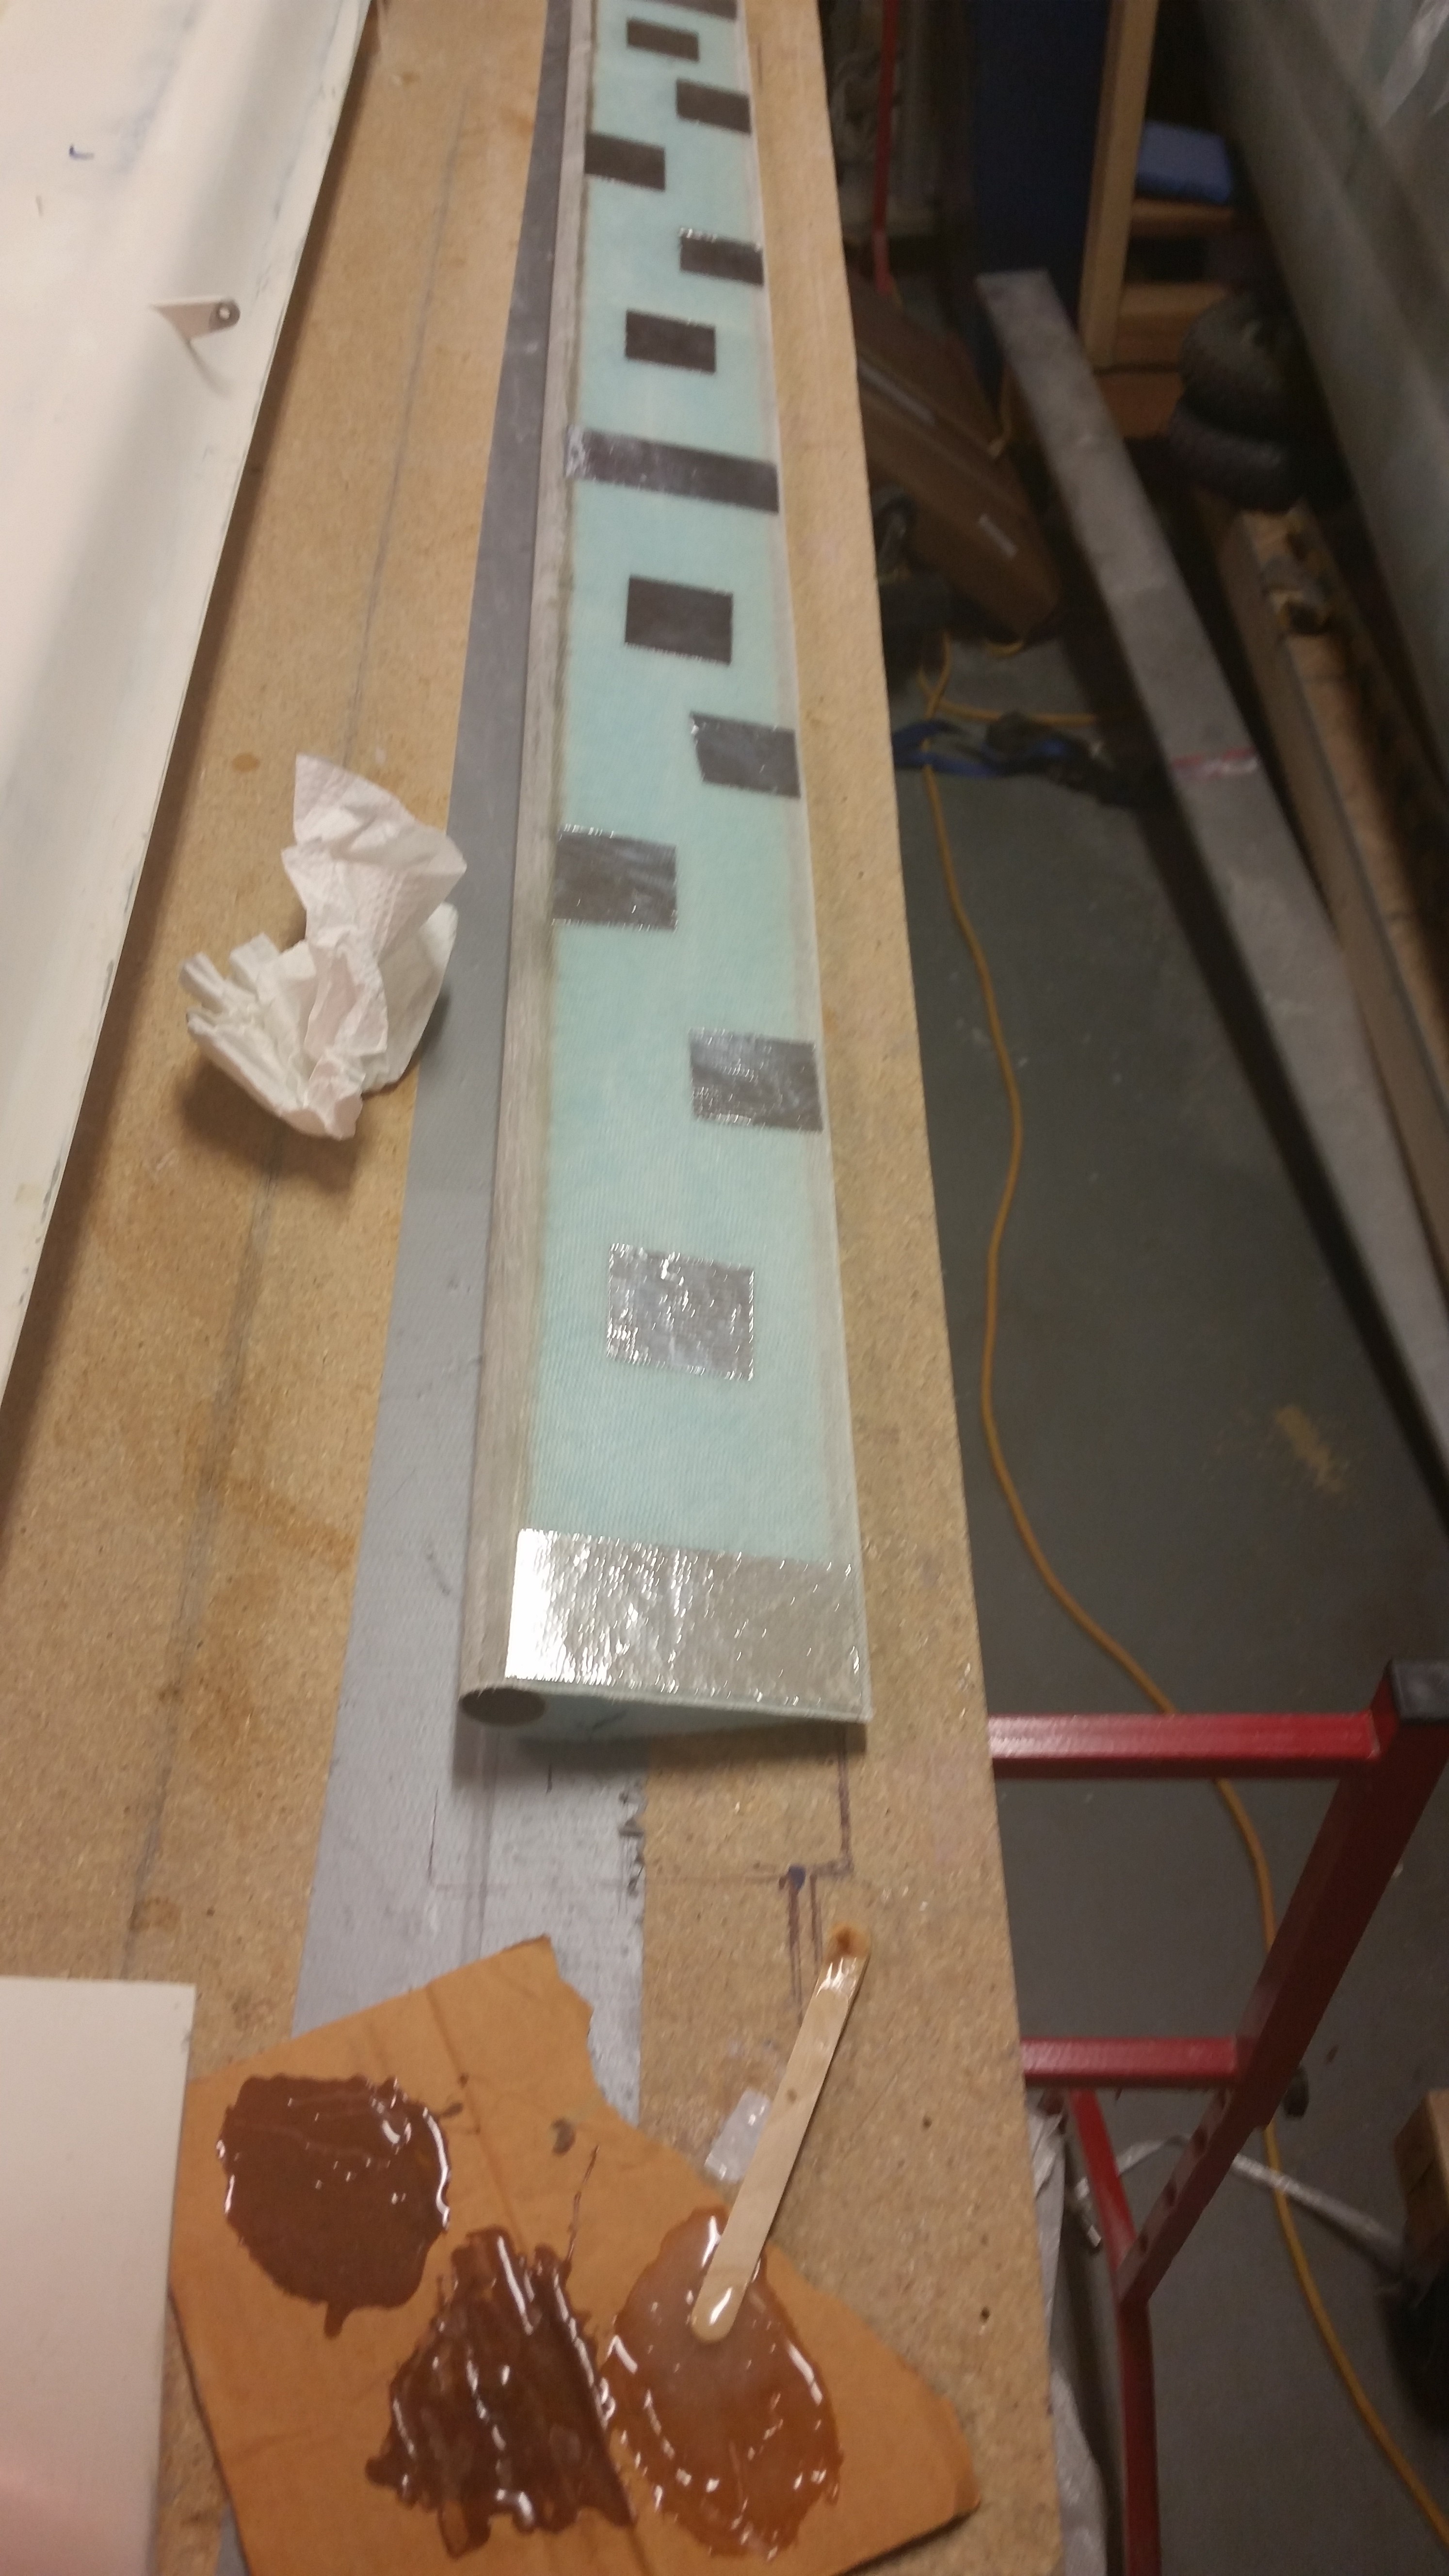
Here’s a shot after I completed the 2-ply UNI layup.

A close up shot to show how dry the layup is … can you tell?

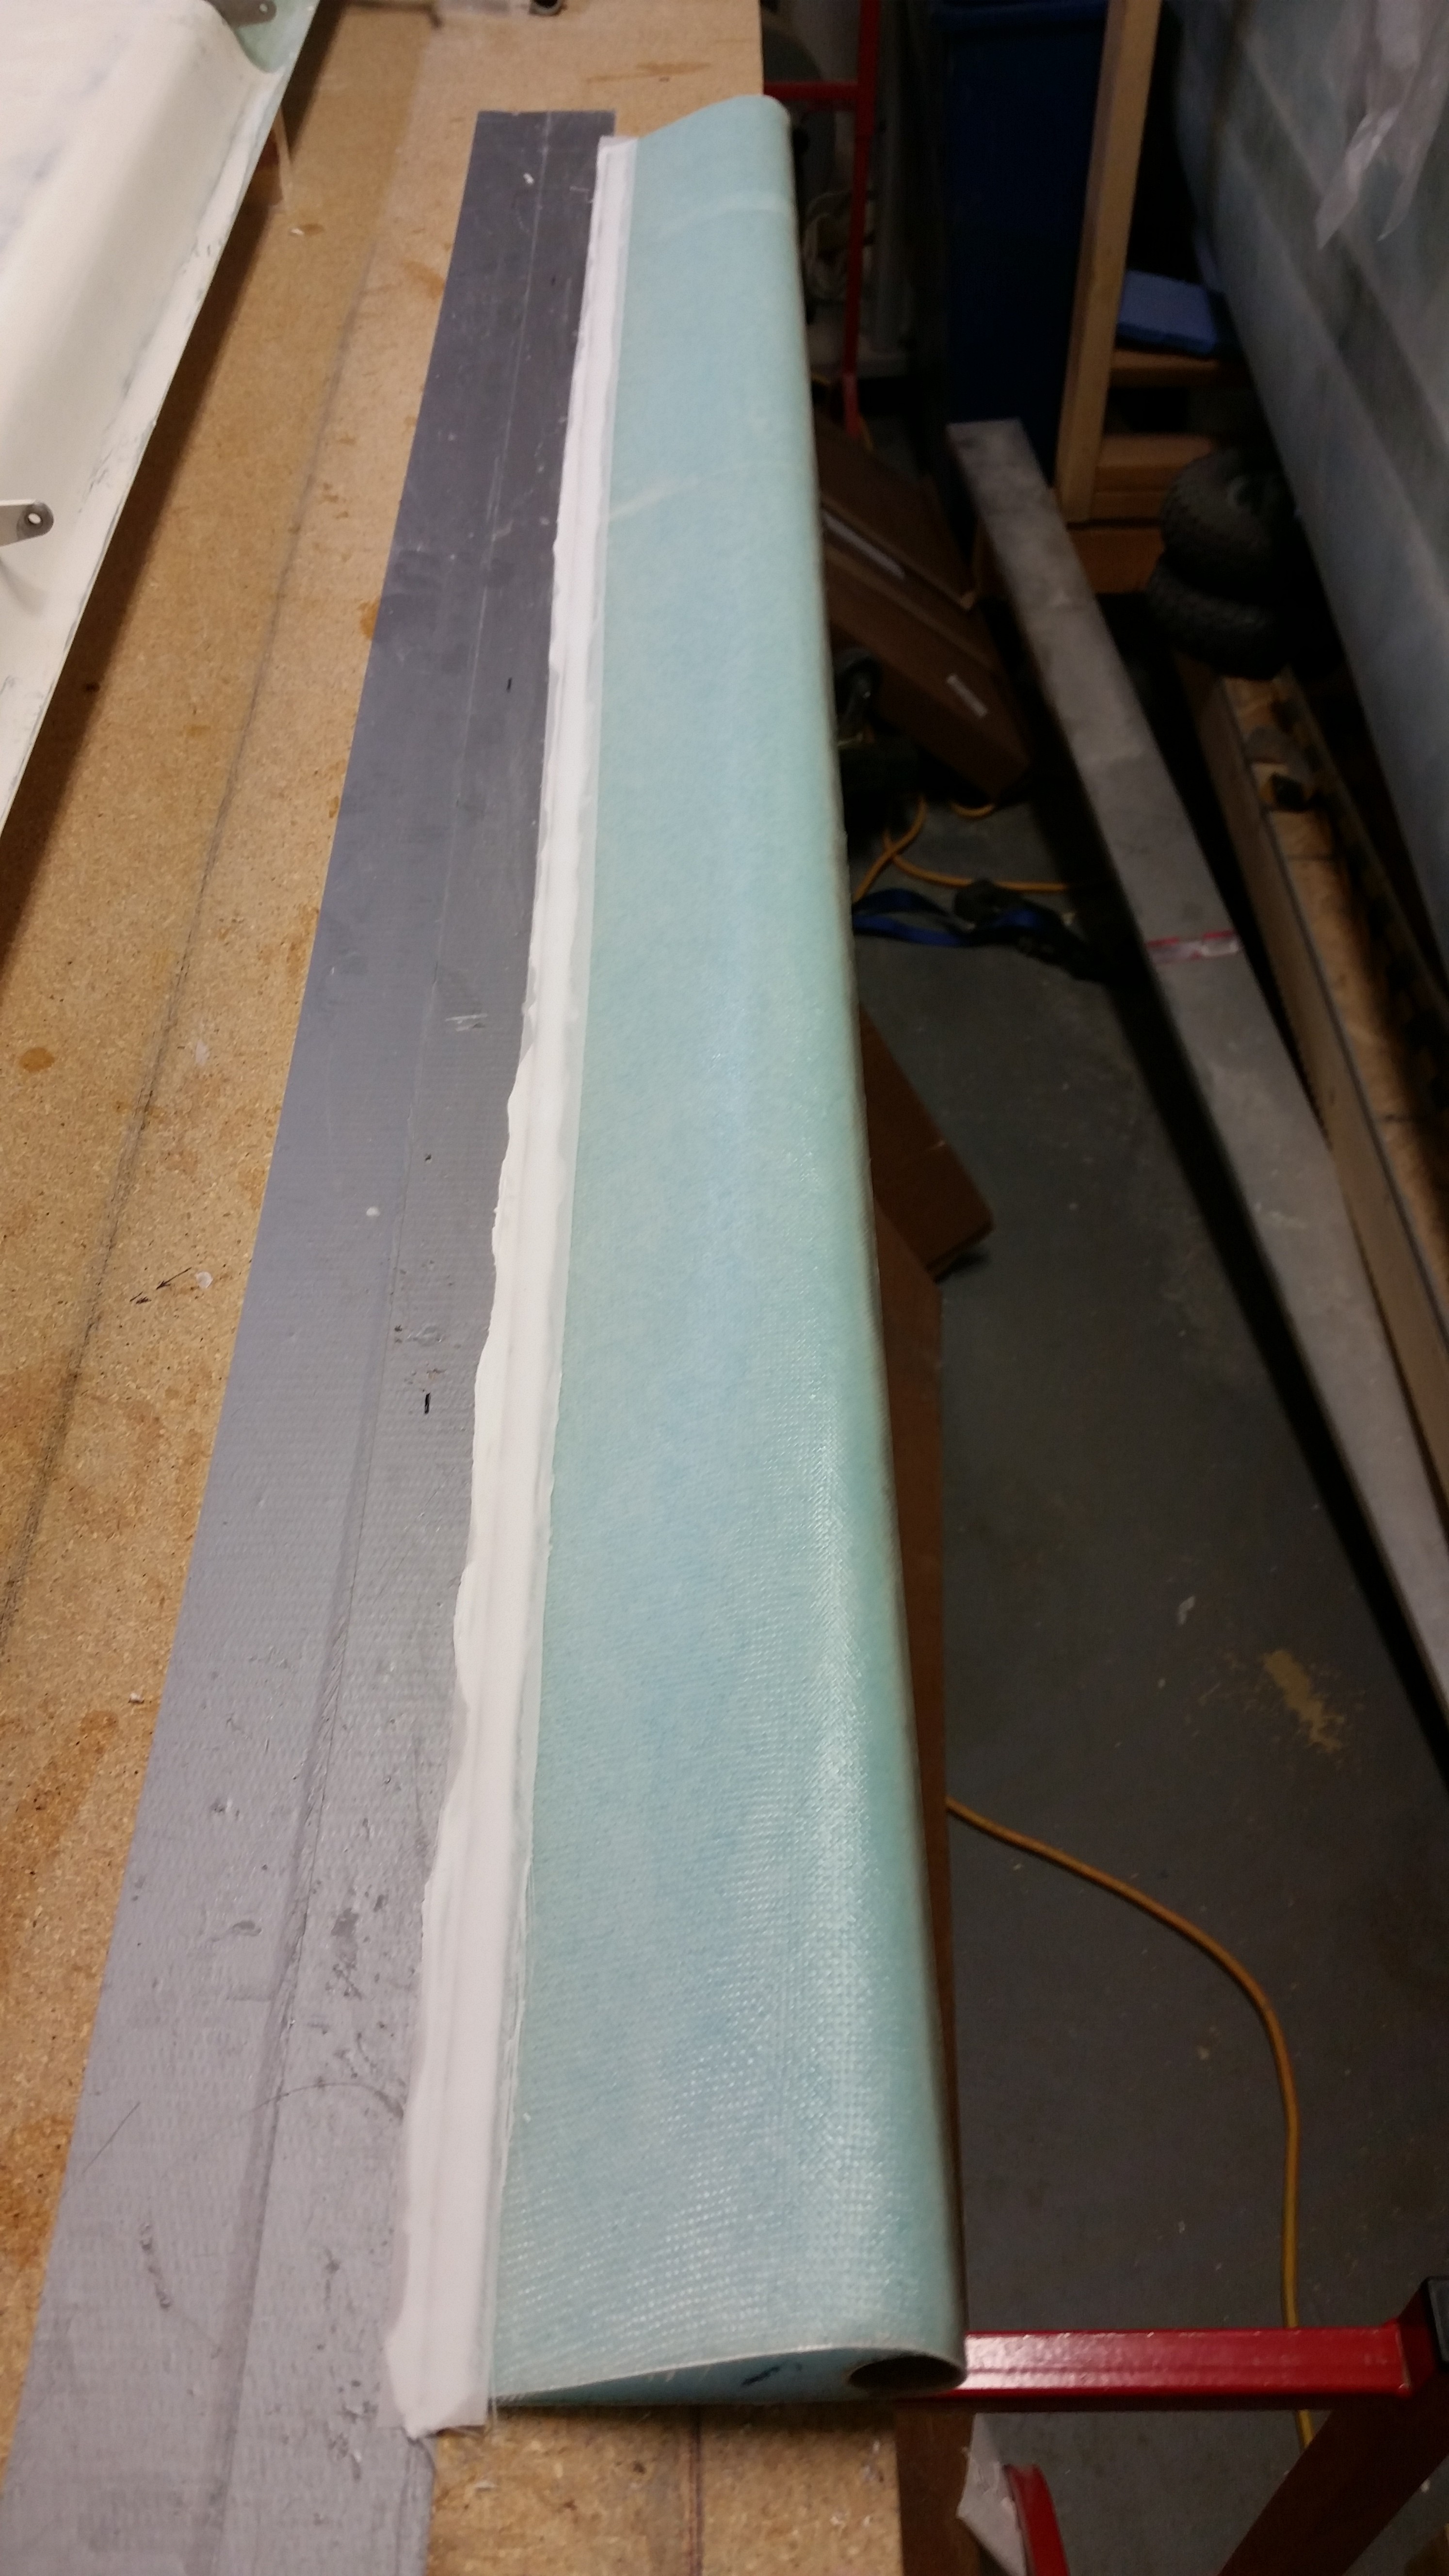
After a couple of hours I applied dry micro to the TE and then covered the micro with a 1″ wide strip of peel ply.
Tomorrow I plan on getting the outboard end glassed and also the outboard weight reattached. After that, I’ll just need to clean out the hinge slots and holes and the left elevator will be complete!