
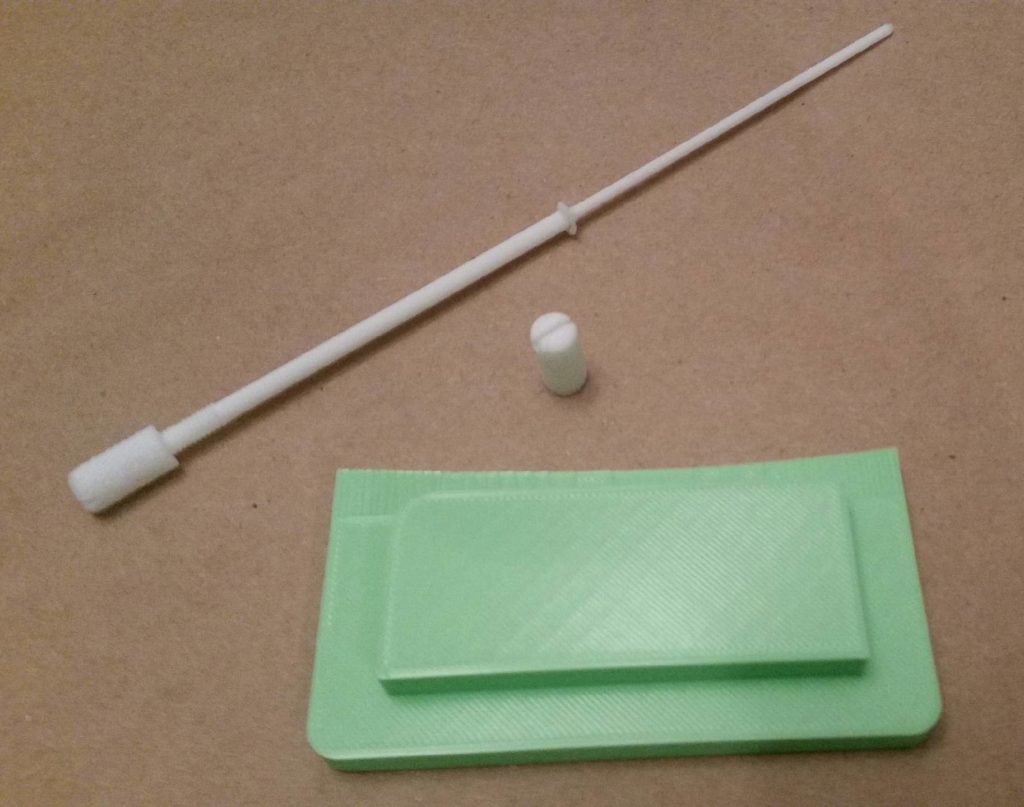
I woke up today and still had the small batch of white filament that comes with the 3D printer loaded. So I quickly 3D printed out a copy of both the aft nose/avionics cover hinge pin, and just the knob itself, to test the fit & function on the panel.
I had designed the knob to be both knurled and with a slot in the top end to use a quarter/coin to tighten/loosen it. However, I was just a hair narrow on my sketched slot (had meant to confirm the thickness of a quarter) so a quarter wouldn’t fit.
With the results of my newfound “test,” I set about working on the arduous 45 sec change in Fusion 360 so that the real one that I make will have the proper slot dimensions.
Tested and confirmed all for ~0.11 cents worth of 3D printer filament!
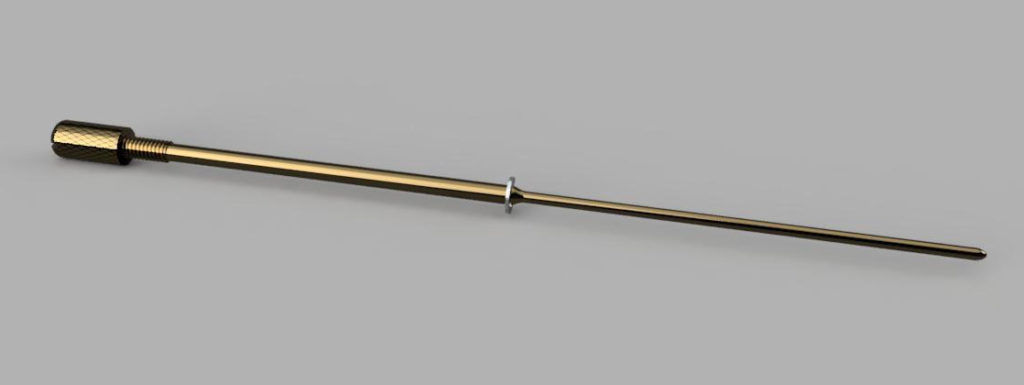
As a reminder, here’s my rendered CAD version of the aft nose/avionics cover hinge pin.
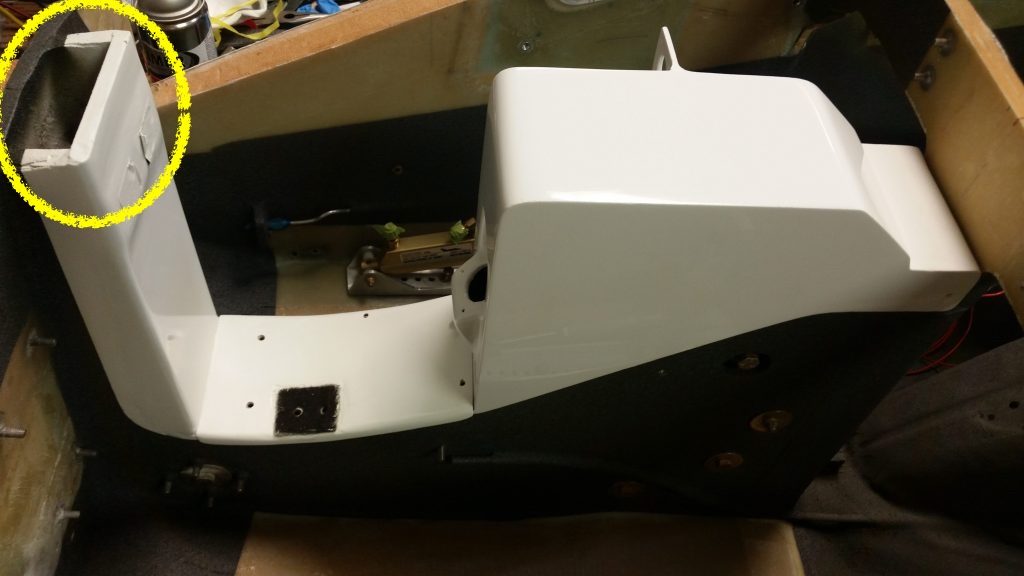
Since I have no real furniture to speak of due to the move, normal places to put stuff gets tight…. and sitting on my “end table” (2x4s and plywood) was a scrap of paper that had the dimensions that I had measured up at the hangar for a cap (green thing above) that will enclose the top hole of the NG30s (circled in yellow below).
I know, not a big deal in getting my plane flying, but since I’m currently in 3D printing mode, I figured I would start working up the model to tweak for just a few extra minutes at a whack every time I visit the hangar.
As I was looking for something else, that piece of paper with the dimensions ended up on the floor. Well, in my my attempt (read: frustration) to minimize the clutter, I sat down for 10 minutes and knocked out the CAD drawing for the initial version of that NG30 cap and then 3D printed it…. no need for that piece of paper anymore!

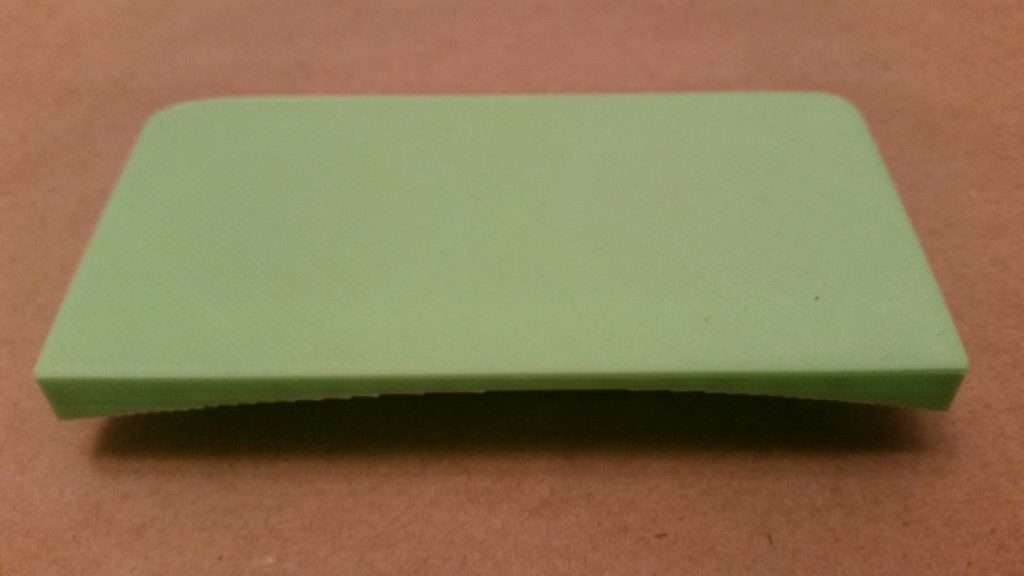
Here’s the blank topside of the NG30 cap.
I do have the initial curved area for the top of the “Napster” bulkhead shaped into the piece, but I’m sure there’s another dozen or so more tweaks that will need to be made before the final version (which will have some type of label most likely), but like I said… with just a few minutes and some notes each hangar visit, I’ll slowly get it dialed in with the correct dimensions and shape.
Once again, my little 3D printer is definitely doing some good deeds!