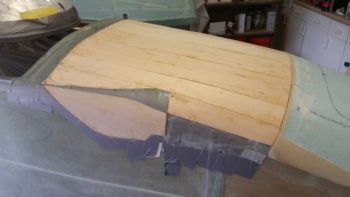
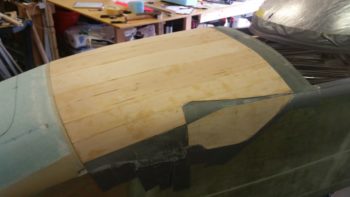
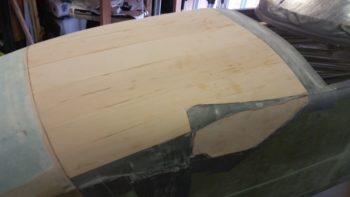
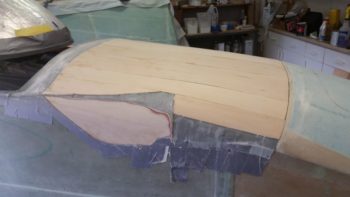
As I was having my morning coffee I was thinking about the tasks that lie ahead of me for the canopy build today. I realized that for the very front of the canopy, the front skirt, that if I didn’t have the Aft nose/avionics top deck cover glassed that the skirt on the front underside would be off a bit. But then I reasoned, “How much?” I mean, we’re seriously only talking 2 plies of BID more [so I thought at the time] for the final glassing of the aft nose cover/glare shield . . . that’s not a huge thickness to contend with.
Ahh, but then I thought about accessibility. You see, I need the aft nose cover in place to glass in the canopy front skirt. Conversely however, if I don’t finish the cover first and then proceed with the canopy, then I’m locked out of working on the nose cover since the aft end of it would be covered by the canopy front skirt!
A pickle to be sure, but both issues resolved by simply knocking out glassing the final layup on the exterior of the aft canopy cover. Plus, since around 41 hours had passed since I finished the initial construction/glassing of nose cover, I figured it was plenty cured.
So that’s what I did.
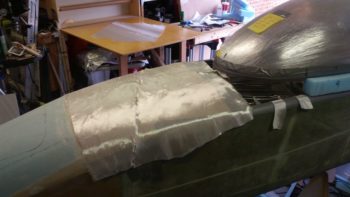
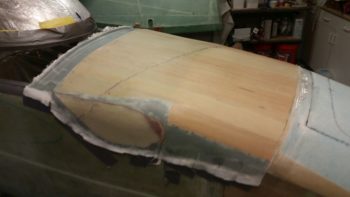
I started by pulling all the tape off that had done its job admirably in holding the thin plies of wood in place and in alignment atop the aft nose structure.
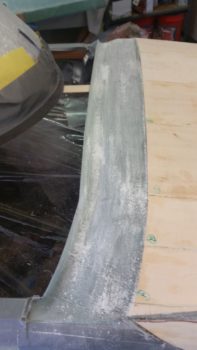
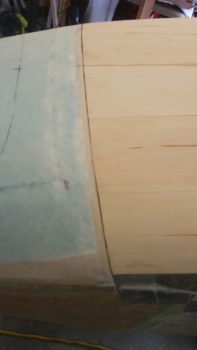
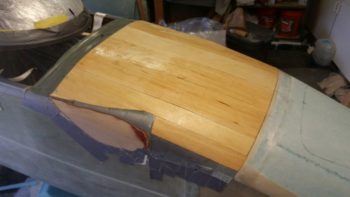
I then got to work cleaning it all up. I pulled all the peel ply right away and then gave the exposed glass parts a good sanding.
I then grabbed the long sanding board and went to work. Since the aft nose cover was due to get 2 more plies of BID, as was the forward nose (1 ply for the entire nose, and 1 extra just for the nose hatch door… which I was going to extend aft) I then gave the intersection line –the now buried but visible intermediate bulkhead– a good working over to get the surfaces aligned with each other.
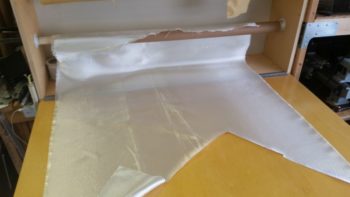
After a good 45 minutes of sanding and prepping, I was ready to start cutting some glass for the layup. I had been thinking about my layup schedule while I was sanding, so I listed that out and my layup task list in fairly short order.
And then I hit the proverbial brick wall!! Gasp! Ugh! Dammit! I was very, very close to being out of BID! I knew I was getting close, but obviously didn’t realize I was THIS close to being out. The implications on this was significant for today’s tasks specifically since if I had chosen to press forward with the canopy build, I don’t think I would have had enough… well, to do it all cleanly with singly pieces of BID per ply.
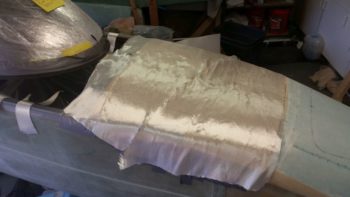
I did have enough for one ply to do the aft nose cover, so I simply changed my ply #2 from BID to UNI, so I could still get the cover glassed. I was planning on peel plying the “final” layup anyway just because in an essentially on-the-fly design like the aft nose cover, there may be some unknown variables that crop up requiring extra glass to be laid up over the existing final glass skin. Bottom line, if I need to layup more glass on the cover later on I’ll be poised to do so going the peel ply route.
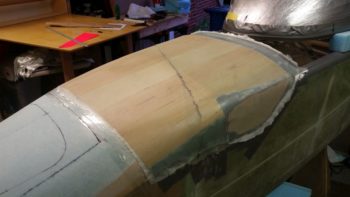
I then rummaged through my extensive spare UNI bin (who uses this stuff anyway?? … haha!) and quickly cobbled together a ply of UNI for the aft nose cover layup. I chose to run the fibers across the nose to be perpendicular to the grain of the integral Basswood strips that make up the core of the cover.
Then I figured I would just forego the glass and simply varnish the wood… looks nice! Maybe a bit of stain?! HA! I jest…
I then undertook what turned out to be quite a considerably in-depth layup (don’t they all! … we Long-EZ builders are suckers! We always think things are going to get easier… or not take that long! heh)
So many, many hours later I was glad to put the lid on this baby . . . oh, yeah, forgot the peel ply.
So many, many hours later I was glad to put the lid on this baby . . . with peel ply!
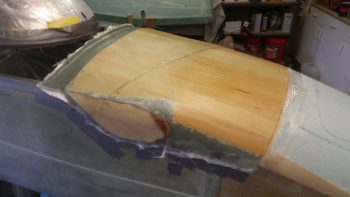
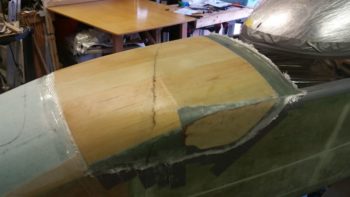
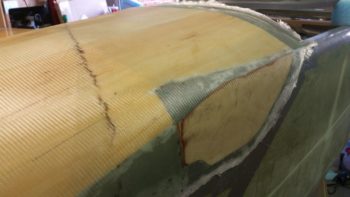
Backing up pre-peel ply, I would like to point out that to streamline the contour of the aft nose cover to the maximum extent possible, it meant incorporating the “pointiest” part of the entire nose structure –besides the very front– which is still those pesky F28/front longeron ends that I trimmed down as much as I felt I possibly could!
You may have wondered (or could care less!) about the triangular strip of glass with no wood over it, which is in fact the very front corner of the F28 bulkhead and where the longeron ends. I’m kinda wishing I had taken it down at least another 1/8″, if not 3/16″ on each side. Still, I think these abrupt shifts in the nose contours are common to Long-EZ’s since you’re taking basically a square box and turning it into a long conical nose. So, don’t mistake my woulda, shoulda, coulda for displeasure, because I’m more than happy with this nose . . . yep, hind sight is always 20/20 on these builds!
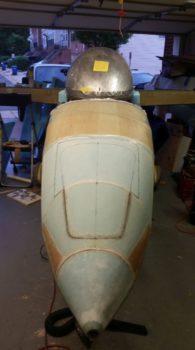
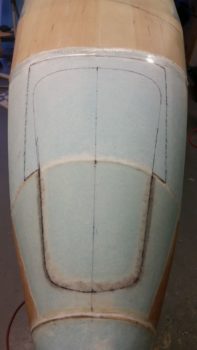
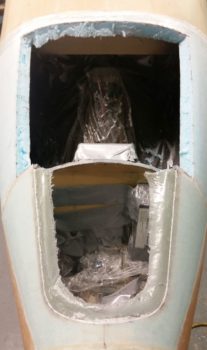
Another front view, this time showing the foam plug around the back half nose hatch marked up.
Before it got too late to make noise, I grabbed my Fein Saw and cut the perimeter of the front nose hatch door –NOT TOO DEEP!!– and then all the way through on the back half foam plug.
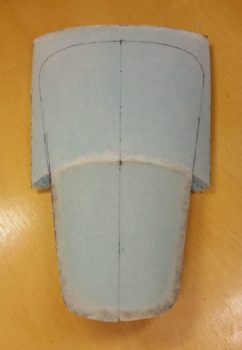
I then carefully removed the nose hatch door with the associated & attached foam plug on the back half of this odd piece. Hmm, this does resemble something? … Oh, yeah, a fingernail! . . . just like I predicted!
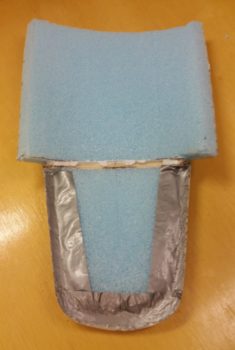
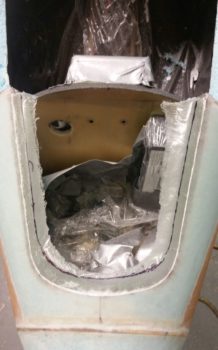
Here we have the underside of the nose hatch door. I will essentially create the edge of the back half of the nose hatch as I did the front half.
I then removed the duct tape from the underside edge of the nose front hatch door. I have to say I’m really happy with how my single larger nose hatch door plan turned out!
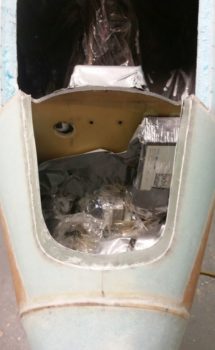
And here is the nose hatch in its current state… with the outline of the foam plug on the aft end visible.
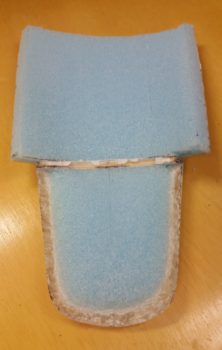
I then marked the cut line on the perimeter of the forward nose hatch flange to trim it down to a narrower, workable width.
Again, I grabbed my Fein saw and within a few minutes had a nice trimmed flange for the front half of the nose hatch door.
The aft nose/avionics top deck cover final layup really did take up about 5 hours total from start to finish. Not to sound like a baby, but today was the hottest day of the year so far… so it was a bit toasty in the garage. My son had called for Father’s Day, so I knocked off a few hours earlier than I normally would, grabbed a shower, a cold one and some dinner and had a good chat with my kid!
Tomorrow I will do a bit on the build, but I’ll have my eye on what will get loaded up for the move as well. Tuesday will be full on packing so no build until I get back… I know I said I wasn’t going to build after I get back from this trip, but due to my SNAFU with BID stock on hand, I will get the canopy done upon returning so that it is at least glassed externally… since I can’t/won’t transport the fuselage down to NC with micro’d-on pieces of foam clinging on for dear life!

