
I started off today looking everywhere for about an hour in the DC area for a friggin’ 1″ long 2-56 or 1-72 set of screws for the left side microswitch pair on the nose gear actuator.
No joy. I called Fastenal, Grainger, etc. and no one had it. Amazing.
I decided to press forward with the build and scrounge for the screws later on. To be clear, I have 2-56 x 3/4″ screws on order with ACS that I’m fairly certain will work, but I wanted to try to get the gear up/down warning microswitch mounted today to get it checked off the list, especially since my ACS order won’t arrive for another day or so.
My first order of the day was to reinforce the areas on the aft corners and the front lip to better hold mounting screws. I laid up a 2-ply BID pad on both back side corners and another at the lower front lip.
Apparently the epoxy estimator lobe in my brain is malfunctioning and once again I had way too much epoxy left over for the 3 small layups I did, even after peel plying them.
I was wondering what I should layup when the conversation that I had with my buddy Greg last night popped into my head. I was explaining why I was working on the NG30 cover now vs later, primarily because I had much easier access to work on it since there are no sidewalls in my way. Then it hit me suddenly: time to glass the forward NG30 cover!
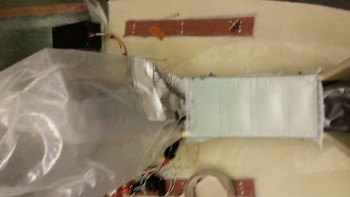
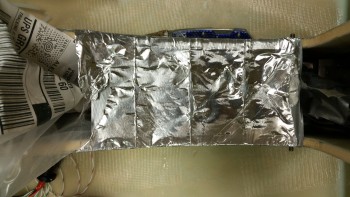
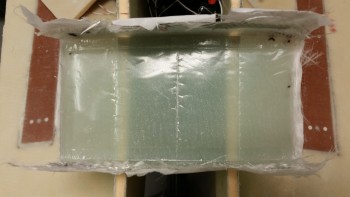
I quickly put plastic in front of both the gear actuator and the NG6B gear strut pivot & taped them up to protect them from any errant epoxy. I then grabbed duct tape and laid strips sideways over the hole, attempting to rid the surface contour of any fixable blemishes. I then taped over the duct tape with foil tape and proceeded to lay up 4 plies of BID. I then peel plied the layup.
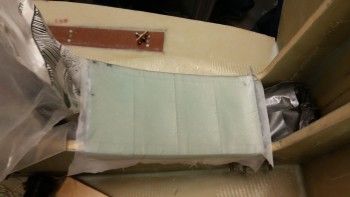
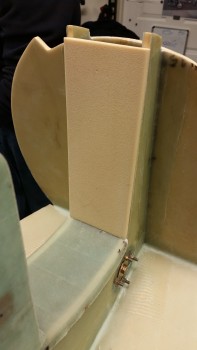
I have to say that although there were some ridges on my “mold” due to the tape, after the 4th ply it was pretty darn smooth. I then took a number of pics of the new forward NG30 cover.
Here’s what’s left of the foil after I popped off the cover.
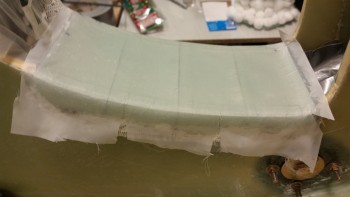
And here’s the underside of the cover.
I then removed the peel ply.
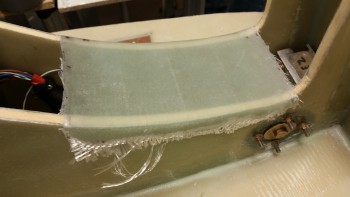
I rough cut the edges with scissors and took a few more pics of it mocked up with the aft NG30 cover.
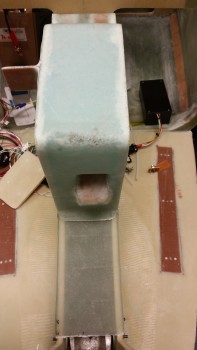
I then started working on the NG30 cover mounting to the NG30 gear box assembly. The NG30 cover will mount with 6 x #8 sized screws (front, middle, back).
The back & front screw point configurations have the screws going through the NG30 cover skin into nutplate assemblies mounted on the NG30. However, the middle set of mounting screws will start with a small hole in each side of the NG30s, with the screw going through the NG30 side into a nutplate that is mounted on a short tab that is in turn attached to the inside of the NG30 cover.
Here are the two mounting tabs that will get K1000-8 nutplates installed and will be mounted on the interior side panels of the NG30 cover. I glassed them with 3 plies of BiD on one side & 2 plies of BID on the side that will get glassed into the NG30 cover, since that will add rigidity to that side for all but the bottom 1-1/2″ of the tab where the nutplate is. The 5 total plies made for a very rigid, but still flexible mounting tab.
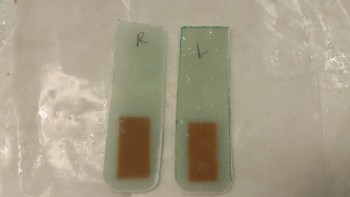
Here’s a shot after I installed theK1000-8 nutplates. Also, in addition to these I made up 6 K1000-8 nutplate assemblies with phenolic bases (not shown).

I then drilled a hole into the side of each NG30.
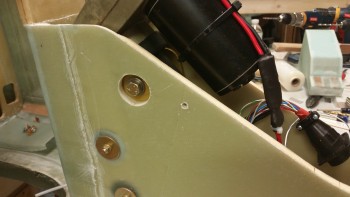
And then installed the mounting tabs. I’m working the installation of the mounting tabs a little backwards as you can tell. The tabs go into the assembly first, and then will get mounted to the actual cover later.
To find out how wide I’ll need to adjust (add to) the width of the cover side panel before permanently attaching the tab, I merely slid it over until the mounting tab stopped it.

I then measured the gap and got a pretty close estimate of how much material will need to be in between the mounting tab and the interior of the side wall.
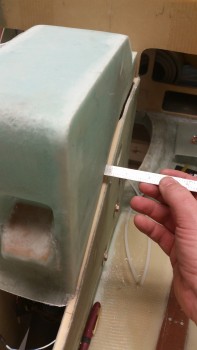
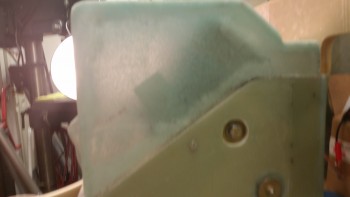
To know for certain where the tab was I placed a bright light behind the cover and simply traced the mounting tab onto the side of the cover. I did this for both sides of course.
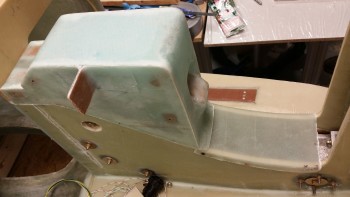
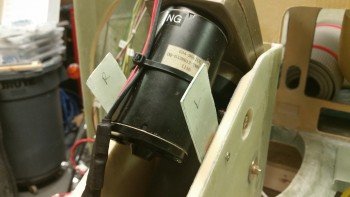
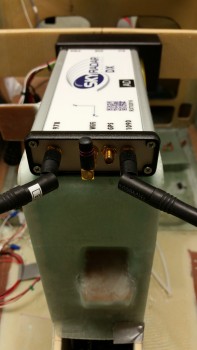
I then grabbed the AEX module and the SkyRadar ADS-B receiver and mocked them up on the NG30 cover.
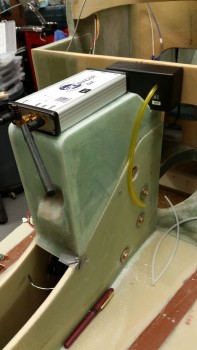
Below is a shot of what I was really after here: I needed to know where to put the hard points on the inside top of the NG30 cover for the mounting of the Sky Radar ADS-B.
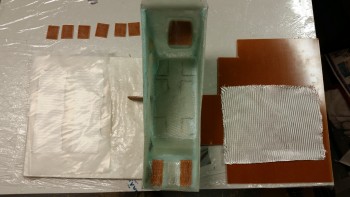
Lastly, here’s the final structural layup on the NG30 aft cover. I prepregged two 1-ply pieces of BID for corner tapes, then 6 phenolic inserts that will serve to hold the ADS-B receiver in place, and finally, one large piece of BID.
The plan was to use flocro to secure the phenolic inserts into place, then glass a 1-ply BID corner tape over the inserts and the corners along the top and each side.
I spent a good half hour prepping the interior of the NG30 cover for glass by sanding it.
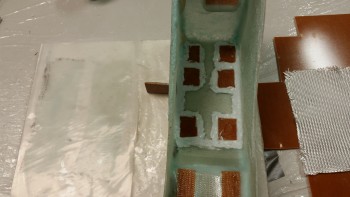
This shot shows all the phenolic inserts in place with flocro. Again, I used florcro to get the weight savings of micro combined with the strength of flox.
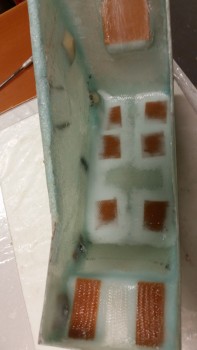
Here’s a shot with the layup completed. Again, this is the last structural layup for the construction of the aft NG30 cover. In fact, the only layups I have left will be for the center mounting tab pieces onto the interior surface of each side panel. I would have laid the mounting tabs up tonight, but it was late and that layup required me to surface prep the side panel glass with the Dremel tool. And since I was already chided earlier this week from a neighbor very nicely inquiring if I was the cause of the loud power tool noises emanating from this end of street, I figured I’d better be good . . . for another week or so!
Tomorrow I should be able to finish the aft NG30 cover. I’ll need to get it mounted to the NG30s, and then I’ll clean up all the nutplates, drill the mounting holes for the connectors, etc.