
Today was a warm beautiful day so I figured I better get some Alodining in while I could since I needed to Alodine the battery mount tube and the skid plate.
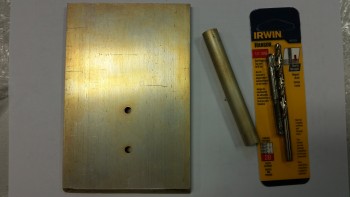
As for the skid plate, originally, I was going to simply install it under a number of layers of glass, and then drill the holes & tap them after the glass had cured. I changed my mind though figuring it was easier to drill and tap the holes before mounting it. I mocked up the rubber bumper and marked the spots for the bolt holes. I then drilled the holes with a 13/64″ bit. I went to grab my my 1/4-28 tap that I assumed was with all my other taps before realizing that I apparently didn’t have one. Yes, we all know what happens when you assume!
I ended up Alodining the parts anyway, but as they were drying I ran to Lowe’s to grab a 1/4-28 tap set.
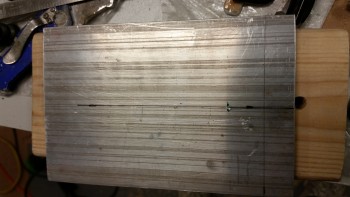
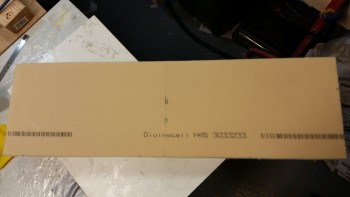
In addition, as I’ve mentioned before, my Alodine chemicals are on death’s door. I left the parts in the Alumaprep for about 15 minutes (vs the normal 2 minutes) and the same for the Alodine in order to get an acceptable application. You can see the parts below:
I then rechecked my notes and my measurements, marked up the 2″ Divinycell foam, and then cut the foam.
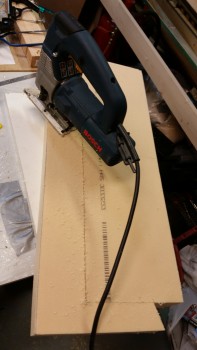
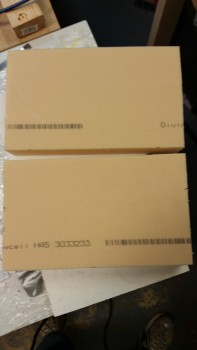
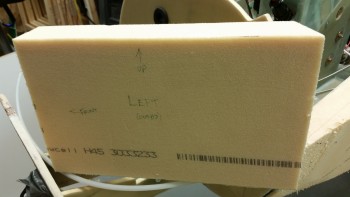
I first cut the foam the entire length at 7″ wide (actually high).
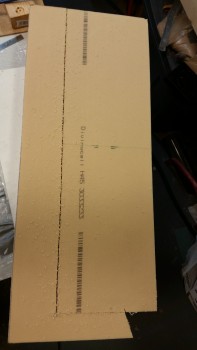
And then cut that piece in half to give me my two nose battery compartment side panel blanks.
I played around with the side panels a bit up until I just really couldn’t do any more without knowing the exact angle, width and configuration of the battery compartment bottom “floor” pans.
I cut the main floor pieces from the remaining strip that was left over from cutting out the side panels. I then added a wedge on each side of the floor pans just enough to provide the required width towards the aft side of the pan near the Napster bulkhead.
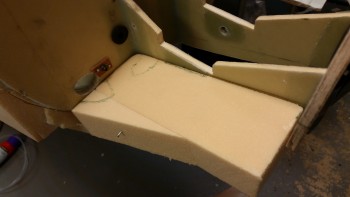
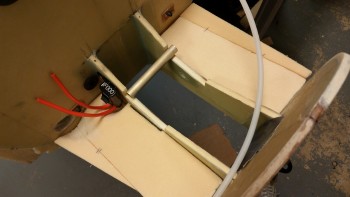
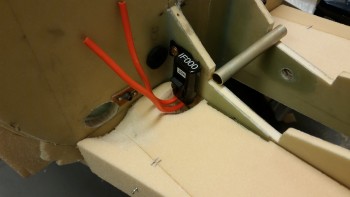
On the right floor pan I marked up a couple spots that I needed to dish out for clearance for the big pair of power wires coming in from the NG30 area, and also for the 30 Amp inline fuse that I mounted yesterday.
Here’s a couple shots showing the dished out areas of the floor pan for both the big wires and the inline fuse, which I mounted to check fit.
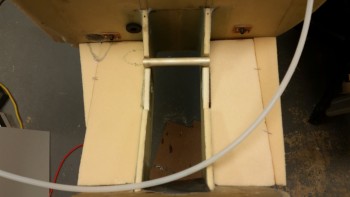
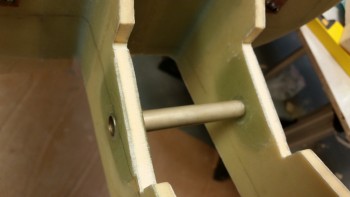
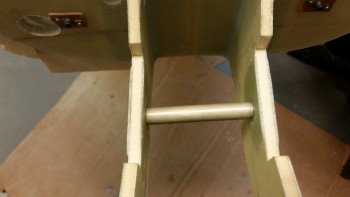
Once the floor pans were fitted and the required modifications made, I started the floor pan install by first floxing the battery mount tube in place.
I then floxed in the inboard battery compartment floor pans and clamped them in place.
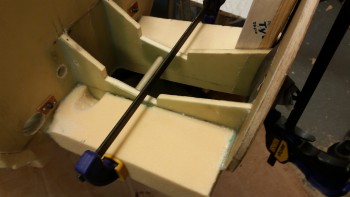
The left floor pan didn’t want to track the line I had marked on the bulkheads, so I added a couple of clamps to keep it in the proper position.
I had used fast hardener, but to really get the flox curing I threw a heat lamp on it aimed primarily at the left side. I took a short break, and when I came back I mixed up some more epoxy and added that to the somewhat gummy flox along with some micro to mount the outboard side foam wedge pieces to complete the floor foam install.
After the foam wedges were flocro’d in place, I screwed them in tight with a few screws on each side. I placed the screws in locations that will not even touch the foam that remains in the nose structure after it’s sanded to shape.
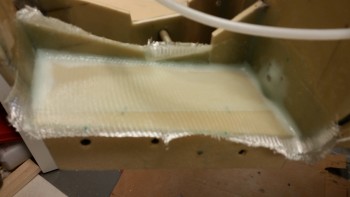
I then used the remaining micro to add a fillet around the perimeter of the left floor pan. After that, I mixed up some new micro slurry and micro’d the floor pan surface.
I laid up 2-plies of BID on the left side.
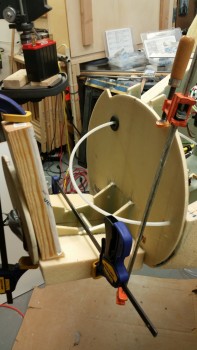
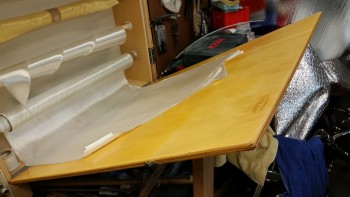
And then cut some more BID for the right side. I figured that I would show you how I have to cut glass currently, since my shop is so crowded! My fault though, since if I had finished the canard & elevators I would have more room.
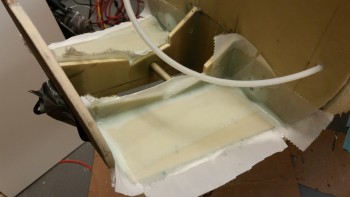
I then glassed the right side floor pan with 2-plies of BID as well.
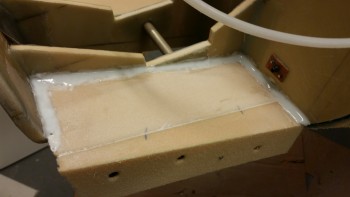
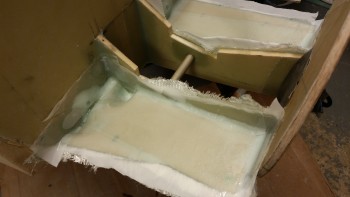
Jumping ahead, you can see below where I peel plied the layups
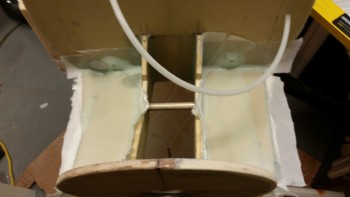
Here’s another couple shots of the glass battery compartment floor pans.
My goal for tomorrow is to finalize the fitting of the battery compartment side walls and get those glassed in.