
Tonight I started by drilling out the screw mounting holes for the aft 2 brackets on the right armrest. I then riveted K1000-3 nutplates to the respective brackets. As you can see, I had already done this for the front bracket last night, but I just didn’t flox it in place yet.
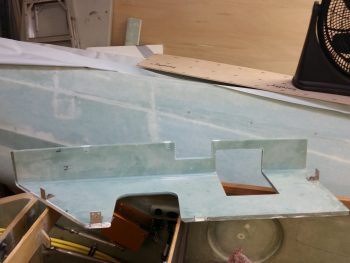
Here’s another shot with the brackets bolted in place and ready to be mounted with flox onto the fuselage.
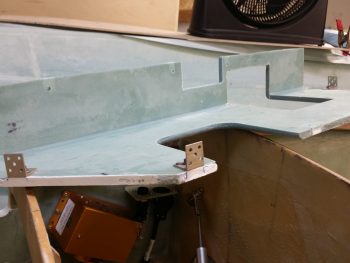
Again, here are the previous 4 right armrest mounting brackets that I did last night: nicely cured with their 1 ply of BID holding them in place.
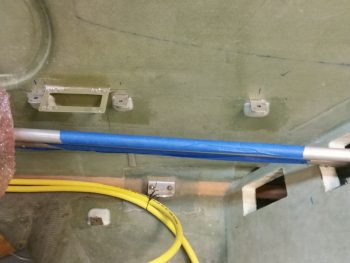
With the right front armrest ready to go, I then set my sights on the fuel sump drain valve hard points. I finalized their mounting locations and marked them up.
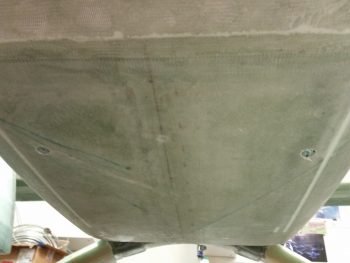
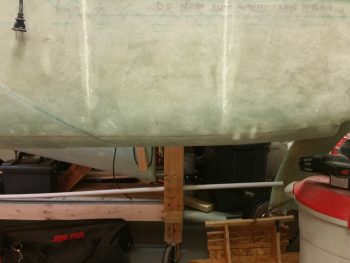
Before I got started in earnest on the inside of the fuselage, or moreover, mounted the drain valve hardpoint blocks in place, I needed to cut out a 3/4″ diameter hole in the bottom fuselage glass at each drain valve location. First, this will allow me to have the bottom skin cut away without any risk of driving a guide bit from a hole saw into the threads of the drain valve hard points.
Also, after the drain valve hardpoint blocks cure in place, I will sand the foam away to expose the majority of the bottom of each block. At the same time, I will also make a nice radius around each 3/4″ hole so that it transitions nicely with the bottom fuselage skin. I will then glass in 2 plies of BID onto the bottom face of the drain valve hardpoint block overlapping onto the bottom fuselage foam and finally around the curved edge and onto the bottom fuselage skin. This will get the drain valves tucked away nicely in case –God forbid– I had a catastrophic main-gear-ripped-off / belly up landing.
In addition, since I have Mike Melvill’s carbon fiber cowlings with armpit air intakes, I will need to fill in the bottom of my aft fuselage as if it had a NACA scoop (because Mike’s did and he filled it up with foam). Thus, right below the sump tank assembly and around/over the fuel sump drain valve attach divots, I’ll be laying up 1 ply each of Kevlar and BID. This will of course reinforce and protect both the fuel sumps and these drain valves.
I then finished cutting the foam out of the bottom of the sump tank (left & right) to embed the sump fuel drain valve hardpoint blocks. I also put plastic red caps into each block to protect the threads from the flox.
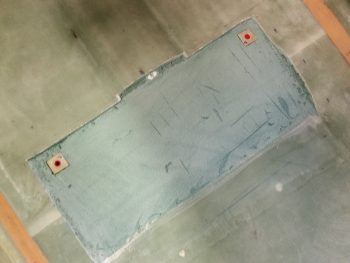
Then, not wanting a lot of hard flox & foam stuck to the bottom of each drain valve hardpoint block, I opened up the center hole going through the foam fairly wide.
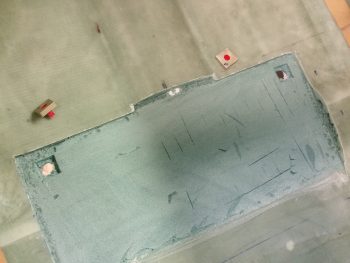
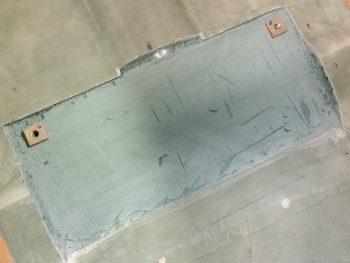
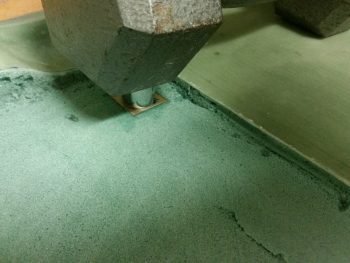
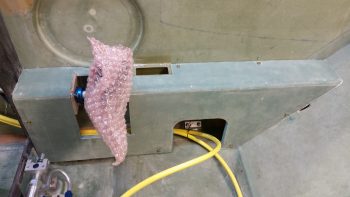
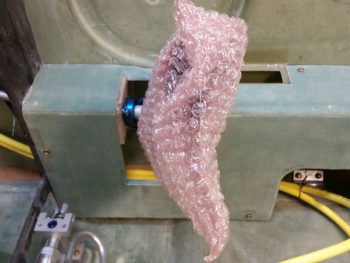
I then whipped up some flox and mounted the right fuel sump tank drain valve hardpoint. I weighed it down to ensure the hardpoint and flox were nicely tight and compressed.
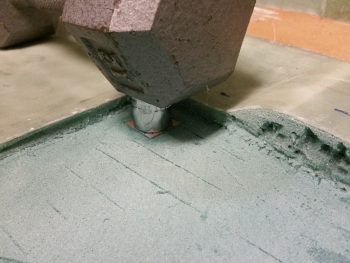
I also did the same for the left side.
I then floxed up the mating side of the 3 remaining right armrest mounting brackets and remounted the armrest in place.
I bolted the armrest in place using the 4 mounting brackets that I had previously installed last night. Here’s a shot of the new forward (against the instrument panel) right armrest mounting bracket . . . well, the bolt head at least.
And a shot of the 2 new lower aft right armrest mounting brackets (right in front of and on the seat bulkhead) bolt heads as well.
Tomorrow my main effort will be on the GIB thigh support fuel sump assembly. I plan on working that as far as I can over the next few days.