
Marco, his wife Gina, and I all attended a very nice memorial service for a fellow Canardian, Walter Grantz, who sadly went West a few weeks ago. Marco spoke at the memorial and told some wonderful stories of our friend Walter, who will be missed greatly.
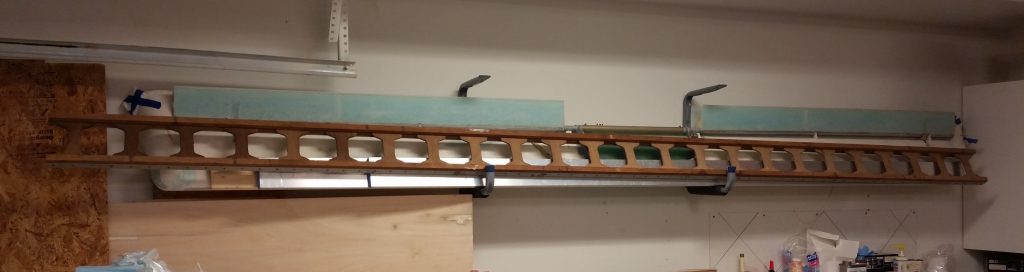
The next day Marco and I had the privilege of helping Walter’s son, Art, and grandson, Christian, remove the wings off of Walter’s Long-EZ to ready it for transport down to NC State University, since his beloved Long-EZ is being donated as a static display for the university’s Engineering Department. During the time we spent at Walter’s hangar, Art was kind enough to give me Walter’s long level board that Walter had used to build his Long-EZ back in the 1980’s. It will truly be an honor for me to use it when I build the strakes, and here it is hanging on my shop wall.
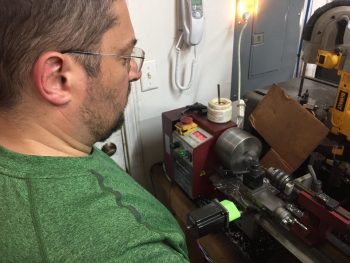
Later that evening, Marco was gracious enough to do a bit of machining for my build and lathed the midpoint quick disconnect insert bar on what will be my new elevator control tube [If you remember, I drilled an “extra” hole in my other one and didn’t want to fly with it with an unnecessary hole that only would serve to weaken a critical flight control component. Moreover, Chris Seats gave me some info and components to help me upgrade to a 5/8″ diameter tube vs the 1/2″ stock… not that the stock version is deficient, it just happened to be easier for me to build a 5/8″ version].
Marco lathed the midpoint quick disconnect insert bar from a 5/8″ rod of 2024 aluminum down to just a bit of over a half inch in diameter. We also cut it to length to allow for not only the quick disconnect clevis pin(s) & rivets to be mounted, but also long enough that the new (and correct) pitch trim actuator connecting hole will now be drilled through both the control tube and the lower side of the quick disconnect insert bar… clearly a much stronger mounting hole since it will be solid metal for the entire width of the hole. (Sorry… I don’t currently have any pics of these parts, but I should in the next day or so…)
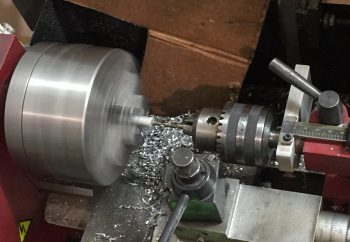
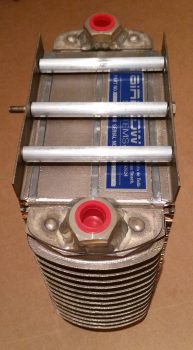
After we got the more important elevator control tube out of the way (we also cut the new 5/8″ control tube pieces to length), we then cut two 1 foot lengths of 6061 3/8″ rods into 3 lengths that fit in-between the mounting tabs of my oil cooler.

Marco then used the lathe to drill out a 3/16″ hole down the center of each one of the oil cooler mounting spacers.
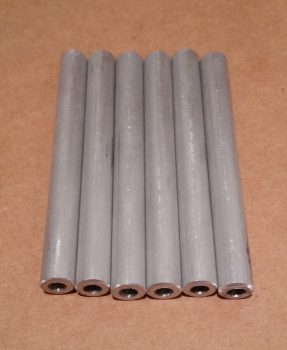
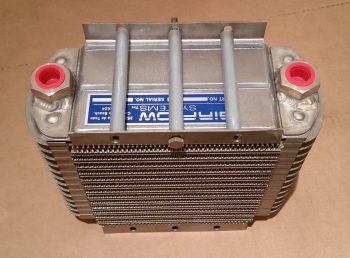
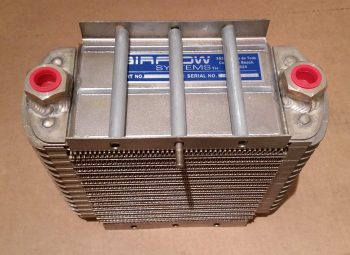
Here are the 6 oil cooler mounting spacers with holes drilled to accept AN3 sized mounting bolts.
Here are the top 3 oil cooler mounting spacers set in place, with the middle one mocked up with an AN3-41A mounting bolt.
And here are another couple shots with the top 3 oil cooler mounting spacers in place with a test fit of an AN3-41A mounting bolt.
Of course Marco did an outstanding job on all the parts he machined/lathed for me (Thanks Brother!).
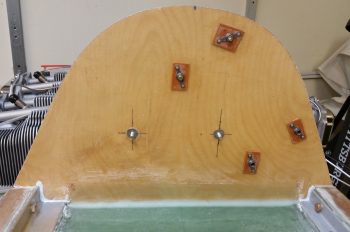
I wanted to get some glass curing overnight after I got home from Marco’s, so I spent a good half hour figuring out the best spacing and mounting for the 2 MAP sensor boxes… one for the GRT EIS and the other for the Electroair EI.
Originally I had planned on mounting them both vertically, but when I assessed the internal configuration and best spacing within the GIB headrest/D-Deck area, I decided to place them both mounted horizontally, as the GRT MAP sensor is below (with the Clickbonds 5 min glued in place). The Electroair EI MAP sensor box will get mounted directly below the GRT MAP sensor box.
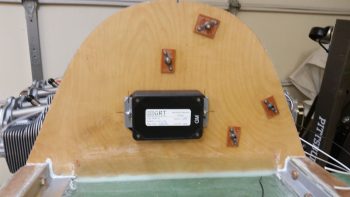
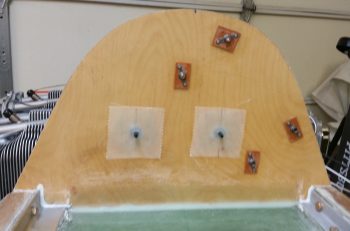
After letting the 5-min glue cure about 10 minutes, I then removed the GRT MAP sensor box. I cleaned up the excess 5 min glue and sanded around each of the Clickbonds.
I then laid up 2-plies of BID over each Clickbond, peel plied them both, and then left them alone to cure.
I should note that Marco also used his big metal cutting bandsaw to cut up a 36″ piece of angle iron that I will use to weld up a mount that will allow the engine mount to be connected to the engine stand. Over the next few days I’ll be getting that ready to go as well, after I get just a bit more data from having the engine mounted.