
I say bittersweet because my good friend Todd Silver, who I think just about every Canardian knew or knew of, had never actually installed a canopy on a Long-EZ even though he produced so many of them. He made me promise that when I built my canopy that he could come help . . . well, this one’s for you Todd! (miss you buddy . . . )
I started out today cutting off the myriad of layers of protective plastic that was on the canopy to expose just the bottom and aft edges.
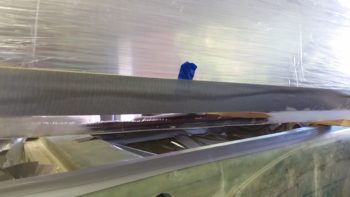
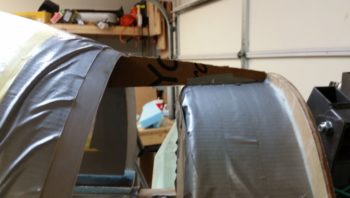
Once the edge was exposed, I used some . . . wha…? Yep, YELLOW painters tape. Supposedly the edge seals much better than the blue to guard against any epoxy wicking up the edges of the tape. That was of course after I marked the appropriate width of the exposed canopy edge to be mounted into the canopy frame.
However, I suspected that just like the blue painters tape, the yellow probably doesn’t stand up to epoxy any better . . . so I covered the painters tape with duct tape for added security.
I then got to work sanding the edges of the canopy with 220 grit sandpaper, just as per plans. I honestly planned on using the Dremel Tool like most other builders, but I literally happened upon a fresh piece of 220 grit sitting on my workbench. Curiosity got the best of me and then I realized it really wasn’t that bad, so I just finished the entire canopy edge using the Ol Skool plans method.
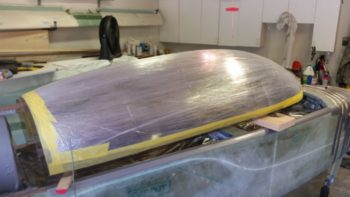
You can see the sanded edge on each side in the pic below, whereas the middle section hadn’t been sanded yet.
Here we have the entire edge sanded with 220 grit sandpaper.
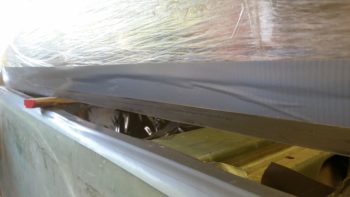
I also taped off and sanded a few key spots on the inside edge that would get hot glued to secure the canopy in place. I also went ahead and taped and sanded the very aft inside edge because it gets micro’d directly to the foam back there… also so that if the micro decided to run at all, it would be on the tape vs bare canopy.
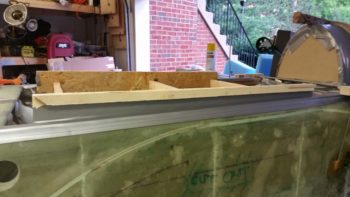
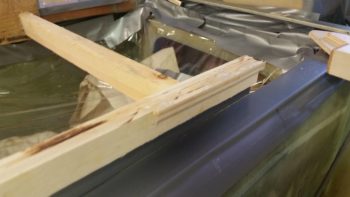
I then trimmed the front canopy positioning blocks to length (ok, the wrong length, but who’s counting!) and hot glued them in place on each side of the front canopy edge.
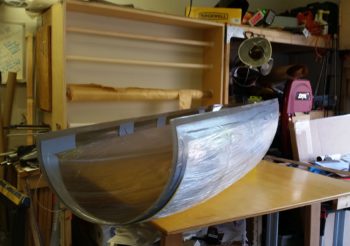
I then spent a little bit constructing the aft canopy spreader to keep the sides of the canopy splayed out into position, straight and at the proper elevation. The canopy spreader sides are the wood pieces I glued up last week, with 0.4″ spacers along the top edge. These spacers will drive the canopy further outboard so that they sit in the original position for a Long-EZ with standard width longerons…. remember, my longerons are 0.4″ wider from the pilot’s seat aft so this allows me to push the aft canopy sides out further and provides more of internal edge for aft canopy rail support.
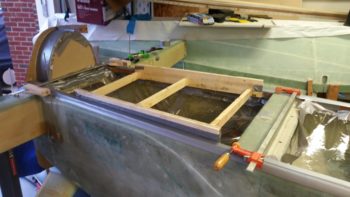
I used ACS shipping dunnage cut to length for the internal spacers, and press fit everything together. Then I hit all the joints with the hot glue gun.
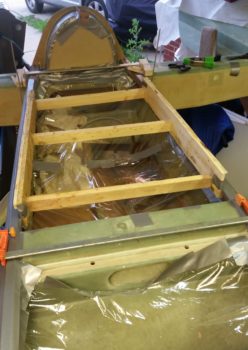
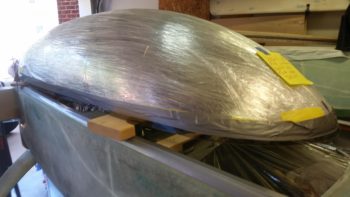
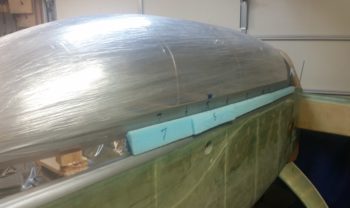
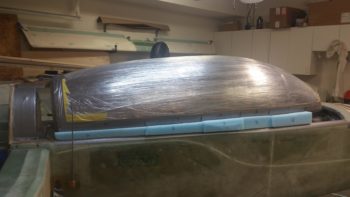
A side shot of the canopy spreader assembly. Now, I will note that I did have to adjust the front side of the entire assembly up about 1/4″ as I was setting the canopy in its final position on the fuselage.
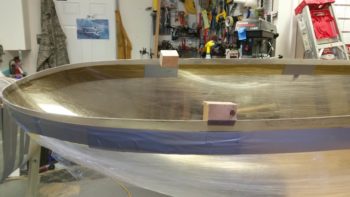
I also added a 3/16″ spacer on each side on the very back to push the canopy –which really wanted to curl inward on the very aft edge– out just a hair.
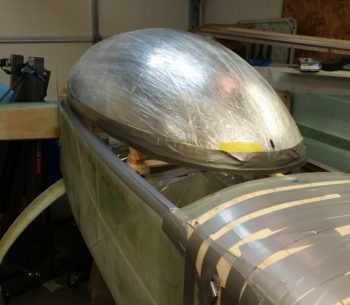
Adding the 3/16″ spacer on each side as shown above also dropped the center aft top of the canopy right into perfect position so that it just barely kissed the extended cowling line angle template that I have taped to the top of the headrest. I know the angle for the aft canopy edge and the turtleback is simply terrible, and it’s one of those things that I’m just going to have to bite the bullet on (and probably 2-3 knots!) since A) this is the only canopy I have, and B) it’s getting installed now!
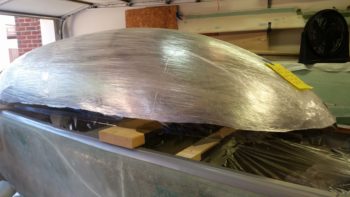
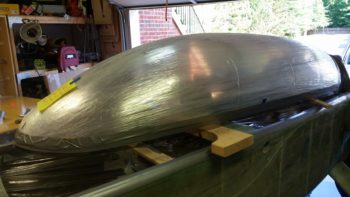
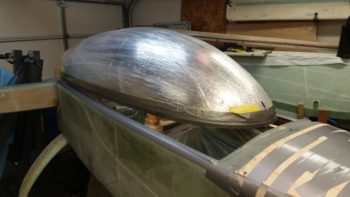
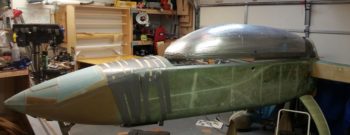
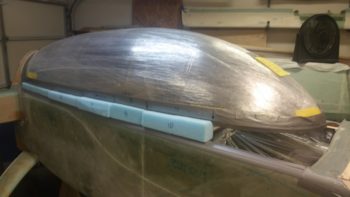
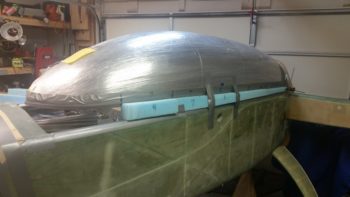
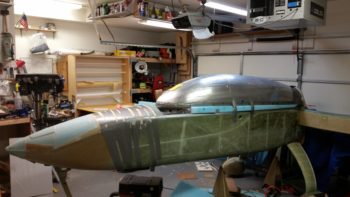
The next bunch of pics all show the canopy set and hot glued into it’s final position on the fuselage.
I then started cutting out and shaping the blue foam blocks that run along the side of the canopy were it intersects the fuselage at the longerons.
A bit later I decided since it was late and that I was done cutting blue foam pieces, especially since the more intricate pieces at the front and very aft were next and I wanted to be a lot sharper than I was this late at night to undertake those beasts. However, I didn’t want to call it a night without having something cooking in the proverbial oven! So I whipped up some micro and set these babies in place… woo-hoo!
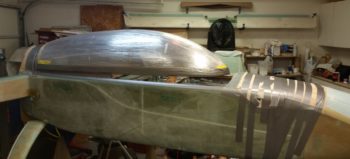
Here are the blue foam canopy rail pieces micro’d in place on the right side.
And here are the blue foam canopy rail pieces micro’d in place on the left side. BTW, for fun I calculated the total edge length of the canopy and as I head off for the evening I know that I am literally 63% finished with the canopy frame… ha!
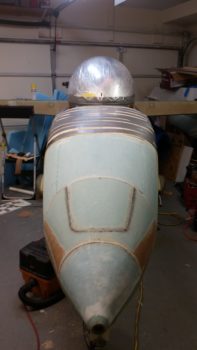
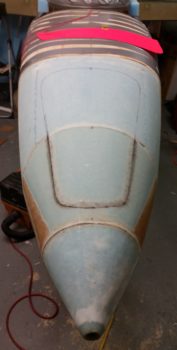
I’ll also report that I took a break from the canopy in the afternoon and pulled the peel ply off the nose and then cleaned it up.
Then just before turning out the lights in the shop, I did an initial markup of nose hatch just out of curiosity. Here it is:
Tomorrow will be more canopy of course, and my goal is to get the external glass layups knocked out on the canopy frame by late tomorrow evening. Get ‘er done!