
This morning I started out by spending about an hour pulling all the peel ply and cleaning up the layups on last night’s floxed & glassed sump top. After I got the peel ply pulled and the peel ply edge residue removed, I then put the weights back in place and put the whole thing under heat lamps.
I then went upstairs and with my first cup of coffee of the day starting finalizing the design & circuitry for my GIB map & floor lights.
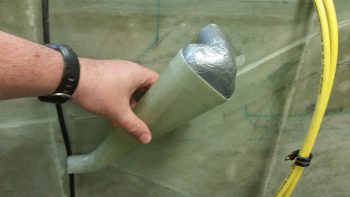
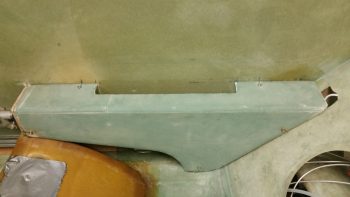
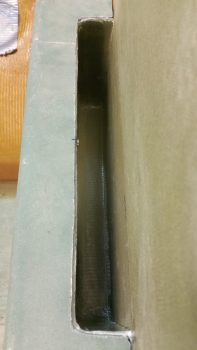
After getting that knocked out –which I’m very pleased with by the way– I went back down to the shop and started designing the ram air inlet expansion chamber top and transition for getting the air through the fuselage sidewall and into the heating and fresh air ductwork. The lines you see at the bottom of my drawn top piece are successive height-shortening lines to get the top as low-profile as possible so this thing will fit correctly inside the left baggage compartment mounted to the existing fuselage wall (when the airplane is finished it will be on the inboard baggage compartment wall).
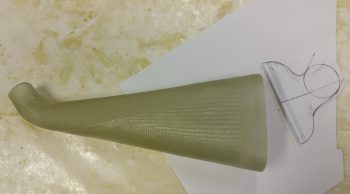
I then cut out a test piece out of urethane and quickly covered it with duct tape, mainly to strengthen it since it was bit fragile in spots. I set it aside for a while to let the design germinate a bit in my brain while I moved on with other stuff.
I also went out for a bit and by the time I got back it had been 4 hours, which is the minimum amount of time I wanted to post cure the sump top attach layups to the sump base. By the time I gradually reduced the heat and actually got all the heat lamps turned off, the post cure was right at about 5 hours.
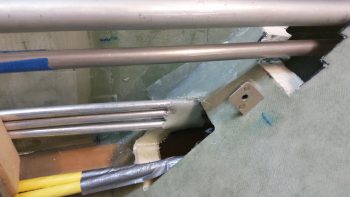
I then configured the front mounting tab for the GIB right armrest. I determined where it would go, drilled the armrest through the flox hardpoint I made the other day and then riveted a K1000-3 nutplate to the mounting bracket. I taped up the edge of the armrest before attaching the mounting bracket to the armrest. I also taped up the top edge of the right GIB storage pocket as well.
I then whipped up some flox using fast MGS hardener and bolted the armrest in place so that the front mounting bracket would be positioned properly as it cured.
I then whipped up some micro and micro’d the edge of the storage pocket. The goal here is to fill in the gaps between the storage pocket top perimeter edge and the inside edge of the armrest. When I remove the armrest, the micro will have adhered itself to the armrest, especially since the storage pocket edge has tape on it.
Although I wasn’t planning on doing this next task yet, since I had a decent bit of leftover flox & micro, I whipped it all together and slathered up the fuel lines transitioning the pilot seat bulkhead. After working the flocro behind and in-between the fuel lines, I then quickly made up a prepreg setup with a ply of BID, which I cut in half and essentially made a narrow crossed “X” with the BID tapes over the flocro’d up fuel lines. It’s not the prettiest thing but it looks like it will be nice and strong and I’ll clean it up a bit after it cures.
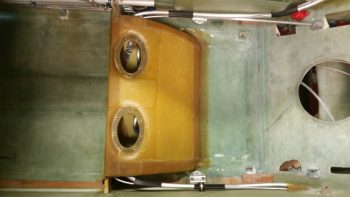
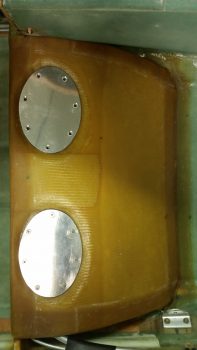
I then set my sights back on the fuel sump. I started off by cutting out 2 gaskets out of my cork-rubber gasket stock for the two sump access holes.
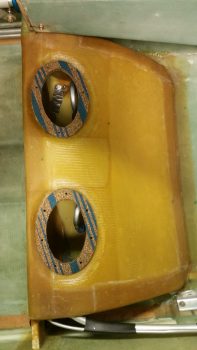
I then drilled counter sinks into the 7 holes on each cover plate and then installed the cover plates for the time being to keep dust, dirt and anything else out of the sump tanks. I took the shot below after I had just finished mounting the left sump tank access cover, but while the countersinks on the right sump tank are still visible with no screws.
Tomorrow will be a lighter build day, but I do plan on continuing to finalize the install of nearly everything in the GIB area, including finishing up the install of oil heat and fresh air venting system.