I started off today by measuring out and then drilling the holes for the #6 screws on the opposite side face from the stock screw mounting holes on the Starter Contactor.
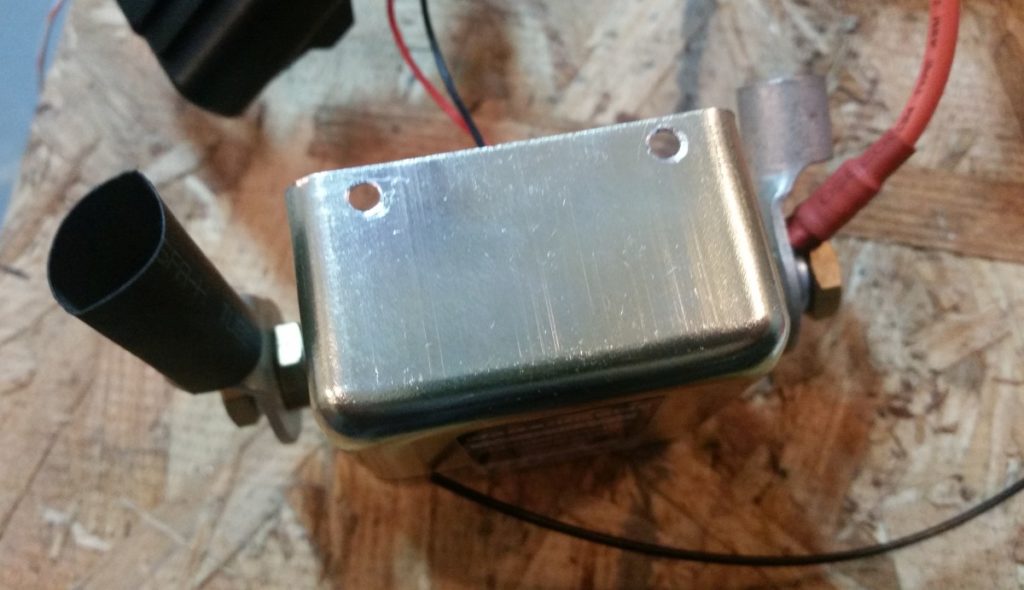
I then mounted the starter contactor to its new PETG 3D printed mounting bracket for the first time with all sets of screws in place. Thankfully, I got it right and the mounting holes lined up perfectly!
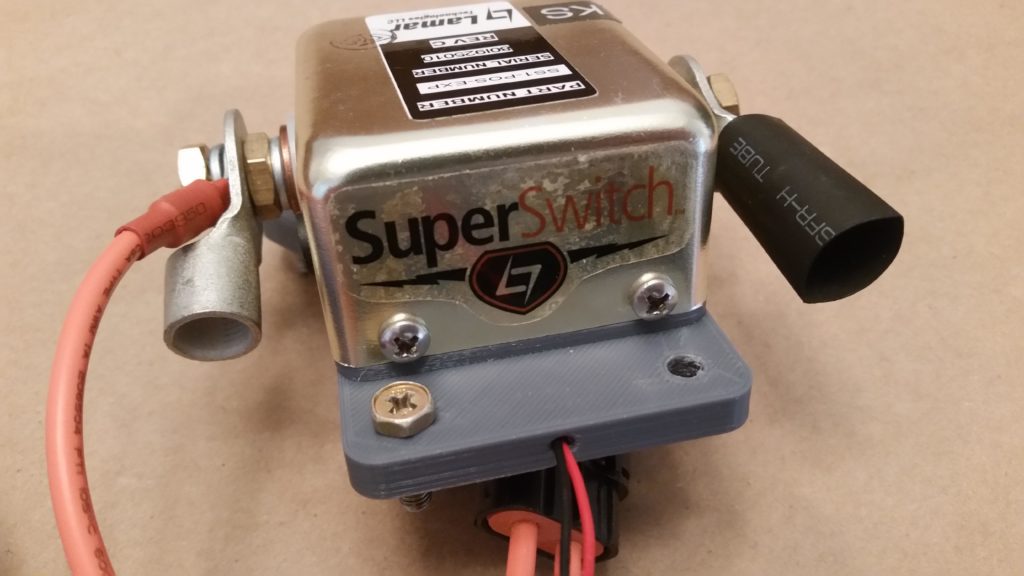
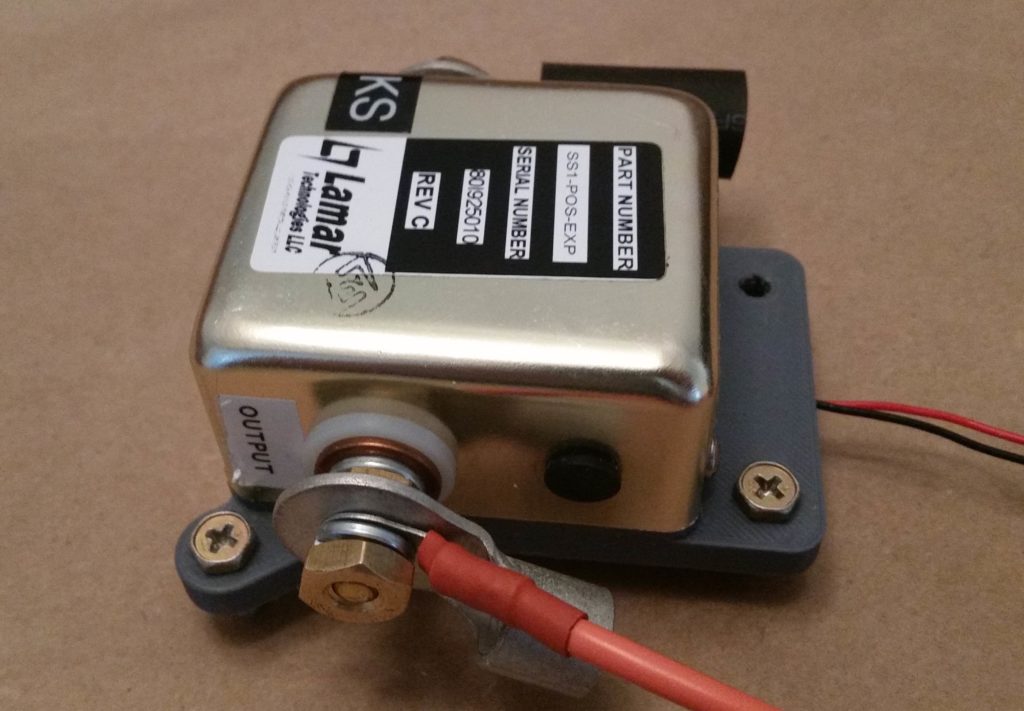
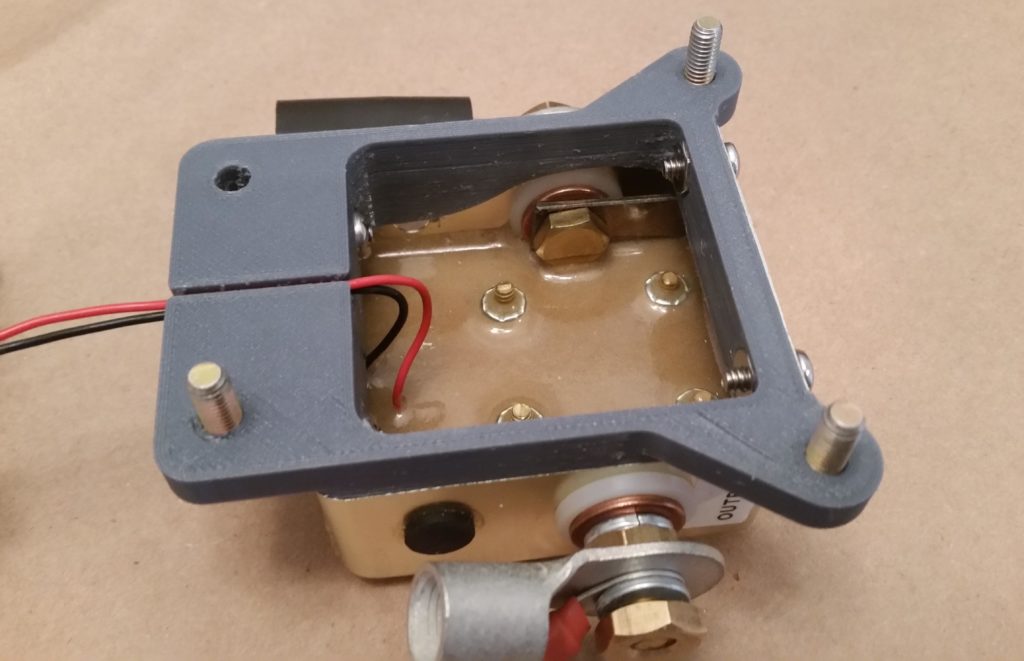
Here’s a couple more shots of the starter contactor (FINALLY!) secured to its mounting bracket.
I then ran down to my local Village Hardware Store to pickup the required hardware to make my canopy latch assembly work. There were still some compromises since I couldn’t find any CS screws shorter than 1/2″ (plus, the countersinks on this latch assembly are set for 100° aircraft screws vs. the standard 82° sold everywhere else).
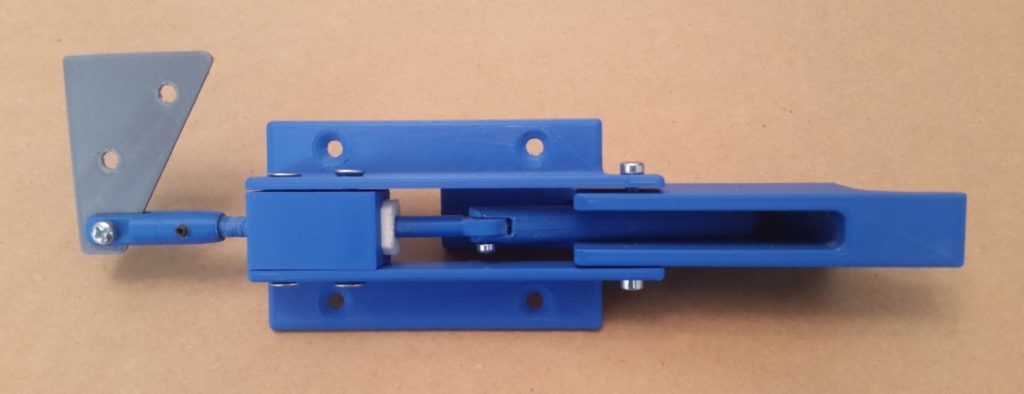
Besides getting a real sense of its size, the best part of having this physical model of the canopy latch assembly is to actually make it function as designed… to see how all the parts move and work together real world. I have to say, so far I don’t see any binding or snags with the configuration so far.
Of course, how this carries over with actual manipulation of the canopy rods and latch hooks remains to be seen, but so far we’re off to a good start.
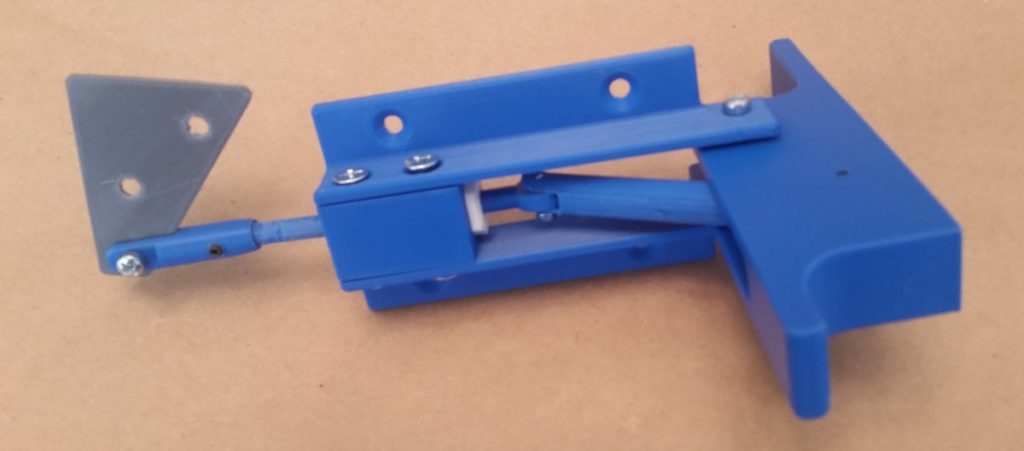
Here’s the outboard side of the canopy latch assembly. You can see where the main body will get bolted –via 4x AN3 bolts– to the interior fuselage sidewall. Also, you can see the rectangular portion of the handle (center/left) that will protrude through the aircraft sidewall and will be visible on the exterior of the airplane.
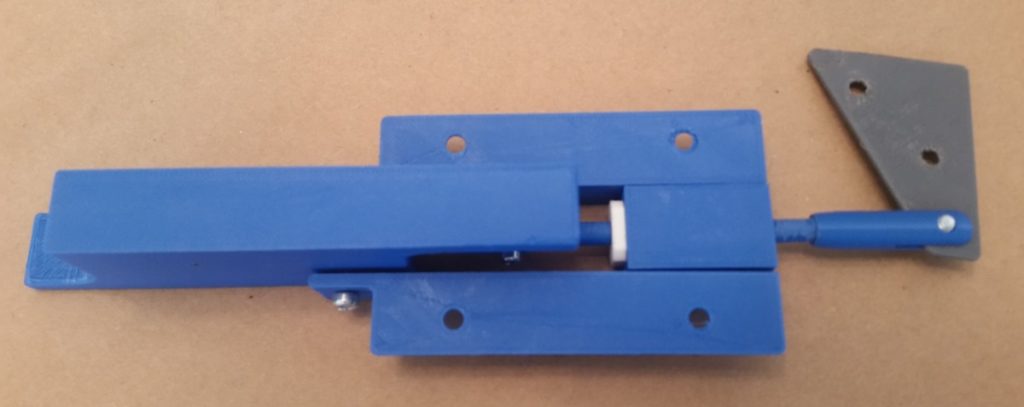
Since the 3D aspects and functioning of the canopy latch assembly is hard to depict simply by mere words and pics alone, I made a quick video to help describe it…. along with some other 3D printed parts that I’ve made for (or related to) the Long-EZ build.
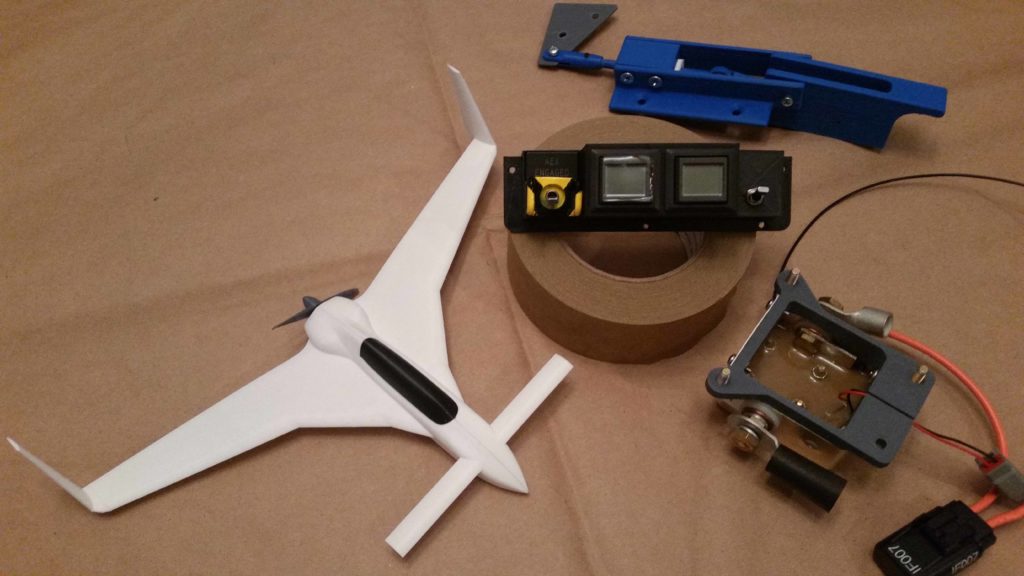
Here’s a shot of the major 3D printed Long-EZ related components or models that I’m currently working on.
Before I started filming the video, I kicked off a 5+ hour long PETG (my first with this black filament) of the Warning Annunciation Subpanel Version 2.
[I could hear Bob whirring away in the background, but apparently it couldn’t really be heard in the video . . .]
Here it is much later after it finished printing. Again, PETG is known for being stringy, and the label fits since it is quite that.
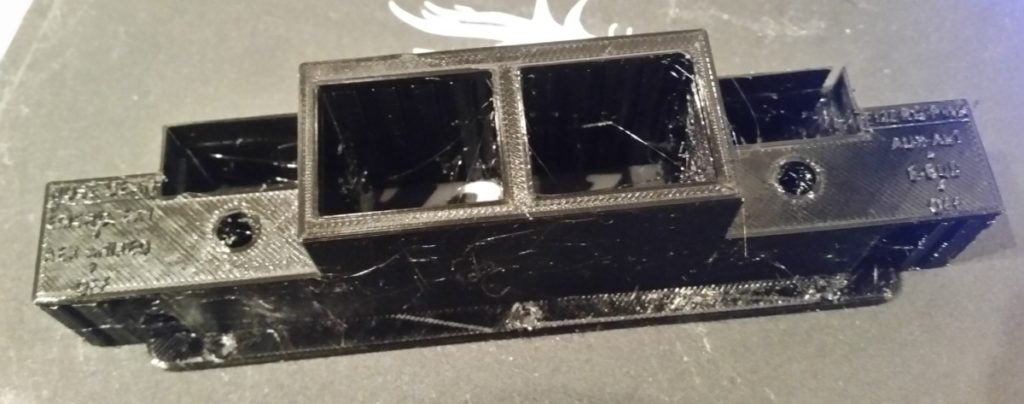
One reason why this particular 3D print took so long is that there were a considerable number of supports printed to ensure the print came out straight and true. The blocks on each end, the rectangles containing the holes and the inset linings of the middle squares were all full height supports that I removed.
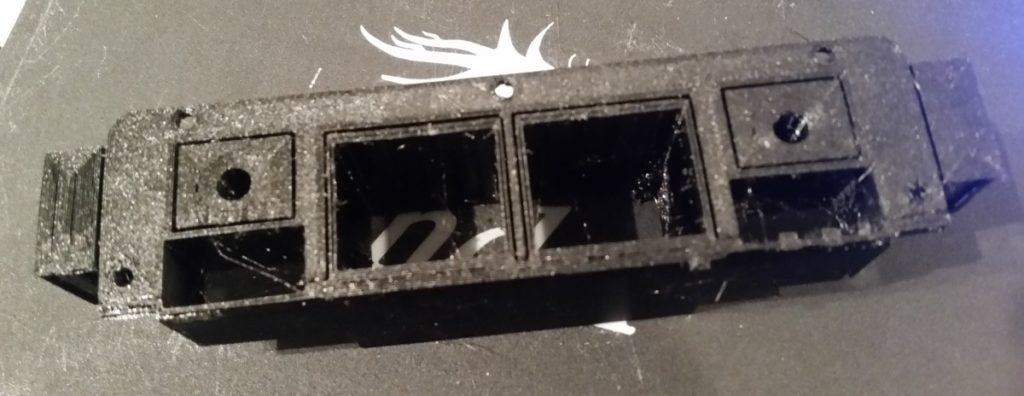
Here’s the part a bit later, after I removed all the supports, cleaned it up a bit and then swapped the components out from Version 1 to this version.
As you can see, I added tabs to each side specifically to be able to add labels to the switches. The raised-letter printing didn’t come out so great, although I will try to apply some white paint to see how bad/good it actually looks.
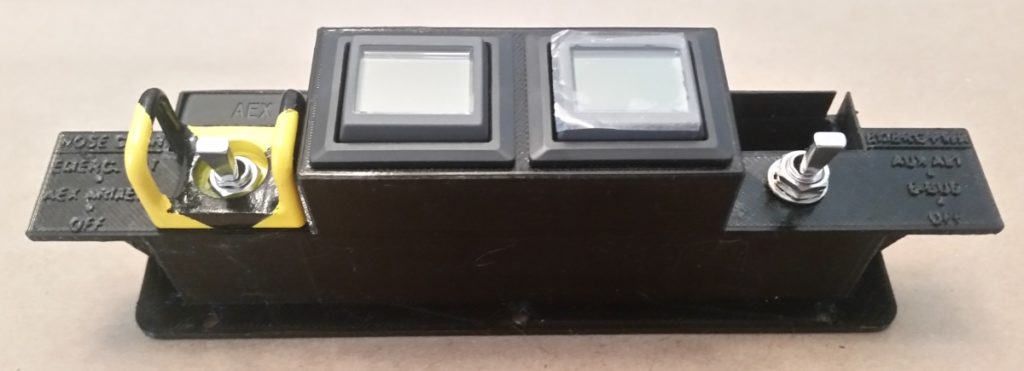
My thought though is to simply increase the height of these side tabs, and then order some sticker labels that I will then attach to each tab. So far I’ve noted about 7 different changes that need to be made to Version 2 to create a new Version 3 down the line.

To be clear, as these items develop more, there will most likely be fewer blog updates … especially as I begin more and more work on prepping my house to sell. I just wanted to get an initial surge going on this 3D printed stuff so I could then fiddle with it a bit here and there as I work on my house prepping.
