
I started out today working on my D-Deck/Turtleback located G6 ground bus that consists of a 9-pin D-Sub connector soldered to two (2x) 18 AWG wires which will in turn be connected to the G3 ground bus in the Hell Hole.
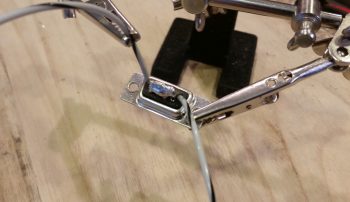
I stripped off a bit more insulator than normal on the 18 AWG wires since I wanted them to fill in the channel on the aft side of the female DB9 connector, which is configured with solder terminals.

I then soldered the two 18 AWG wires in place. You may note what looks like a bit of a cold solder weld in the pic below. Not to worry, I saw it as well and reheated the joint and slathered on some more solder.
I then encapsulated the two 18 AWG wires soldered to the female DB9 connector with a standard backshell. I then added two threaded standoffs to the face of the connector that would allow me to permanently mount the male connector.
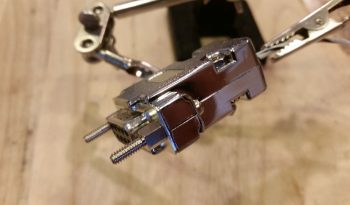
Which I did here. In the same manner as my G5 Avionics ground bus, this simply allows me to terminate a wire with a D-Sub pin and then easily pop into this G6 ground bus.
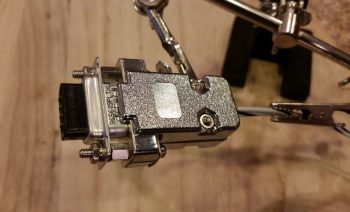
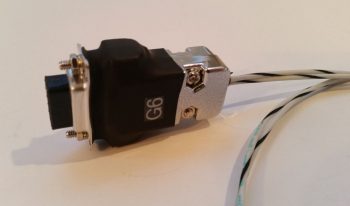
I then added a bit of heat shrink over the mated D-Sub connectors and then labeled my new G6 ground bus.
Here’s a close-up shot of the new G6 ground connector that will serve all the components in the GIB headrest area. If it looks a bit chunky I have to admit it felt a bit hefty, but then when I weighed just the connector it was just under an ounce.
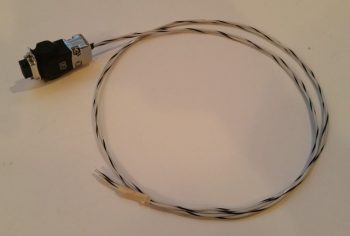
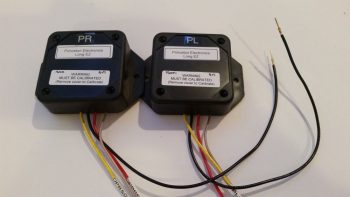
The honor of the G6 ground bus’s first “tenants” went to the left and right Princeton fuel probe control heads, which as you can see below I terminated their respective ground wires with D-Sub pins.
I was going to work on the IBBS control relay that will cut the E-Bus power feed to the IBBS charging circuit when the SD-8 backup alternator is brought online, but I had a question about the circuit so I posted it on the Aeroelectric Connection forum.
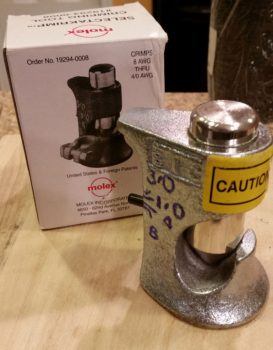
So, while I awaited an answer regarding my proposed relay circuit I decided to do some big wire terminal crimping and compare the B&C-sold Molex crimper vs. the Harbor Freight hydraulic crimper, both used for crimping big terminals to big wires.
I started with a piece of 8 AWG wire that will serve as the transition between the alternator’s ANL 40A fuse link and the Battery Contactor. Since I hadn’t tried out the Molex crimper yet, and the connection to the Battery Contactor is buried on the bottom side of the contactor (it’s turned sideways) I figured if the crimp turned out hideous that I would merely just hide it at the bottom side of the Battery Contactor (as long as it was a mechanically sound crimp).
I started by stripping the outer insulator of the 8 AWG wire.
And then located my Molex crimper… modified with some blue Sharpie highlights to better read the positioning of the large crimp pin.
As I was prepping for my crimping adventures, I did a bit of reading beforehand just to reacquaint myself with the whole process. On the VAF forum I read that this Molex style crimper, which would normally be used with a hammer (seriously!), is much better if it’s squeezed in a vise vs. pounded with a hammer…. so that’s what I tried.

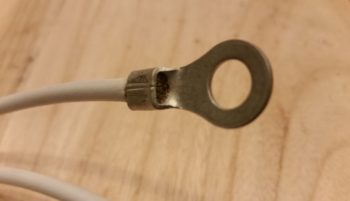
I have to say that I was very impressed with the crimp that was produced by this crimper. Very nice! (I’ll go more into detail about the differences with the Harbor Freight crimper below).
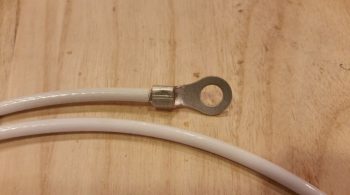
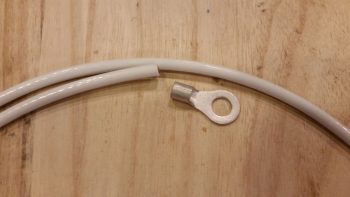
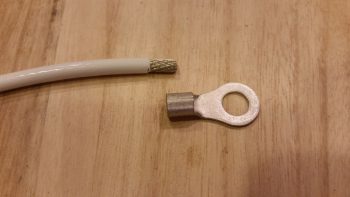
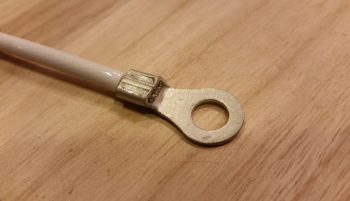
Here are a couple shots of the crimped terminal. It may look like the end of the wires don’t extend to the end of the terminal, but that’s a bit of an optical illusion since if I slide a razor down the front edge of the terminal opening it does hit the wires.

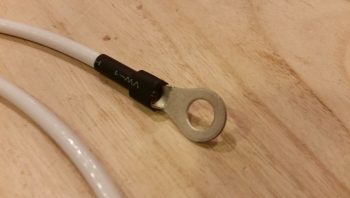
I then covered the terminal crimp with heat shrink (BTW, for big wires I’m not following the “red for power” heat shrink scheme).
I then crimped the long 8 AWG alternator B lead terminal in place.

Here’s a closer view of the long 8 AWG alternator B lead terminal in place.
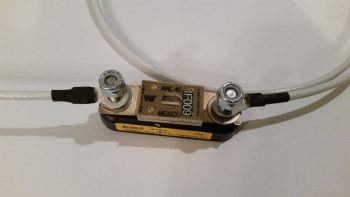
And both alternator B leads attached to the ANL 40A fuse link.
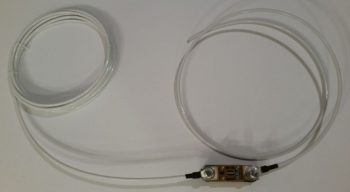
And again, a closer shot of the ANL 40A fuse link with attached terminated alternator B leads.
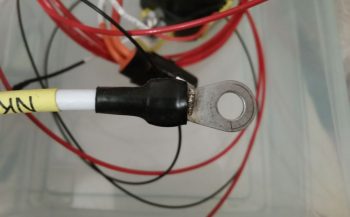
Here is the Harbor Freight hydraulic big wire terminal crimper that I used quite a long time ago on the crimp below. I love the way this crimper operates, even more so than the process of crimping with the Molex crimper, but I don’t care much for the crimps it makes….

As you can see with the crimp (below) I made a couple years ago with the Harbor Freight crimper (above), the resulting crimp has “wings” . . . . and unlike Red Bull, I prefer that my crimps do not have wings. So, in comparing these two crimpers I think I will proceed with making all my crimps here on out with the Molex crimper, although it is a bit more cumbersome of a process than with the Harbor Freight crimper I just think the crimps it makes are superior in form, although they appear to be the same quality regarding the strength of the crimp.
Ok, so here comes my mantra: I will continue to work electrical tasks until the weather gets warmer and I can start working in the shop.