
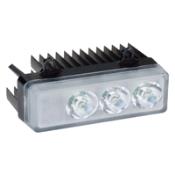
I started off today finishing up the wing lights wiring harness #2 for the wings’ landing, taxi and Wig-Wag lights that will be mounted on the leading edge of the wing anywhere between the end of the wing and the outboard 1/3 of the wing…. with the goal to get them as outboard as possible.
This wiring harness actually involves a 20 AWG 2-wire shielded cable and then 2 external wire runs as well. On the shielded cable, I started by separating the internal wires and tying all the white wires, white/blue wires and the shield from the 3 separate cables: Left wing, Right wing and panel switch/power.
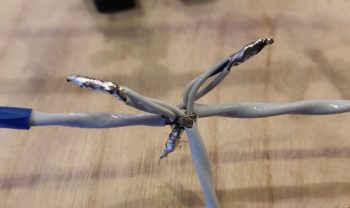
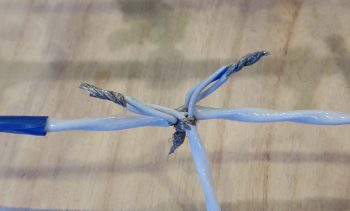 I then soldered spliced the bundled wires.
With the cables in a “T” configuration, it made it a bit challenging to heat shrink it all. So I did what I could on each leg, then used flight line tape around the center axis and secured that with some wire lace. Yes, Dr. Frankenstein would be proud, but it is secure!
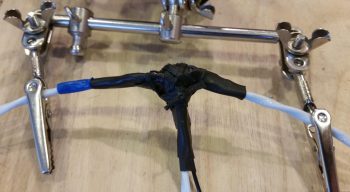
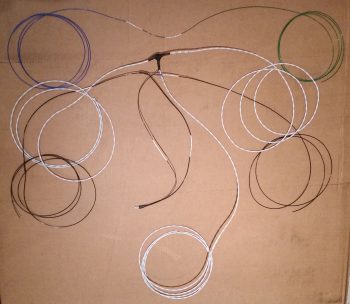
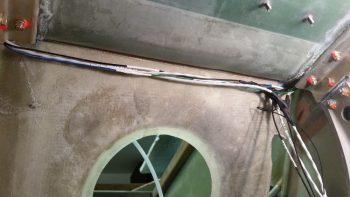
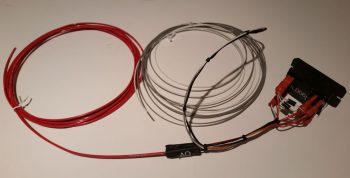
Here’s the end result for the wings landing, taxi and Wig-Wag lights harness. Along the top is a blue (L) and green (R) wig-wag sync control cable, then the shielded 2-wire cable that provides separate power feeds for the taxi/landing light and the Wig-Wag functions. On the lower side you can see a black wire which is of course the ground wire. It shares a ground terminal with the shield ground lead from the 2-wire shielded cable.
I should point out that I had a good in-depth conversation today with AeroLEDs confirming my wiring scheme for all my wing lights, and they confirmed that I was installing them in the best configuration for a Long-EZ.
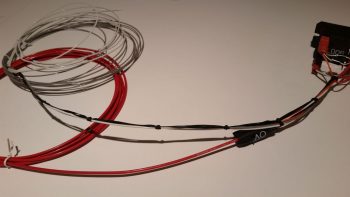
You may also note from the pic below that I spent a bit of time printing out wire labels and affixing them to the wires, both on this harness and on the Nav/Strobe lights harness I made last night.
I then grabbed my wiring harnesses and a handful of unattached wiring labels and headed to the shop. I ran the wing wires up through the holes from the hell hole side.
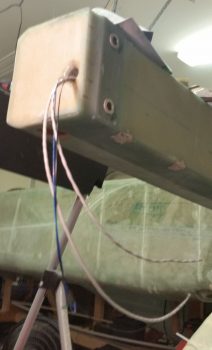
Once the wires were through the holes, I then attached labels for the wires running inside the CS Spar.
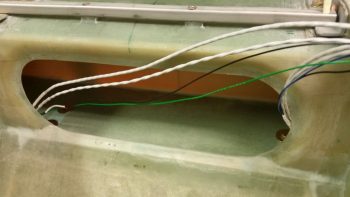
If you look closely, you can make out the wire channel that I drilled through the angled part of the front lower corner of the CS Spar.
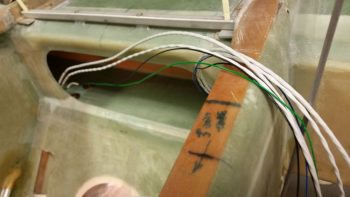
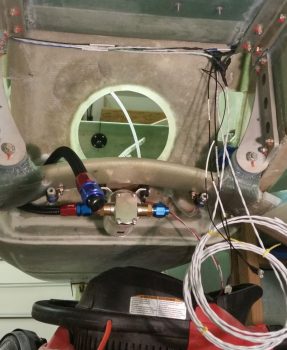
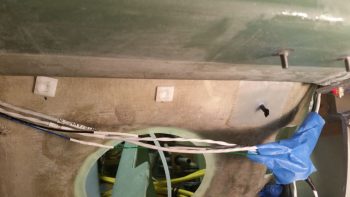
Here’s a Hell Hole shot of the wing lights wiring harnesses from below.
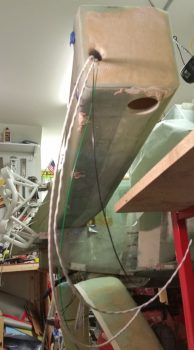
And a taller shot of the wing lights wiring harnesses. The coiled up wires in the lower right of the pic will head forward to the respective light switches on the panel.
 Admittedly, I have a fair bit of slack for the wires exiting out the ends of the CS Spar, especially on the right side. But better to have a little excess than not enough, eh?
With the wing wiring harnesses in place in the hell hole/CS Spar, then came the questions regarding routing and securing. I wanted to ensure the wires were routed in an optimized fashion, to include accounting for the aileron control tube that transits through the Hell Hole.
After assessing and fiddling about with possible wire runs and securing options for a good 20 minutes, I finally decided on securing the wing light wiring harness “T” junctions with an Adel clamp set up high on the aft side of the GIB seat back bulkhead, well over to the right side. Although I had originally planned on keeping the “noisy” wing light wires as far from the “normal” wires as possible, I have accepted why this area has the moniker “the Hell Hole” as there is just not enough space to keep them all separated. What this means in practical terms is that the upper Adel clamp will secure pretty much all the wires entering/exiting the Hell Hole from the sides and above: both the special “noisy” wires and the “normal” wires.
I also added 2 plastic wire tiedown points in the middle and left on the upper seat back. If they look a bit low and askew, well… they are! When I installed them the wire bundle was higher up (read: in the way) and I placed a dab of 5-min glue in the center of each one. Well, as I was installing each one, the angle of the seat got the best of me and the original sticky backed pad on each tiedown point caught the seat just enough to pivot the tiedown forward and set it on permanently where it hit. Yes, this got me on both of the tiedown points… so they sit where they caught the seat! If I screw up, I like to do it twice to confirm that I screwed it up right!! (ha!) Luckily, they aren’t too low and will work fine. Thank goodness they’re in the Hell Hole… don’t tell anybody how crappy they look!
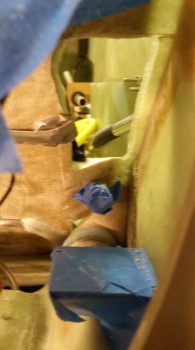
Besides the Clickbond that I bonded/glassed in place high on the seat back for a wire-routing/securing Adel clamp, I also added another RivNut hardpoint a few inches below and outboard (next to the seat access hole) for the same reason. You can see I floxed it in and taped it into place with gray duct tape.
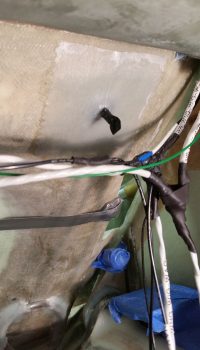
I actually added a third hardpoint with yet another RivNut going straight down in the GIB seat back opening (it’s covered in black electrical tape). This Adel will essentially be the Gatekeeper for all the smaller wiring transiting into and out of the Hell Hole from the forward fuselage. With this setup what I’ve done is stay inline with Bob Nuckoll’s advice of keeping the big power wires separated from the little wires since this Adel sits a good 4-5″ above the big power wires coming from the battery compartment. Of course I will do all I can to maintain this separation the entire length of the fuselage.
I then got to work on the SD-8 B/U Alternator relay. My goal was to make the last connection point on the SD-8 a separate removable one for terminating the SD-8 voltage regulator power wire that comes in from the D-Deck/turtleback. My initial solution was to merely add knife splices to lengths of wires coming from both the voltage regulator and this relay, when an even simpler solution hit me: a double-tabbed PIDG FastON terminal. That would allow me to simply terminate the incoming voltage regulator wire to the relay with a standard FastOn terminal.
All this is taking place at the furthest right corner of the relay in the pic below, where the bare FastOn tab is visible on the edge of the relay. Again, this is where the power wire from the SD-8’s D-Deck located voltage regulator will get connected to the relay.
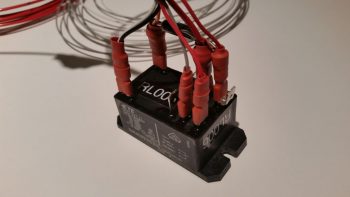
I then prepped the relay wire bundle by securing the Over Voltage module and wire lacing the initial wire runs coming from the relay.
Here’s a closer look at the wire lacing on the SD-8 B/U alternator relay wiring harness.
Tomorrow I’ll label the SD-8 b/u alternator relay wires and continue with my in Hell Hole tasks in prep for installing the firewall.