
I started out today by finalizing an Aircraft Spruce order that I’ve literally been compiling for over a month now. I then entered all the ordered items into my tracking spreadsheet.
I then spent a half hour tweaking my main electrical system diagram & grounding matrix list, and then printed them out.
Down in the shop, I started out by bonding the Triparagon phenolic nutplate assemblies to their foam backers. By the way, I used the tough H250 foam for the backers to add some oomph to these Triparagon mounting hard points.
I used 5-min glue to bond the nutplate assemblies to the foam.
Here are 4 of the 7 mounting hard points bonded together with 5-min glue. You may recall that I actually assembled these about a year ago. I have one more rectangular nutplate assembly that I hadn’t fully put together before, so that needs finished. I have another one in this bag that is an odd shaped nutplate assembly for mounting the very top of the Triparagon to the aft side of the F28 bulkhead.

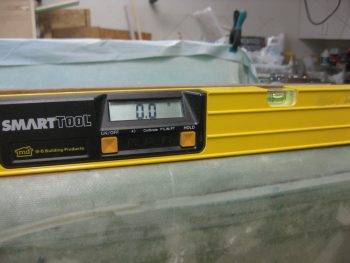
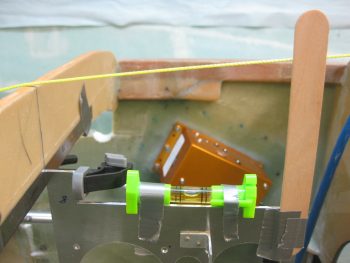
I then verified that the fuselage was level to allow me to match the top “shelf” of the Triparagon at 0° level for the eventual mounting of the GRT GADAHRS.
My next task was to mark the fuselage CL on the nose wheel cover (NB). To do this I dropped a plumb line using my CL marks on the F22 & F28 bulkheads.
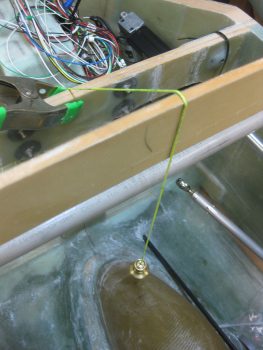
Here’s another shot of the plumb line for marking the CL.
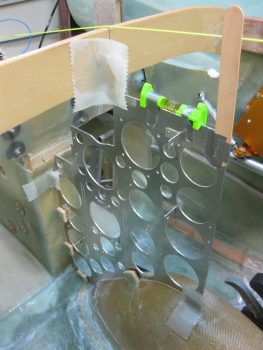
After marking the CL on the nose wheel cover (NB), I then ran my plumb line down the CL of the fuselage to allow me to install the Triparagon as close to on-CL as possible. At a minimum, I wanted the Triparagon mounted parallel to the CL, even if off center say 0.1″ or so.
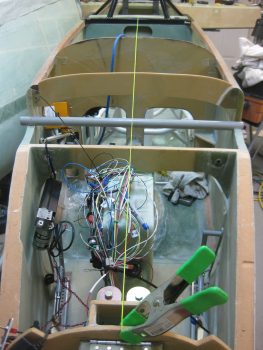
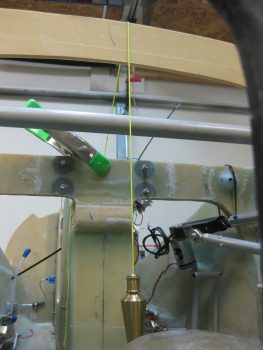
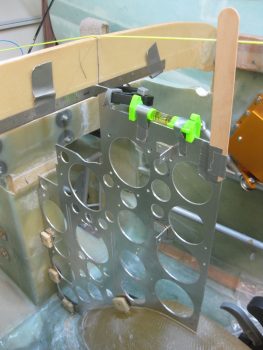
I taped a level in place on the top “shelf” of the Triparagon. I also taped a mixing stick to the top portion of the Triparagon to allow me to monitor its alignment to the CL string that I strung in place. I then mocked up the Triparagon with the 4 nutplate assemblies screwed into place.
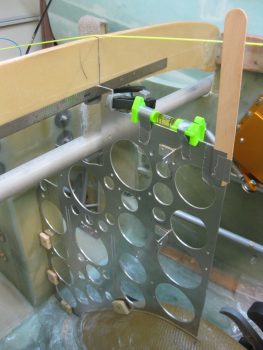
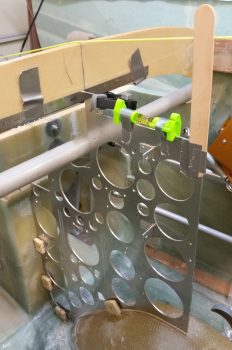
I clamped the Triparagon top mounting tab to the aft side of F28. It took some trial & error to dial in the correct spacer thickness between the Triparagon top mounting tab & aft face of the F28. It turned out my decimal fraction ruler was the thickness that did the trick to get the top shelf level with the longerons.
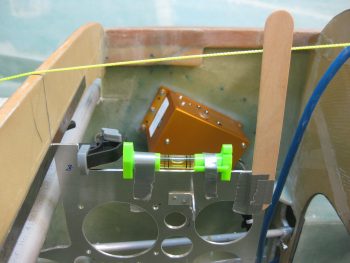
Below is a shot of my mixing stick aligned to the CL string. I intentionally taped the mixing stick on one side of the Triparagon plate so that the actual plate would sit very closely / directly under the CL string.

I marked the areas where the Triparagon nutplate mounts will get secured to the aircraft, removed the Triparagon and then sanded those mounting spots in prep for glassing the nutplate mounts in place.
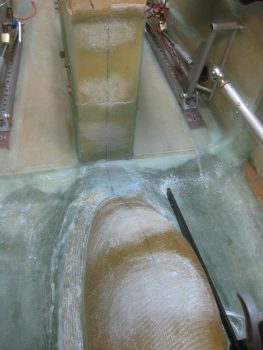
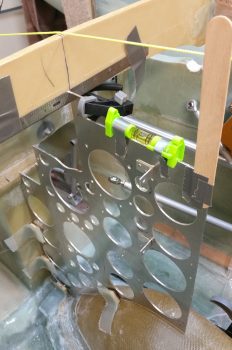
Then, using 5-min glue on the nutplate assemblies, I glued the Triparagon into place. I re-clamped the top mounting tab to the aft side of F28 while monitoring the Triparagon’s alignment.
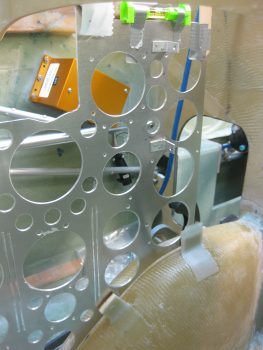
I then set a 1″ dia. aluminum tube representing the elevator control spool tube –that will traverse from one side of the fuselage to the other– to ensure clearance between the spool tube and the Triparagon.
I then assembled my last rectangular nutplate assembly (the one that came with some assembly required!) and then made up an entire new nutplate assembly along with its foam backer.
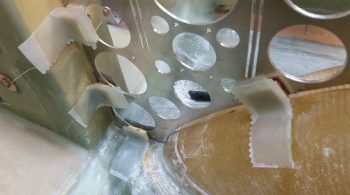
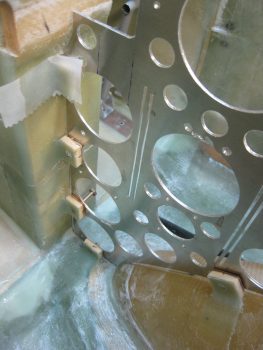
I then cleaned up the 5-min glue on each of the 4 installed nutplate assemblies. I then glassed these 4 nutplate assemblies in place with 3 plies of BID at each nutplate mounting hard point.
Here’s a closer shot of the Triparagon nutplate mounting hard points glassed in place with 3 plies of BID. I then of course peel plied each layup.
After a couple of hours since the entire mounting process started, and with each of the 4 nutplate mounting hard points glassed in place, I double-checked the Triparagon’s alignment… which looked spot on.
As the 4 installed nutplate mounting hard points’ 3-ply BID layups cured, I dialed in the placement of the remaining 3 nutplate mounting hard points. I marked the Triparagon where the bolt (vs screws on the other 4 mount points) holes would go, then removed the Triparagon and drilled the 3 new AN3 mounting holes: one at the very top adjacent to the aft side of F28, another at the very aft bottom side of the Triparagon attaching to the nose wheel cover (NB), and finally one at the forward top edge of the Triparagon where it mates to the aft side of the F22 center strut.
I then reattached the Triparagon with the 3 new nutplate mounting hard points bolted in place, with 5-min glue slathered on the mating side of each of the nutplate foam.
Once the 5-min glue cured, I cleaned up the freshly installed nutplate mounting hard points, then added flox fillets (as I had on the first 4) and laid up 3 plies of BID on each nutplate assembly.
Below is a couple different shots of this. Also note that I had just previously pulled the peel ply and cleaned up the 3-ply BID layups on the first 4 nutplate mounting hard points that I installed.
And here’s a shot looking aft.
I know I underestimated my Triparagon build & install timeline, but tomorrow I should actually get the Triparagon vertical plate install finished. I’ll let these last 3 layups cure overnight, then clean them up tomorrow. I’ll then glass in 2-ply BID layups on the right side of these 7 Triparagon nutplate mounting hard points. I’ll then be finished with the lion’s share of the Triparagon installation, at least where the actual fuselage side is concerned. The remaining mounting actions are getting the Triparagon top “shelf” plate installed with its requisite angled aluminum supports/anchors, which only deals with the actual Triparagon components.