
I didn’t go flying today due to high winds, so I started off with a little cleanup action on the nose gear wiring harness. I’ve had a bundle of excess wires sitting on top of the NG30 cover for eons now and decided it was time to clear them off. Also, instead of using butt connectors I opted for a more “elegant” solution and spliced the wires using a pigtail to secure the stripped ends of the individual wires together before soldering them.
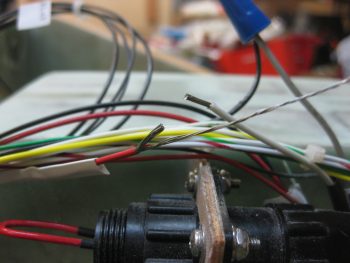
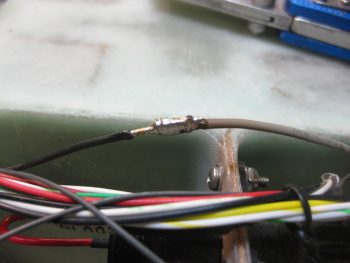
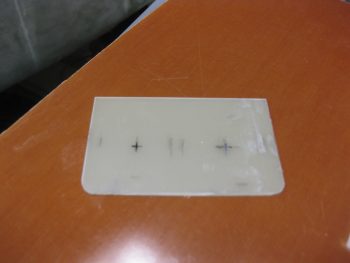
Here is the first set of 3 that I did this morning. You can see the long 3-4 wire pigtail that I teased out of the stripped red wire on the left before cutting the rest of the stripped wires short in length to match the white wire on the right.
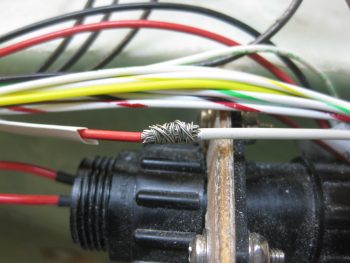
I then used the pigtail to secure the 2 wires together. I could have used a wire or two less on the pigtail and also cut it a bit shorter, which added to the slight excess in the wrap. No worries though, it still worked great.
I then soldered the wires together. I actually added just a tad bit more solder after I took the pic below.
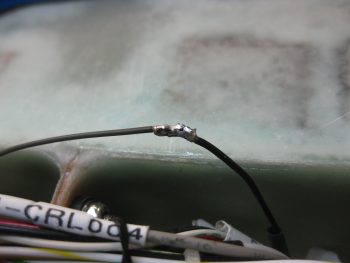
Here’s wire set #2 getting spliced . . .
. . . then soldered.
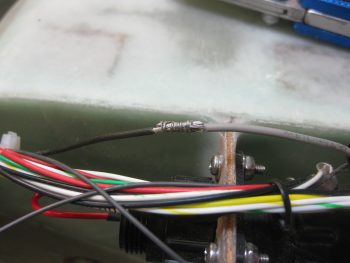
And wire set #3 completed in the same fashion.
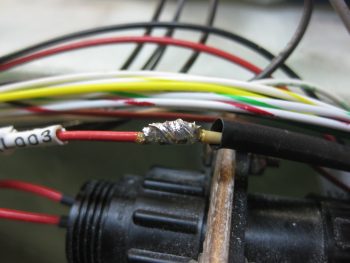
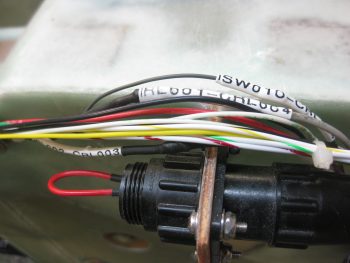
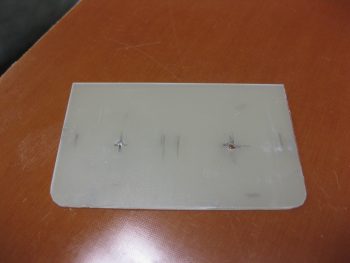
Here you can see all 3 wire sets spliced & soldered together. I used shrink tubing over the joint for added joint strength, then simply used the label as a second layer over the shrink tubing for even more added strength. After I finished with the shrink tubing & labels, I then hooked up up the battery leads and ran the nose gear up & down a bit to ensure the splices were carrying current, which they did.
This morning at breakfast I drew up a plan for a bracket that would hold the AMP CPC connectors P3 (A/P pitch trim servo) and P5 (pilot stick grip) in place on the avionics bay sidewall.
I decided to go ahead and knock this out so that the glass would be laid up and curing overnight. For the bracket material I figured I would use some leftover 1/16″ thick G10 that I had on hand. I was going to use some of my 1/16″ brown phenolic at first, but it cuts a little easier than the G10 so I’m saving it to continue using for my nutplate backers.
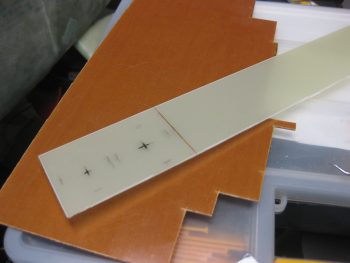
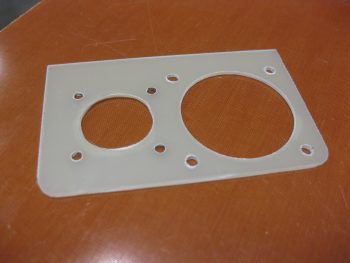
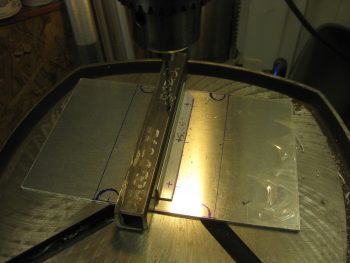
So I cut off a 3.5″ long piece off the 2.2″ wide strip of G10. I then rounded the front corners.
And drilled 2 pilot holes to mark the center of the larger holes.
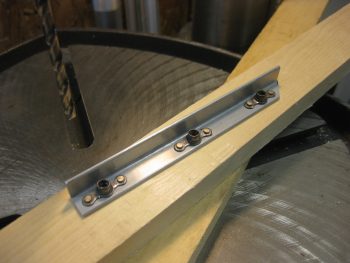
Which I then drilled next… along with the small #40 & #6 size screw holes, respectively of course!
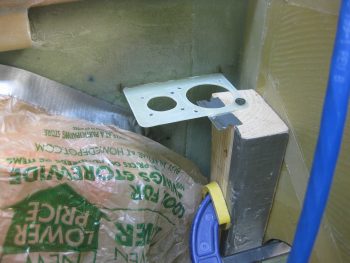
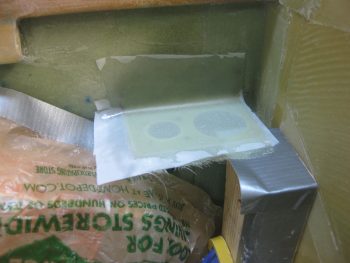
After finalizing my mounting location, I then 5-min glued the bracket into place on the sidewall. I screwed the aft corner of the bracket to a clamped 2×4 piece to keep the bracket aligned while the 5-min glue cured.
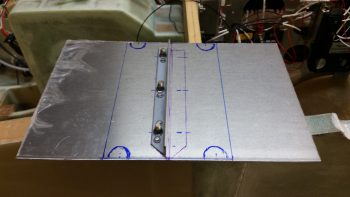
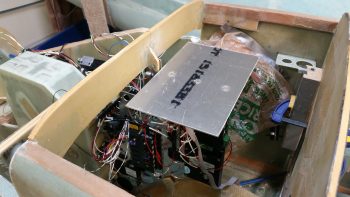
While the AMP CPC connector bracket 5-min glue cured, I got to work on the Triparagon cross shelf. I marked out where the GRT GADAHRS will get mounted along with the centerline, then configured the angled mounting bracket locations. I marked the mounting screw locations on the angled mounting brackets, then took the angled brackets and the cross shelf down to the shop to drill the holes.
After I got the 3 mounting screw holes aligned & drilled, I then riveted nutplates to the left angle bracket.
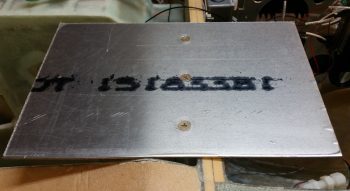
I then countersunk the 3 left side screw holes on the top of the Triparagon cross shelf and then screwed the shelf to the left side angle bracket.
Here’s a top view of the 3 left side countersunk screws.
I then quickly mocked up the Triparagon cross shelf. Again, I really am liking how the Triparagon is coming along.
My last official act of the evening was to stop making noise and start making some fumes… epoxy fumes that is. I whipped up some epoxy and laid up 2 plies of BID on the top side of the AMP CPC connector bracket. I did use a flox fillet so the glass would transition well between the wall and the bracket. And of course I finished off the layup with some peel ply.
If the winds stop acting up I’ll be flying tomorrow afternoon. Still, tomorrow I will try to get the Triparagon cross shelf mounted, as well as the bottom/final glass laid up on the connector bracket.
Nice
Thanks Bro!