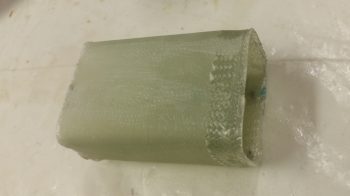
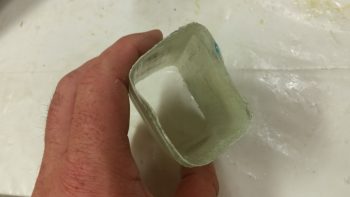
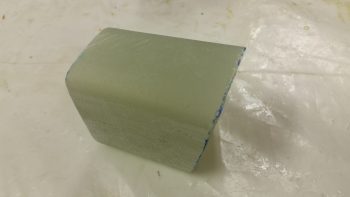
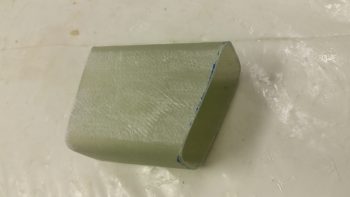
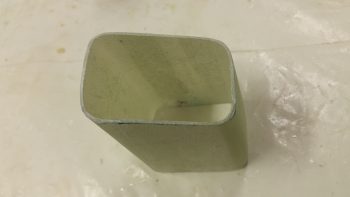
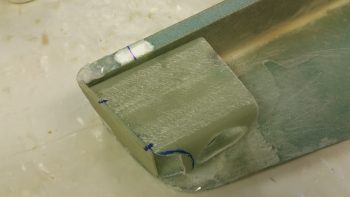
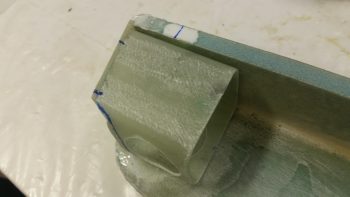
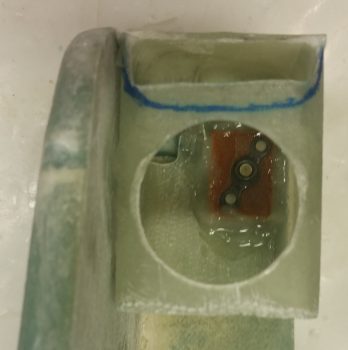
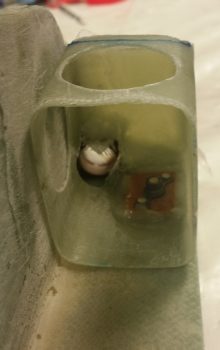
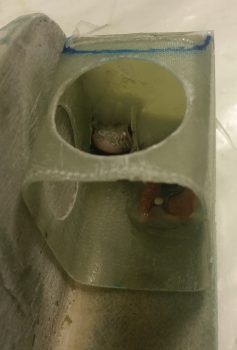
Today I started out by removing the foam form out from the middle of the left GIB armrest forward bracket assembly that I glassed last night.
The bracket came out nicely with no glaring errors!
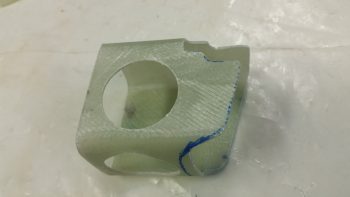
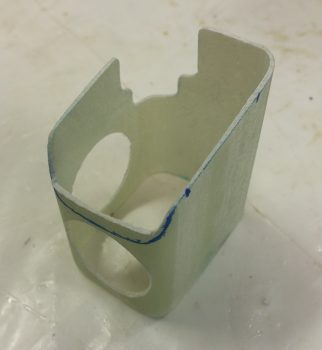
I had glassed it up a bit oversized, so I took a few minutes to measure out my bracket dimensions, mark up the bracket and then trimmed it with the Fein saw.
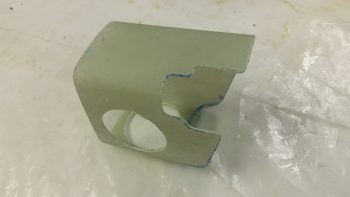
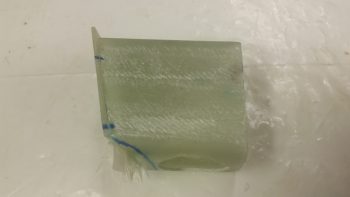
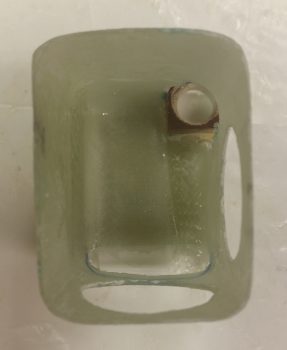
I then got to work notching the bracket in the upper inboard corner for PTT button housing clearance. I also drilled some lightening holes: one on the inboard side and one on the bottom.
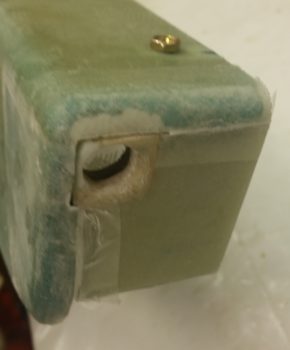
Here’s a good look at the corner PTT button housing clearance notch.
I also notched the front bottom lower edge since the face plate doesn’t come all the way down. By moving the lower edge back a bit, there’s no way to see that the bottom bracket lip doesn’t intersect with the lower edge of the front face plate.
After some judicious sanding –mainly on the front angle of the armrest mounting bracket– I taped up the inside of the armrest and then 5-min glued the mounting bracket to the front face plate. I did this while keeping the face plate in its proper position at the front of the armrest.
After the 5-min glue cured, I immediately glassed the bracket to the face plate with 1 ply of BID in the corners for each of the interior intersecting walls, using micro fillets.
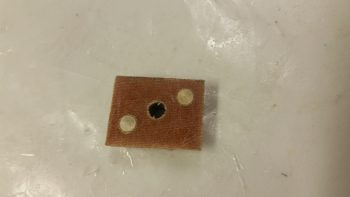
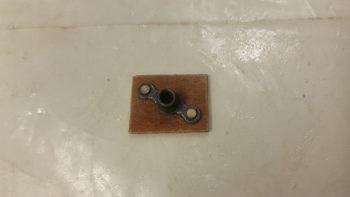
I then rounded up the left GIB mounting bracket’s nutplate assembly that I had made up a few days ago.
This time I taped up the edges of the face plate assembly in prep for these multi-tasked next steps.
I then laid up 2 more small plies of BID inside of the bracket: 1 on each interior side of the PTT button foam & phenolic mounting pieces.
I then floxed the nutplate assembly into place on the underside of the bracket’s top plate
With the face plate taped, I also micro’d the edges of the face plate to fill in any gaps between the face plate and the armrest inside edge.
Here’s a shot of the floxed nutplate assembly in place on the underside of the bracket’s top plate.
Here’s a shot of both the floxed in place nutplate assembly and the ply of BID on each side of the interior PTT button housing.
And one final shot of the ply of BID on each side of the interior PTT button housing.
Tomorrow I’ll drill the holes in the face plate for the 2 jacks for the GIB headset. I’ll then flox the left GIB armrest bracket to the fuselage sidewall. All that will be left then for finishing up the mounting bracket will be the wring of the jacks and PTT button. I also intend to work on the oil heater heat exchanger ducts as well.

