
Today I started by . . . yep, adding the last bit of dry micro to the last 2-3″ middle area of each micro cap on the pilot thigh support ribs. These things looked like twins with their shiny micro midsection glaring away, untouched and unspoiled by the thigh support top plate. So, after sanding the middle micro areas on each each rib top dull, I then whipped up another round of dry micro and applied it. All in all, I seriously only needed 1/8″ to 3/16″ more micro here, but man this is one of those things in the build that wants to be stubborn!
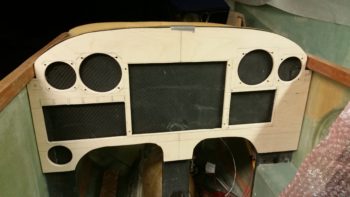
As the dry micro cured atop my ribs, I got to work finalizing the instrument cutouts for the mockup instrument panel that I’m constructing. This panel will not only allow me to test instrument, avionic & component placement –and FIT!– but also put them all in their near-final position to allow me to wire them up.
After a few hours I finally saw what I’ve been looking for the last couple of days: no flat or untouched micro atop both my thigh support ribs… yeah! I started cleaning them up by literally shaving the sides of the overhanging micro like you would a big block of cheese.
Once I got the sides close, I then switched to a sanding block to finalize the sanding of the added micro top. I may add one more ply of BID just in the center areas for strength, but primarily to keep these from getting chipped away over the years. Regardless, this part is DONE!

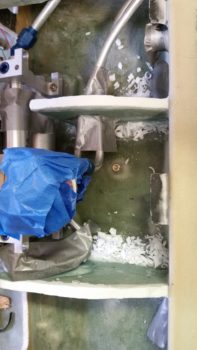
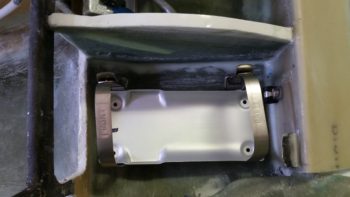
I then tested out the ELT location using the mounting bracket that was included in the ACK E-04 Retrofit kit (read: “starter” kit, IMO) that I just received today [perfect timing!]. The kit also included the panel mounted control head, so I’ll be mounting that in the mockup panel as well.
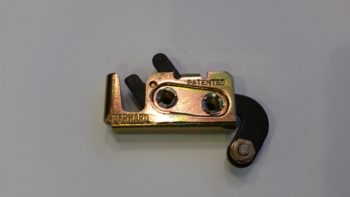
I also received the Eberhard latch that I’ll be using for the nose hatch. This is close to the one I saw on Rick Hall’s Cozy IV at Rough River. I added the wire clamp nut assembly making it pretty much ready for install [Note: I might take the drill to it and drill a few lightening holes since this thing is a bit heavy for its size]. Below the latch is in the hatch closed & locked position.
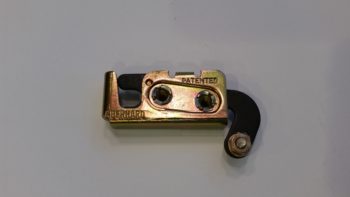
Here’s the Eberhard nose hatch latch in the hatch open position.
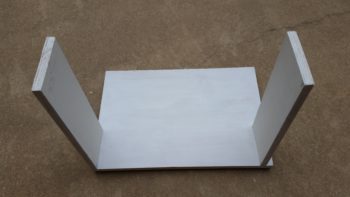
I also cut some uprights for the base of the mockup instrument panel. I’m making this panel mounting stand a bit taller than just the main instrument panel area to allow for mounting the Triparagon behind the panel, since it plays such a key role in the panel instruments’ wire cross connections. I went to dinner with my buddy Rob tonight, so before I left I spent about 15 min. painting this base with some white primer to hide all the unsightly water marks and wear on these “trash” pieces of wood that I used.
Tomorrow I plan on continuing with the seemingly unending saga of getting the pilot thigh support top plate installed. My main task is to get some tabs glassed onto the lower aft side of the instrument panel to allow mounting 2 CAMLOC fasteners that will secure the front side of the seat support plate in place. I’ll be working on the base for the ELT mounting bracket as well, shaping the fuselage floor to permanently install nutplates to secure the ELT bracket.