
Ya’ll better sit down for this!
Today I actually did something airplane build related. Yep! Something that has been on my list of things to do for quite a while (along with a few hundred other build tasks, eh?!) … function testing the Oregon Aero seat cores.
Ok, so today was all about the front pilot seat. I plan on doing another stint in the back seat within the next day or two.
Clearly I have a bit of time left on this build. Moreover, with the current state of the world and the Corona virus situation I figure I can wait a few weeks or so before shipping my cores back to Oregon Aero for tweaking and then another subsequent test fit.
In my mind, seat core configuration boils down to comfort, fit and style… really in that order as far as importance goes. I’ll get to style way down the road with color choices and seat material, whereas today’s assessment was definitely focused on comfort and fit.
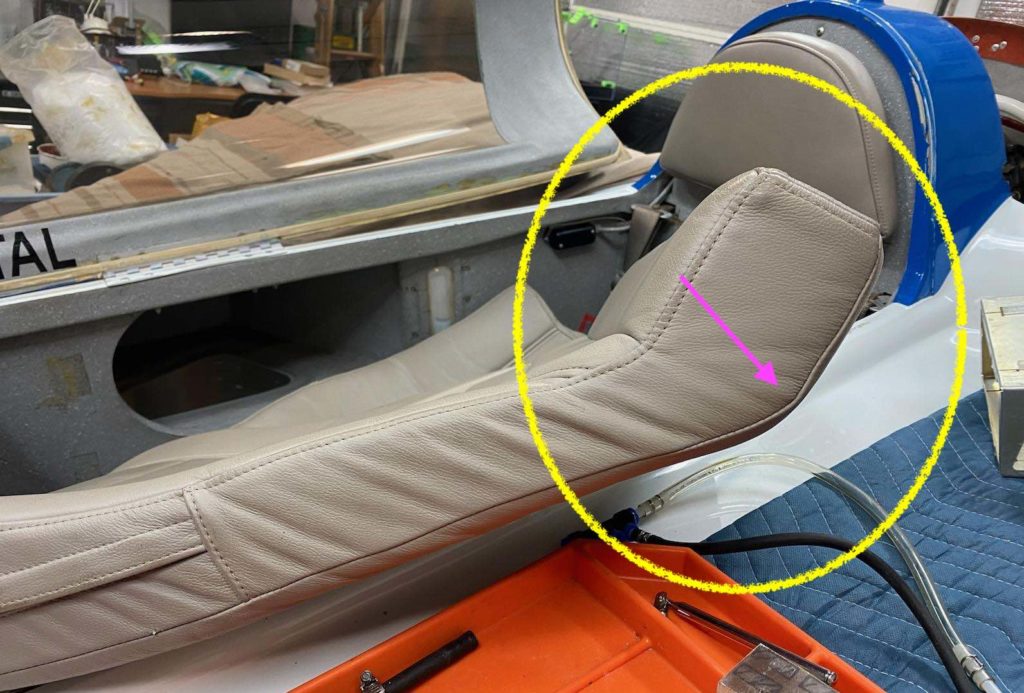
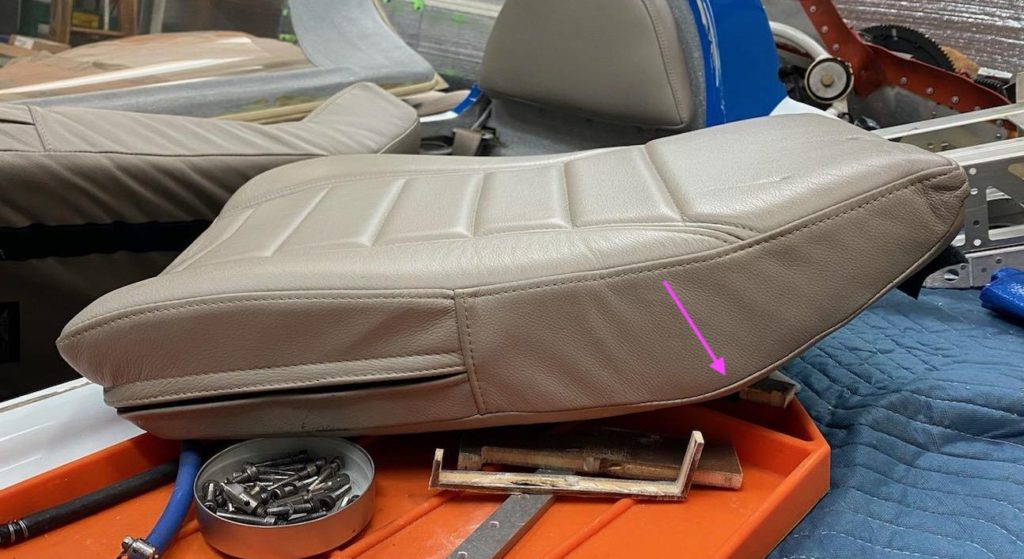
First off, I know Oregon Aero deals with a lot of orders, and the process of tweaking one’s cores by sending them back for redo’s clearly helps ensure getting what you want at the end of the process. So this isn’t to dog them out, but they did miss one of my initial requirements to taper the front of the pilot seat core down to pretty much a sharp point.
Why?
Feedback from all my EZ-flying buddies, who ALL highlight the whole “heel-catching” syndrome if the pad is too thick at the front of the seat. Sure enough, when I egressed my cockpit today after spending well over 1.5 hours in the seat, the heel of my shoe caught the pad on the way out and flipped it over backwards [I’ve actually been pondering having it made so that one side flips back to then allow for me to plant one heel on the then bared thigh support . . .]. Thus, front seat edge reconfig is definitely on the to-tweak list.
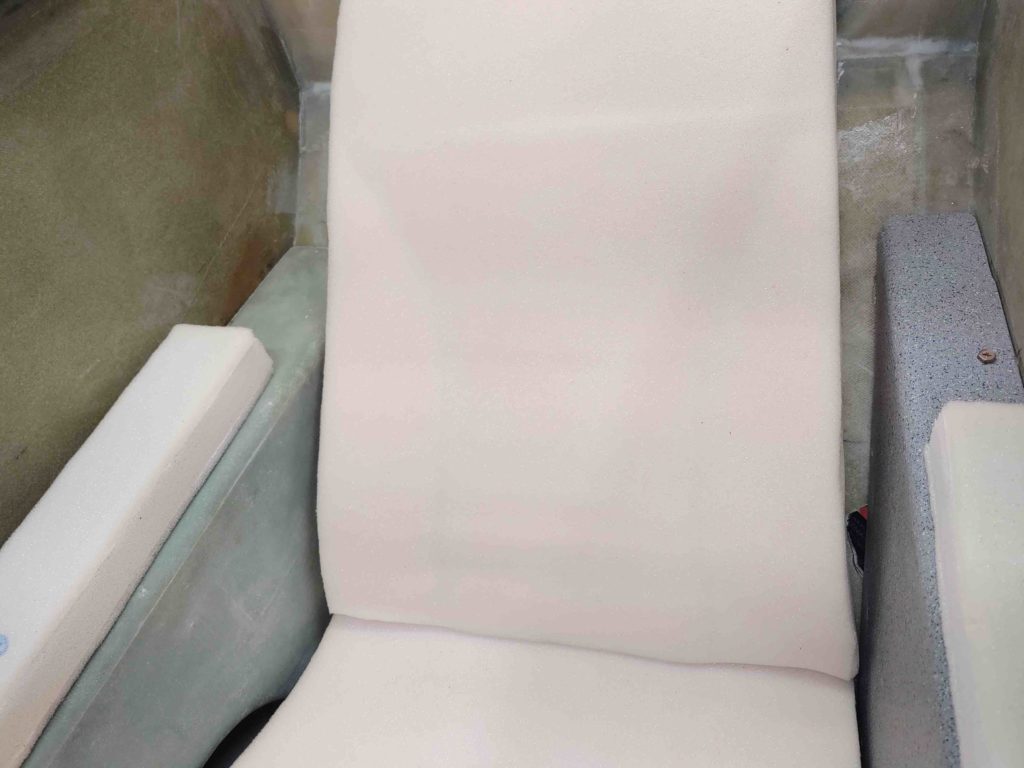
I will say that the seat is definitely very comfortable. I’d also say there’s a significant difference between just sitting in one spot with no movement and no piloting actions (distracted brain usage) vs the real thing. I did notice that all that time sitting in one spot I could feel it my hips a bit, so I’ll play around with maybe putting a thin pad in just the flat section of the seat pan to see if that configuration helps a bit on the long term sitting position.
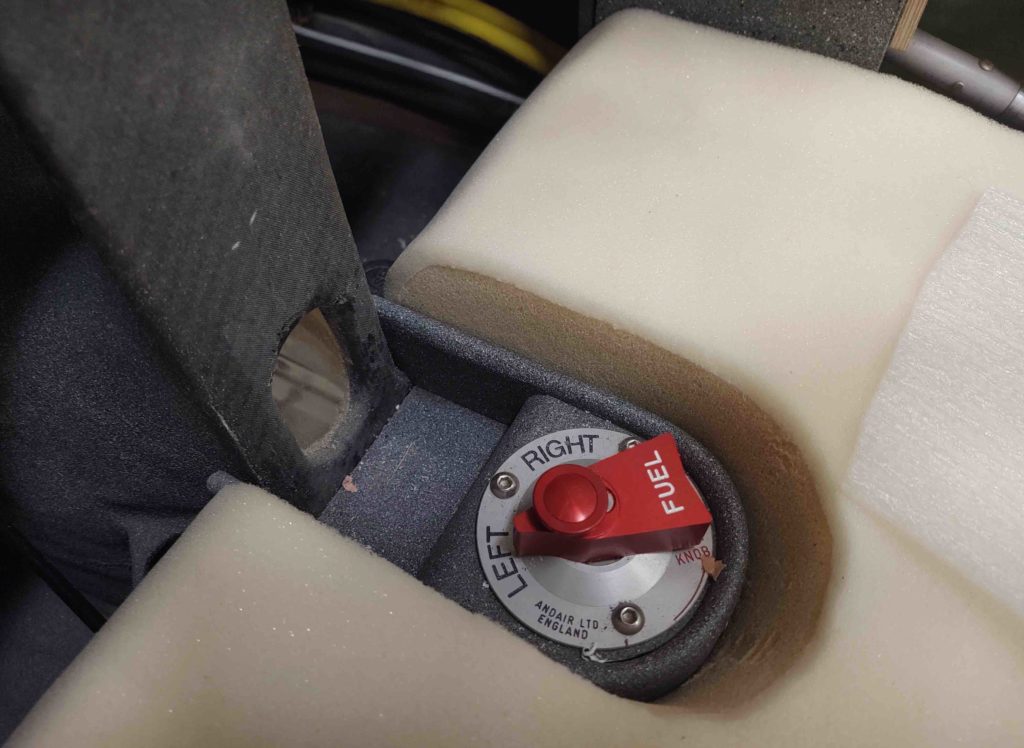
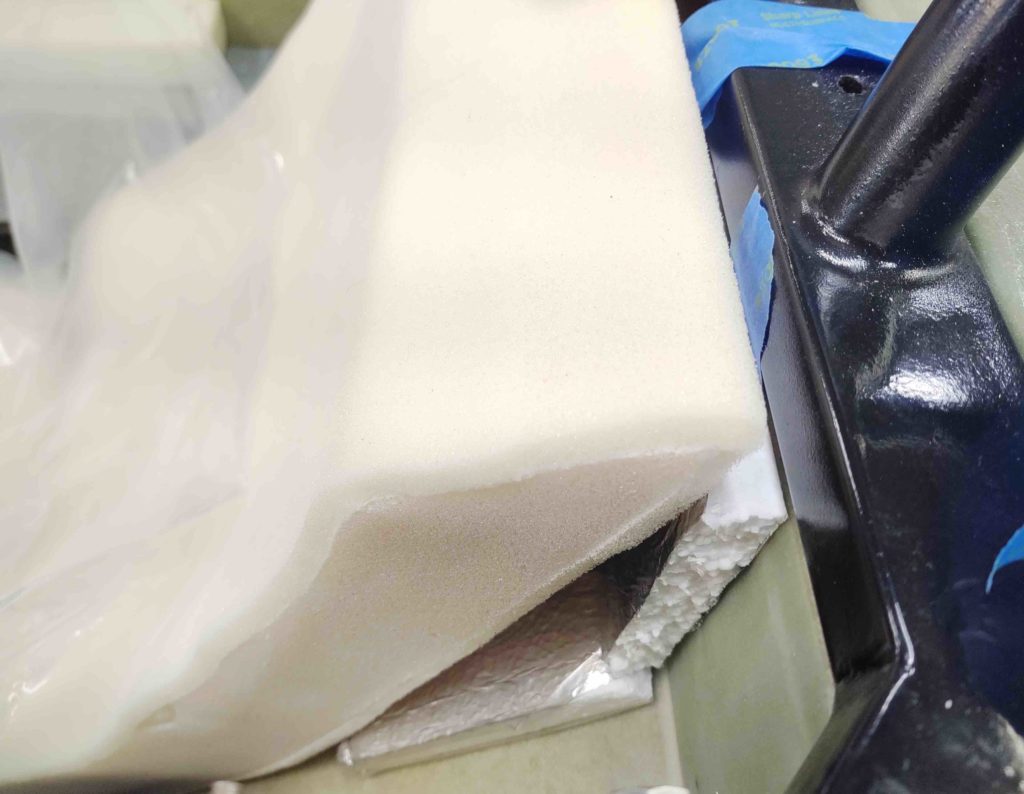
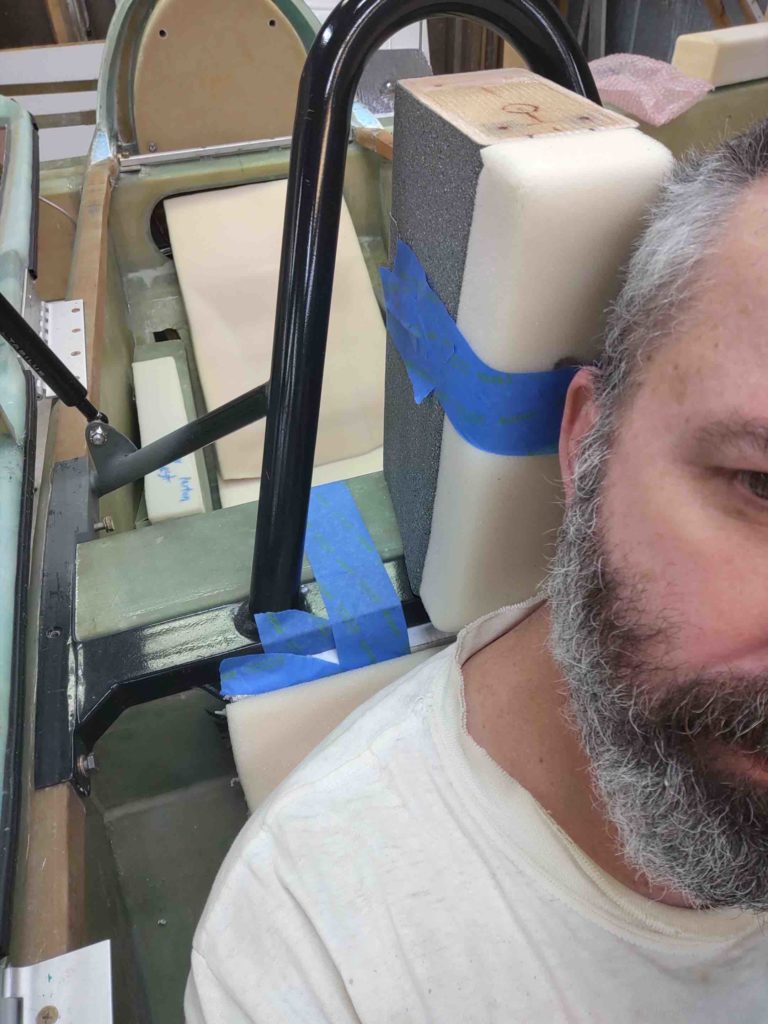
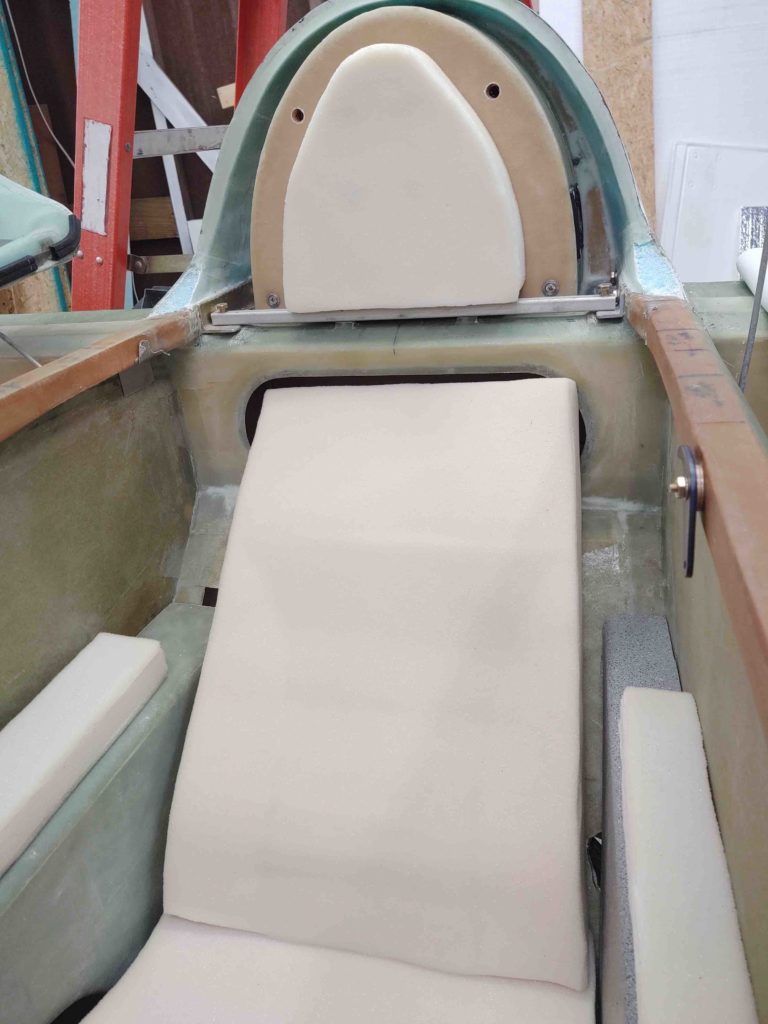
Another issue I have for both the front and back seat, is that the seat core back is essentially just simply a flat piece of foam, at least as configured here. But both the front and back seats have a vertical component to them as shown here with the front seat back….
and the CS Spar making up the top vertical section for the GIB.

In comparison, here’s a shot of Marco’s front seat pad, and at the top you can clearly see a dogleg.
Marco also snapped a shot of his back seat core for me, showing it too has a dogleg designed into it… unlike my seat cores (currently!).
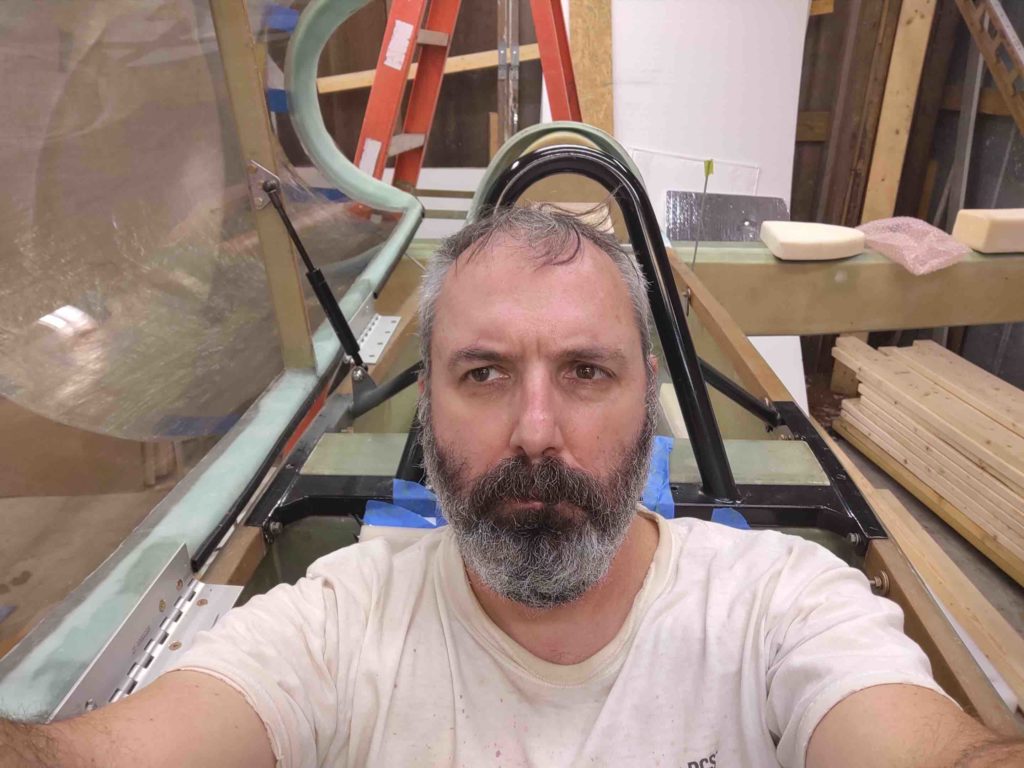
Since I was stuck in one spot for a while, I figured I’d grab a selfie of my crusty mug for my blog to show the FAA that I’m the guy actually building this darn thing.
Also a shot of the headrest. It too will need some tweaking since, although nice and comfy, it is a bit too ever-present and needs to be reduced in thickness by about half.
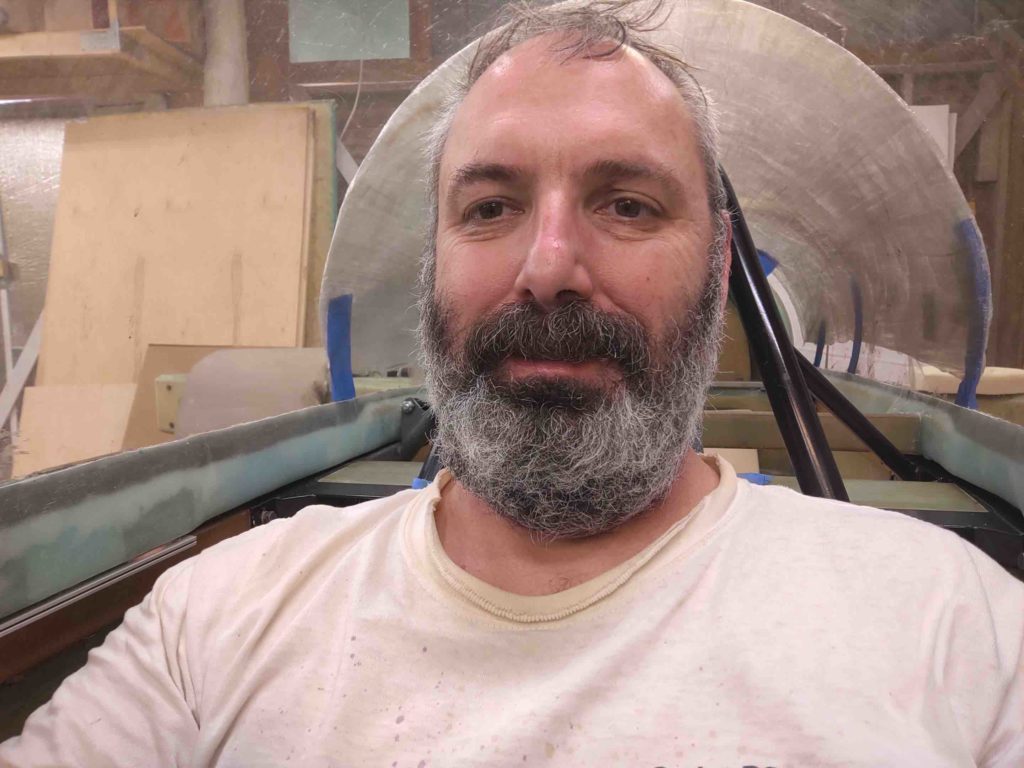
Another shot of your’s truly with the canopy closed. I will say (again) with that oversized canopy that I don’t get any sense of being cramped or claustrophobic at all.
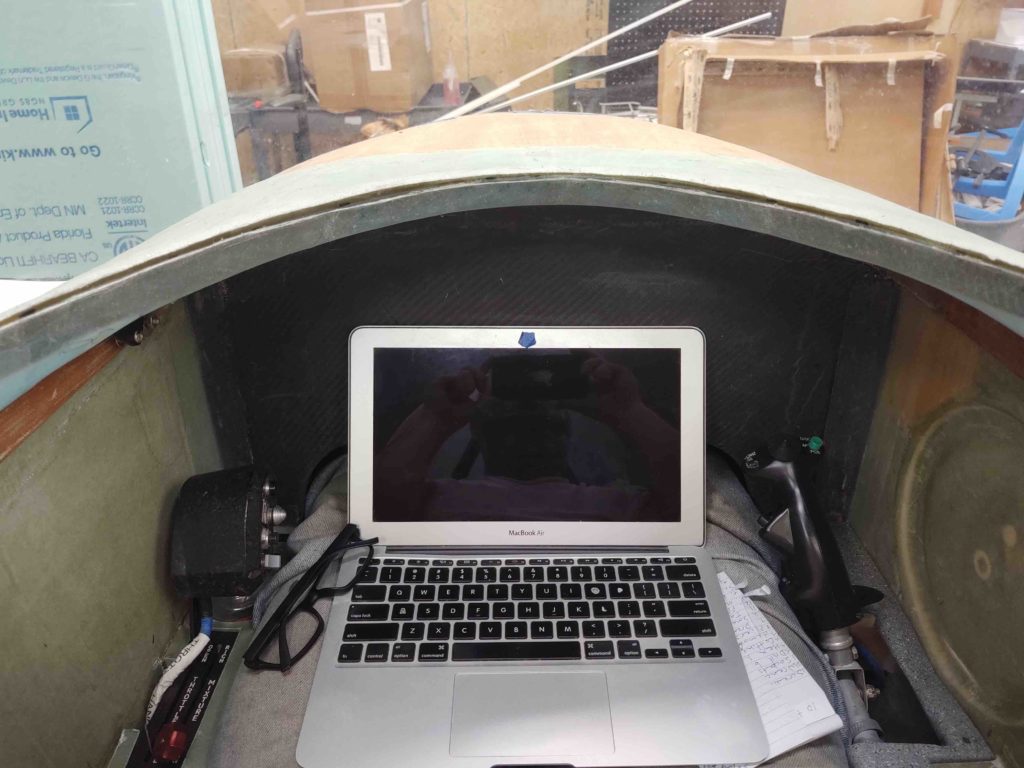
I did get a fair amount of computer work done (on the last blog post too) and took notes on some of my seat and cockpit configurations.
The pic below is after I ripped off the headrest pad to see how the front seat sitting felt without it. It was then I realized that it needed to trimmed down by about half in thickness (1.8″ to 0.9″ thick).
I was also querying Marco via text on his seat configurations, visibility, etc. So this shot below is at my eye level and pretty close to exactly what I see out of the front of the canopy with the current seat core as it is.
On the inside I can see about the bottom 2/3rds of the longerons where they dive into the panel on each side. With a lowering of my head or a slight tilt, I can easily see the entire top of the panel all the way around.
Here’s a shot of the back seat, which I know I took when I first got the cores. To be honest I’ll sit in it a bit just to check it out again, but until another 2″ gets added to the top of seat back core I don’t consider anything a valid fit test. As you can see, the top of the seat core simply falls into the oval storage opening in the CS Spar.
One last note on the back seat cores that I’m going to check with Oregon Aero on is the required width of the cores. The front seat seams fairly snug with a bit of wiggle room for the final upholstery. However, the back seat cores seem to have a good 5/8″ gap on each side of the bottom pad, and even more for the top pad.
Obviously tweaks need to be made, so I don’t want to take away from how very comfortable these seat cores are. Clearly I have plenty of time to tweak them, so I will at a minimum get my notes collected and documented, and then the cores packed up ready to be sent back to Oregon Aero for some refinements.