
I started off today by hitting the cured micro on the elevators with my 36-grit sanding board. After I got the edges somewhat feathered out & the ridges removed, I switched to a piece of 36-grit sandpaper that I simply wrapped around the curve of the front part of the elevators. I then finished up with a few quick passes of 80 grit. Below is a pic showing the comparison of the sanded elevator (top) to the other one still needing sanding. Below that is a shot of both elevators’ sanded top leading edge micro strips.
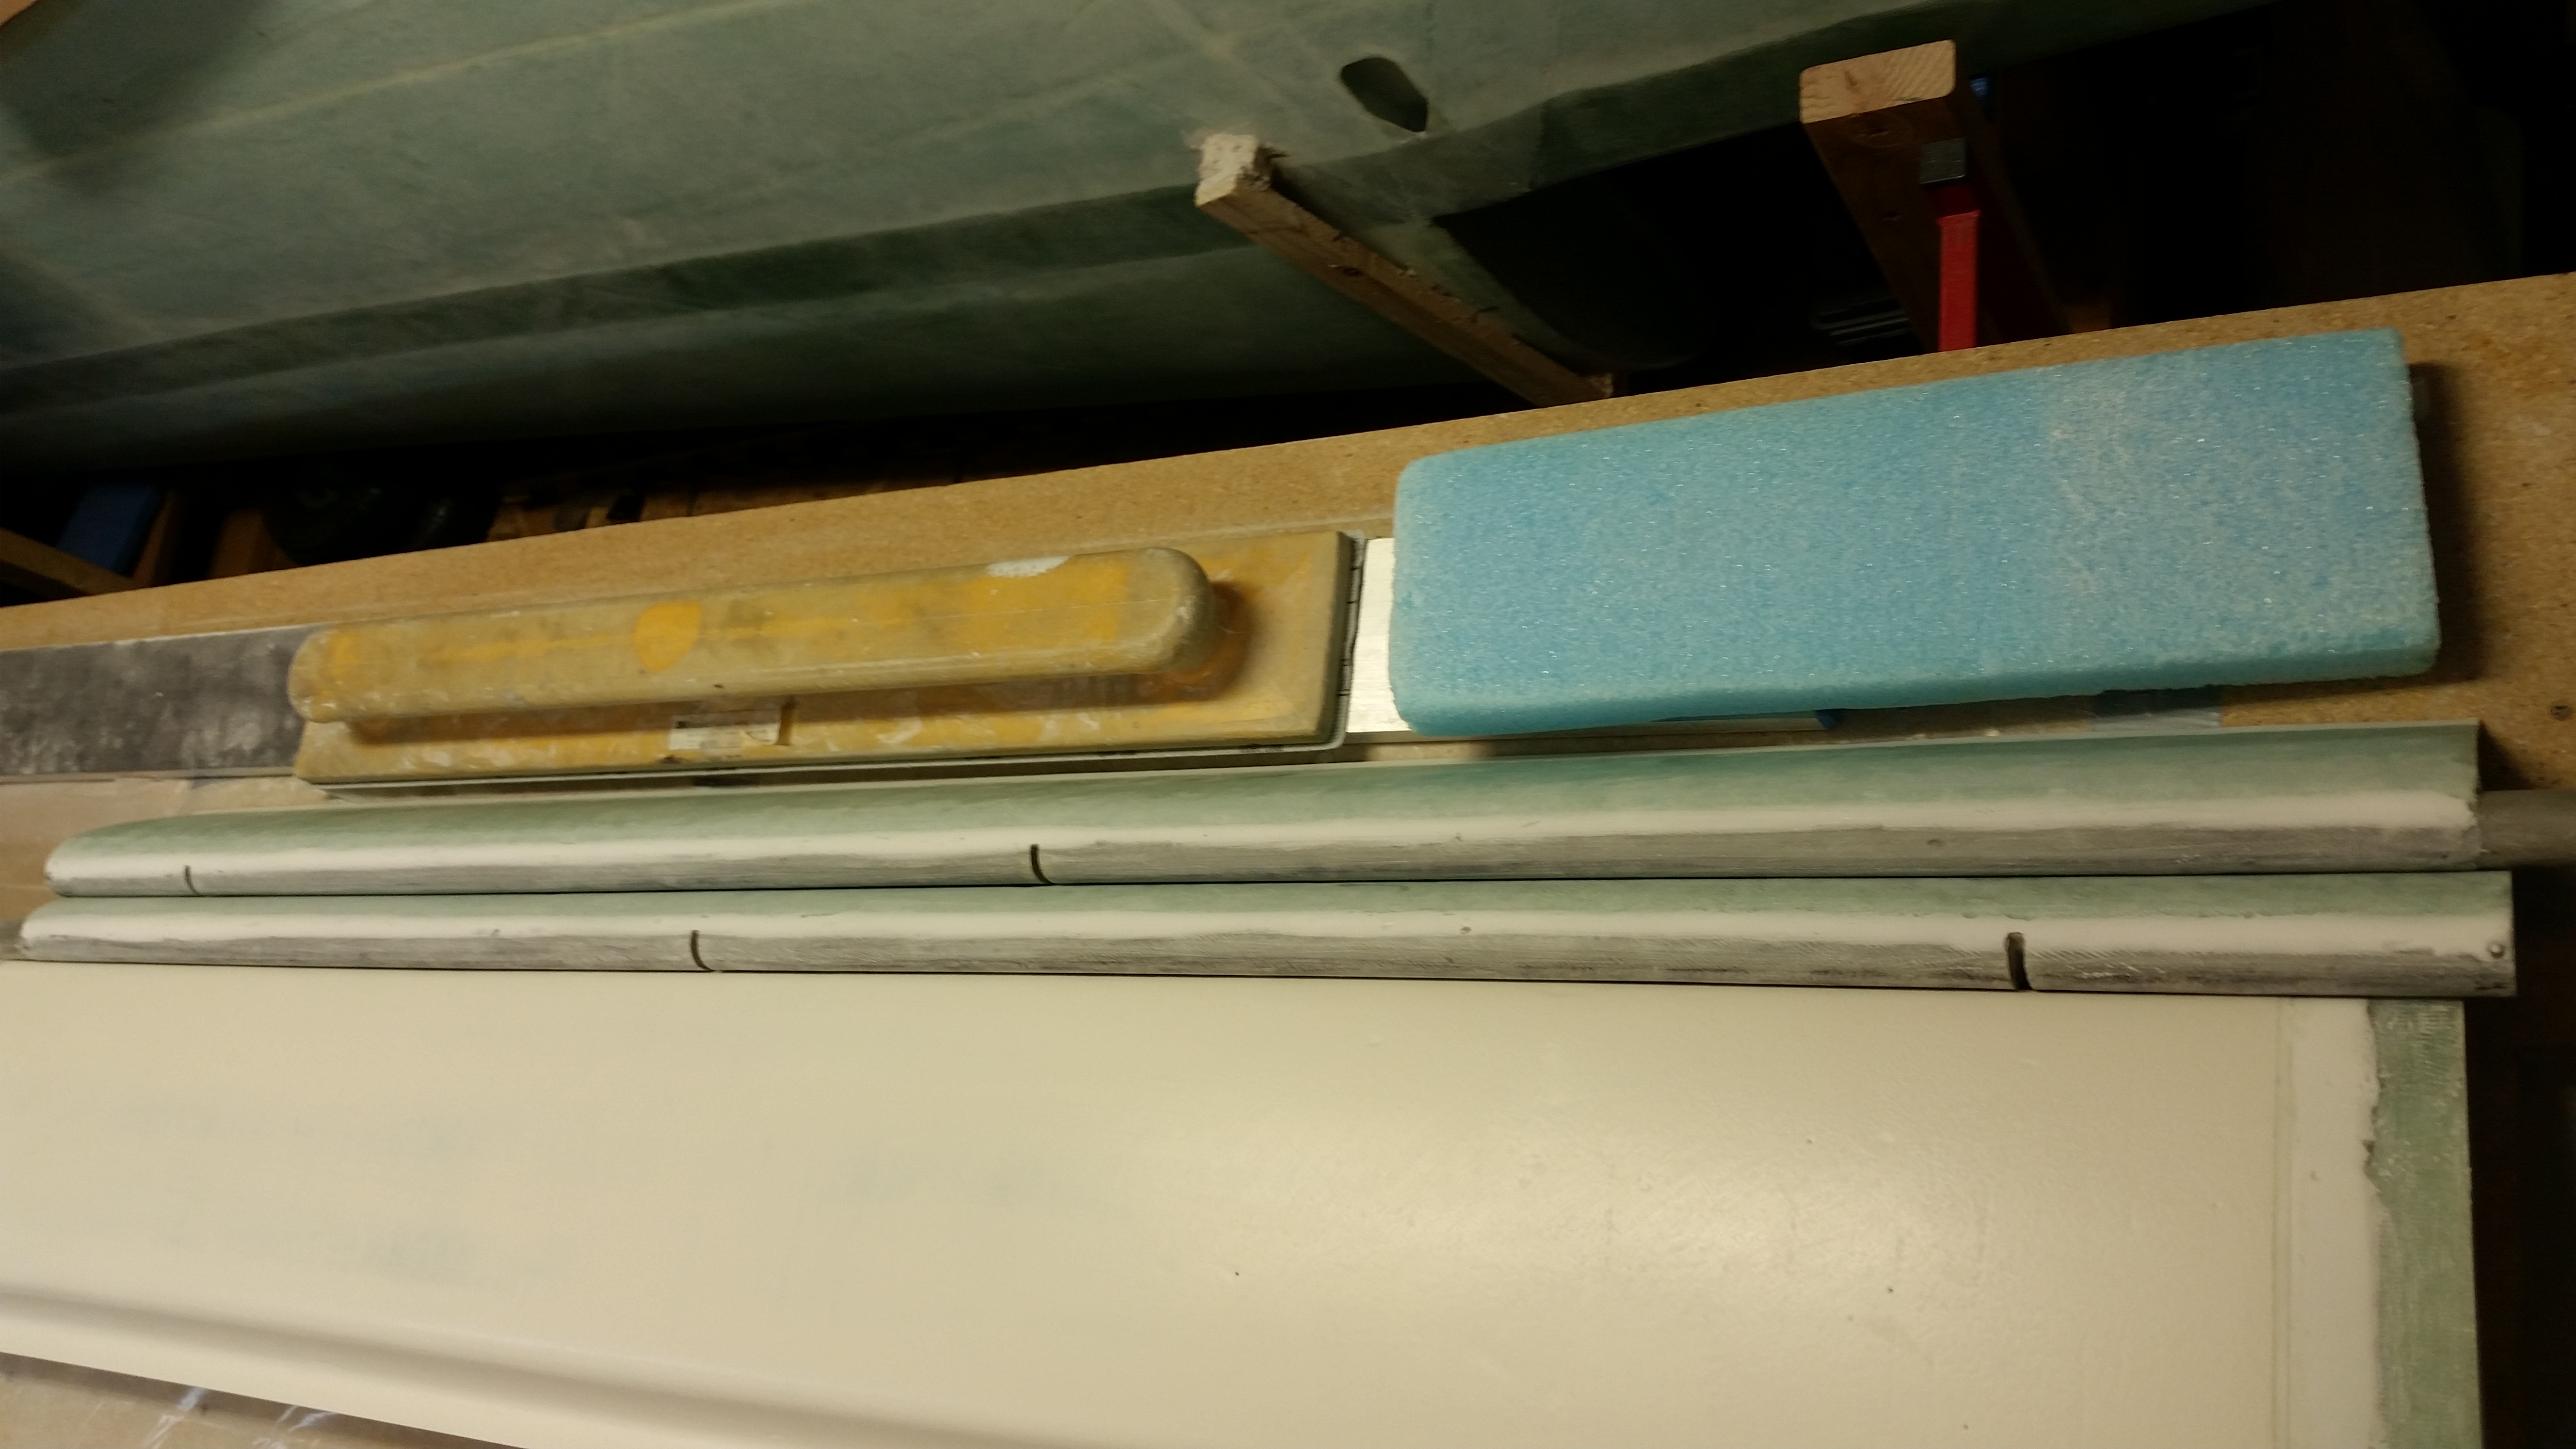
After sanding the front sides of the elevators, I checked the TE of the Right elevator. Actually, I was checking the width from front to back along the entire span of the elevator just like I had done with the Left elevator. Each end of the elevator was a tad thicker at just over 4.6″ wide, while the center of the elevator was 4.583″ wide. I sanded the elevator on the edge of my long aluminum straight board that has 80 grit sandpaper tacked to it ( I bought this in Germany, and yes, still thinking it’s awesome!). After a few minutes of some very careful sanding, I had the ends narrowed to 4.589″ on one end and 4.587″ on the other. I figured that I would stop while I was close and not muck it up by going too far. Now both my elevator widths are confirmed in specs.
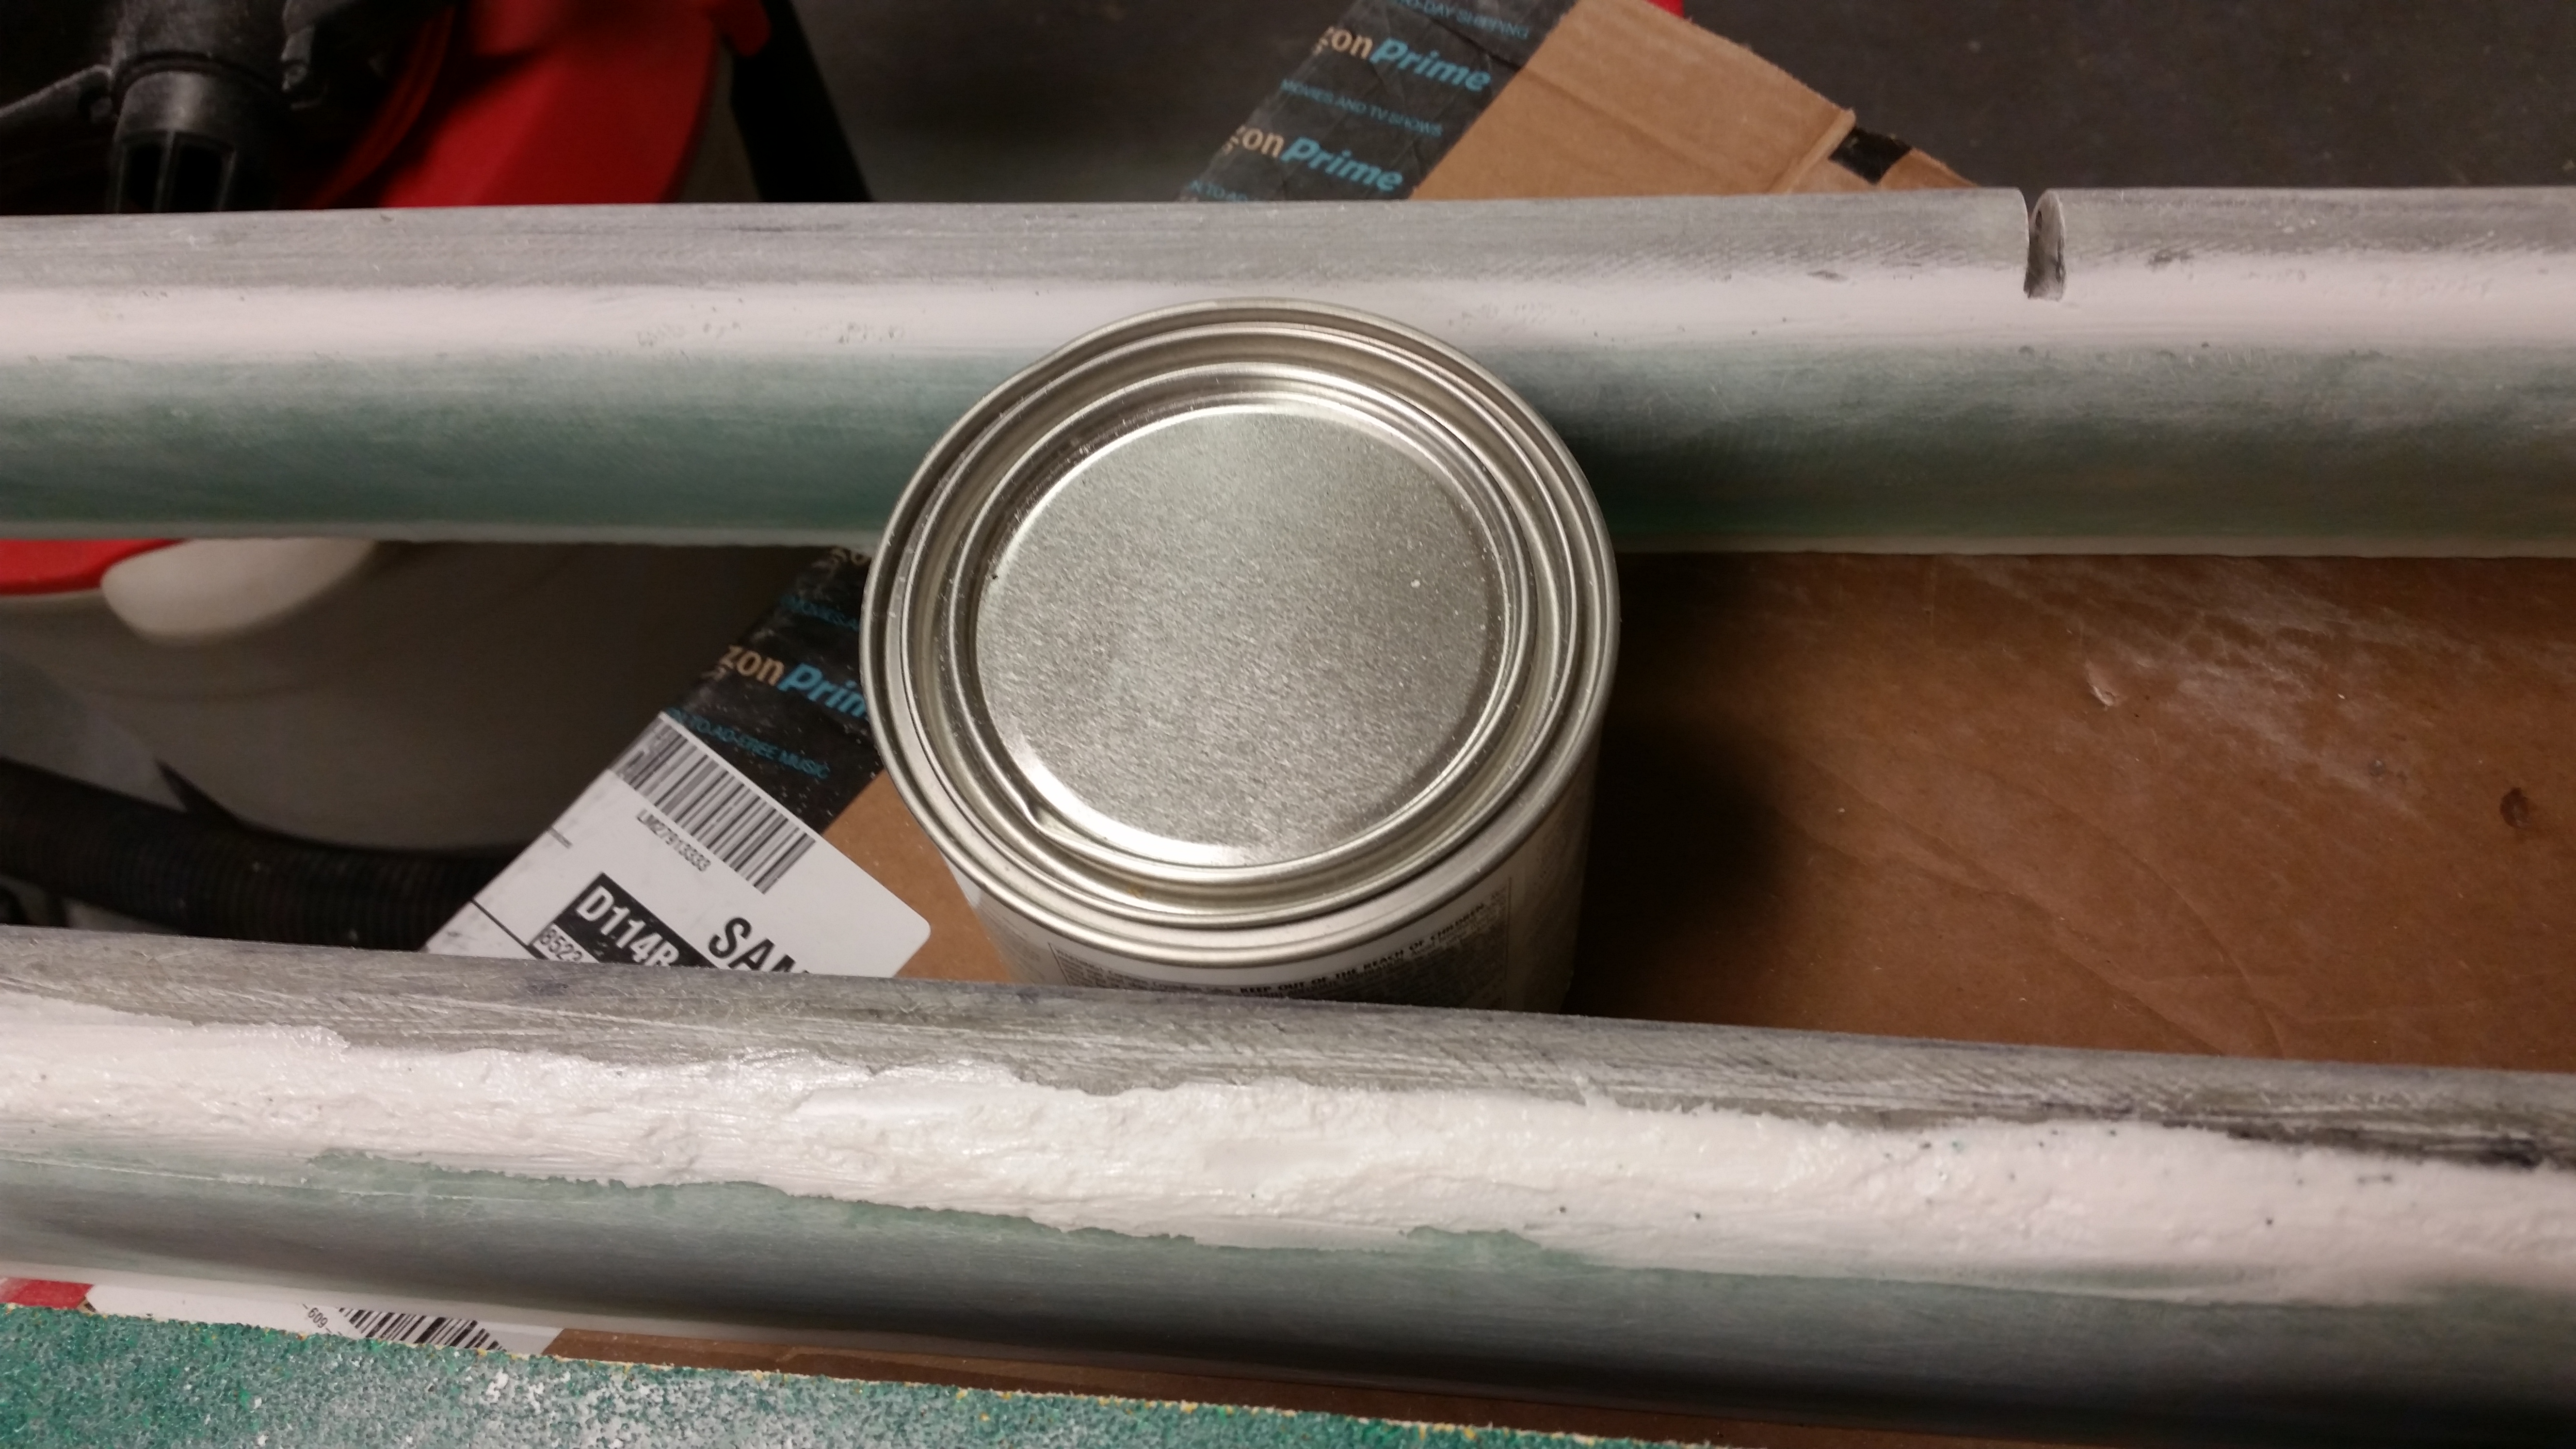
After sanding the elevators, I took a break from sanding to Alodine the elevator spool tube. Although I would have preferred to wait until I cut this spool tube to length before Alodining it, the weather here in northern Virginia is getting cooler by the day. So, while it was an absolutely warm gorgeous day I figured I would Alodine the tube and get it out of the way.
I had some 1-1/2″ PVC on hand, so the other day I bought two end caps. I cut the PVC into two 24″ lengths, wrapped an end on each tube with some sealant tape and secured the end caps. I then deburred one end of the spool tube, gave it a quick wipe down with acetone, and then cleaned it thoroughly with Simple Green.
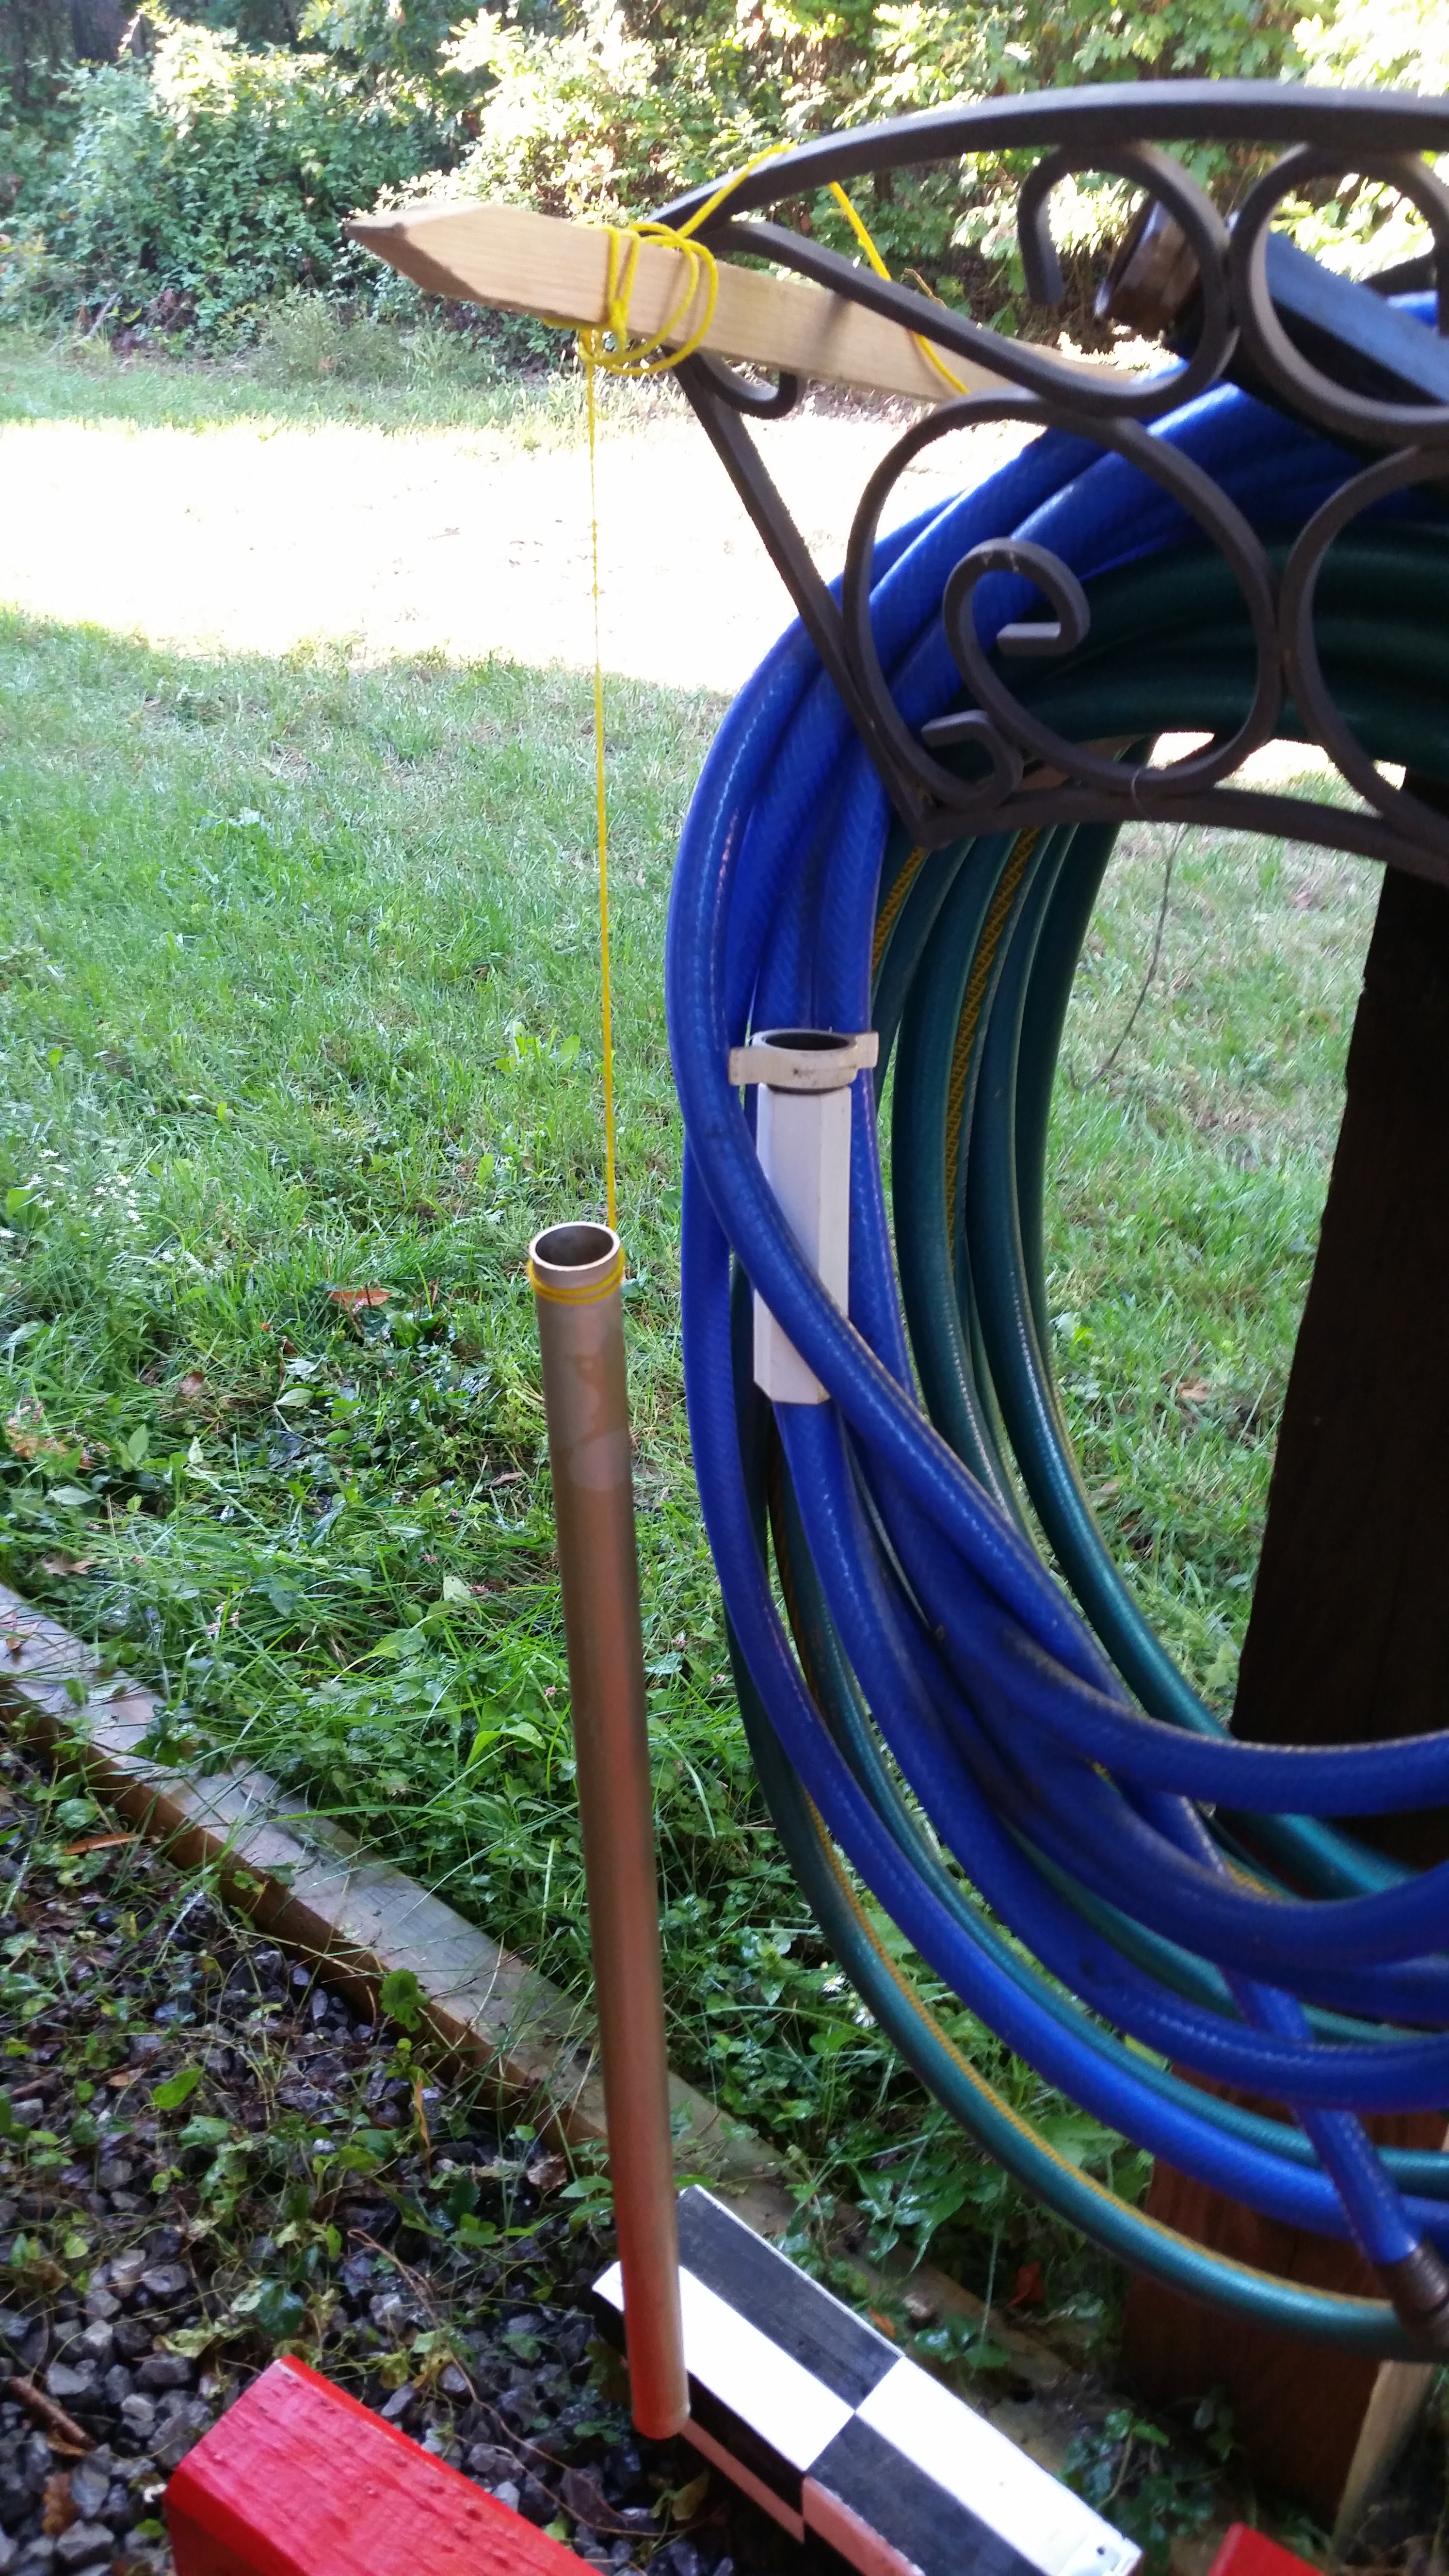
I grabbed the tube, along with my Alodine & Alumaprep, some thick rubber gloves, the rest of my gear and headed to the back yard. I will tell you that although I’ve stored my chemicals in a cool dark place it’s very noticeable that my Alodine & Alumaprep are really getting stale. Instead of the stated 2 minute soak time (personally, I’ve seen 3-4 min ranges normally) in the Alumaprep & Alodine, it took almost 10 minutes each to get a decent clean & color on this spool tube. No worries, I guess the stuff is still doing it’s job, it just takes a little longer. Kind of like me as I get a little older! Ha!
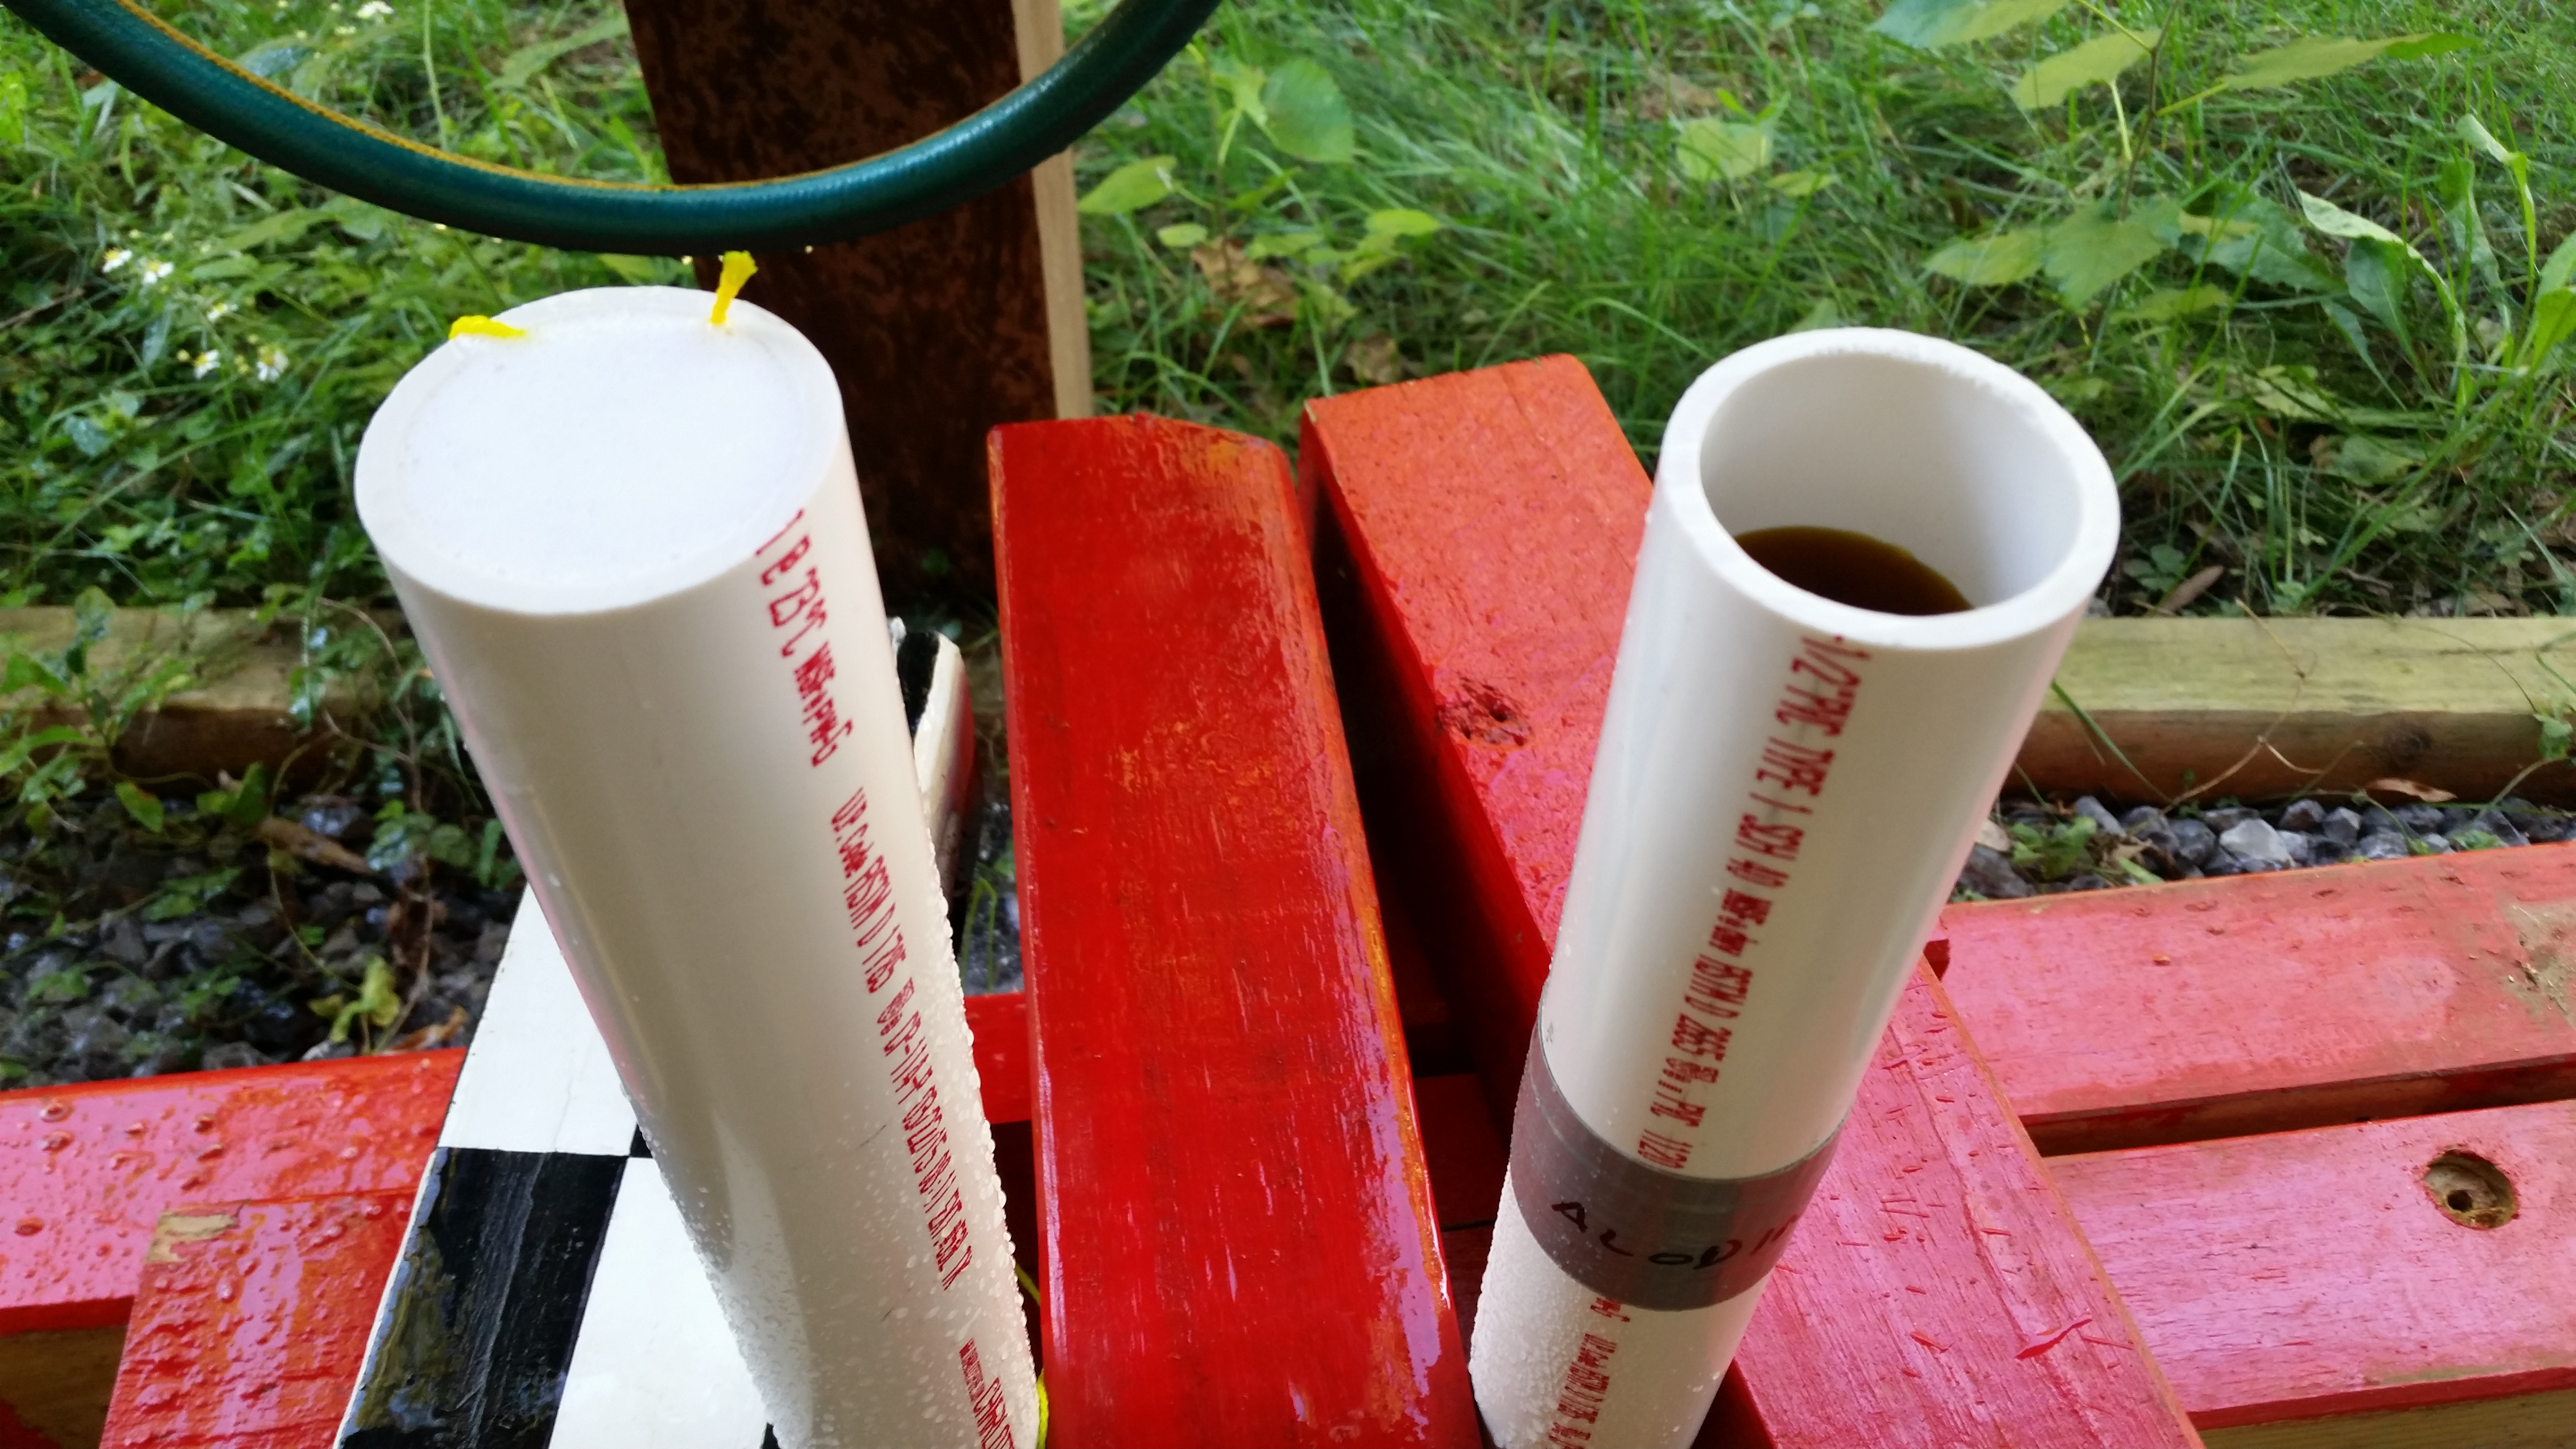
Since about 5-6″ of one end of the spool tube will be getting cut off (the side I didn’t deburr), I used this end to handle the tube & tie string to for dunking it into the solutions, and for suspending the tube as it dried.
With the spool tube Alodined, and after a quick project update and Airdog Aircraft Factory tour for my neighbor, my next task was to give the canard’s primer coat a thorough sanding. When I last sanded it Saturday evening by hand, I could tell the primer was pretty tough stuff. This time around I wasn’t going to mess around with the time consuming, more exhausting process of hand sanding, so I pulled out the big gun: my DA sander.
I started with 100 grit on the DA sander and hit both L & R sides. It worked like a charm and took no more than 10 minutes per side. I then followed that up with 150 grit paper on a pad sander, which I was able to use more effectively on the fishtail TE area. I realize when looking at the pics that there seems to be a fair amount of coated material in the TE trough area, but I would rather start from a normal application of finish material and have to remove more of it during the elevator mounting process (to meet the .2″ gap requirement) than to assume it shouldn’t be there in the first place and not finish the TE area, as I have seen some other builders do it. Not calling it right or wrong, just a personally preference.

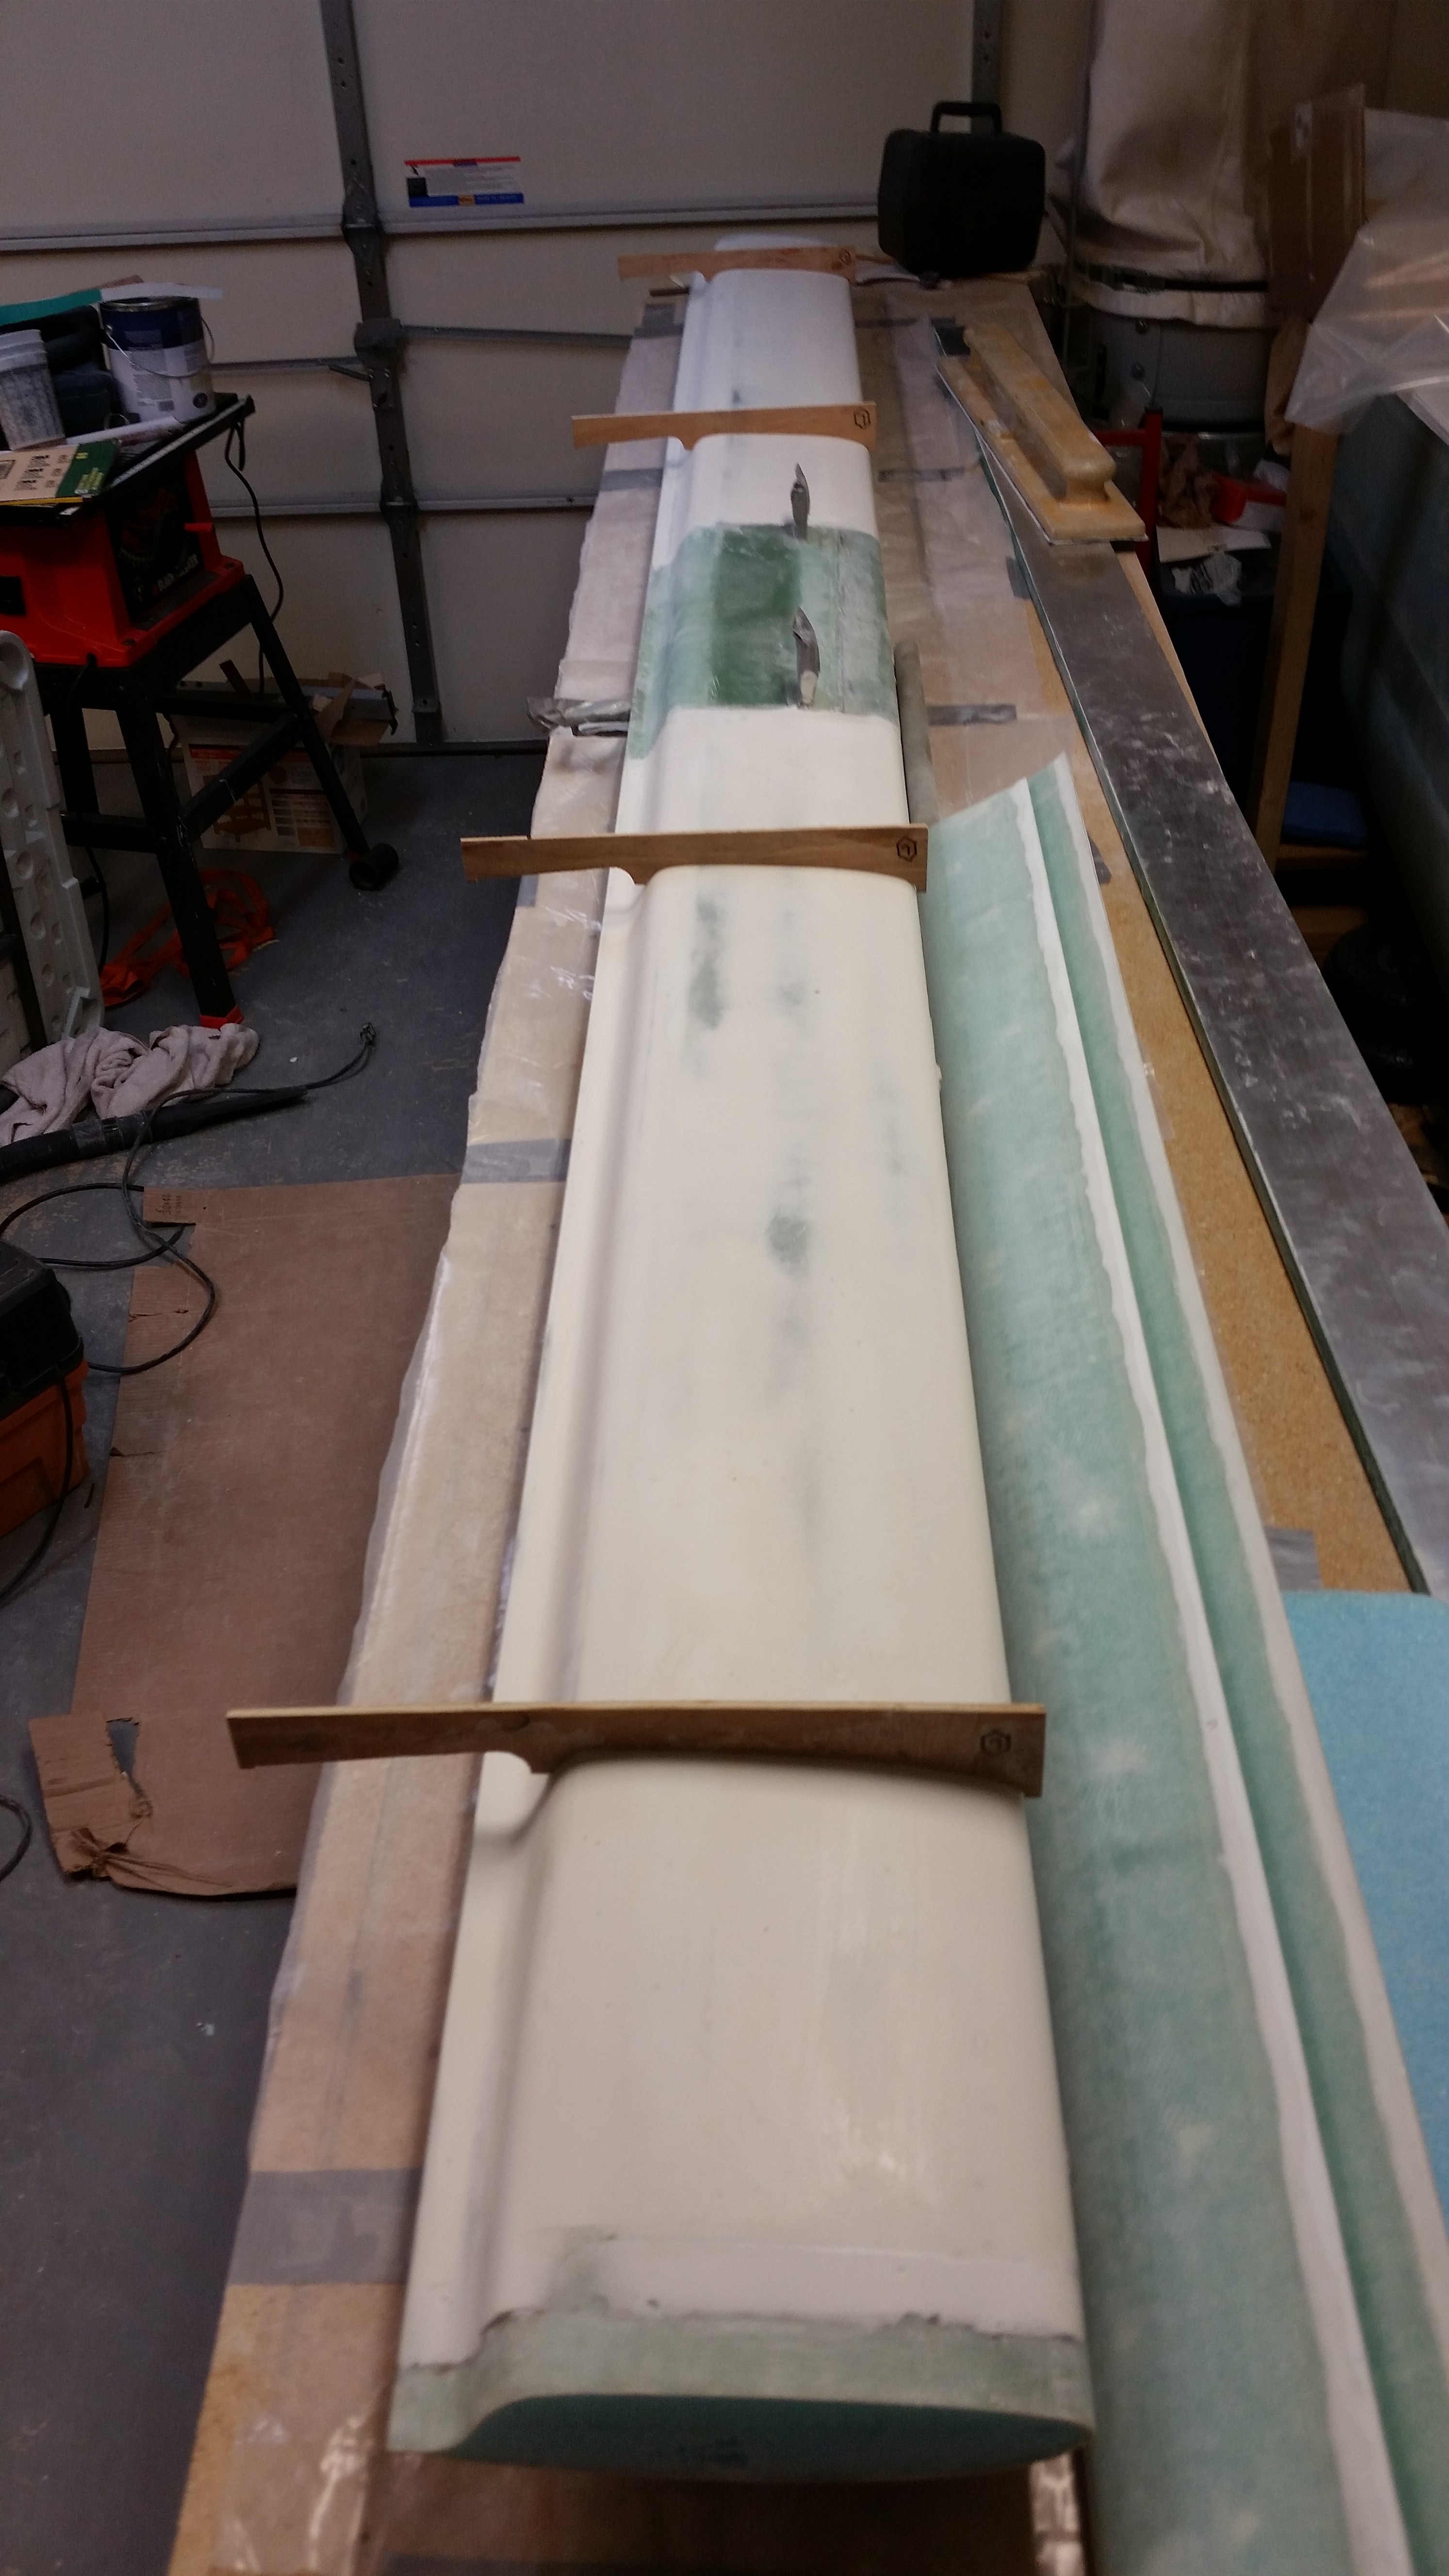
I vacuumed the canard surface and the surrounding area, and then pulled out the “L” templates for mounting the elevators to the canard.
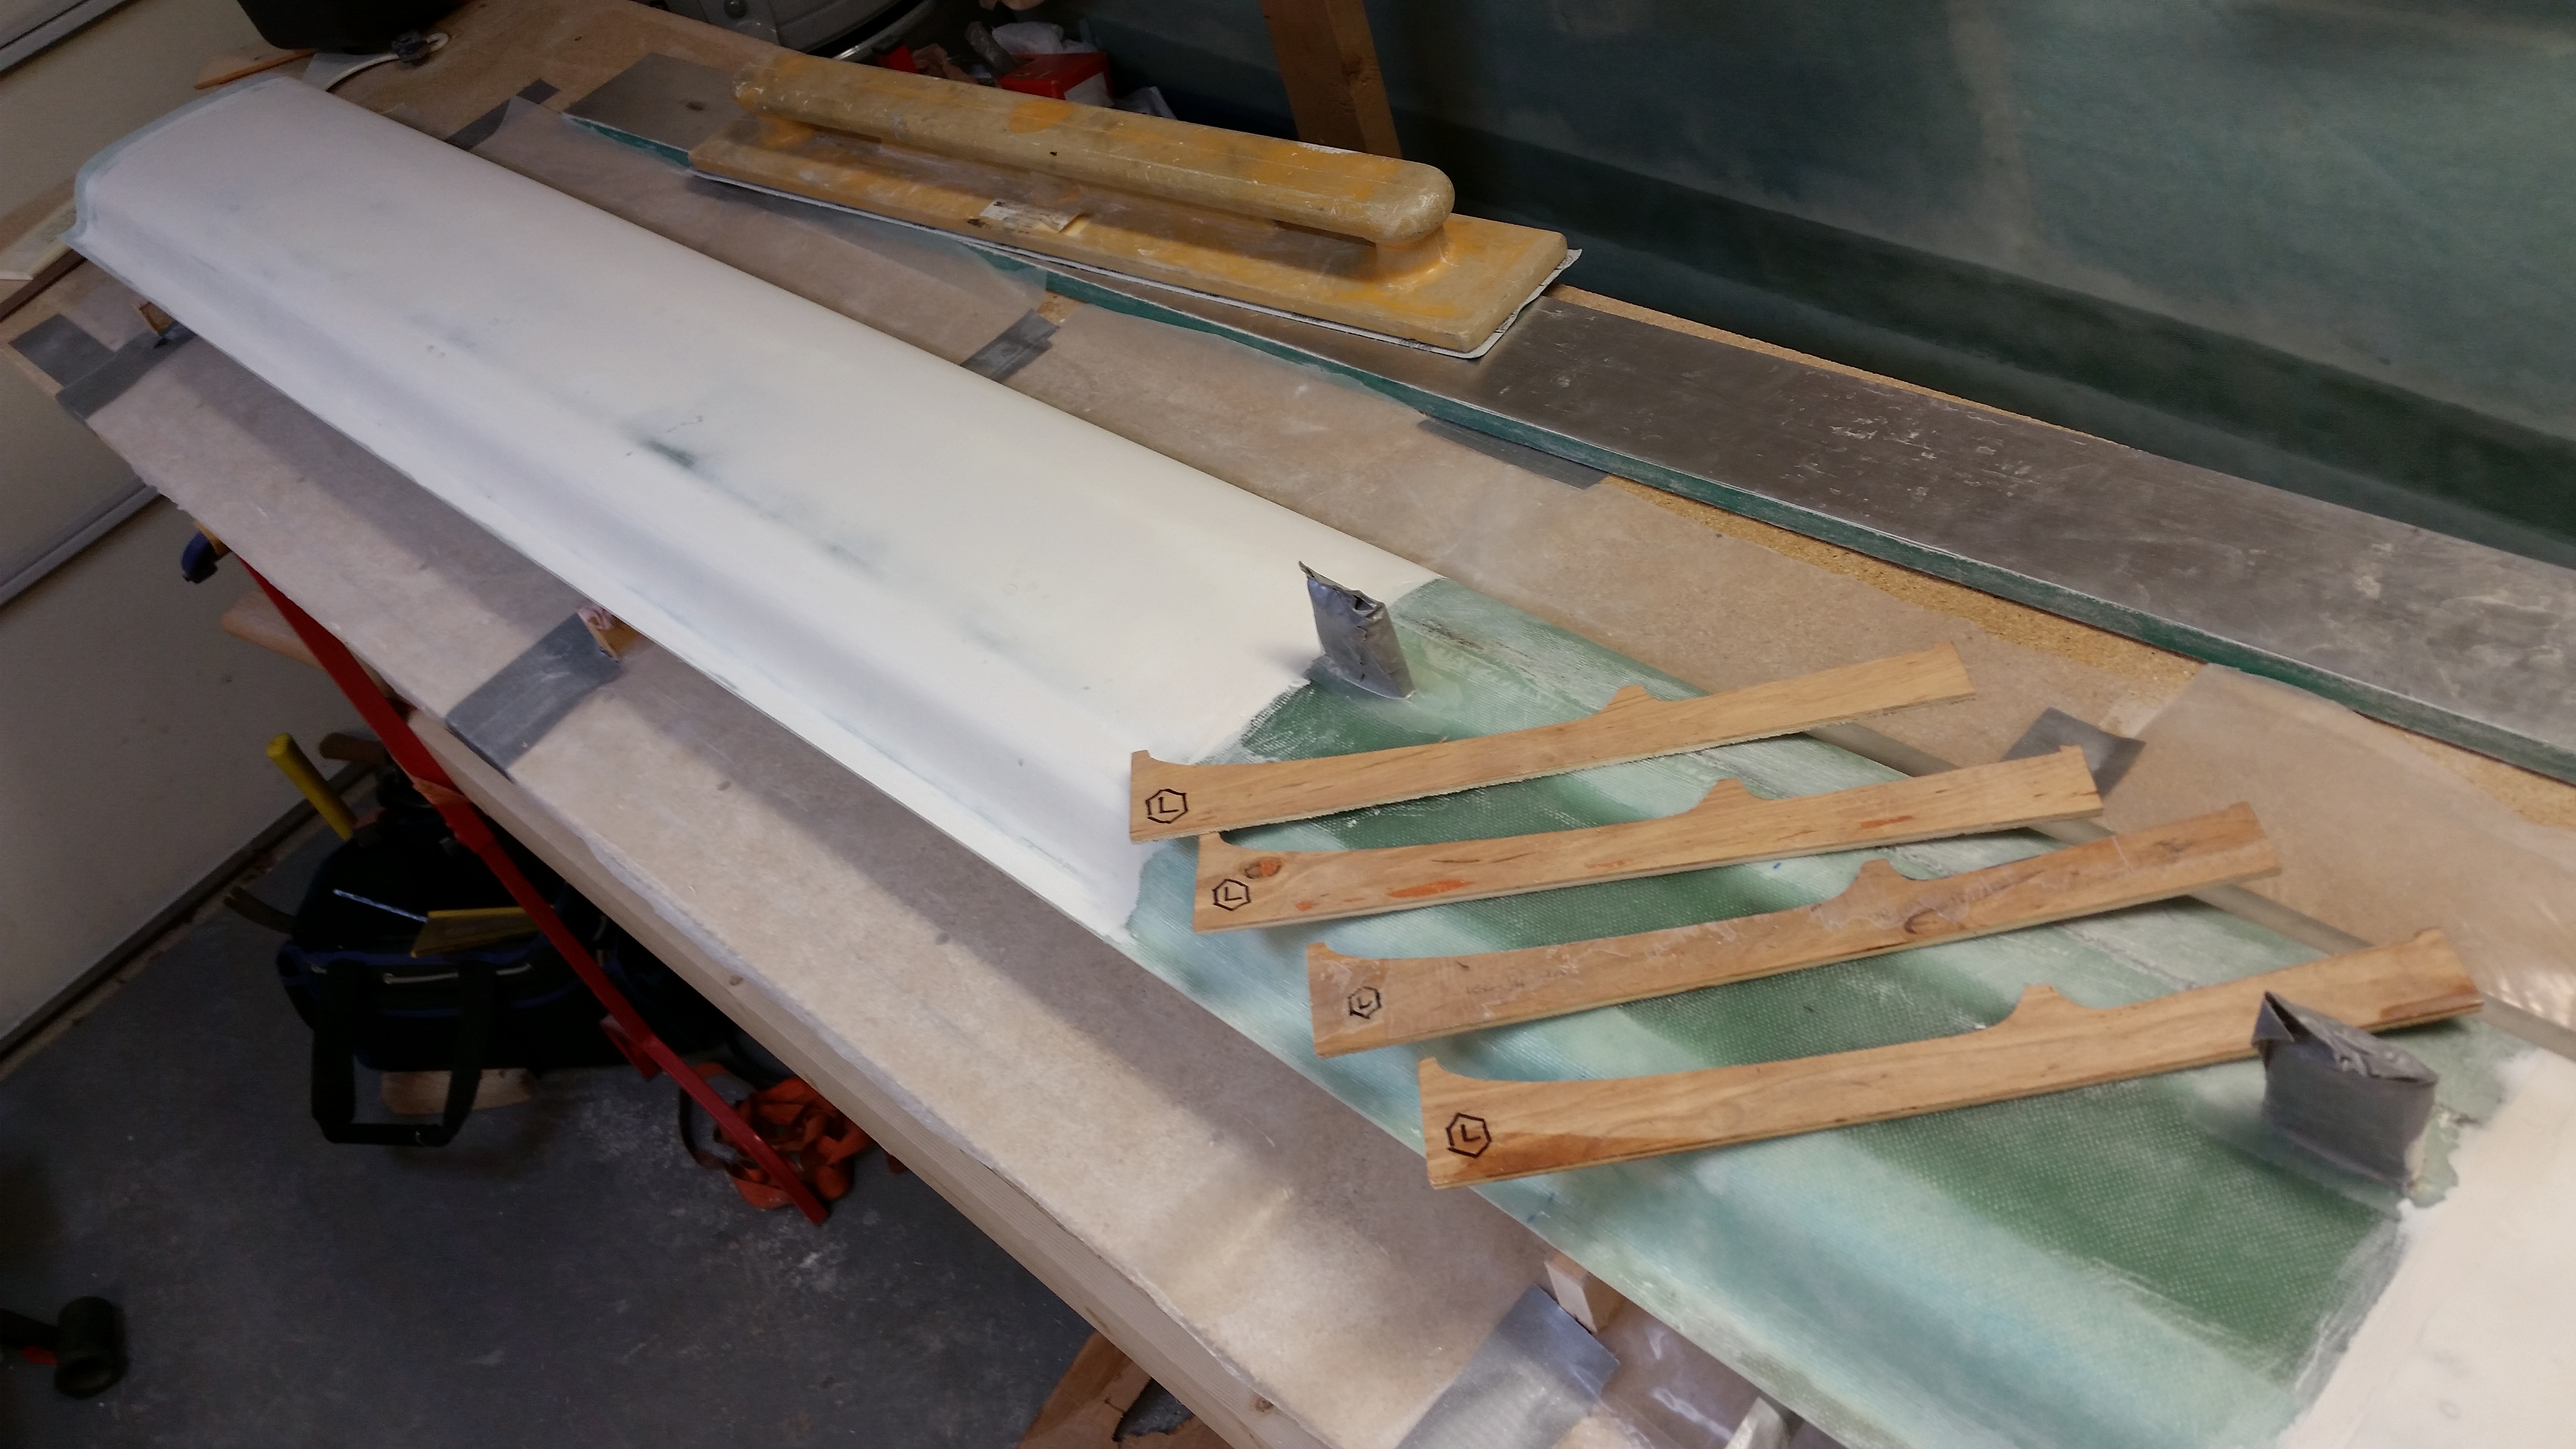
A shot of the “L” templates mocked up in place.
And a shot of the Alodined spool tube. [NOTE: As a reminder, this spool tube is not per Long-EZ plans. This is a cross tube used between the elevator offsets in the Cozy. These offsets are manufactured by the Cozy Girrrls and provide two distinct advantages over the plans’ Long-EZ offsets: 1) The big advantage is that the configuration of these offsets is one that requires a much, much smaller hole in the sides of the fuselage to manipulate the elevators. Meaning less cold air! 2) With an offset on each side of the fuselage (versus just the right side on the Long-EZ) there are more options to mount direct drive control arms such as pitch trim, autopilot servos, etc. Lastly, although not necessarily an advantage, I do like that the entire elevator configuration is symmetrical.]

With the bottom surface of the canard now finished to primer, I don’t want to bondo anything (i.e. “L” templates) to the surface of the canard just to have to clean it up later & risk messing up the finish. For this reason, ala my friend Dave Berenholtz’s method I will simply keep the “L” templates in place by weighing them down.
So as I was out & about tonight I stopped off and got the materials & supplies required to make some sandbags. When I get those made tomorrow I’ll start on the journey of installing the elevators to the canard!