
Oh, and the left elevator rebuild is complete!
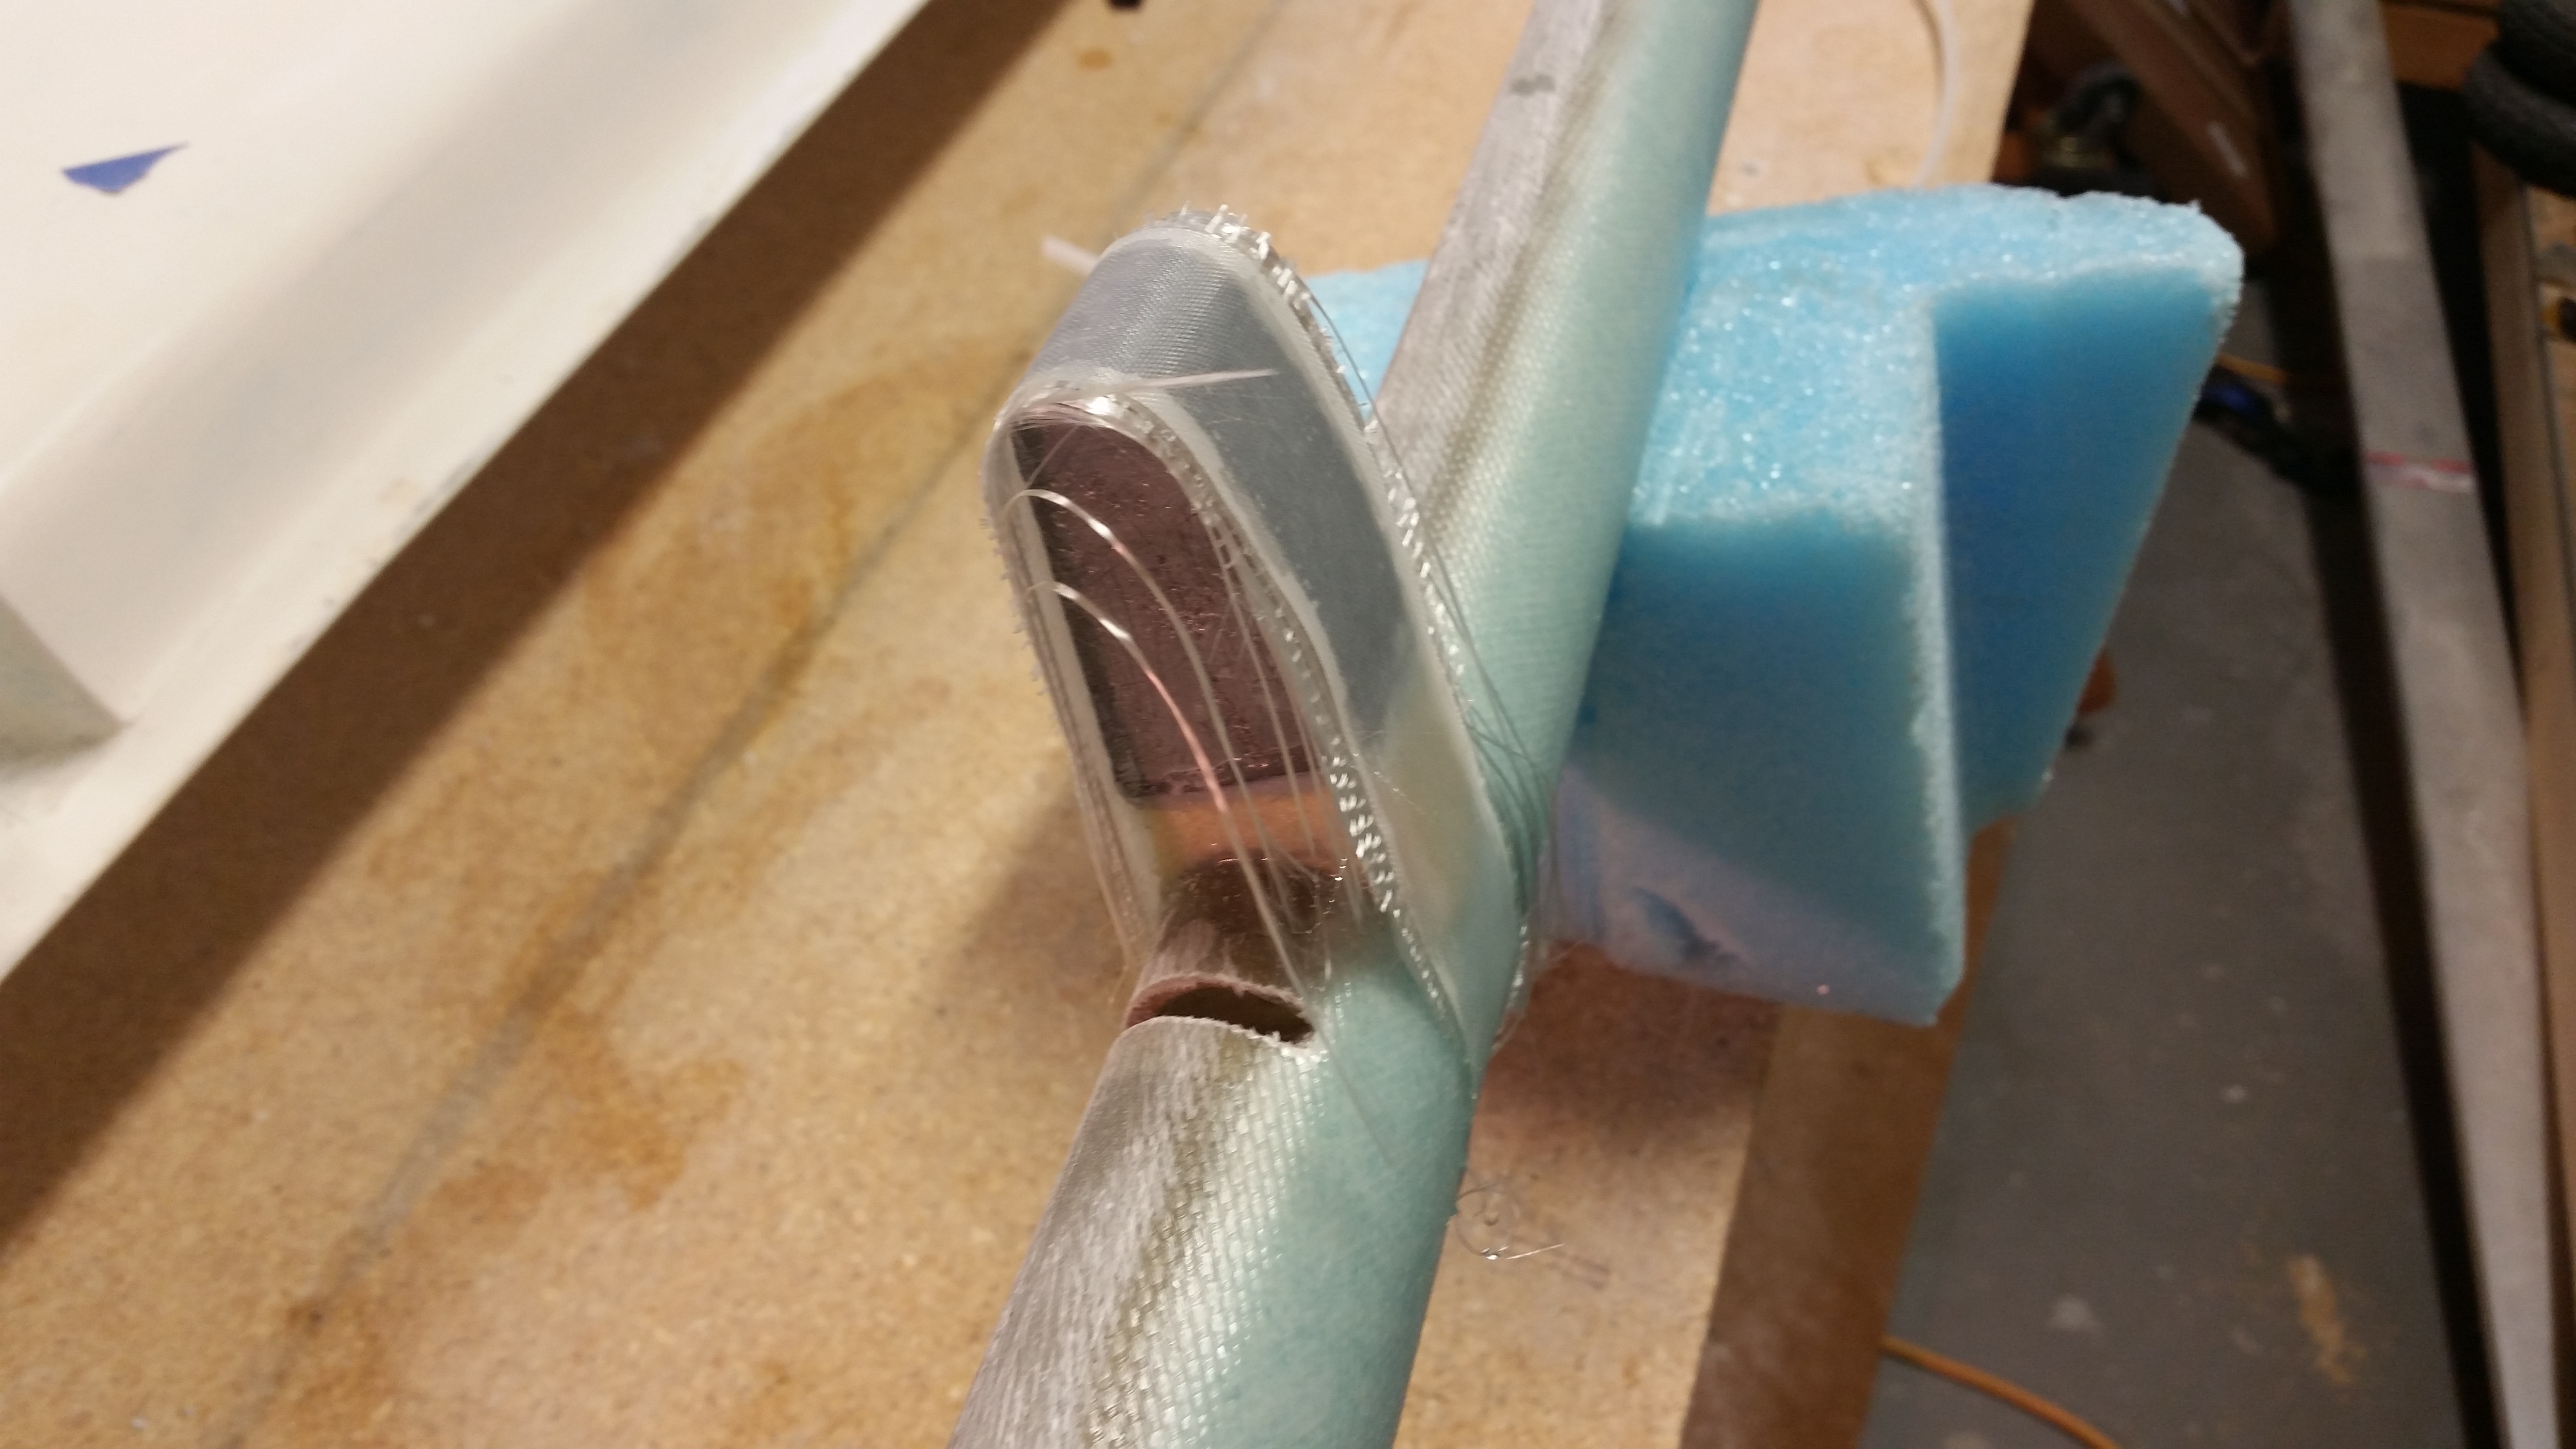
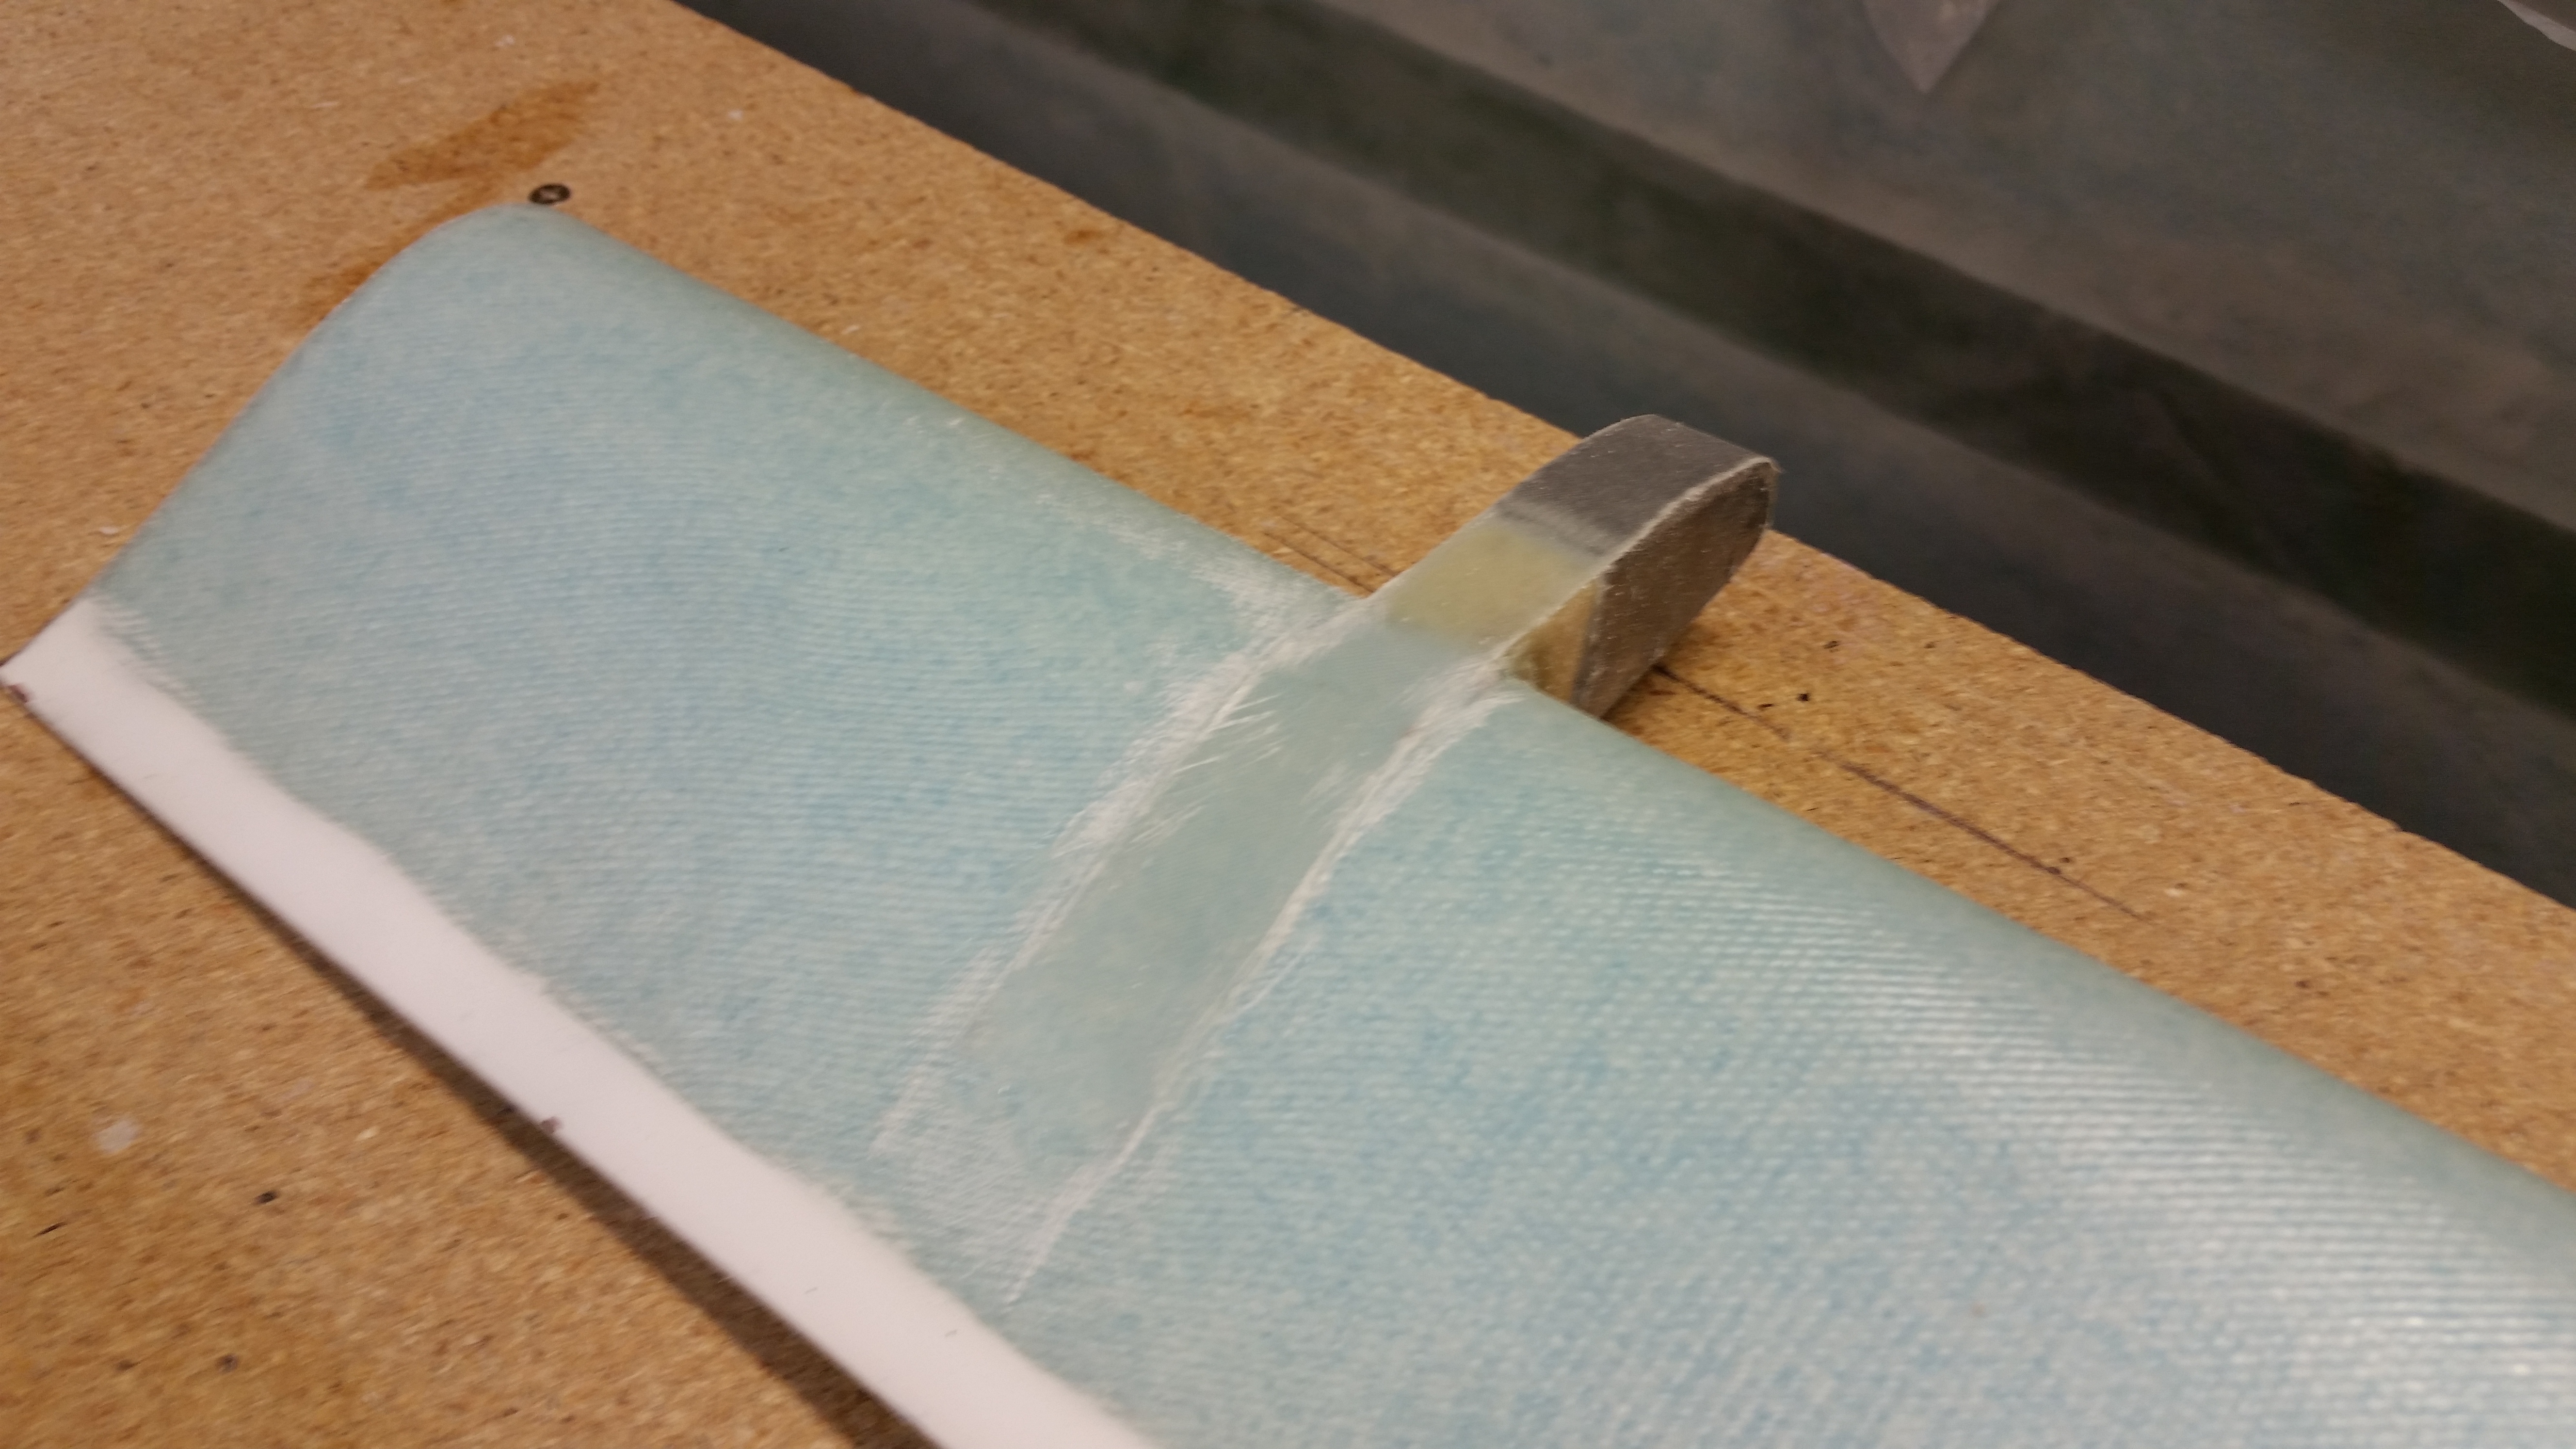
I finished the left elevator rebuild by laying up the 2-ply UNI strip layup around the outboard elevator weight.
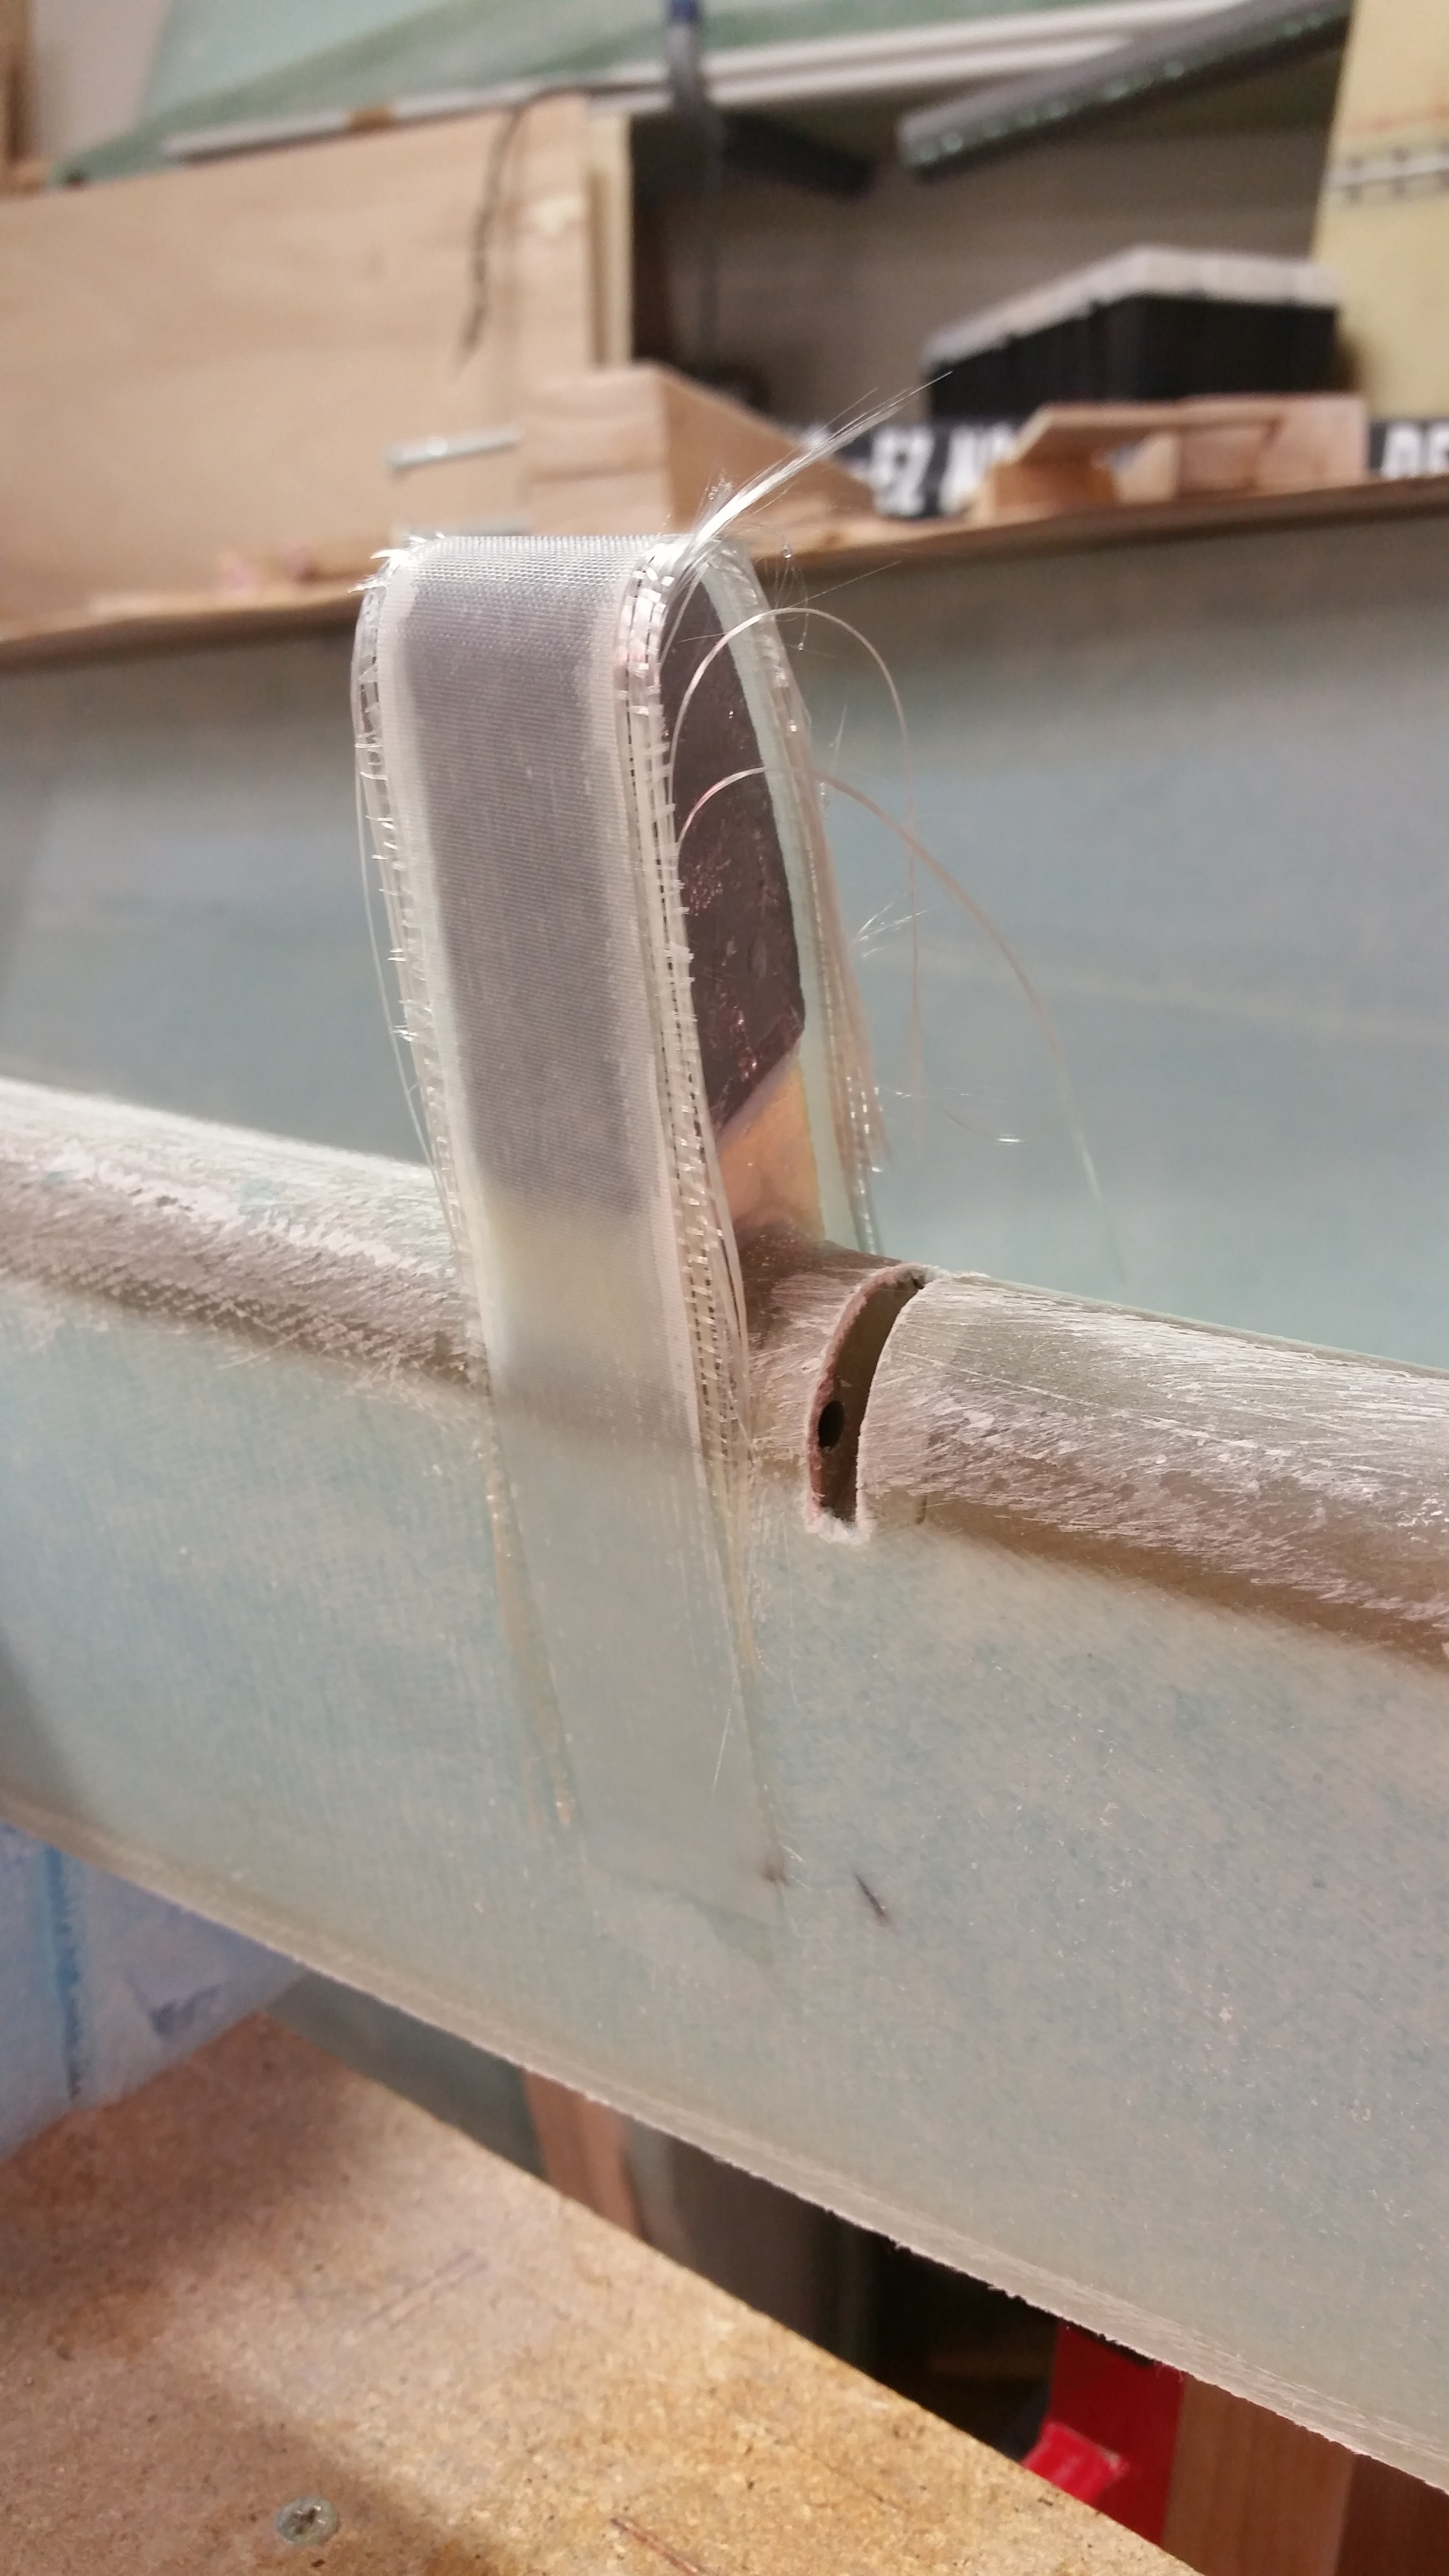
I then peel plied the layup.
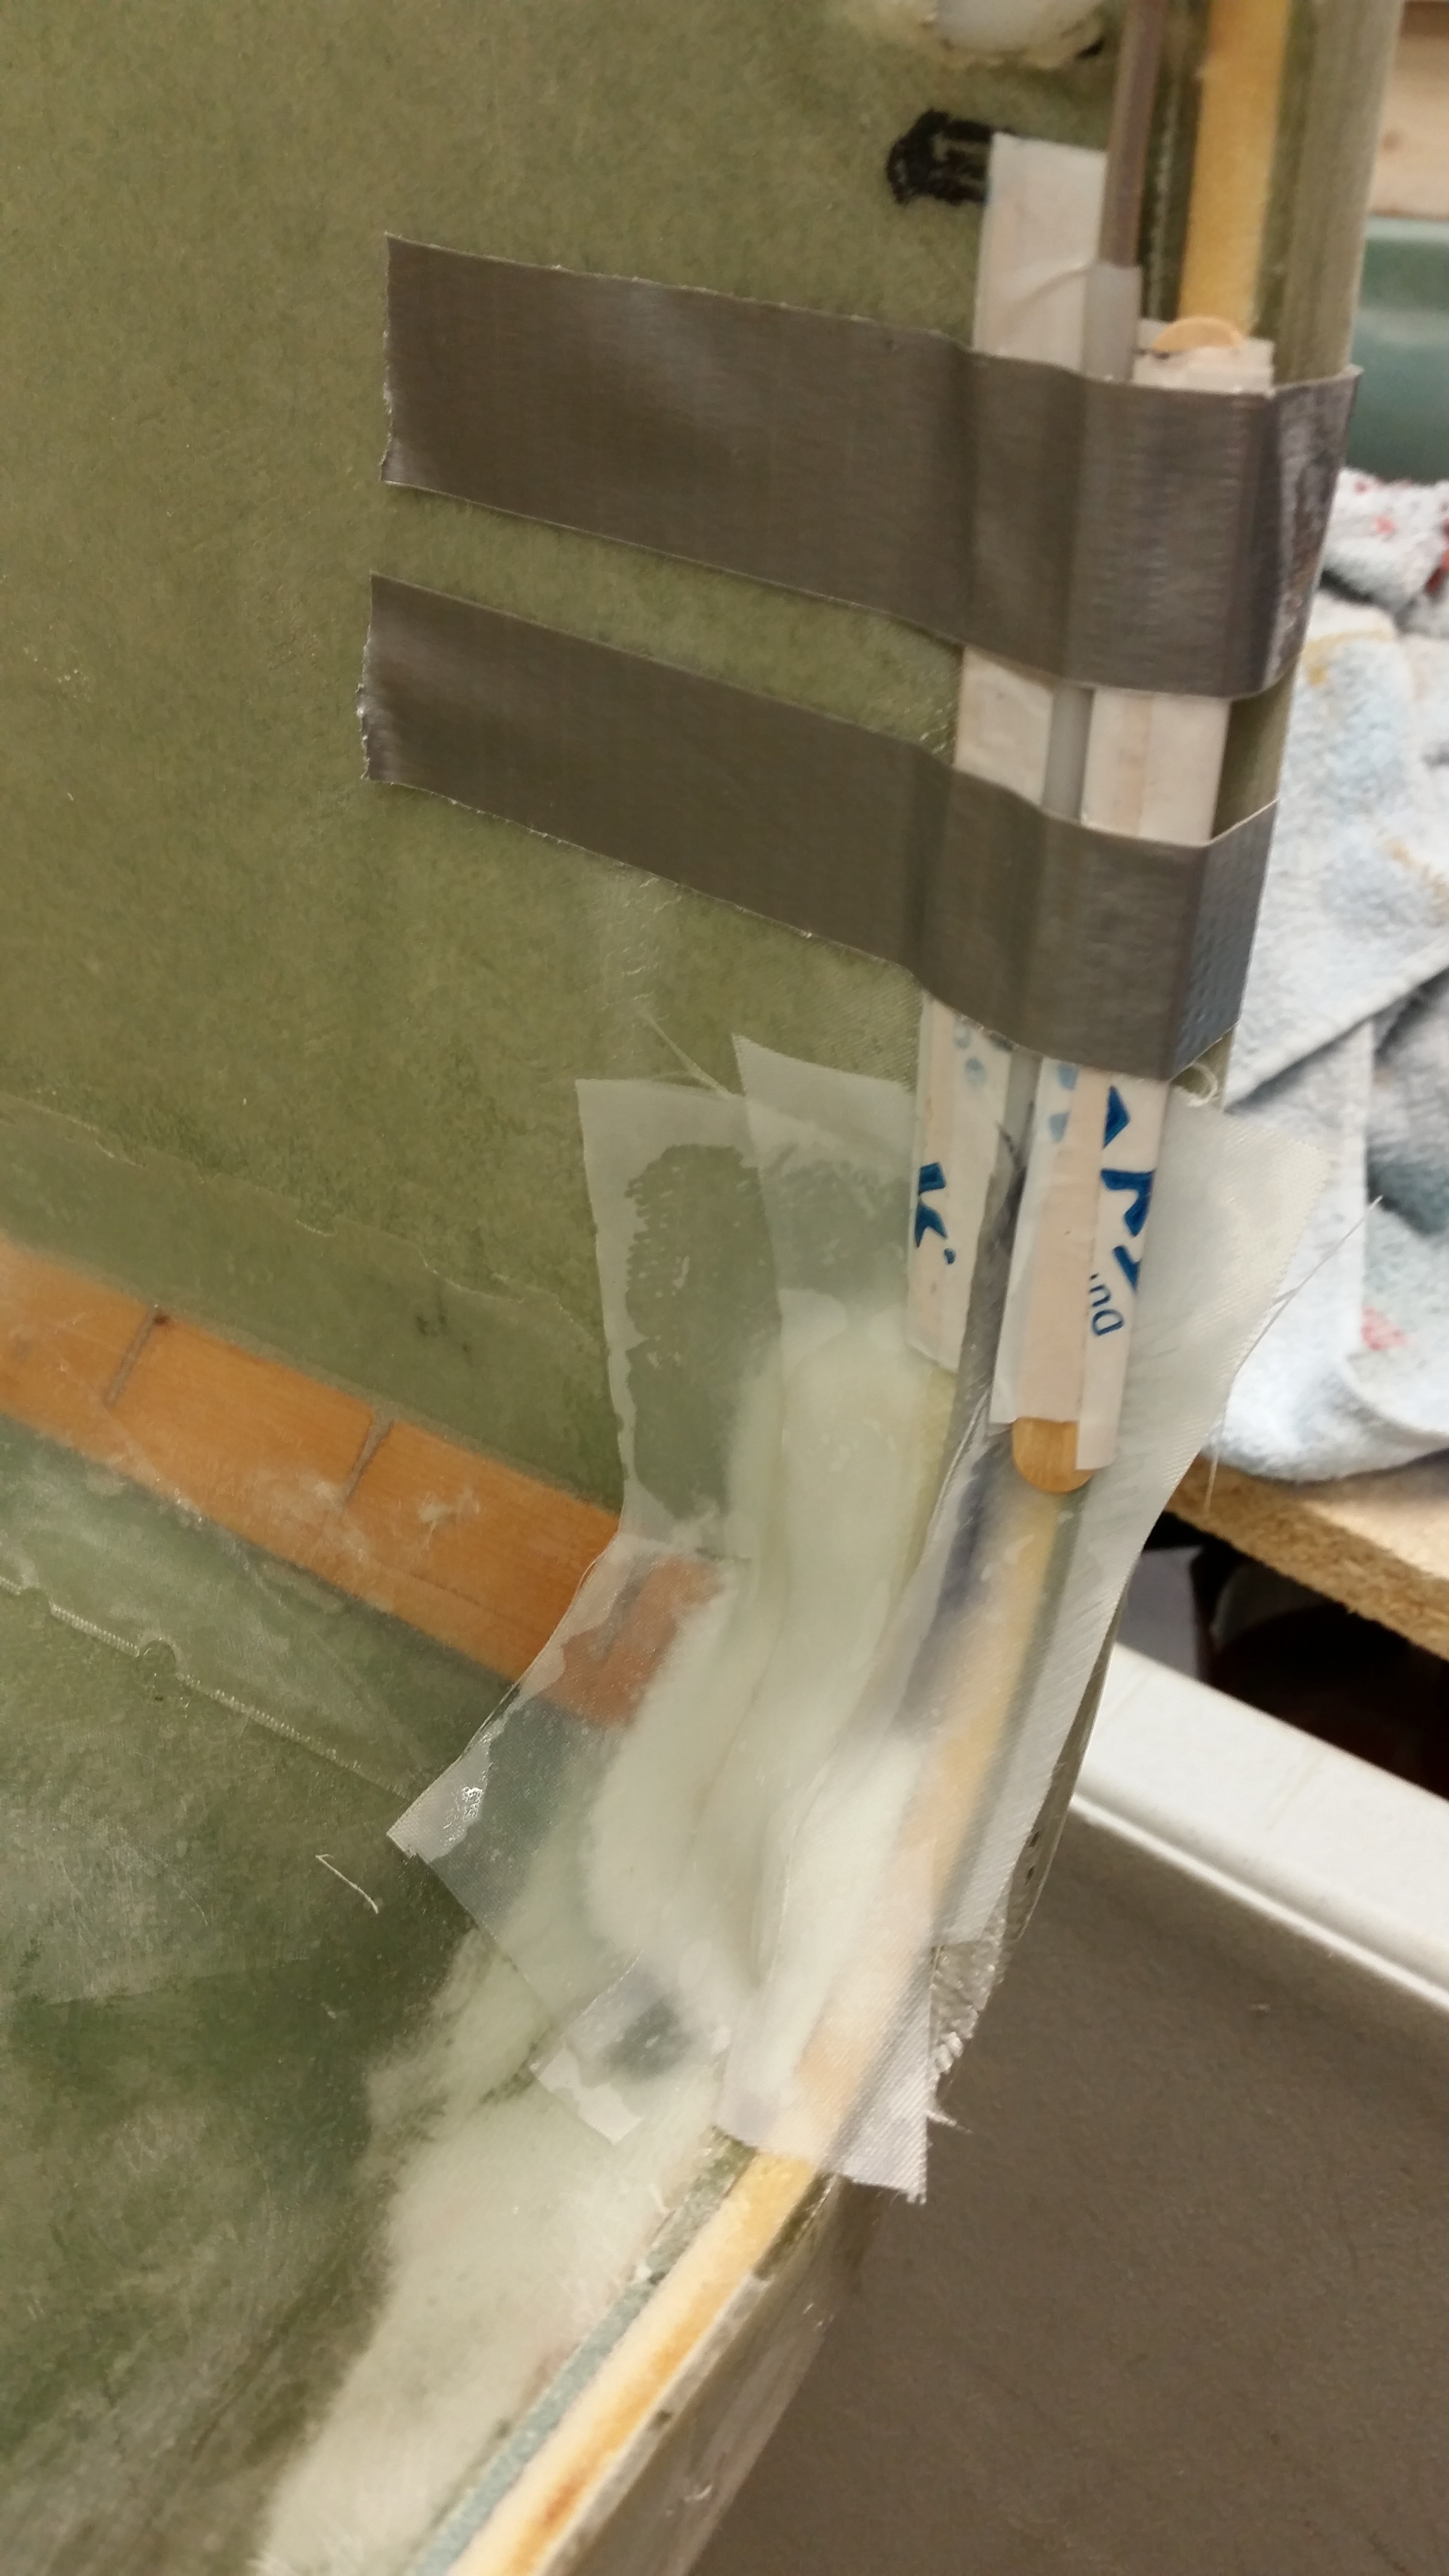
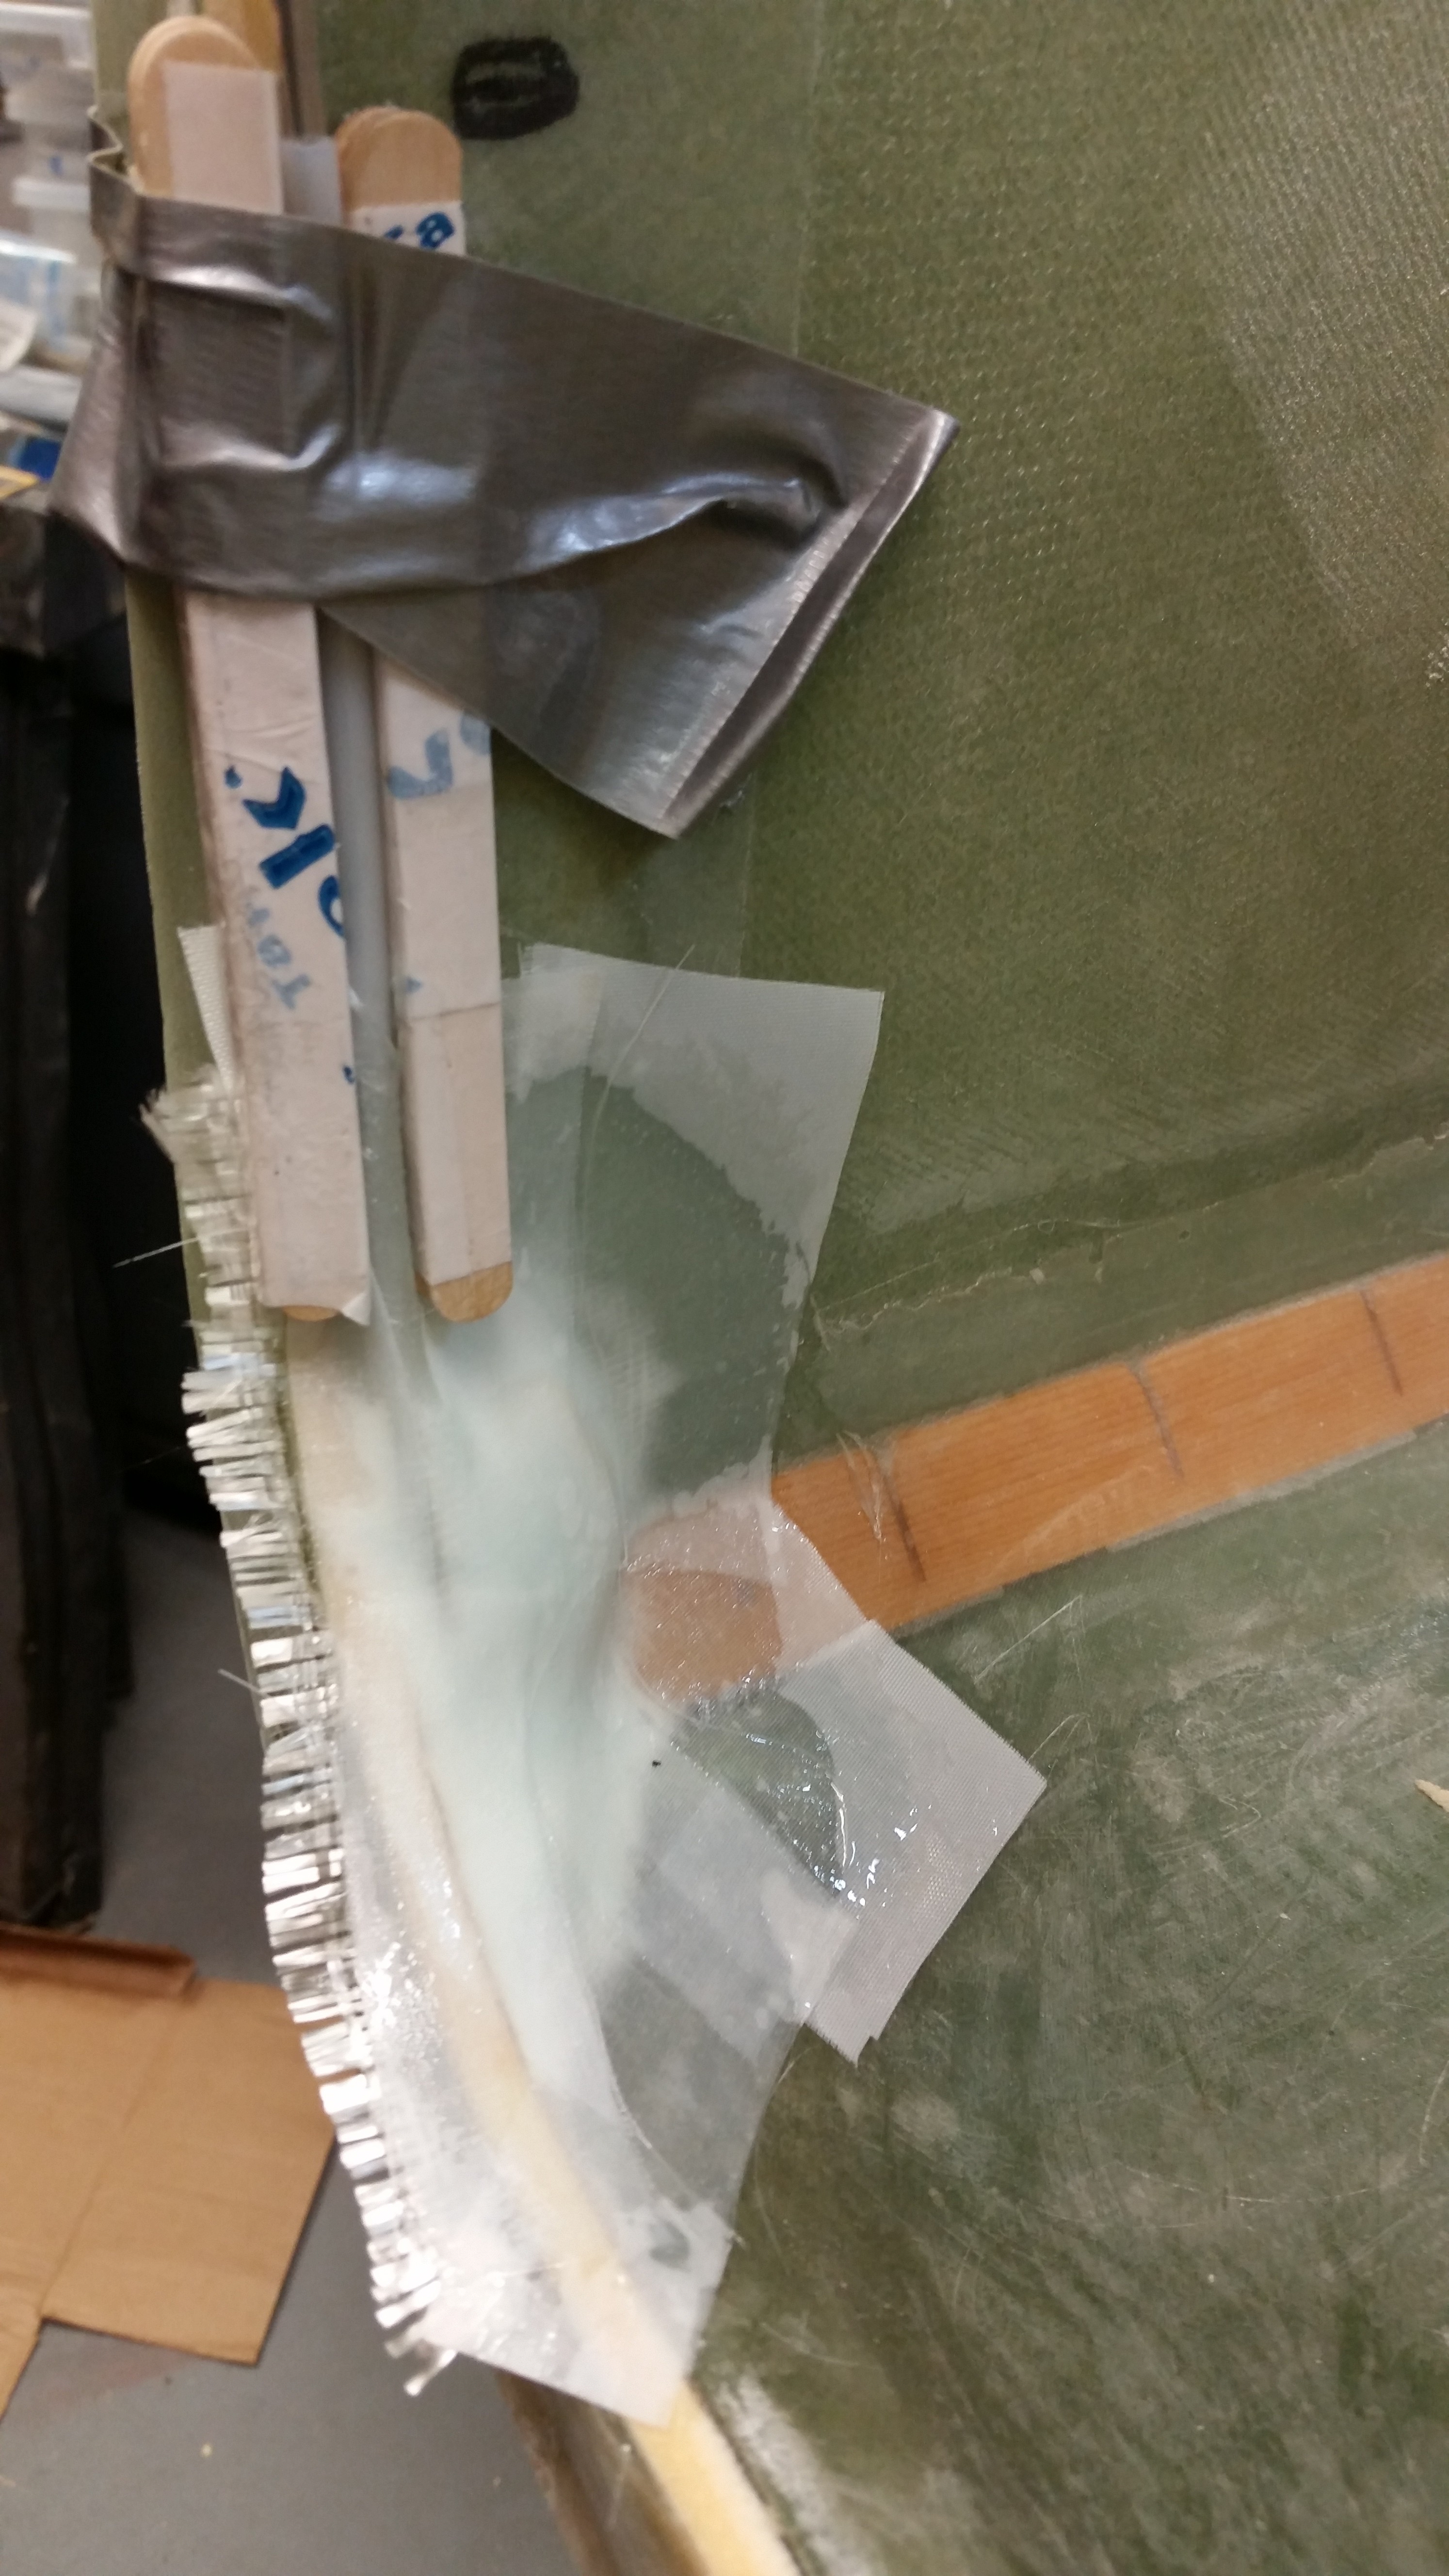
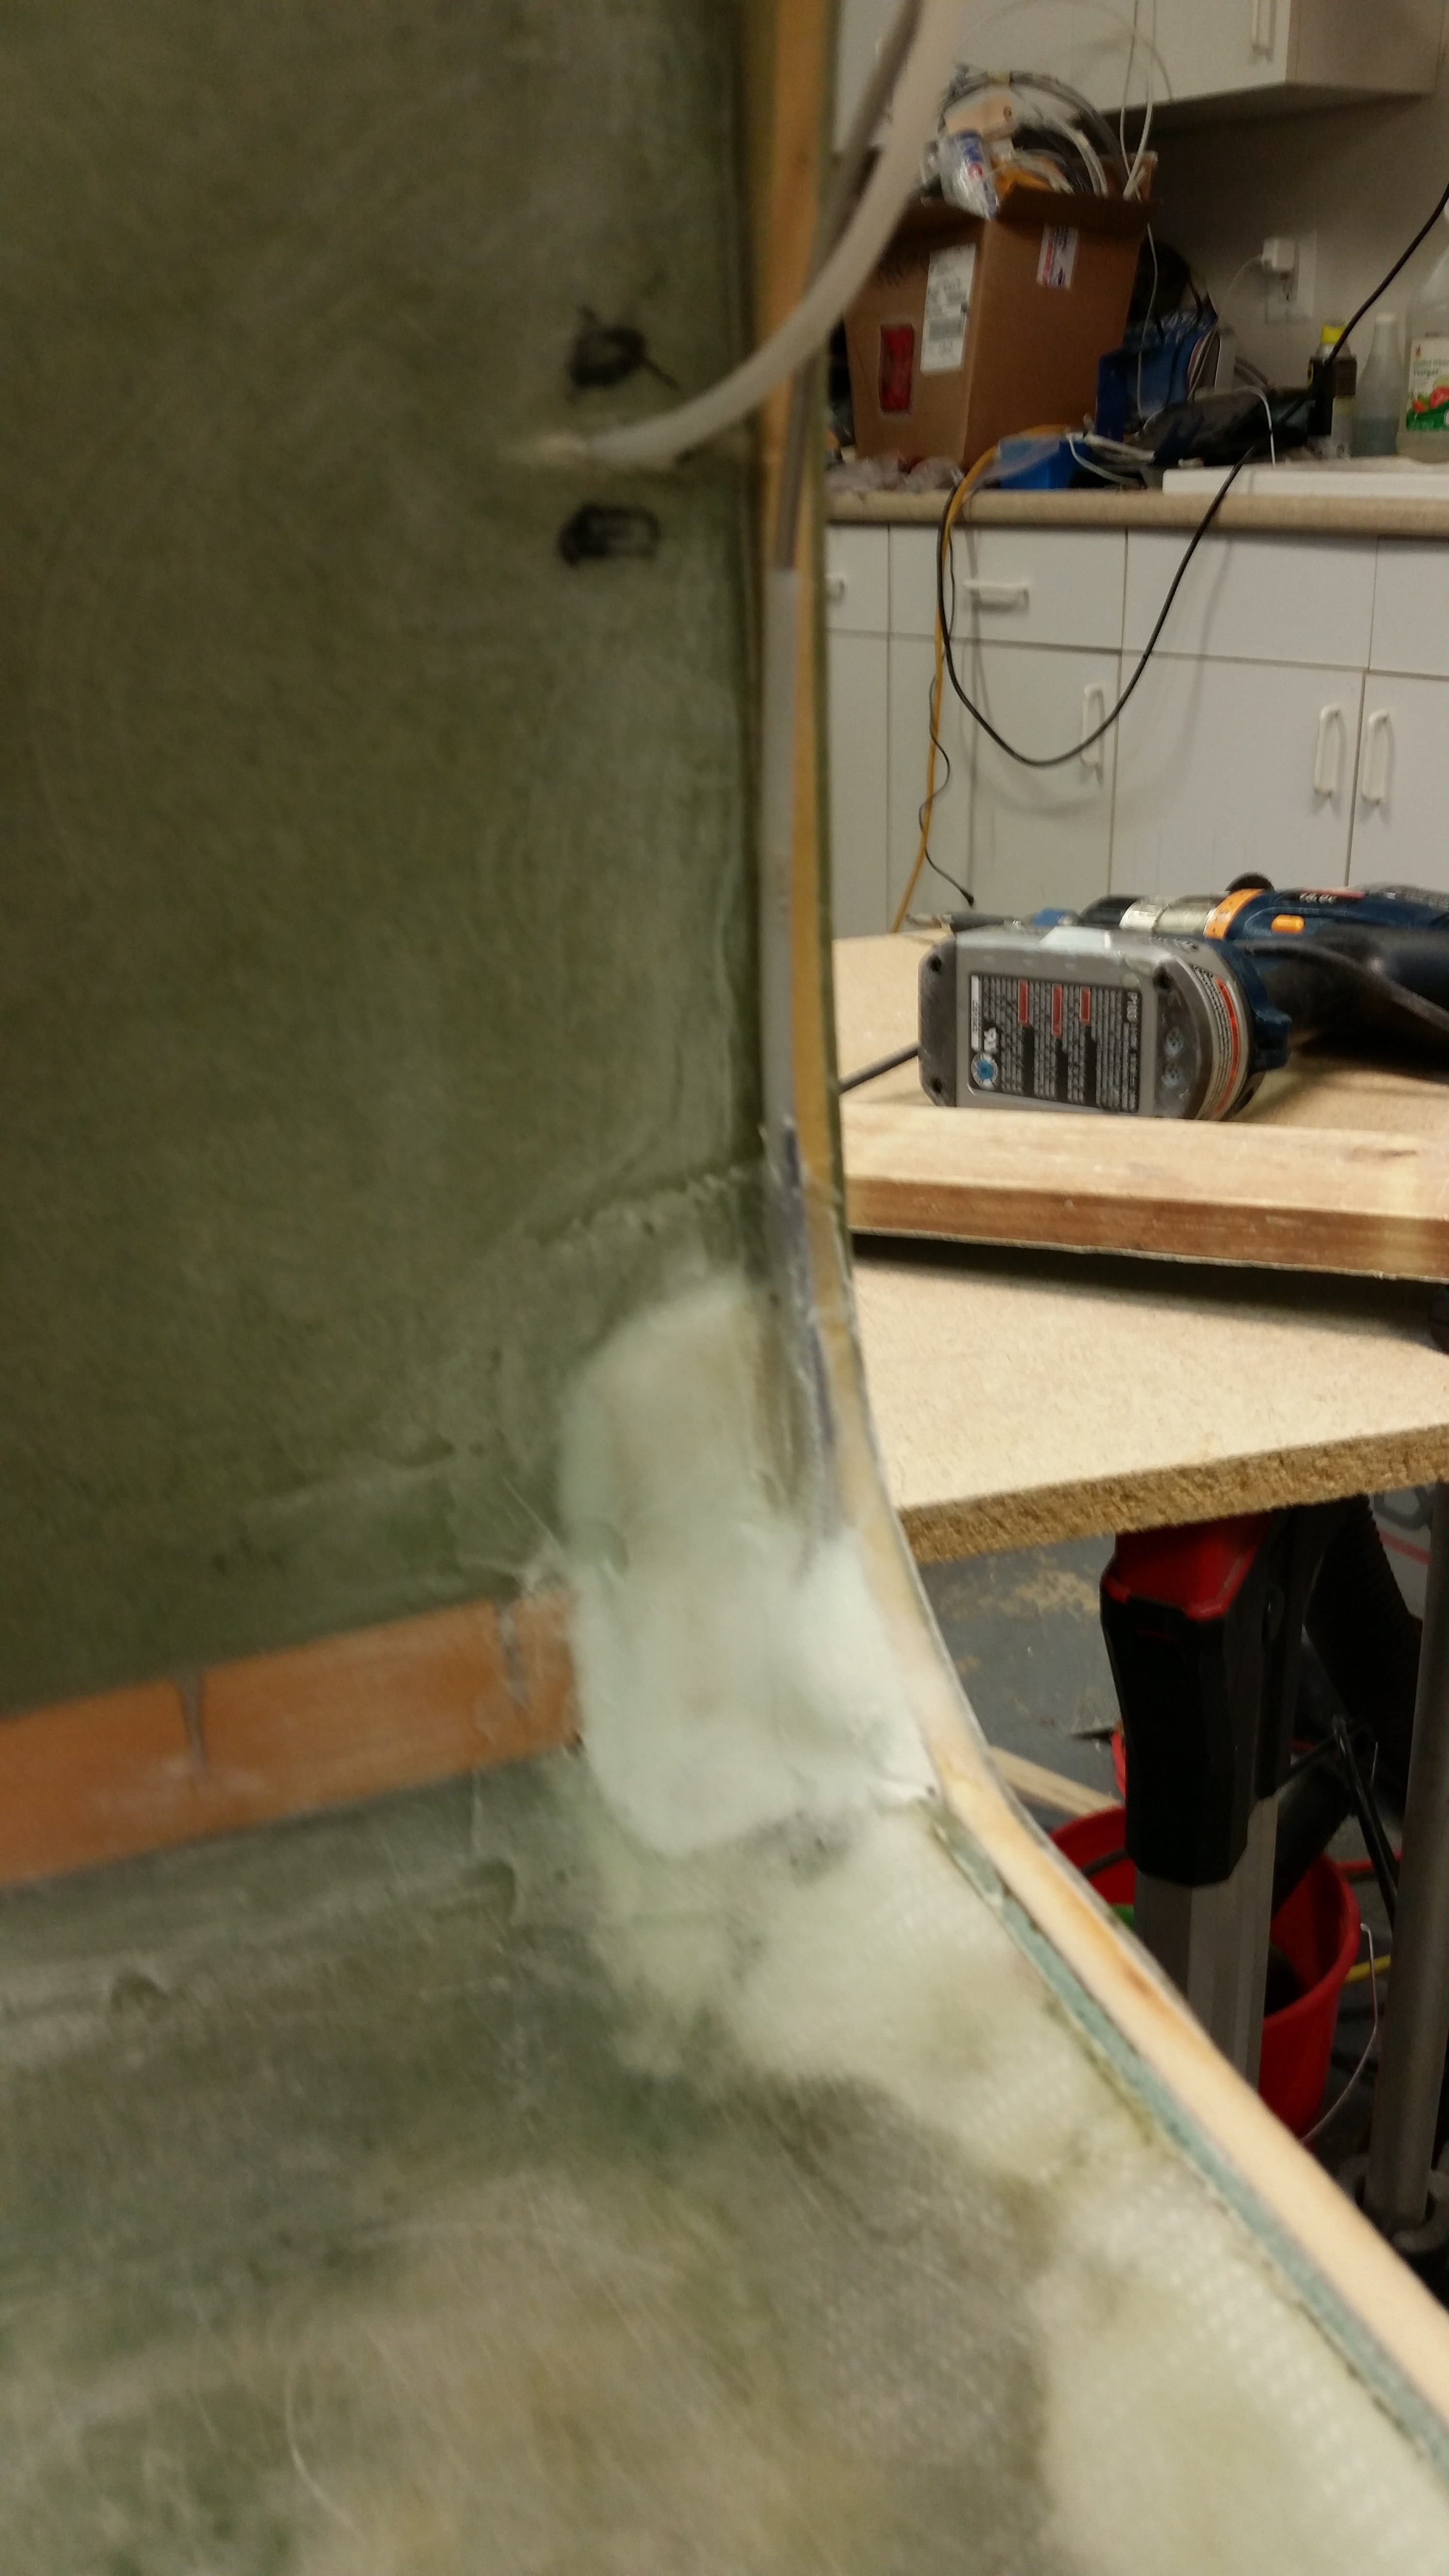
I then turned my sights on the nose area, or F22 as it is right now. To prep the brake line secure and protect layup on each side, I first slid another 6″ of Nylaflow to jut up against the end of they current Nylaflow. A good portion of this new Nylaflow will get buried under Micro & glass.
With the left over epoxy from the elevator weight glassing, I whipped up some thick micro and micro’d in the urethane foam piece with a good slathering.

I then laid up first the left side, and then the right side with 1-ply BID over the foam ramps. The popsicle sticks in the pics are holding the glass down that surrounds the upper brake line. I then applied peel ply to each layup.
Here’s a shot of the completed left elevator . . . hoo-ah!
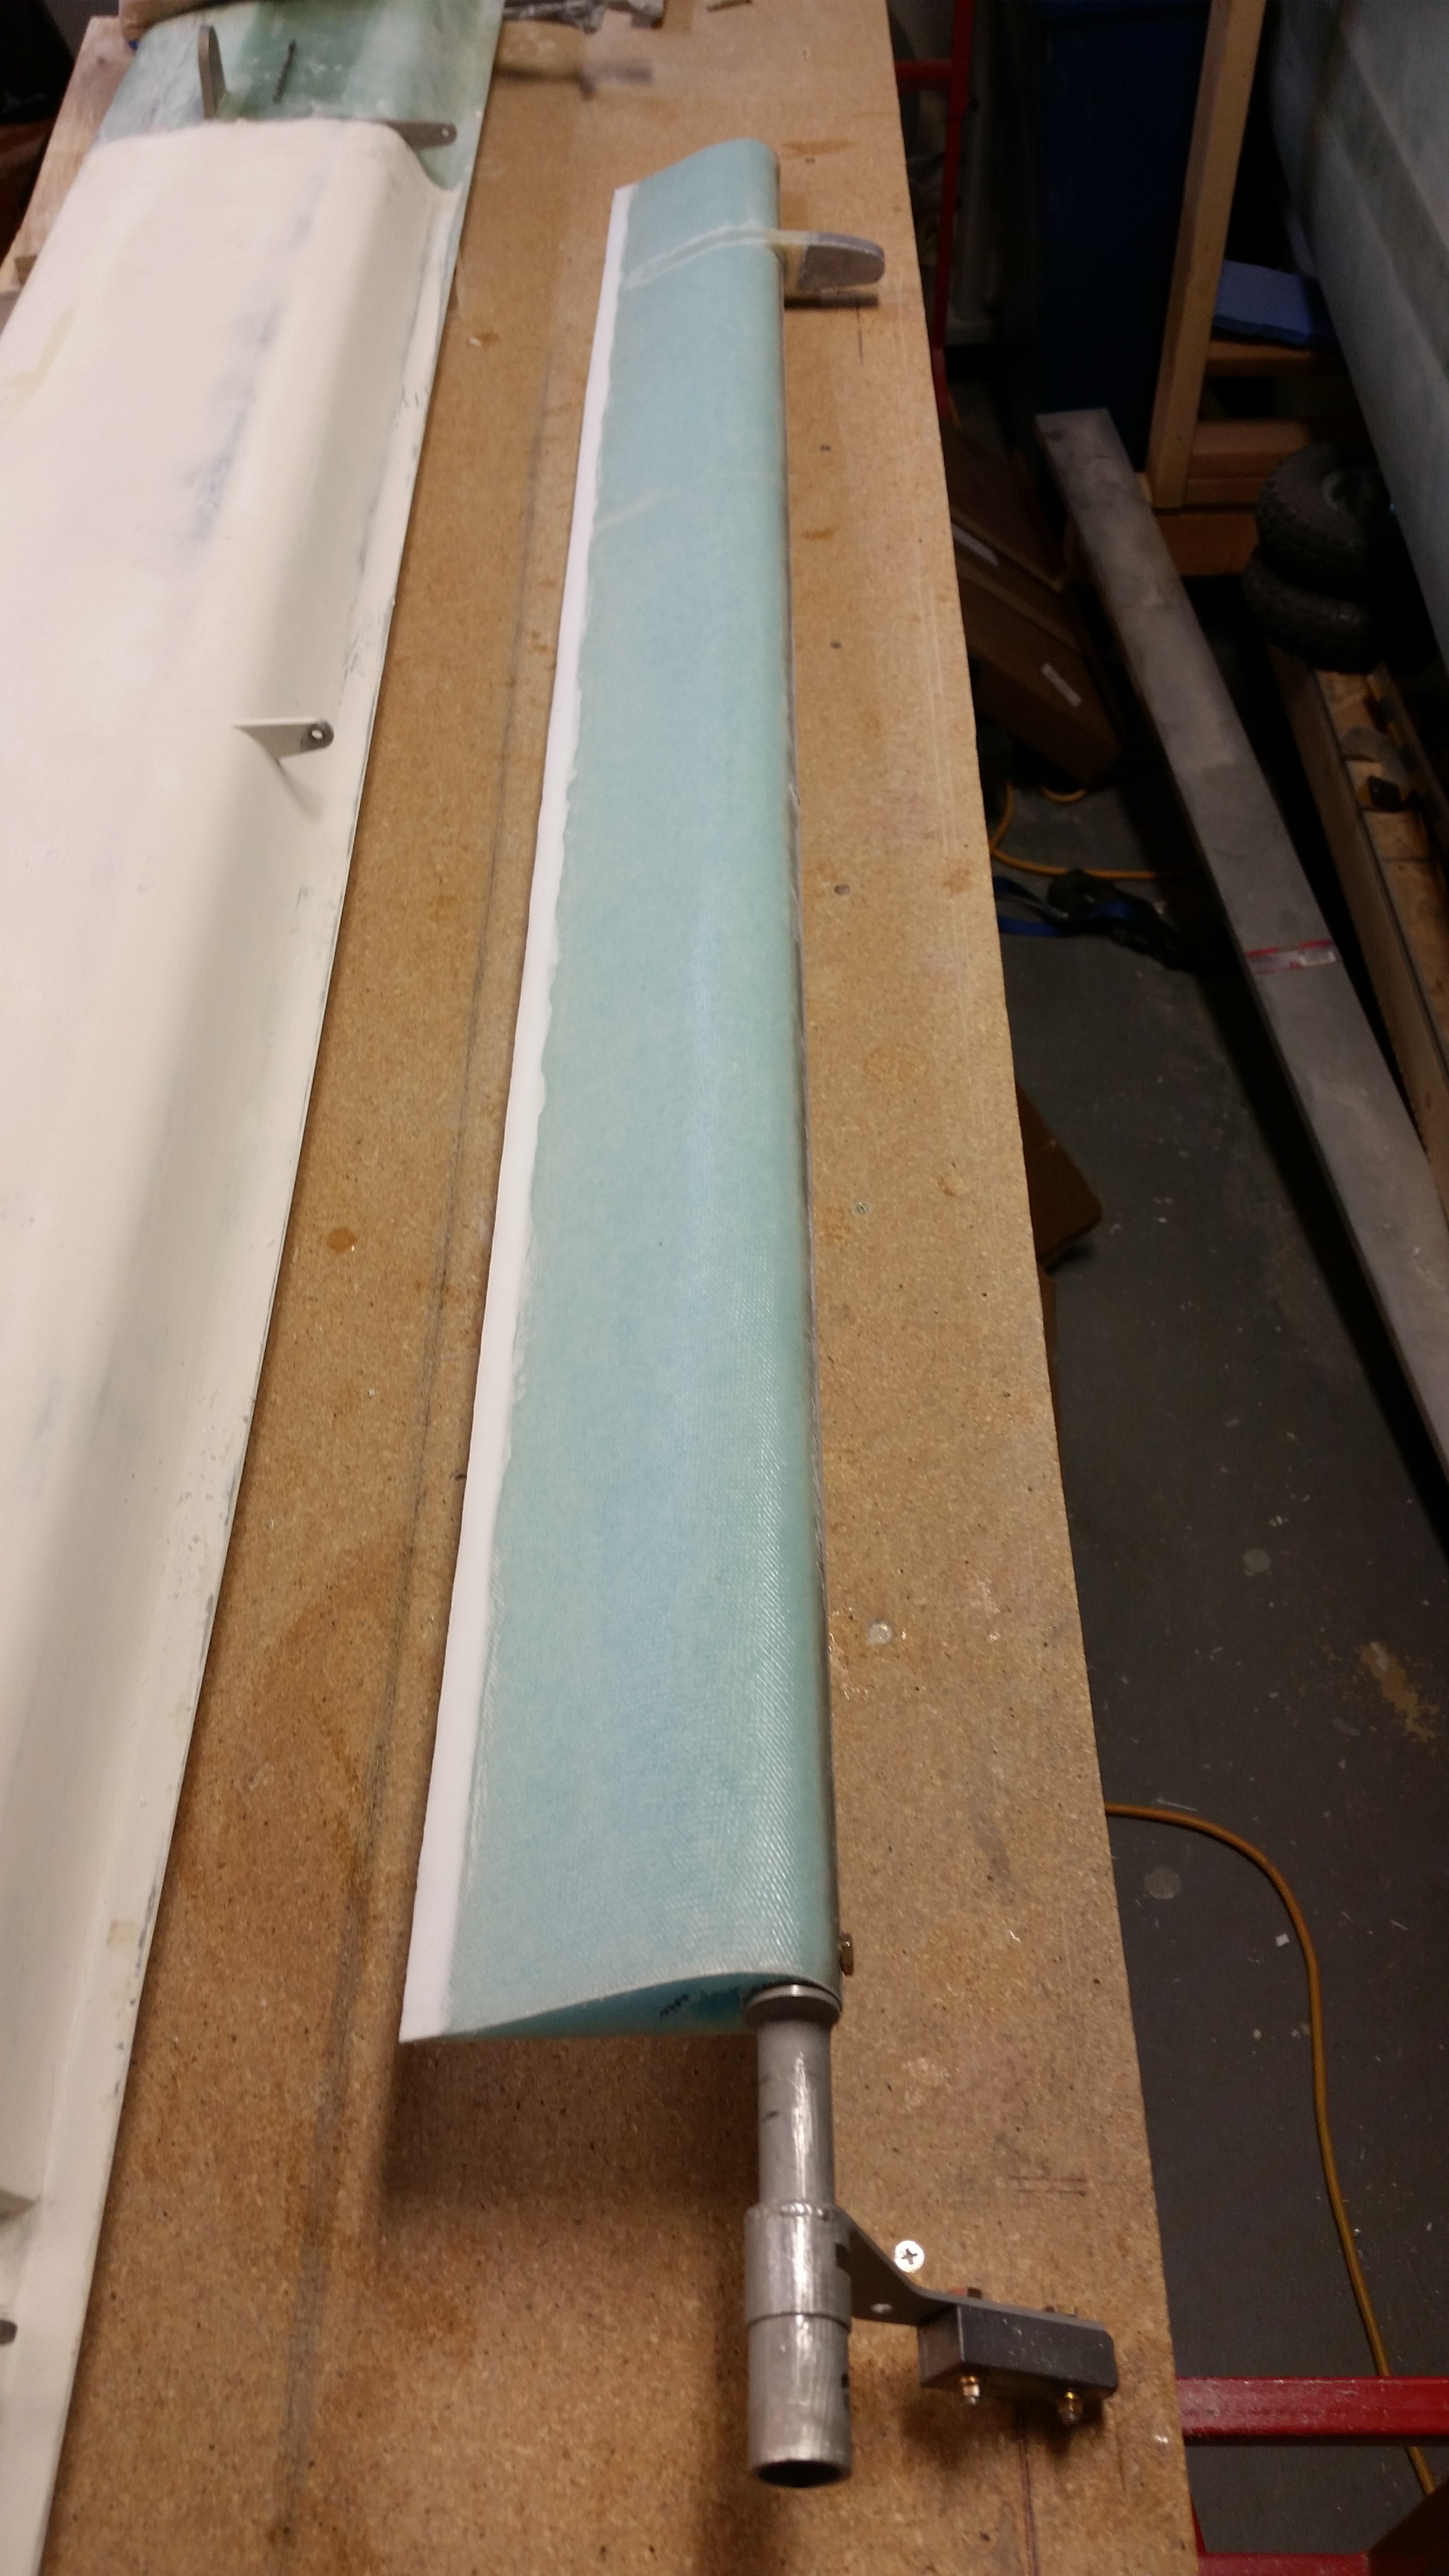
And here’s the trimmed outboard elevator weight glass.
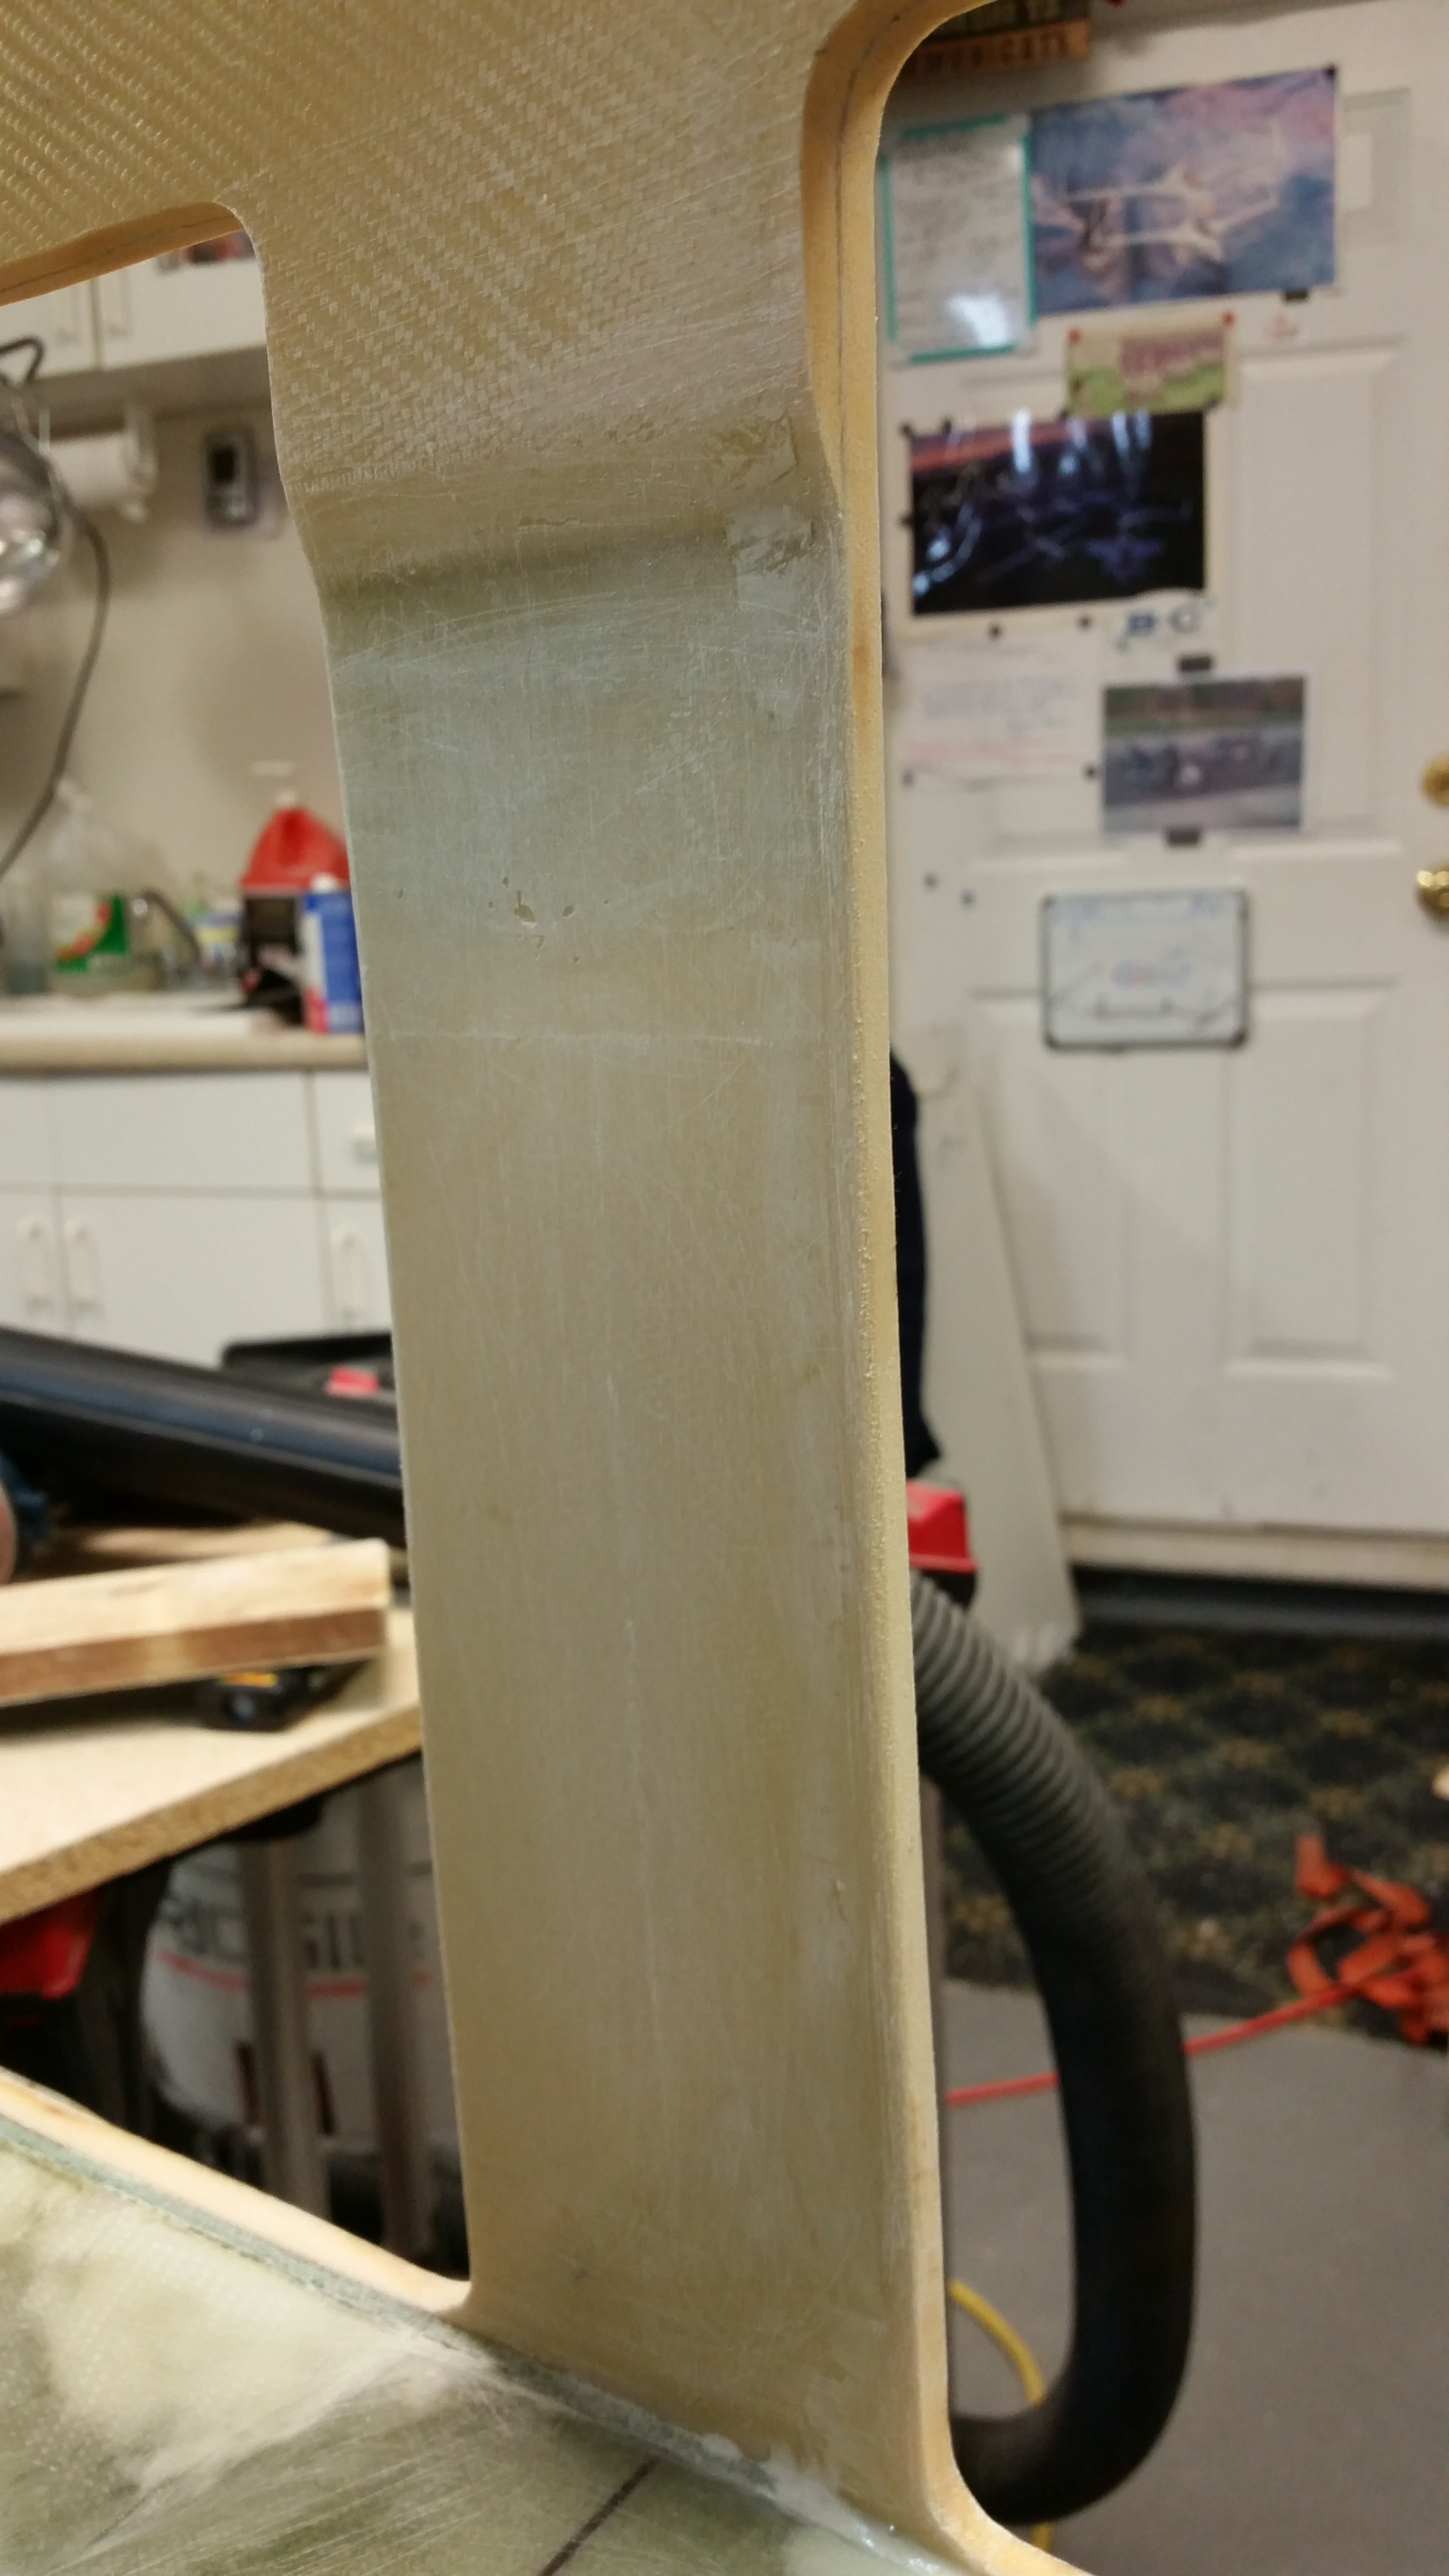
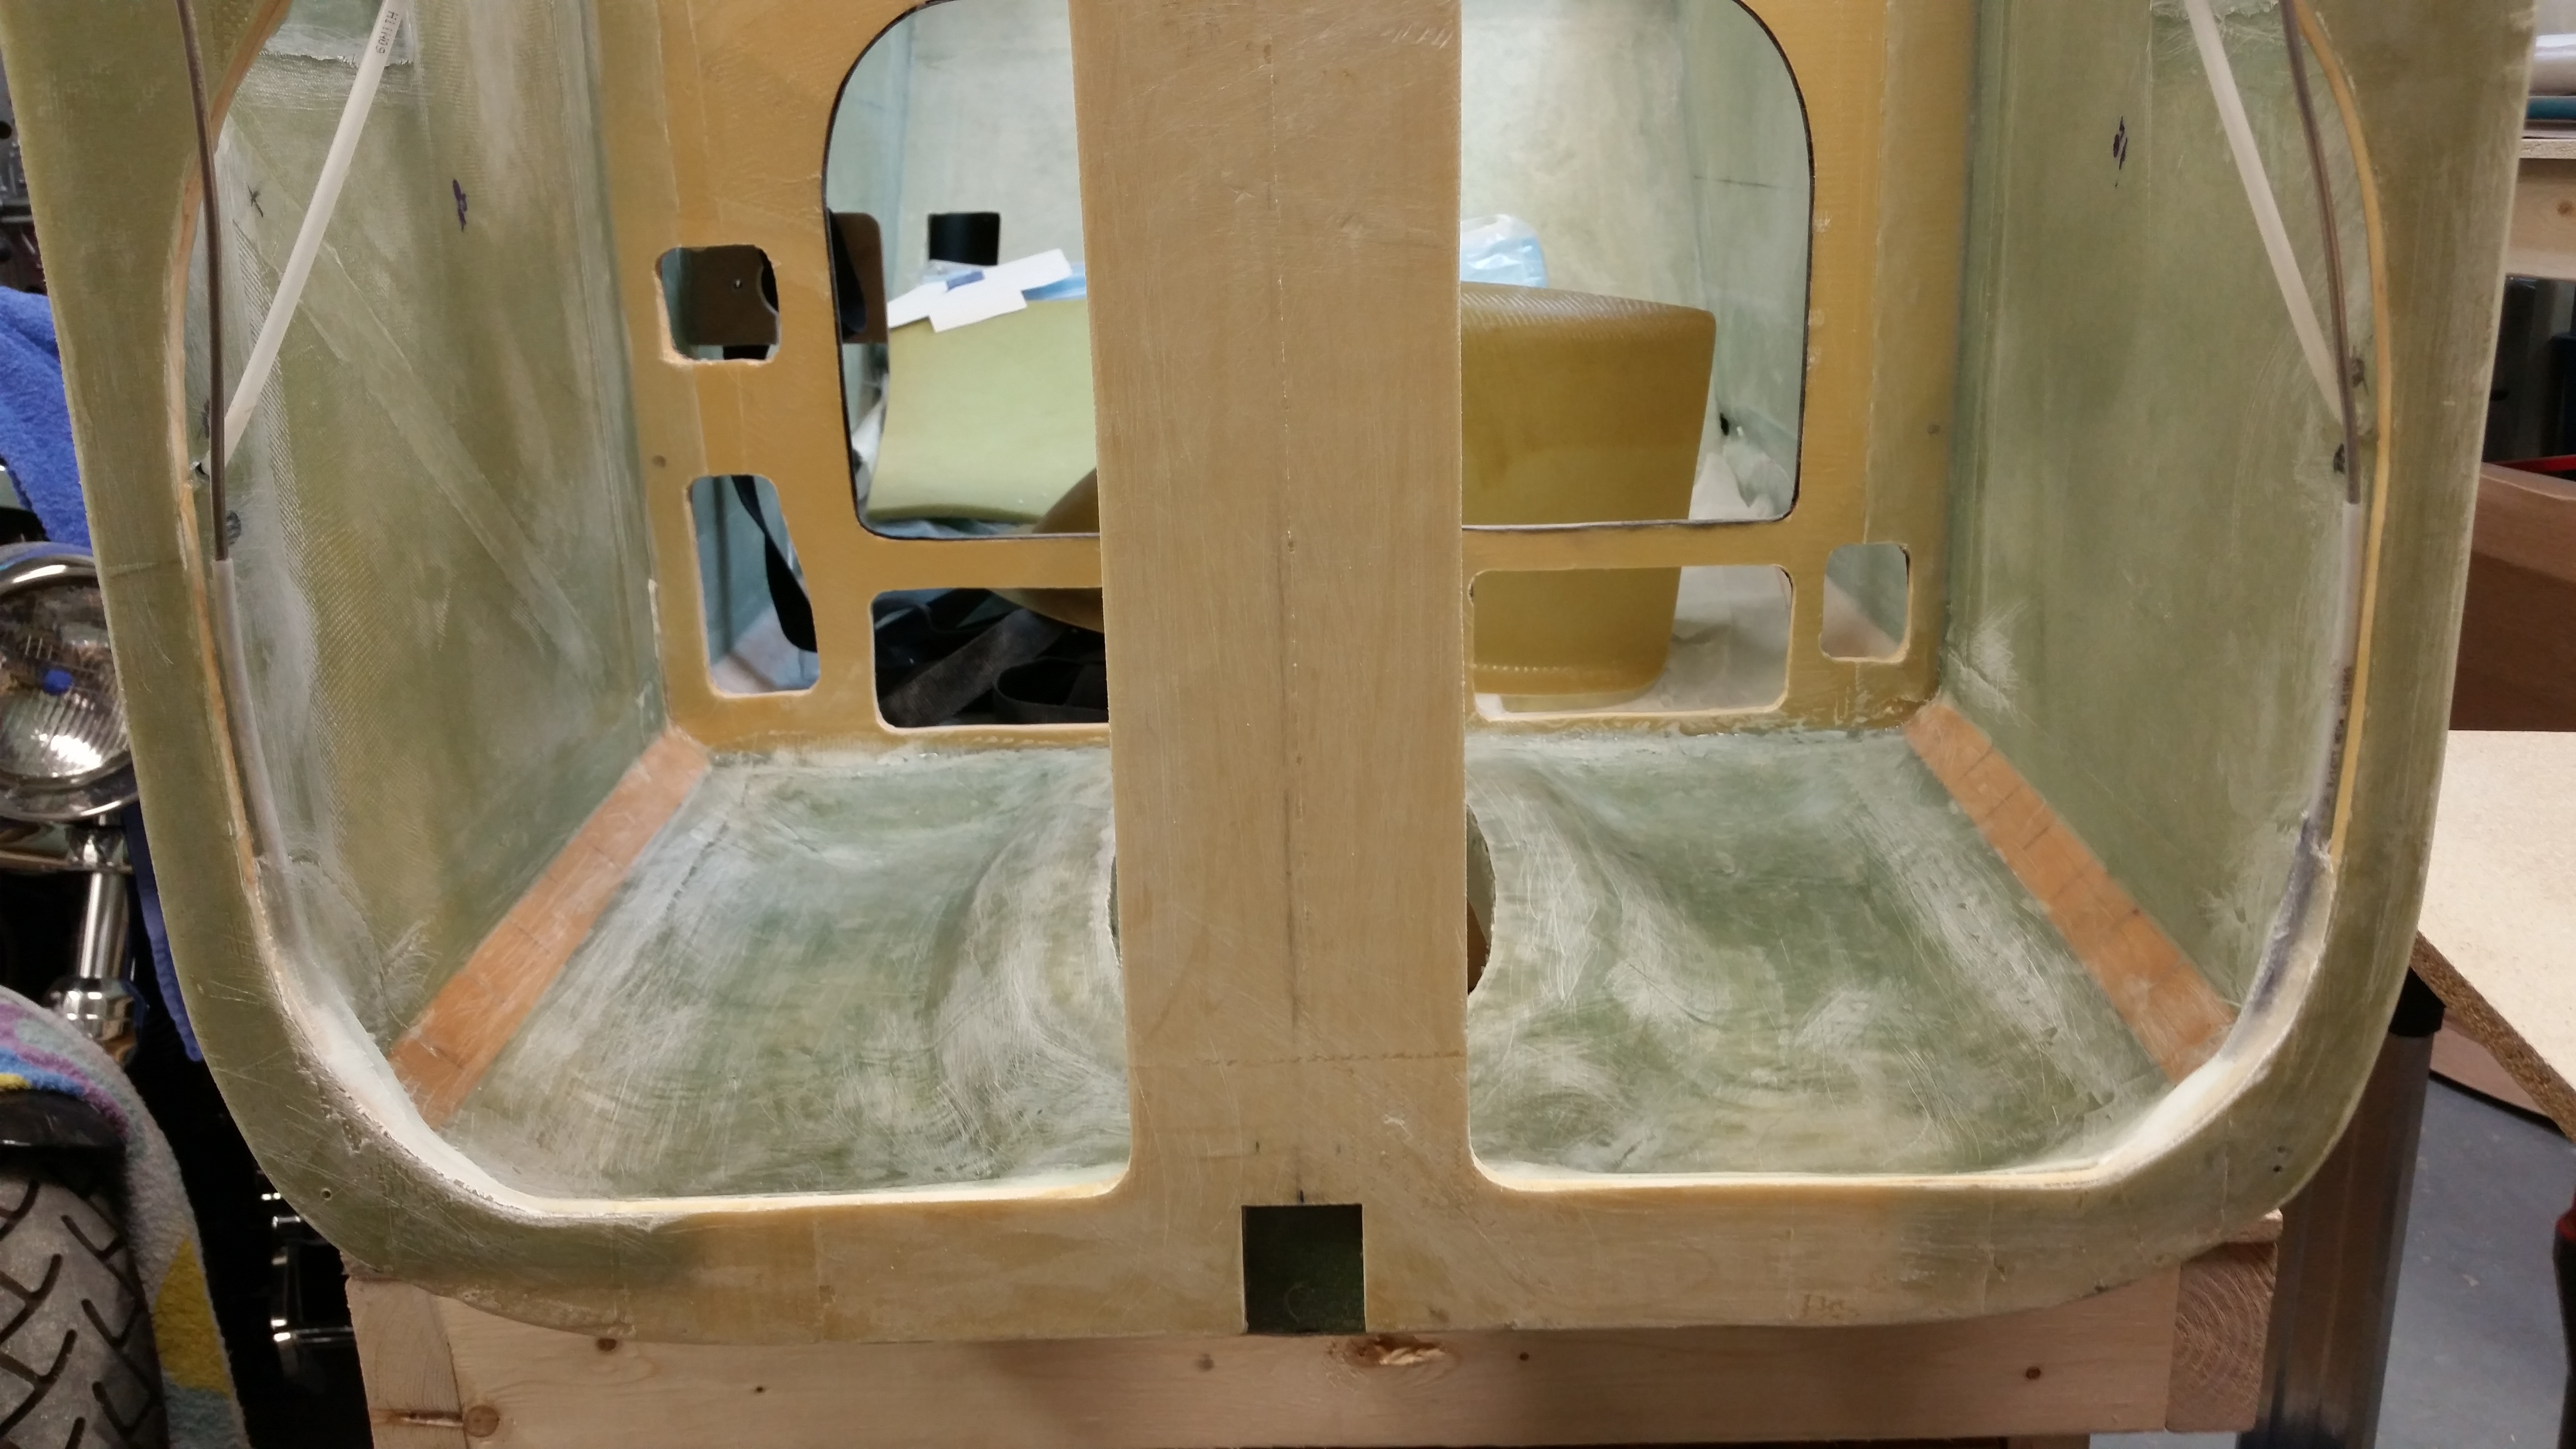
I turned my sights back onto the F22 center strut. I sanded the forward face and then hit each back corner with the sanding black to radius it a bit for the glass tapes that will hold the nose gear frame (NG30s) to the center strut.
Here are the finished layups for the right & left side brake line secure, protect & route.

Here’s a shot of the new layups from the front. Notice how the interior area forward of the instrument panel is clean & sanded. I spent a good hour getting this area sanded and in shape.
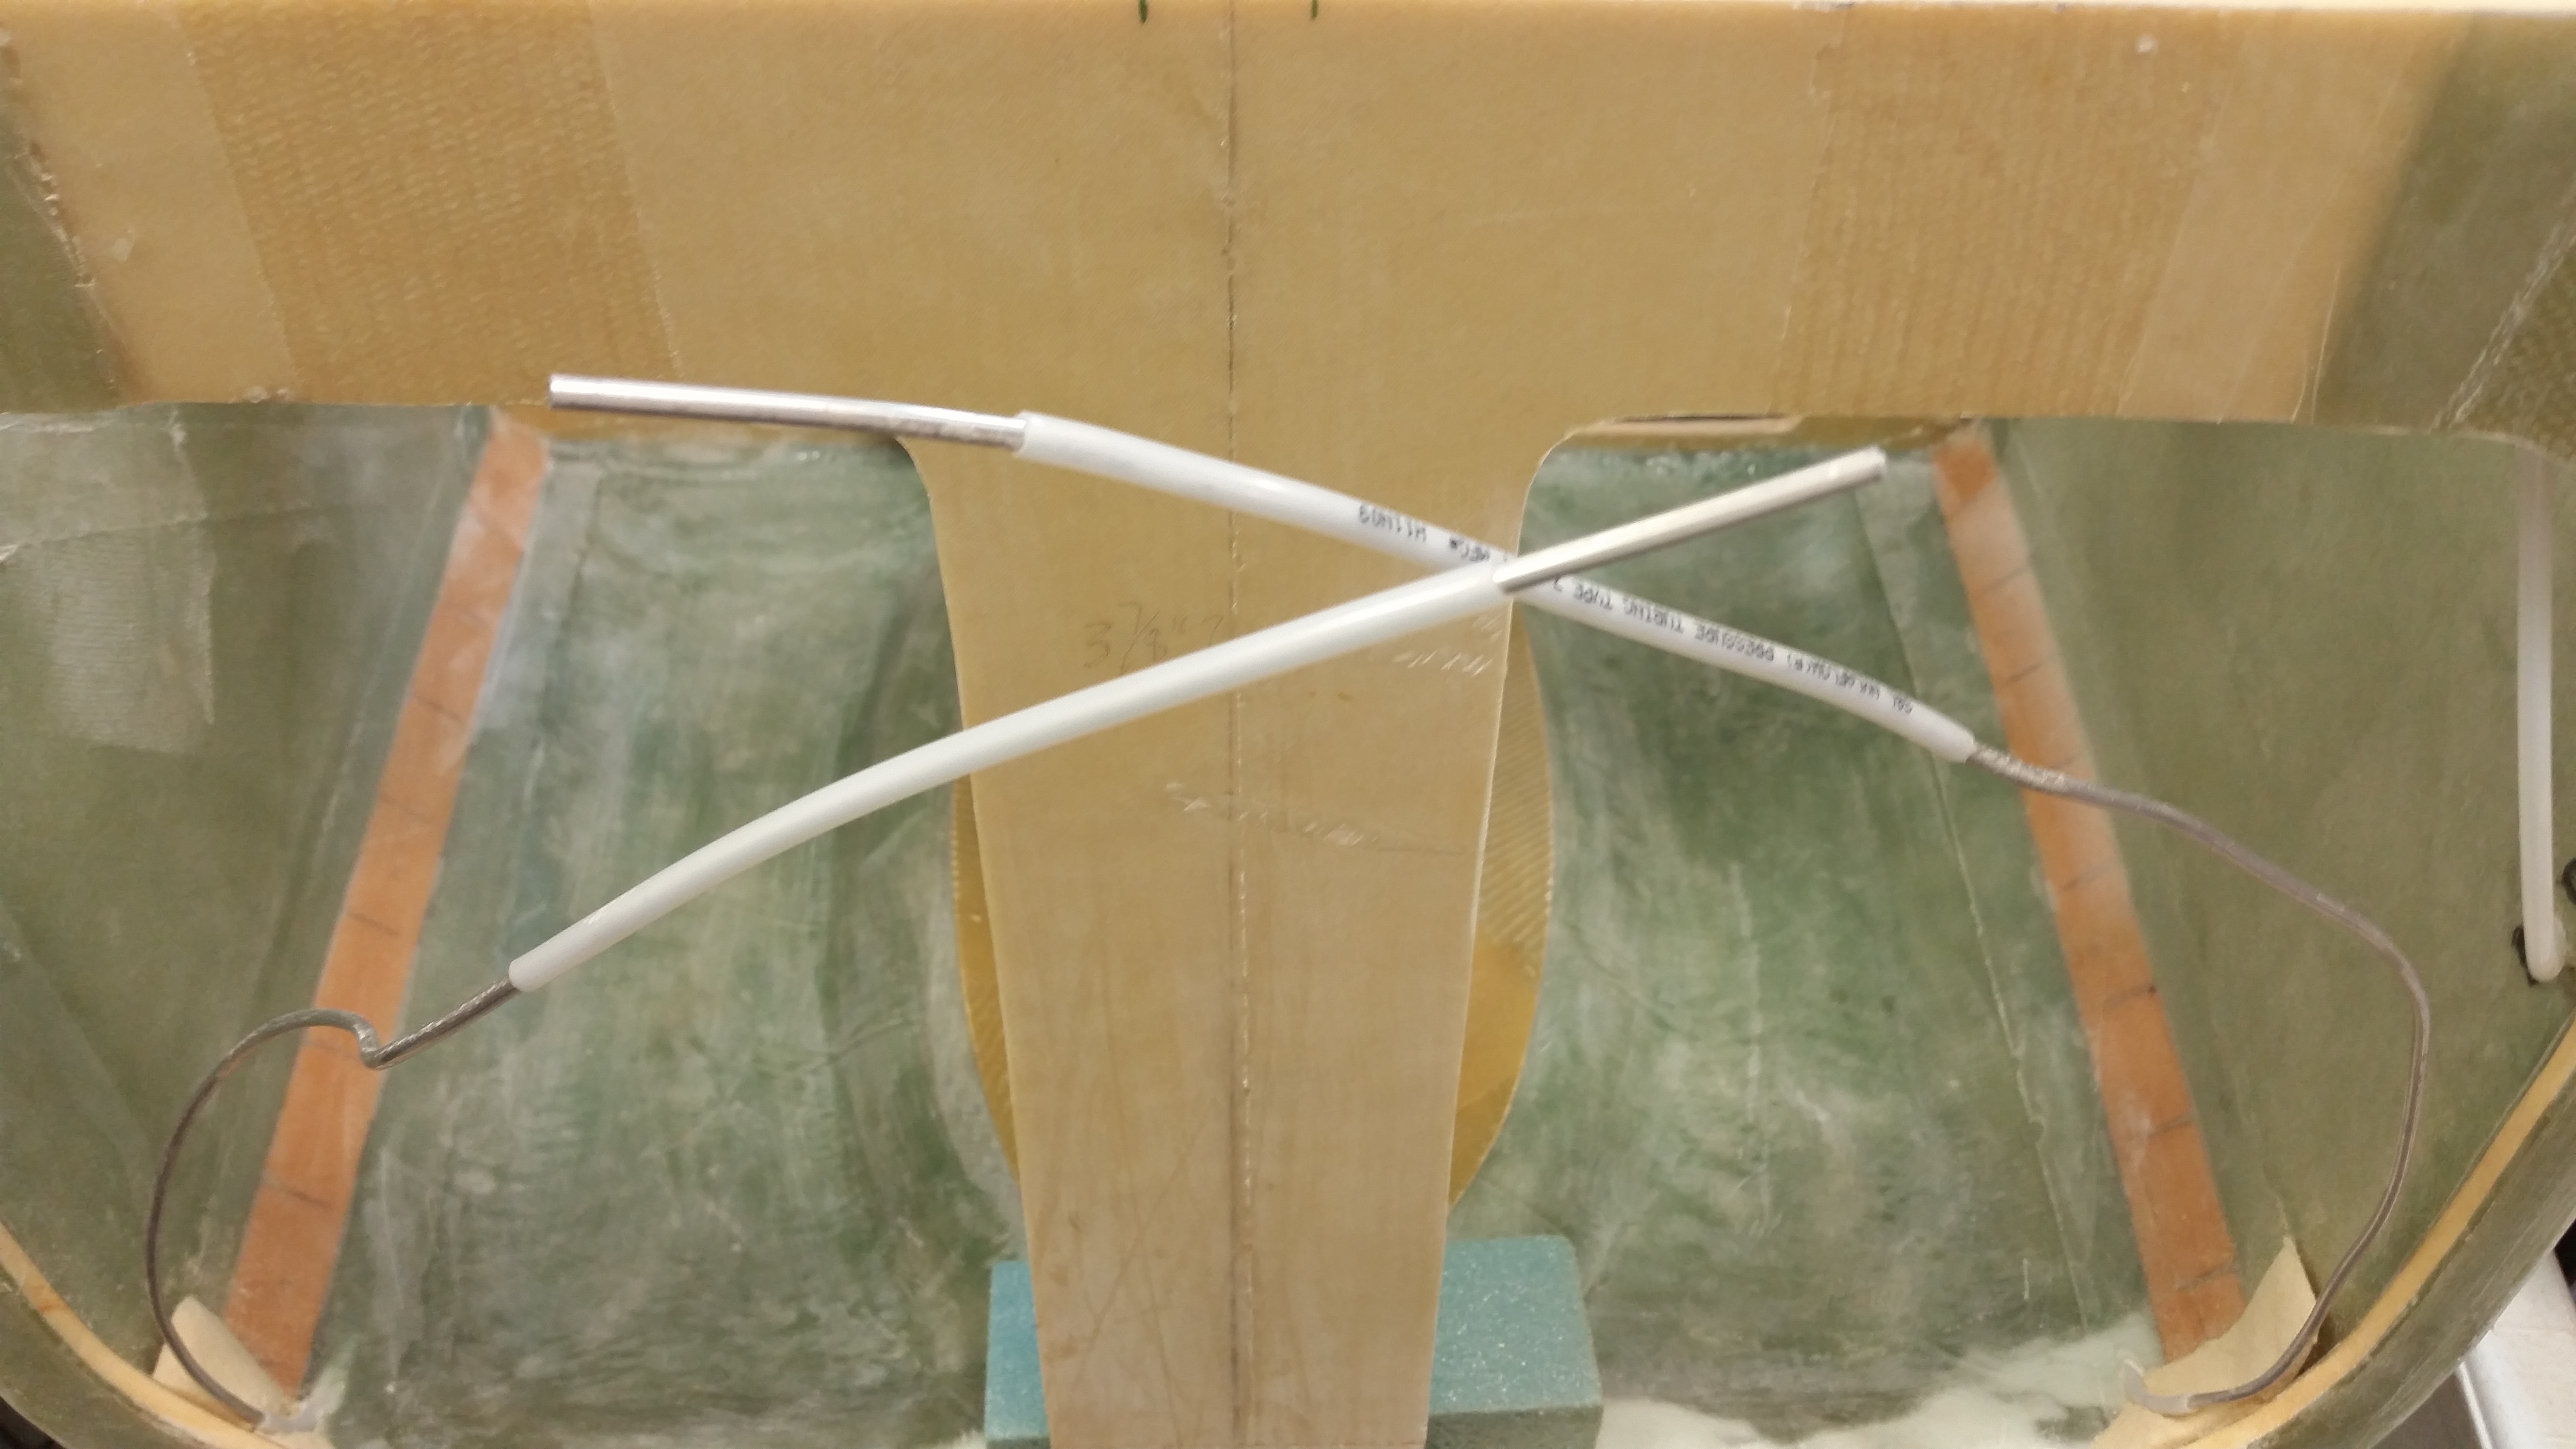
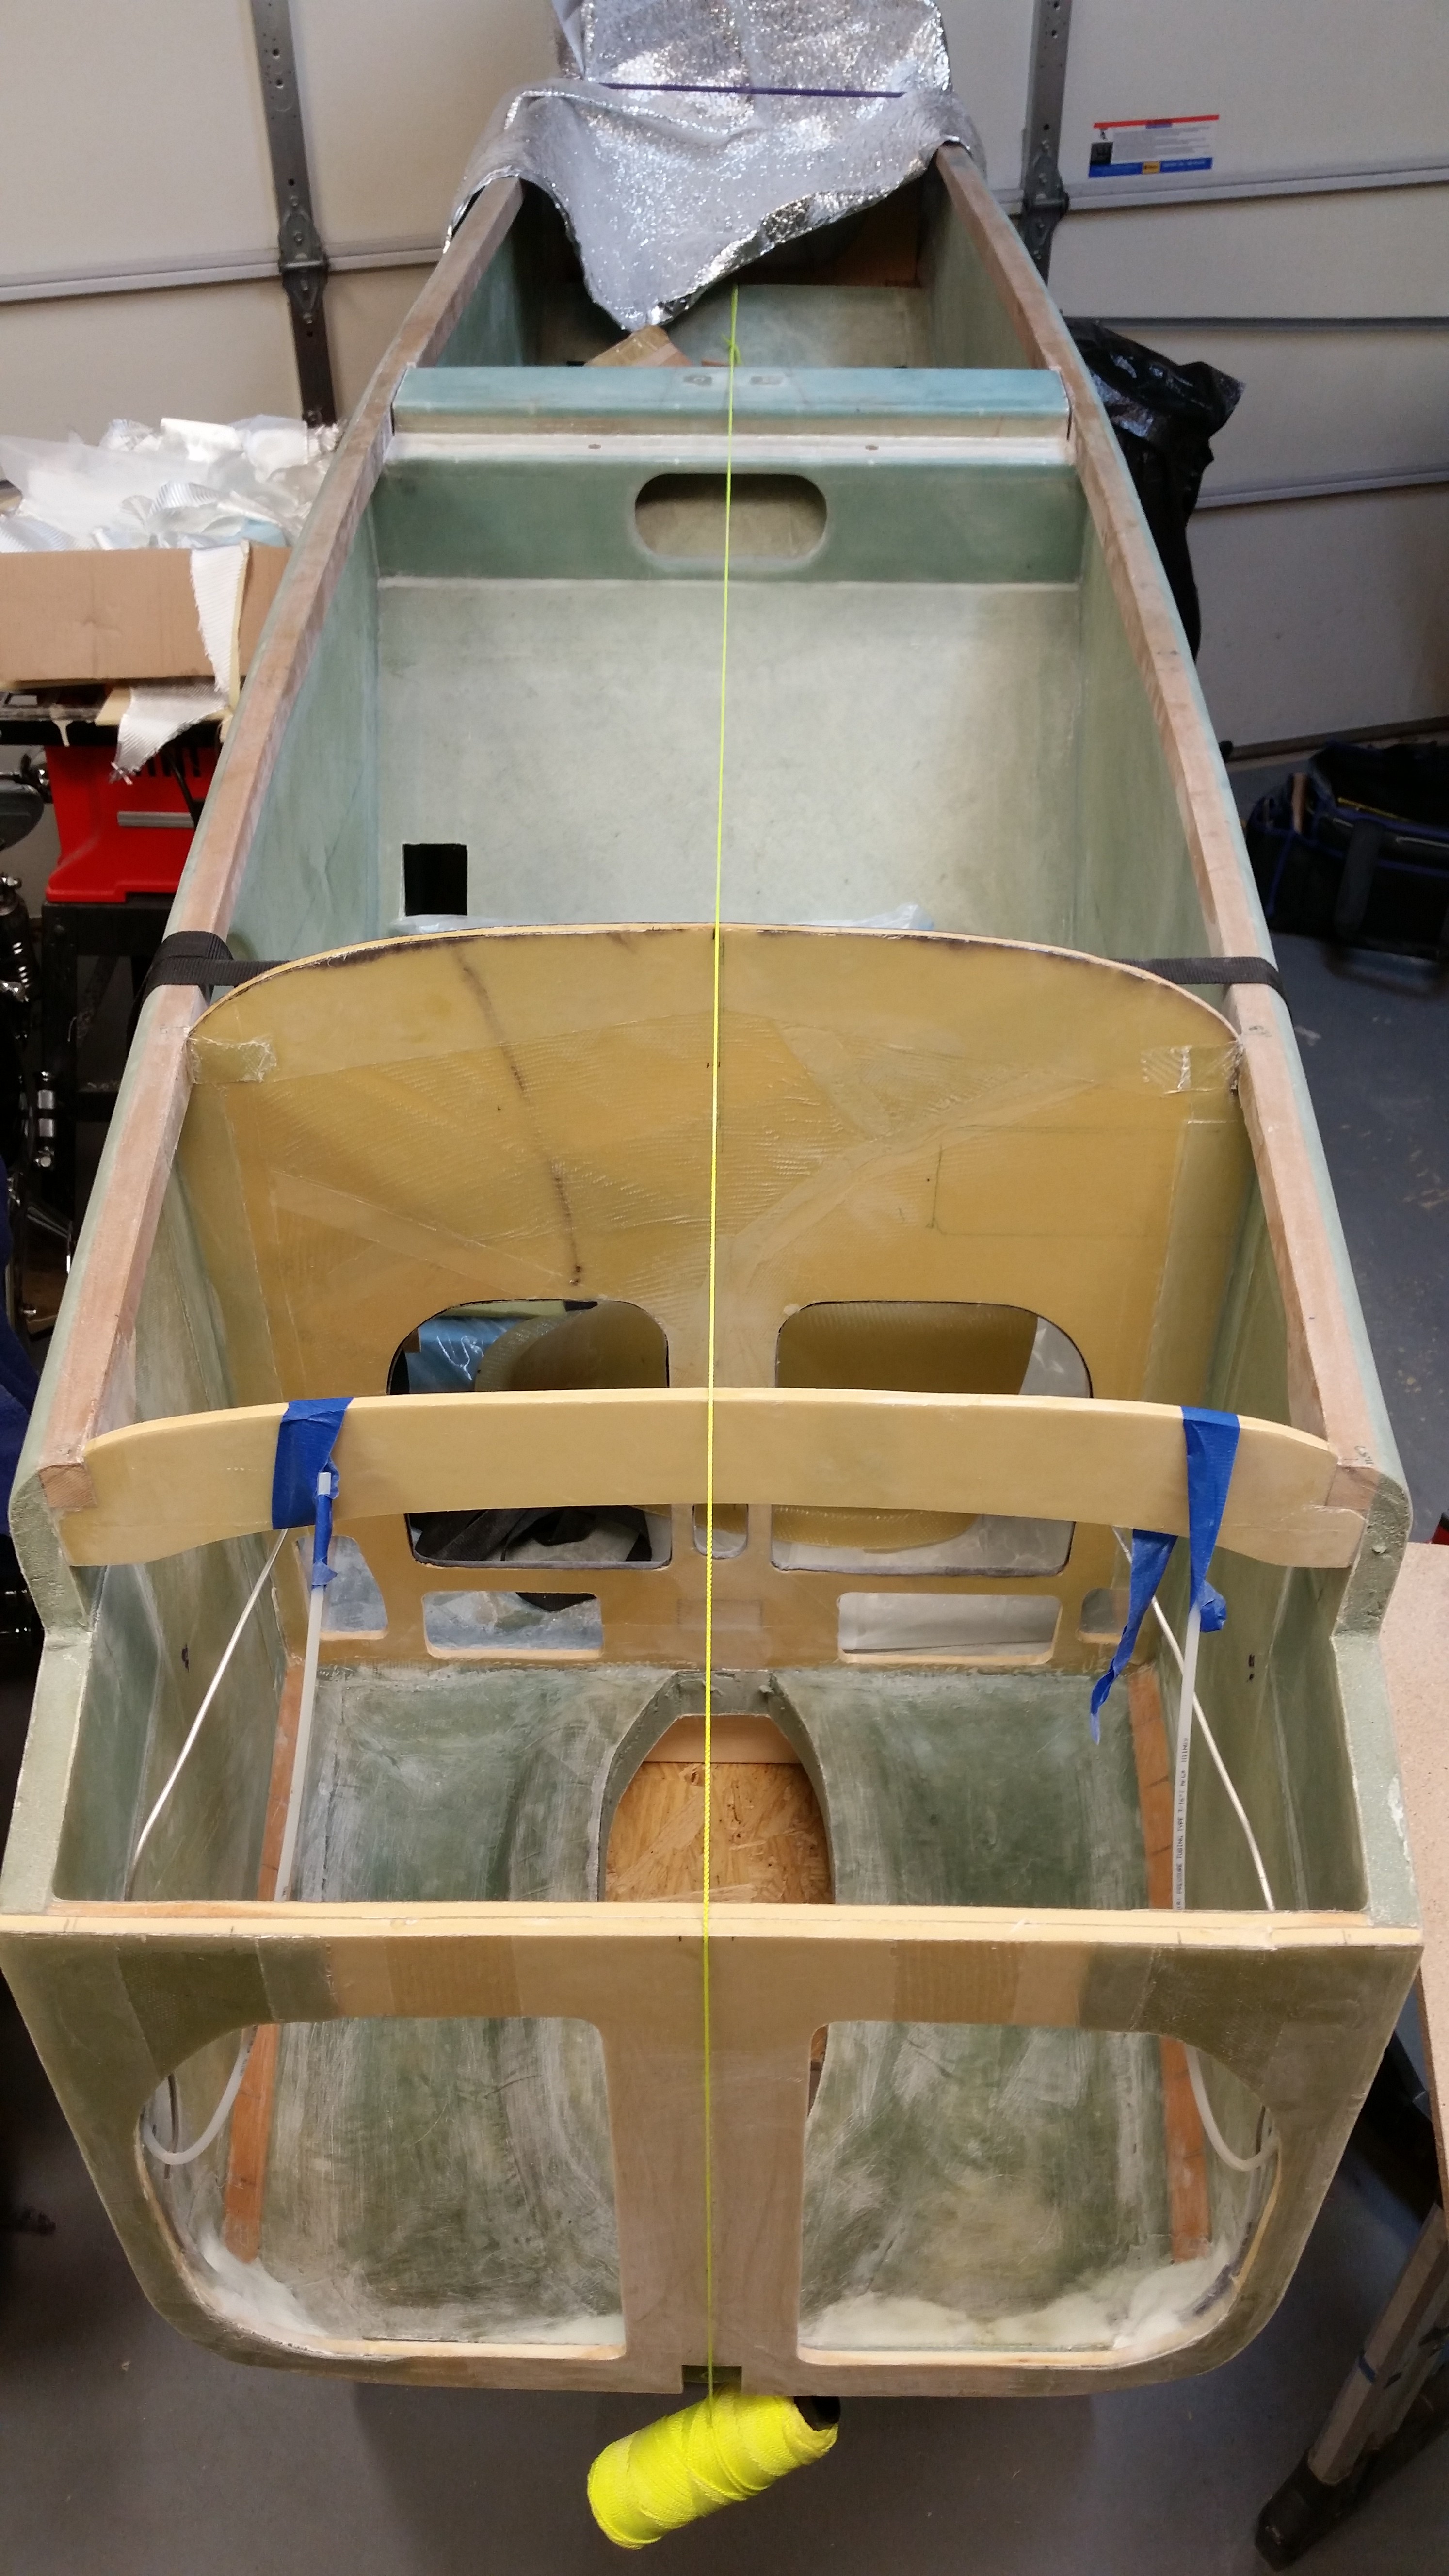
I then grabbed my trusty string and checked the CL alignment of the bulkheads.
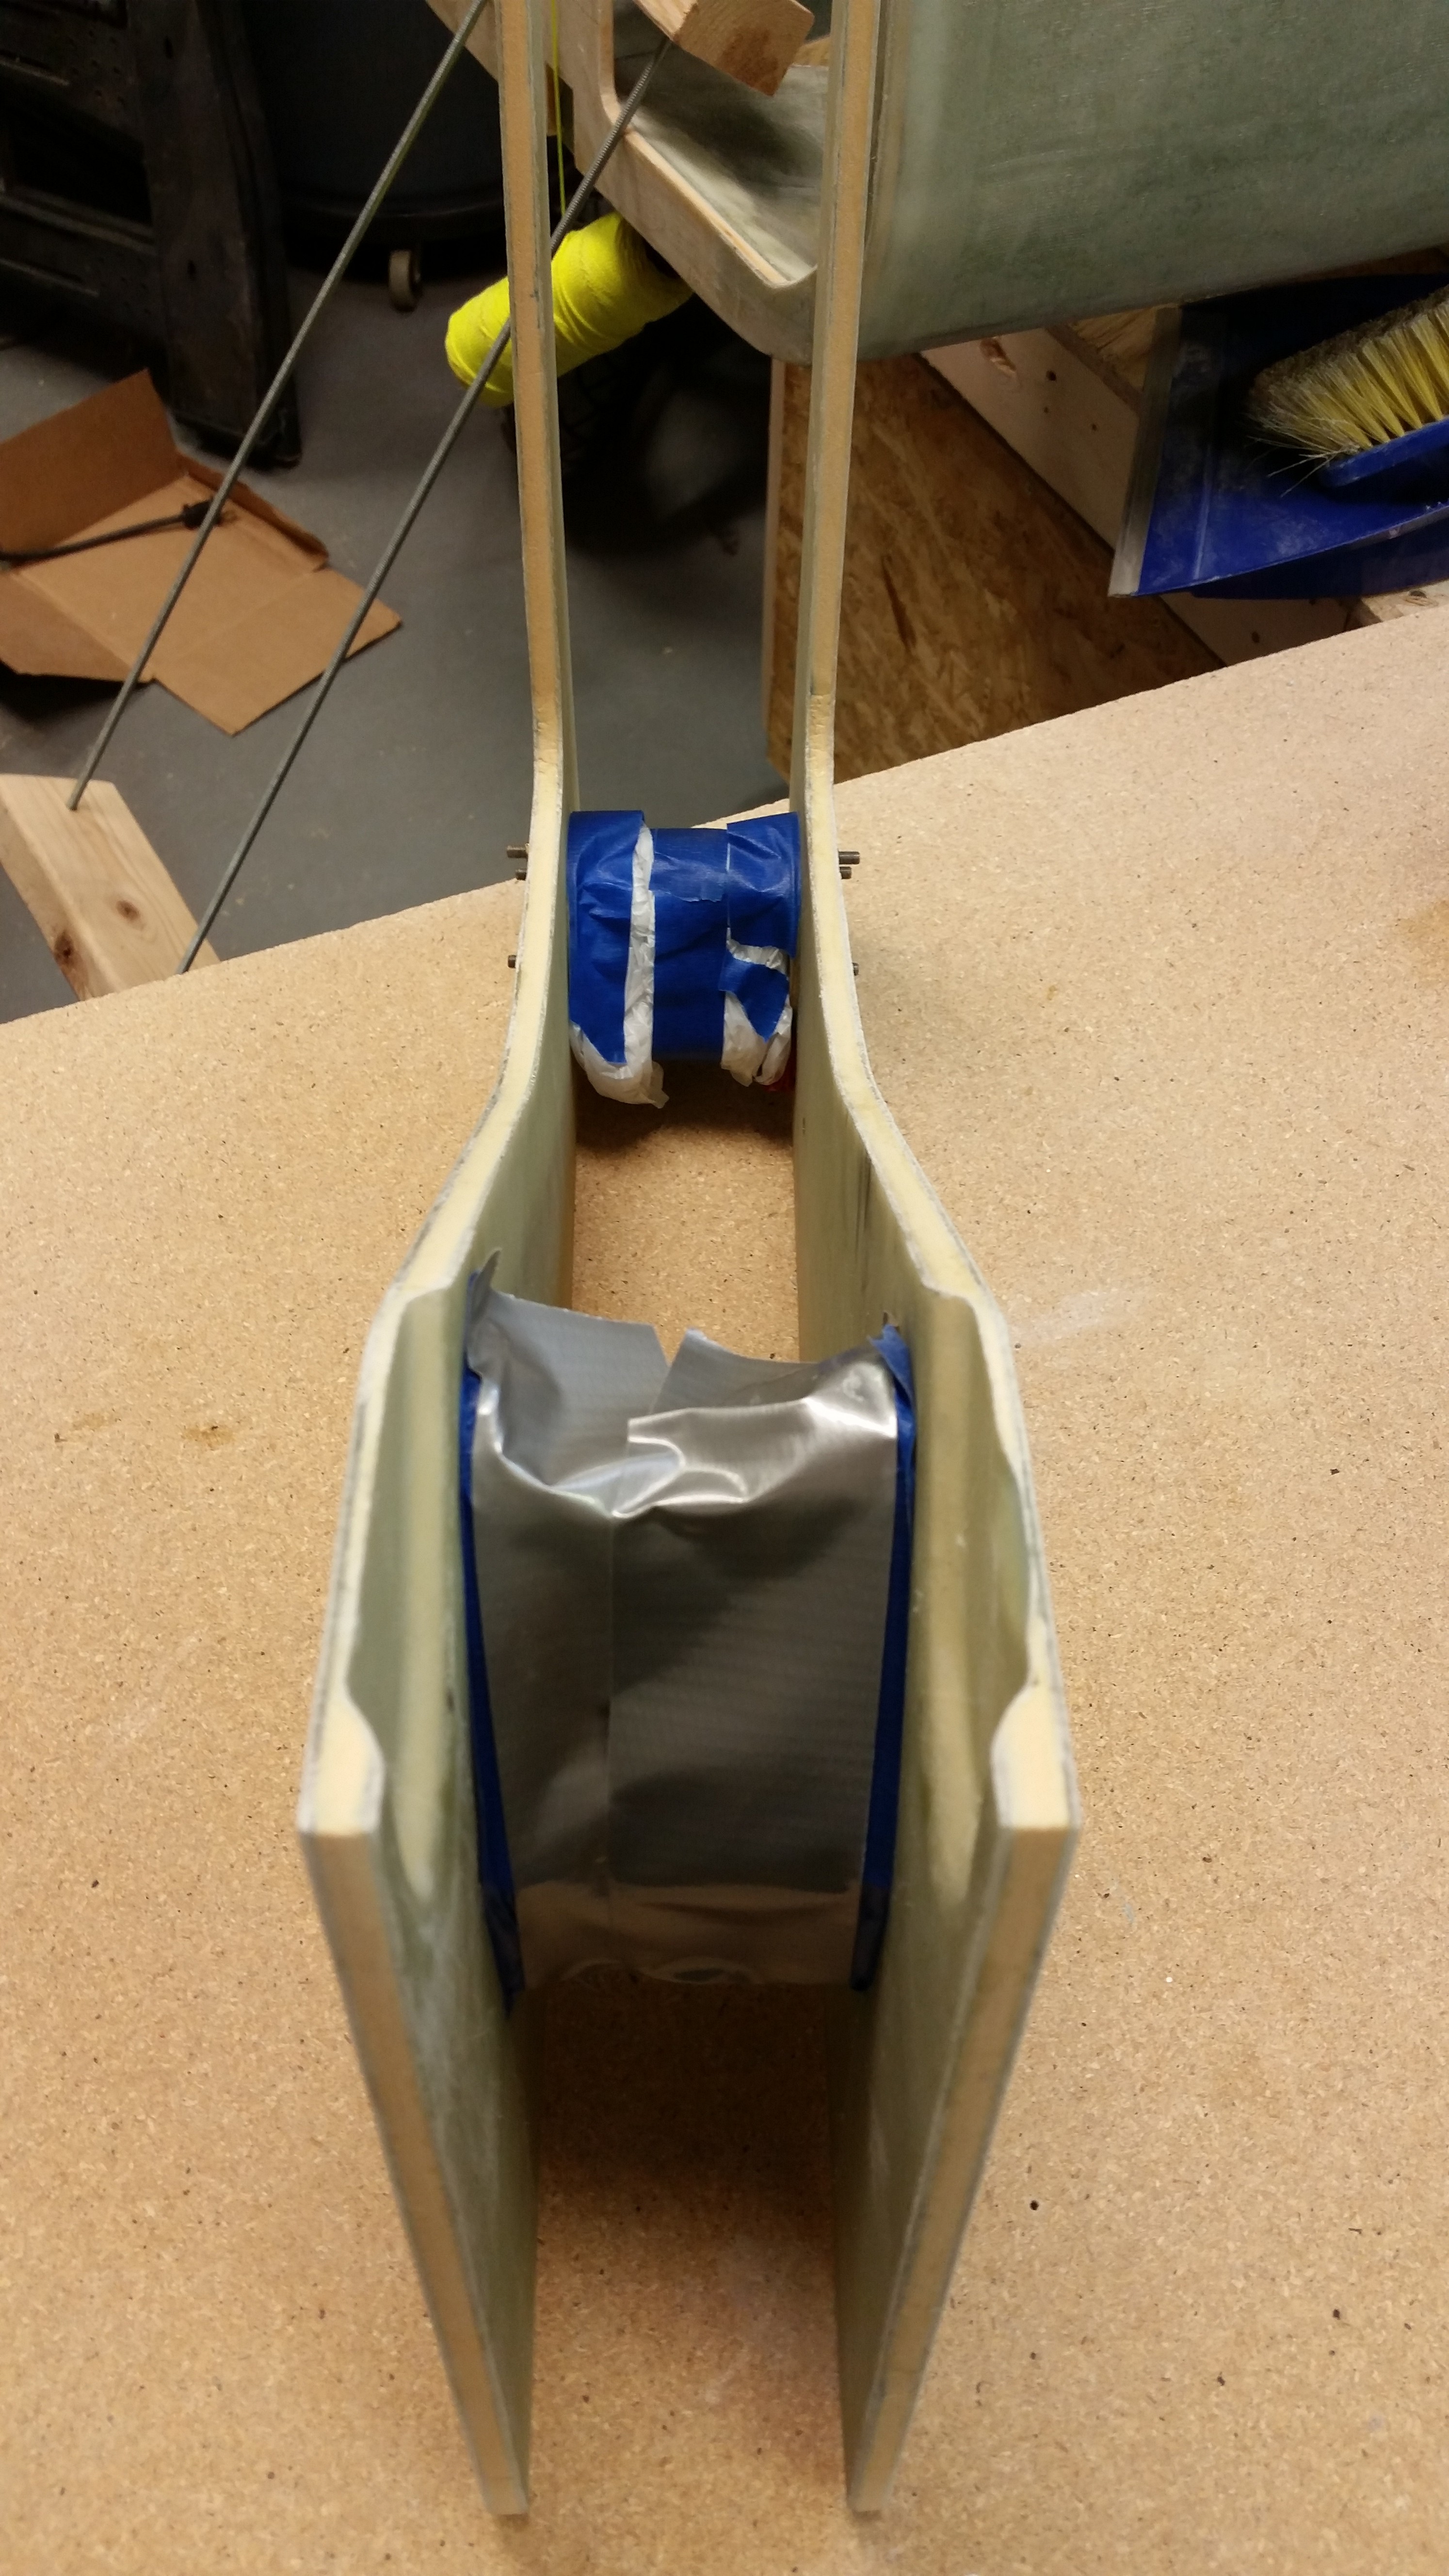
I also removed the nose gear actuator from the NG30 frame in prep for glassing the NG30s to the F22 center strut, etc. Notice that I taped up the mounting brackets & hardware.
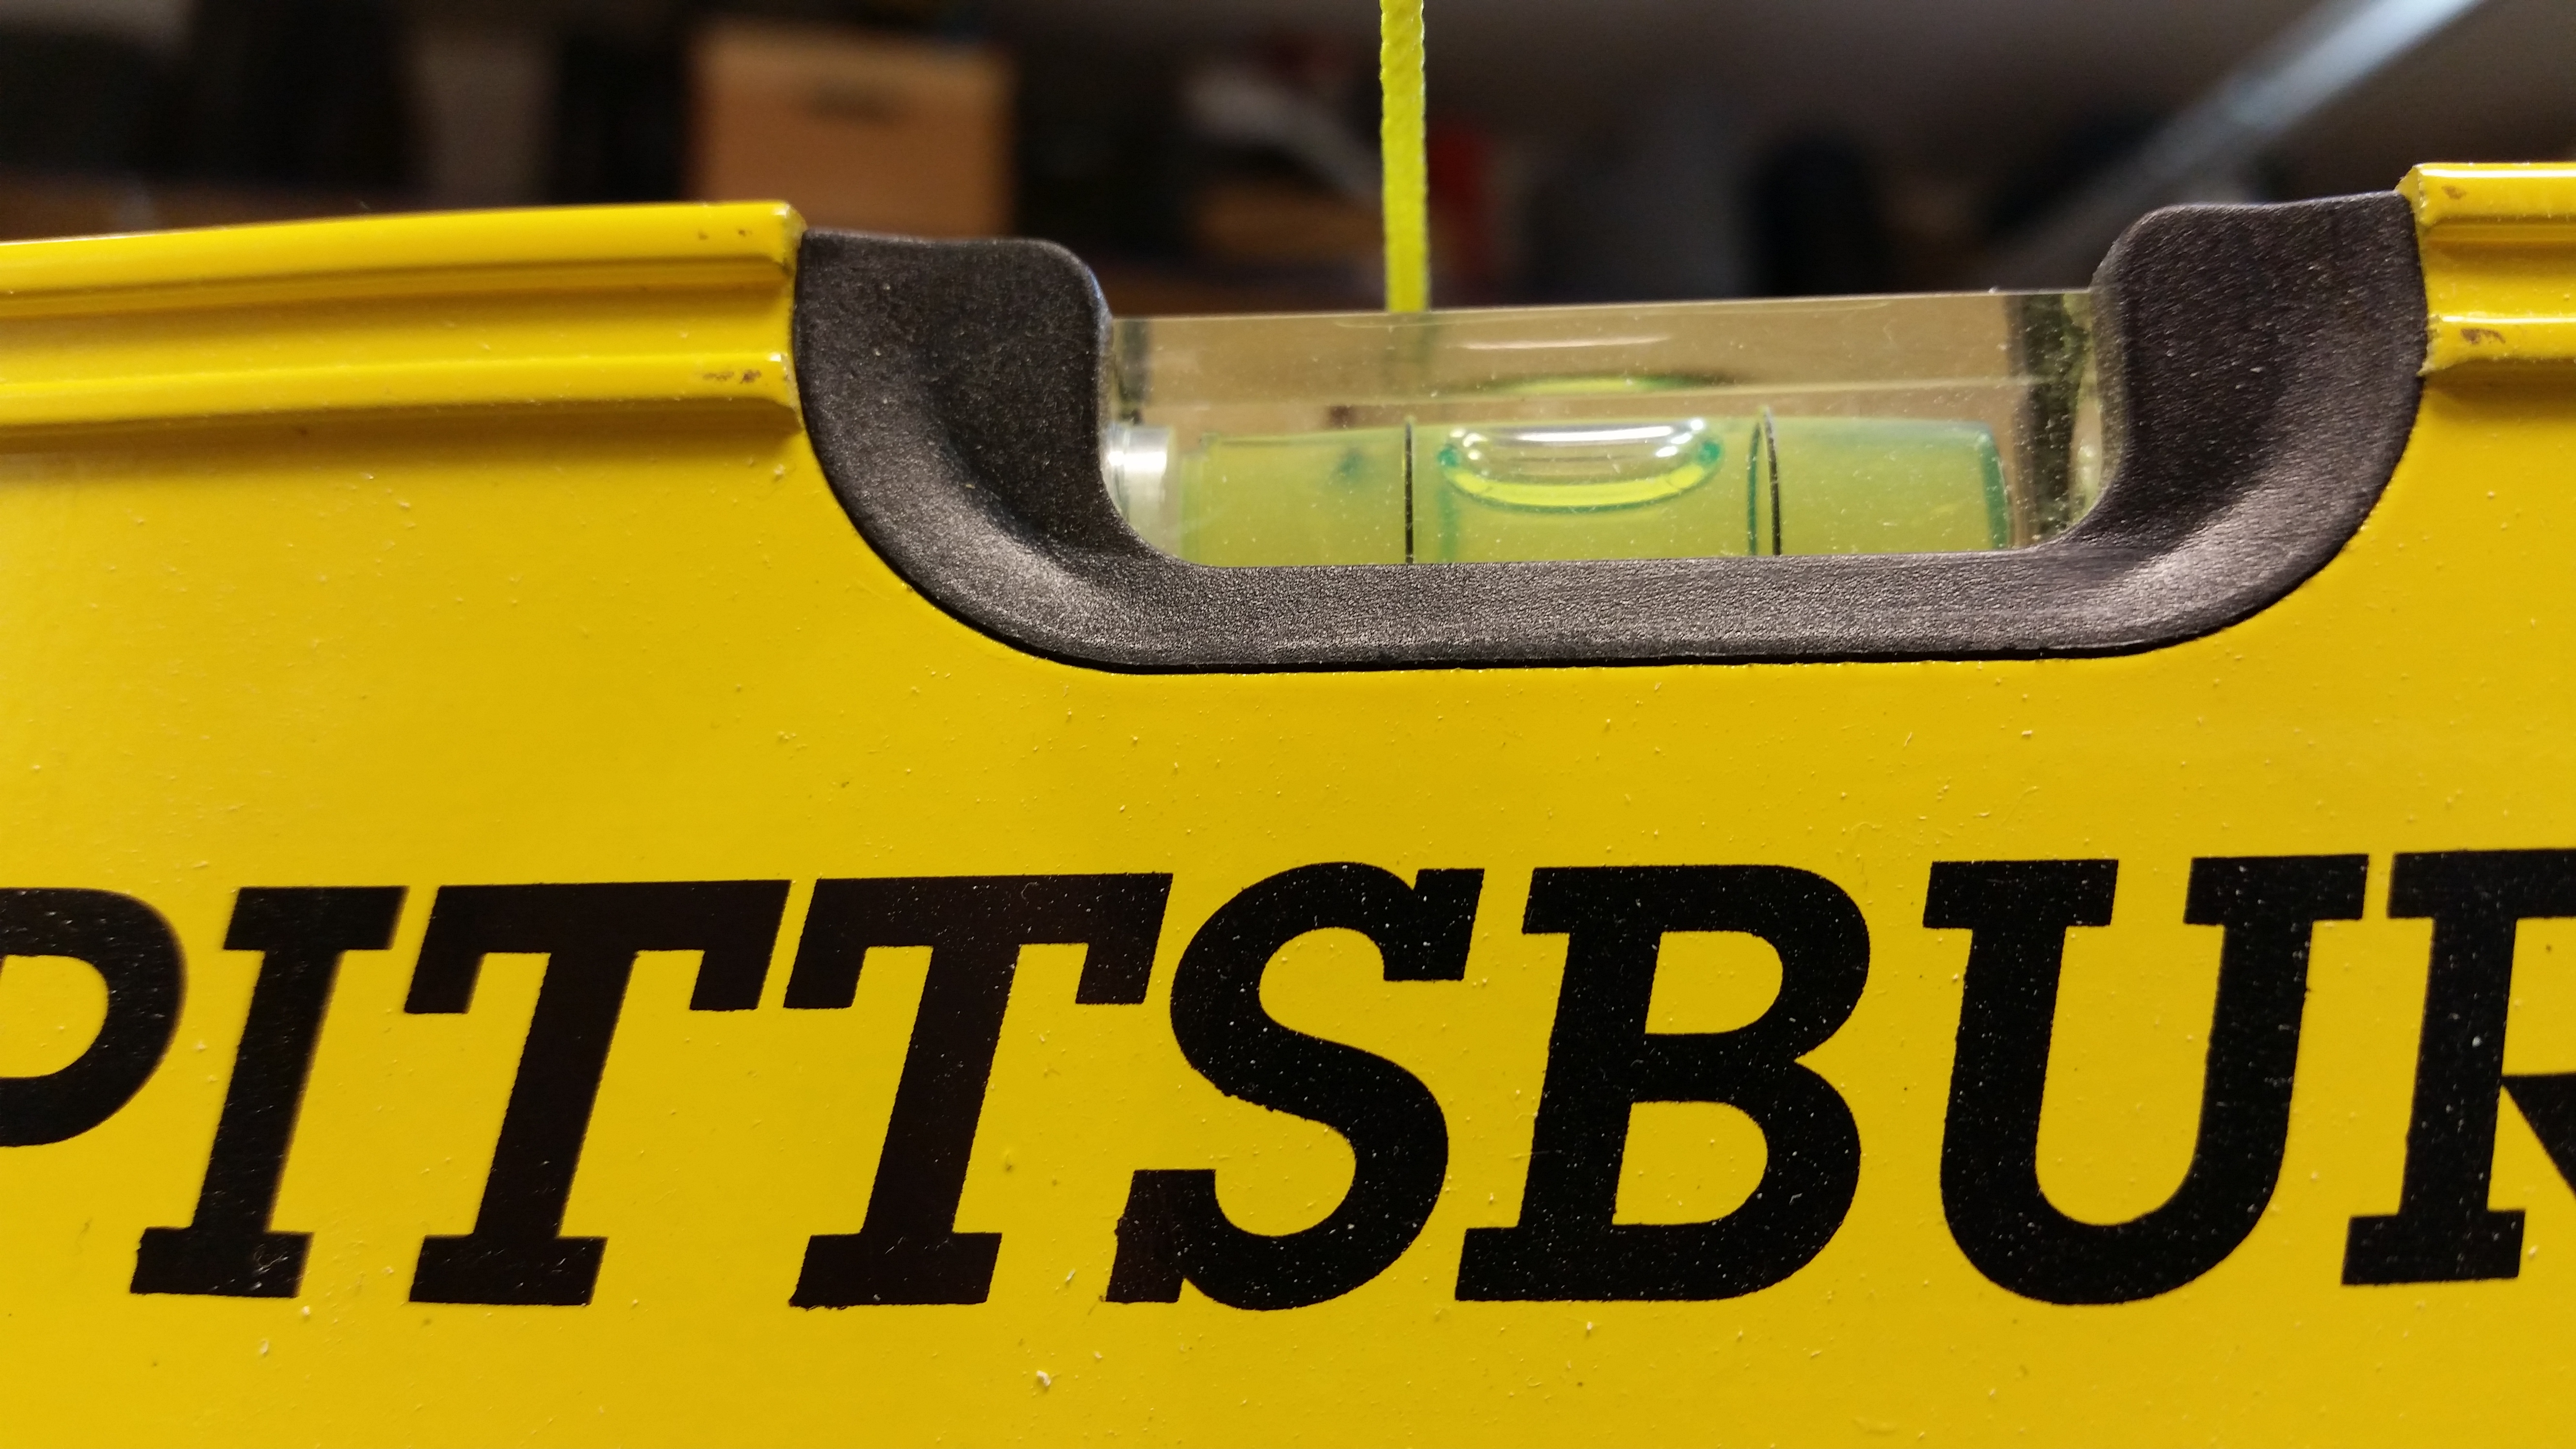
Also checked the left-right level of the fuselage across the longerons. Looks PDG!
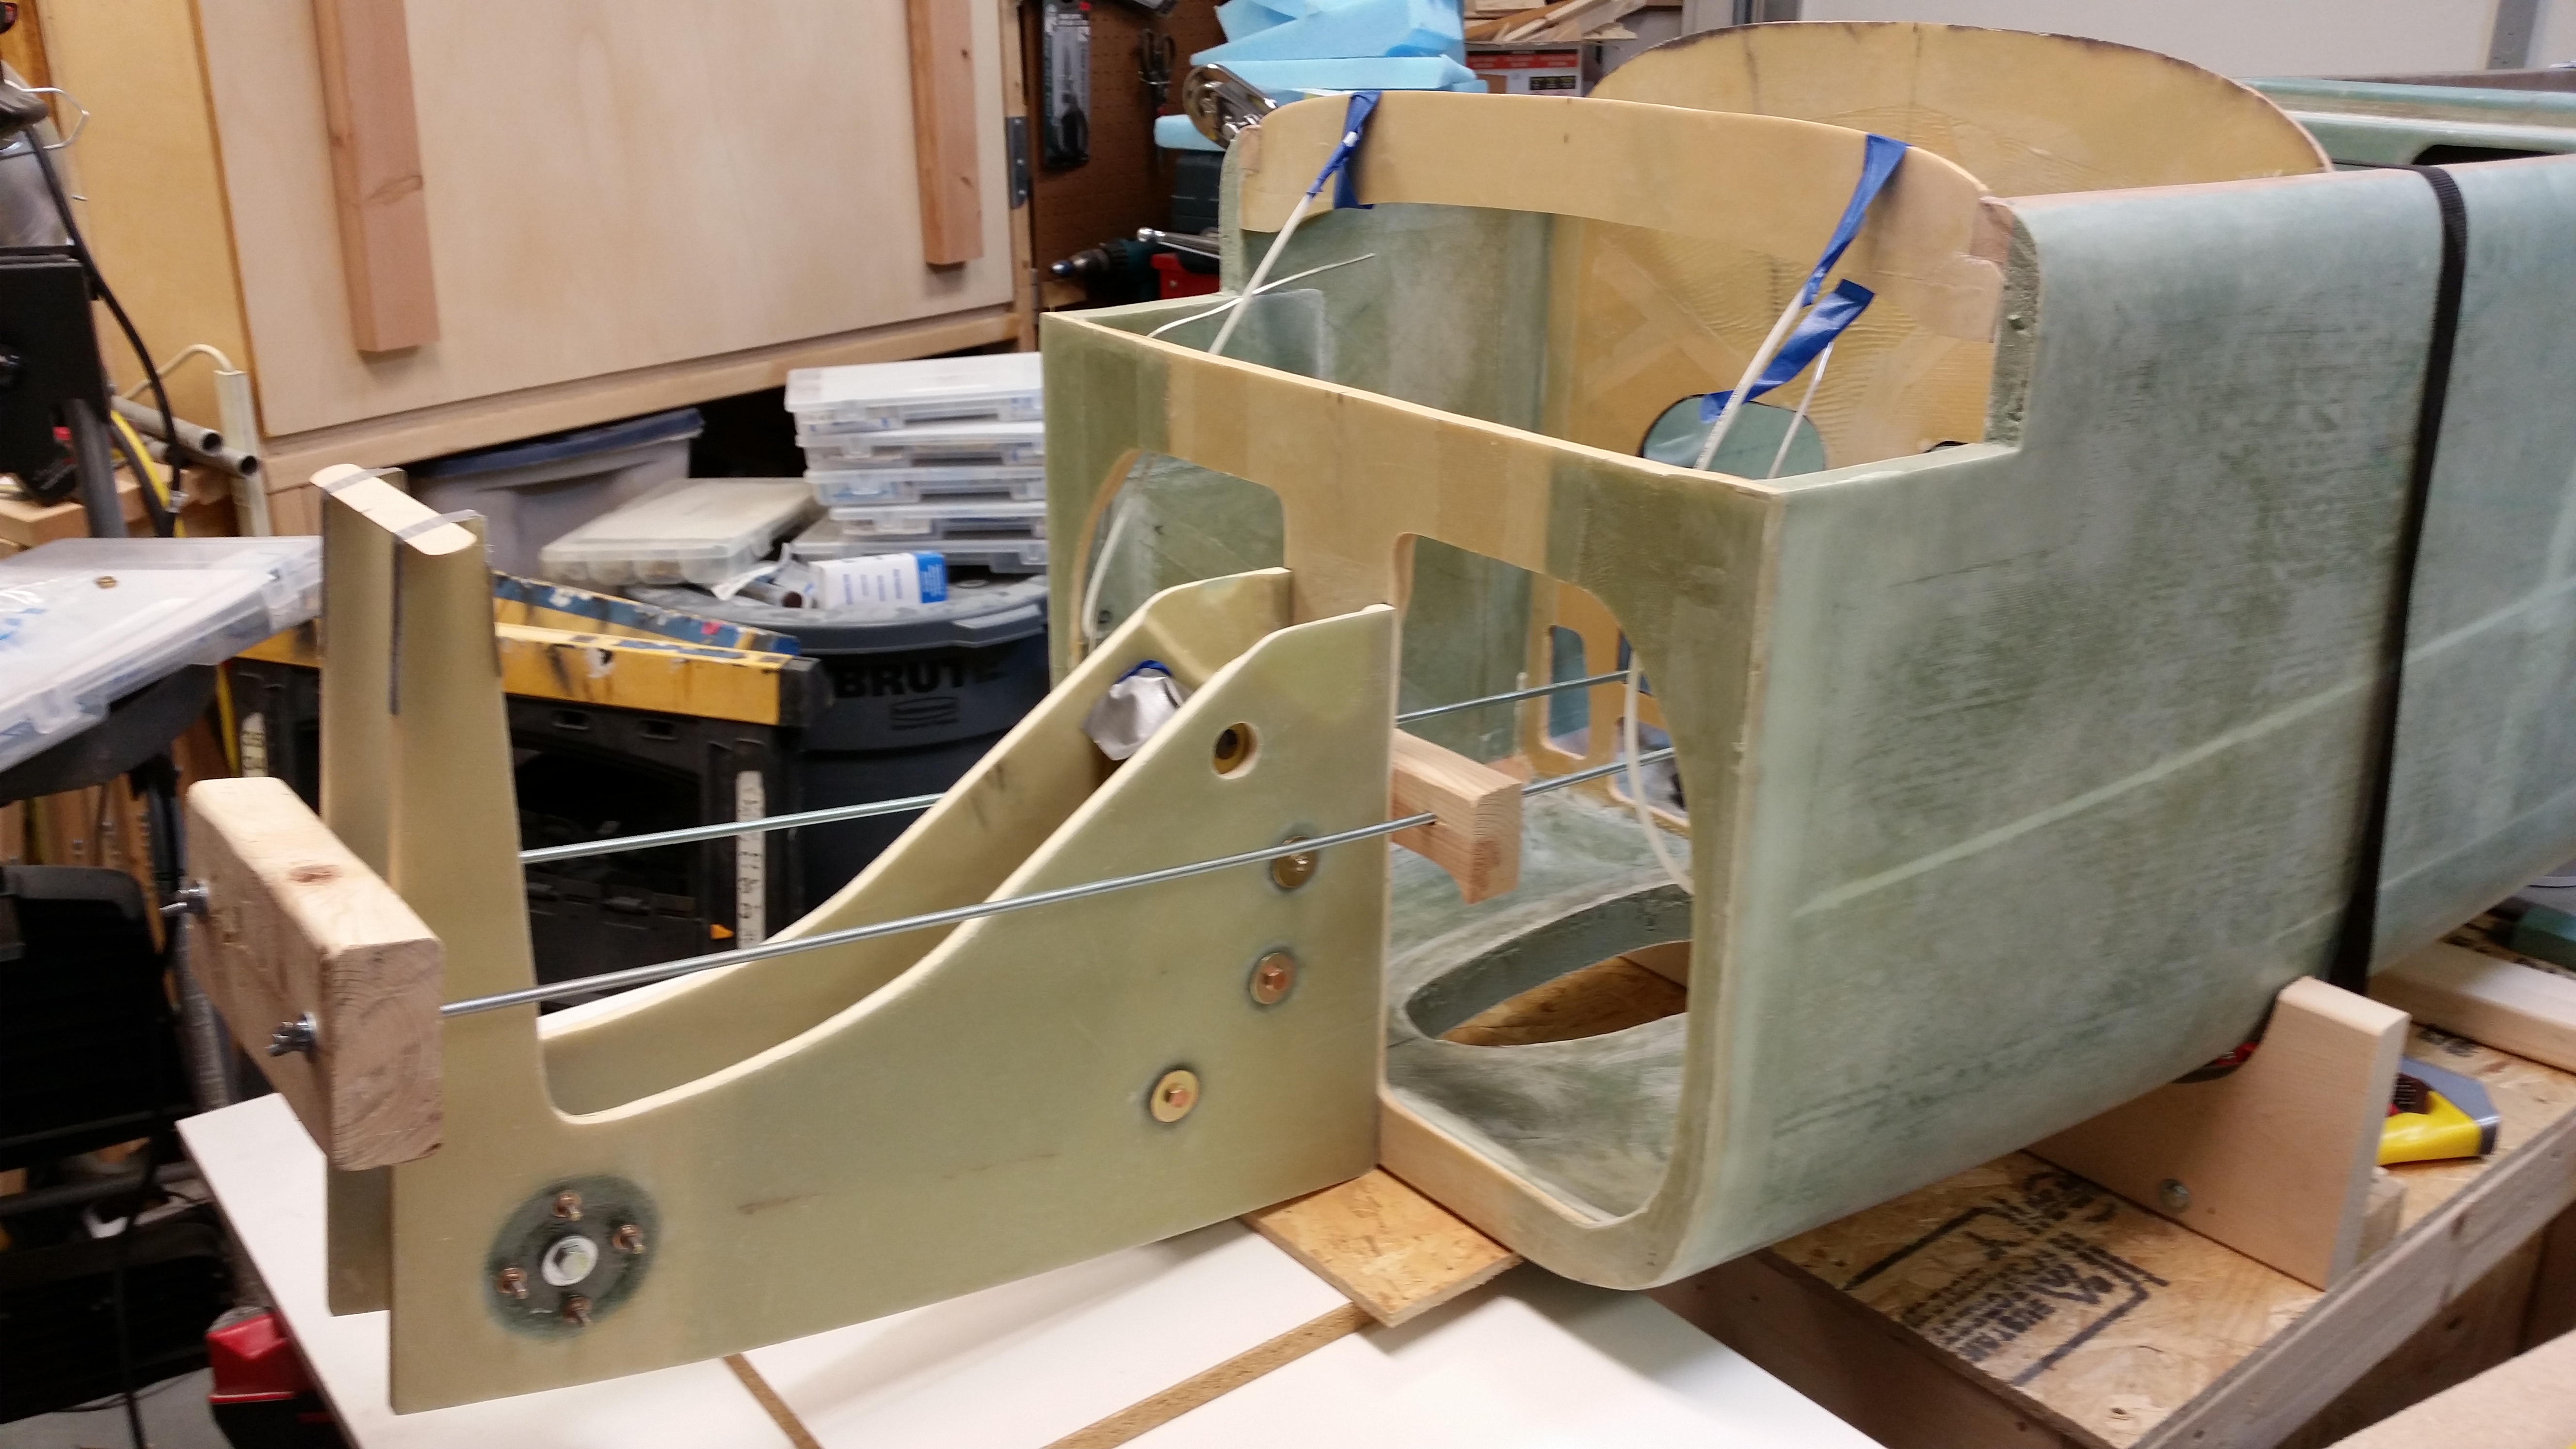
I then clamped up the NG30 nose assembly to F22 on the front of the fuselage to test out the fit & finish of the nose gear frame assembly. Now, this was just a dress rehearsal, trial run, etc. so I haven’t floxed or taped it on yet.
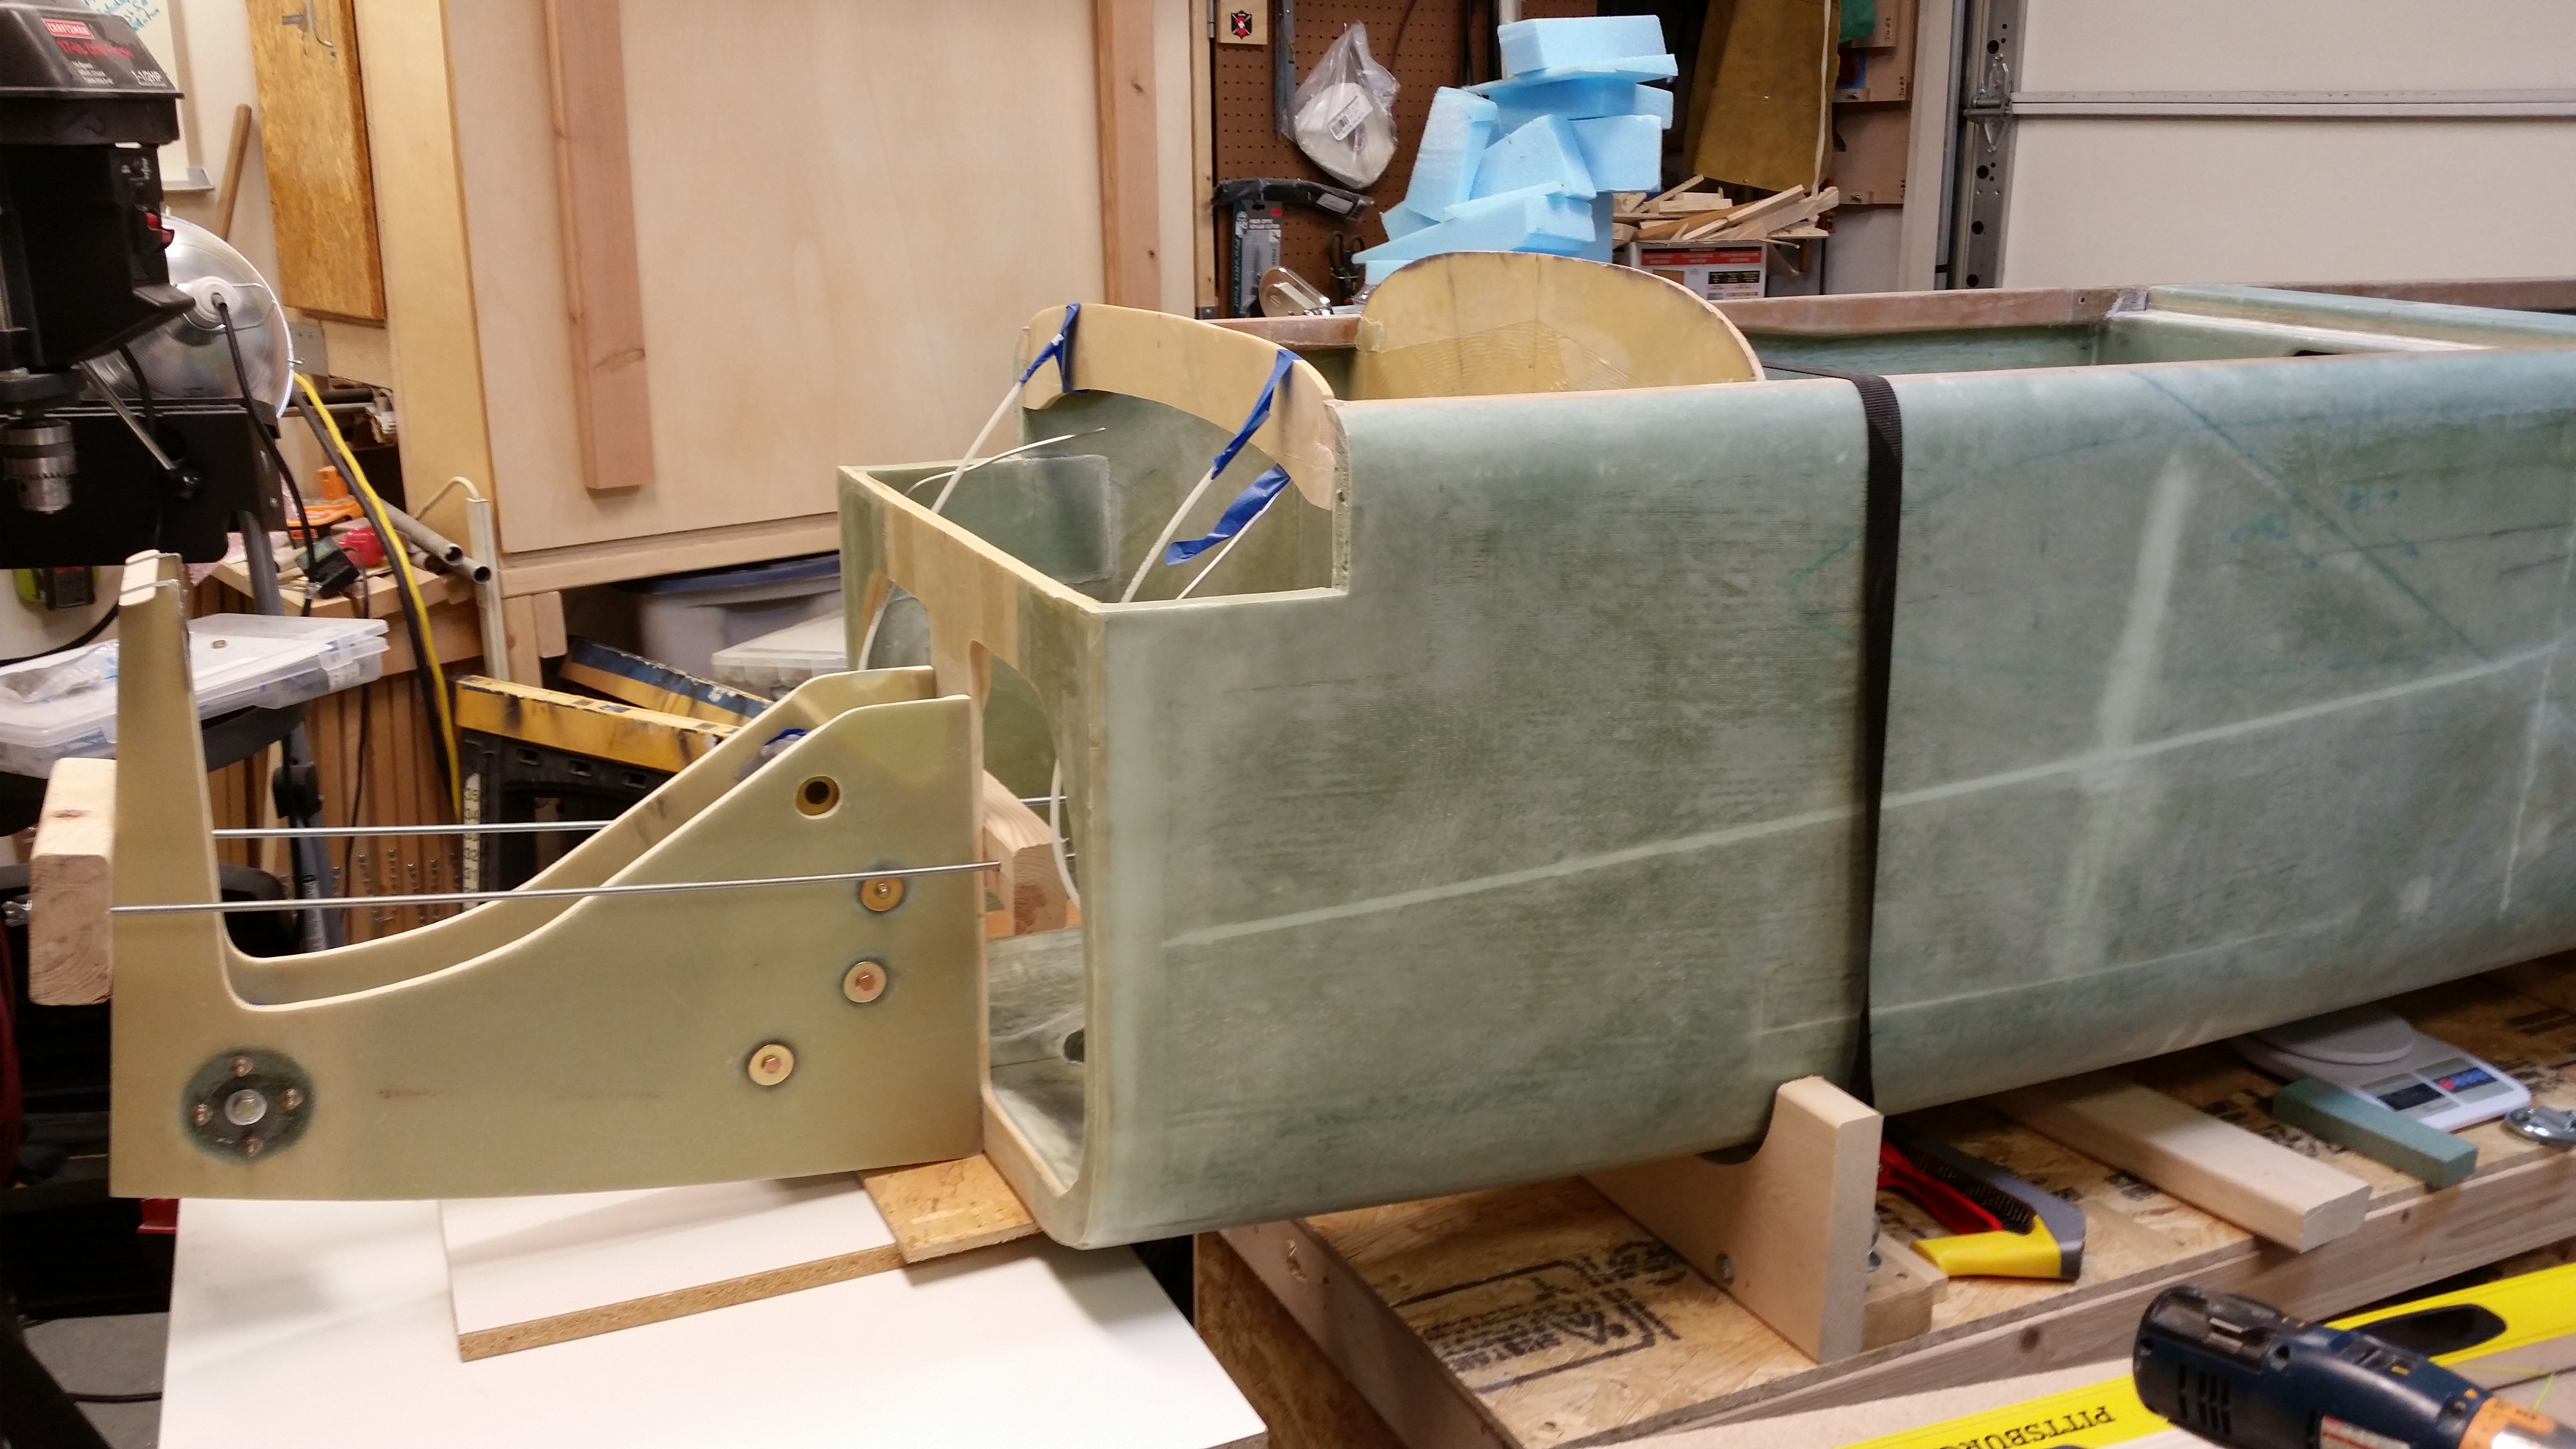
Here’s a little bit closer shot. Amazing that although I built the NG30s back in 2013, this is the first time they’ve been mocked up on the nose.
To really ensure everything is on the straight and narrow, I pulled out my (also) trusty laser level to shoot some laser lines. It took me about 5 minutes to get the laser set up and leveled itself.
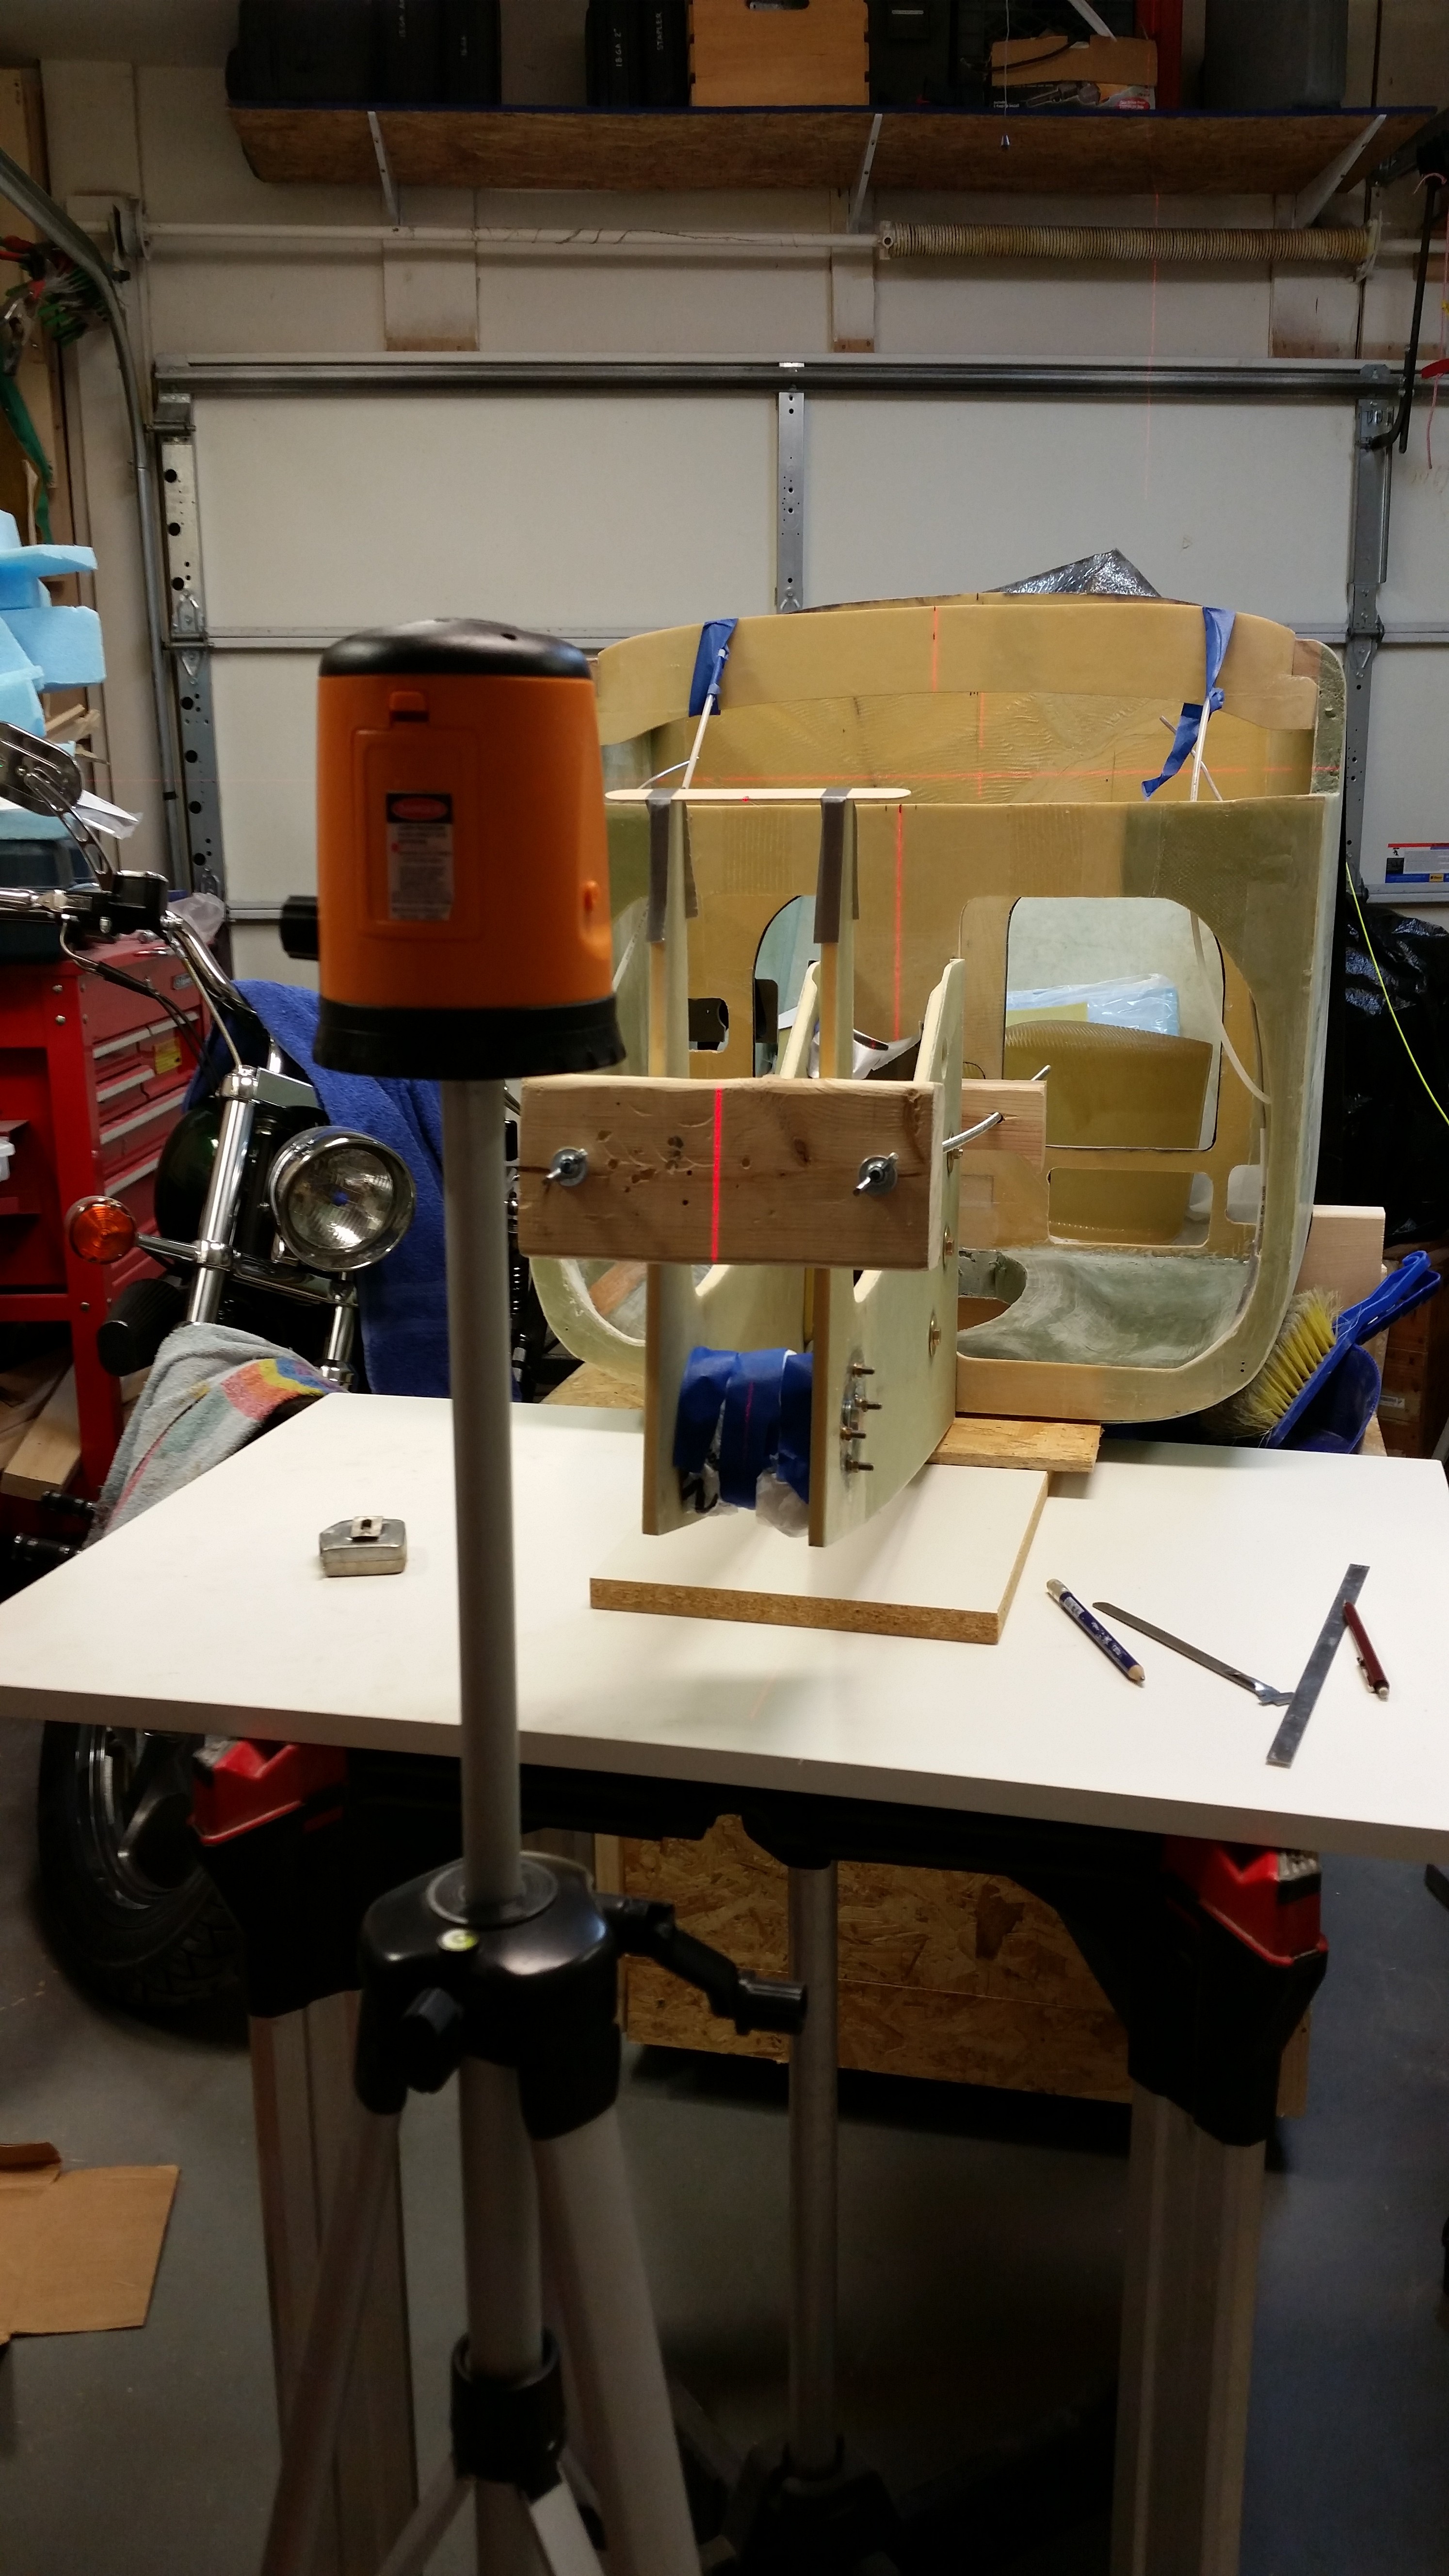
I then fired a line at the CL of the fuselage and NG30 nose gear assembly. The laser line was off a very faint tad here & there, but in the end it all lined up, nice & centered!

Tomorrow, I plan on floxing and glassing the NG30 nose gear assembly onto the front of the plane. I’ll also remount the elevators and test out their range of motion, balance, etc. Finally, if I get time, I’ll be getting back to finishing the underside of the canard.