Well, I found a couple more small delams today! This is getting to be like the instructions for SHAMPOO!! Drill holes, mix epoxy, load syringe, inject delams, cure, and repeat!
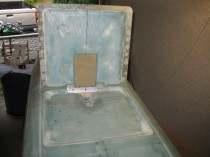
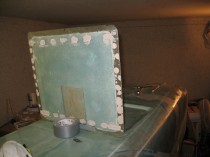
With the landing brake cured, I mocked it up on the fuselage to ensure it had held its shape. It was ever so slightly twisted with almost a .1″ gap at the aft right corner, but with very slight pressure it flattened out nicely/easily.
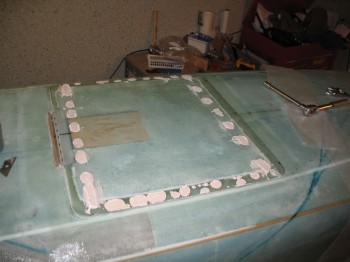 Between the buildup of finish micro around the landing brake’s edges that will create a transition to the fuselage, and the pressure from the electric actuator holding it up in place (i.e. closed), I think it should be fine. If not, I can always work with this landing brake to get it dialed in, or build another one. If I do build another one, I’ll be a little bit more careful with the application of heat!
I then marked the Right-side front console & cut it out from the 3/8″ foam sheet I laid up yesterday. After flipping the fuselage right side up, I took the Right front console out to the garage for a test fit. After a few extra cuts and and a bit of sanding, it fit really well.
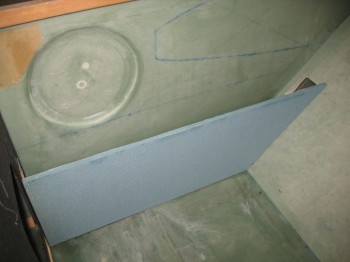
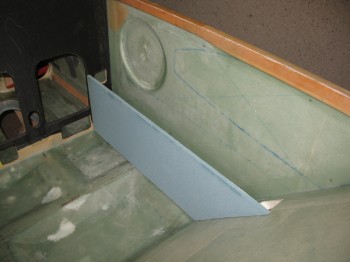
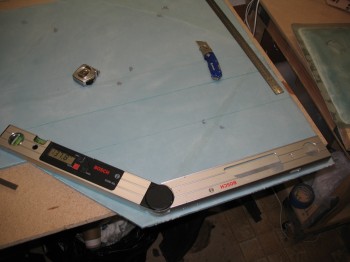
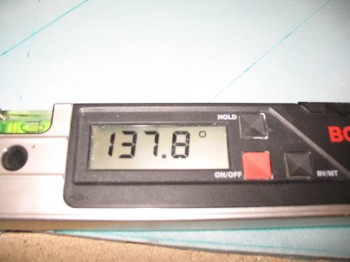
 I also drew up the Right rear console side, but before I cut anything out I played around & tested the angles a bit.
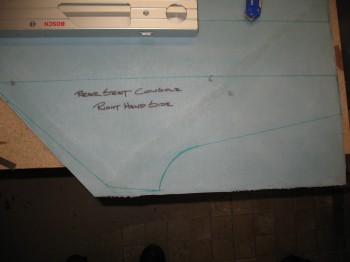
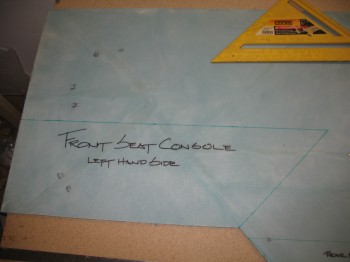
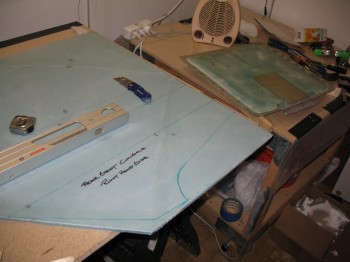 Once I marked the Right rear console side, I measured out and marked the Left front console. FYI – the Right side consoles are detailed in Chapter 16 while the Left side consoles are detailed out in Chapter 24.
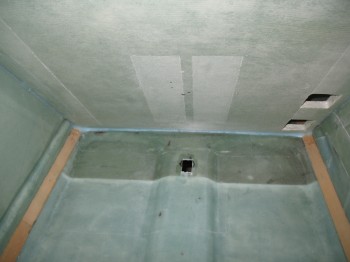
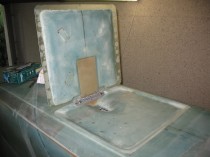
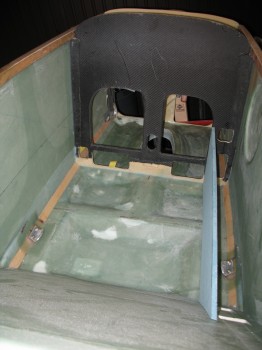
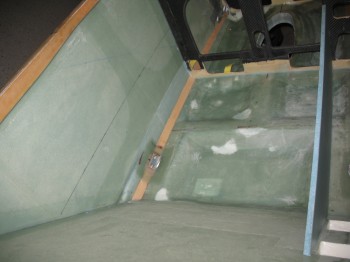
 This last view shows the landing brake actuator arm hole from the inside of the cockpit.