
It’s been a few days since I received my 3D printer, the Creality Ender 3 Pro, and instead of posting a gazillion pics of its assembly and initial 3D printed parts, I decided I would simply wrap all that up in a fairly short video:
You may have noted a distinct lack of Long-EZ build related prints in the video, since I wanted to highlight those pieces that I printed specifically for the Long-EZ build more in depth.
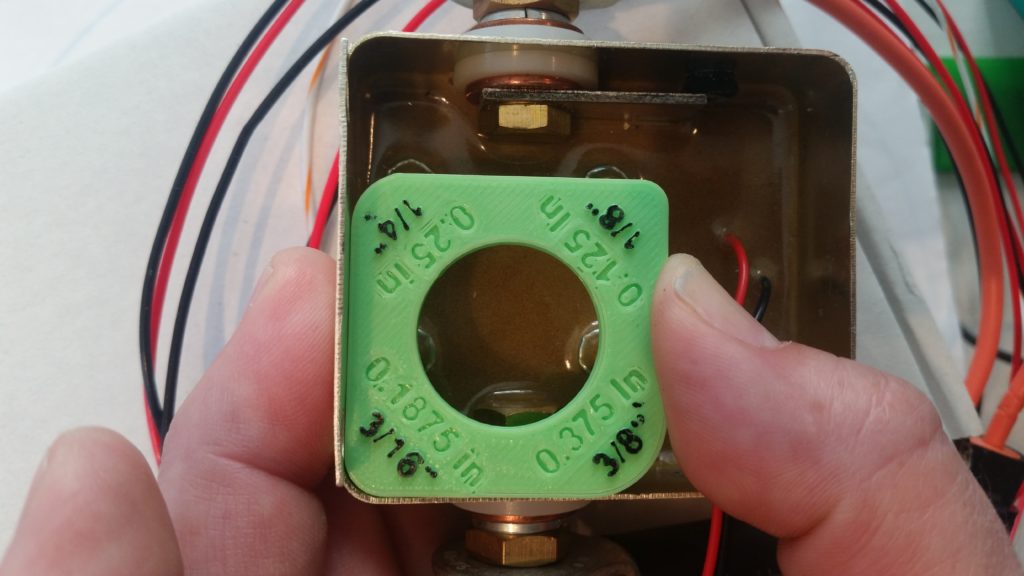
Starting off, below are the 3D Printed interior corner radius gauges that I drew up in Fusion 360 CAD.
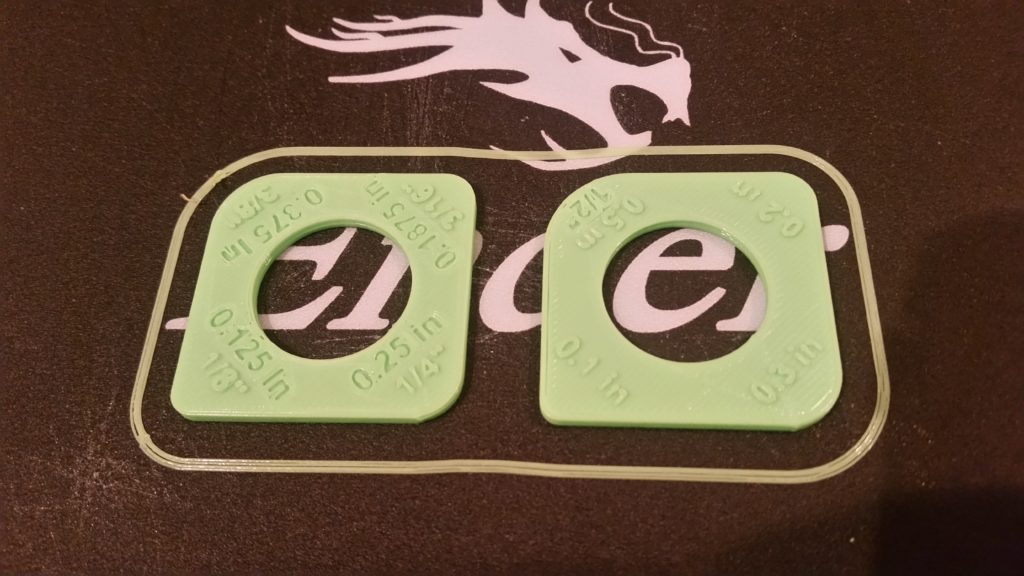
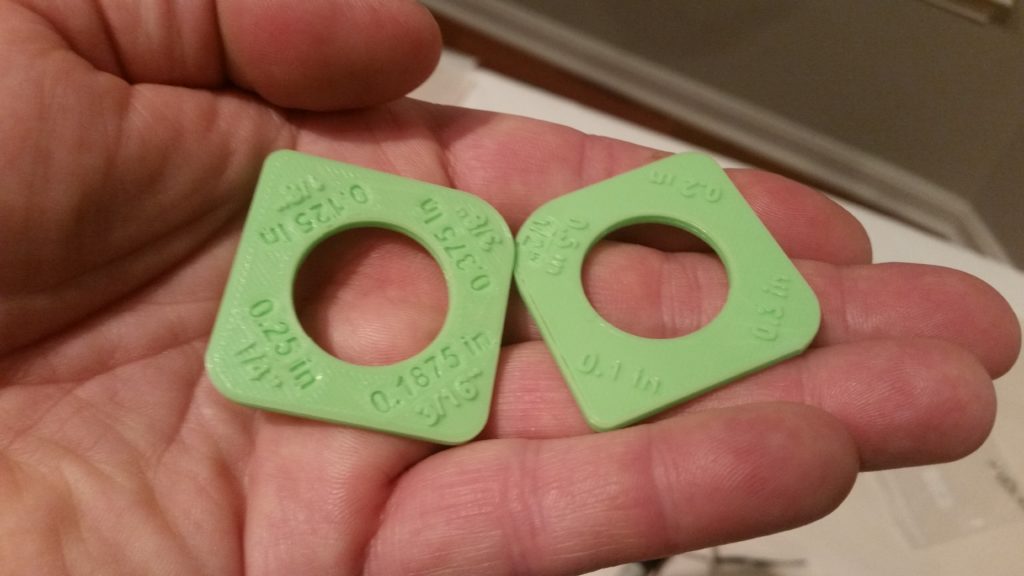
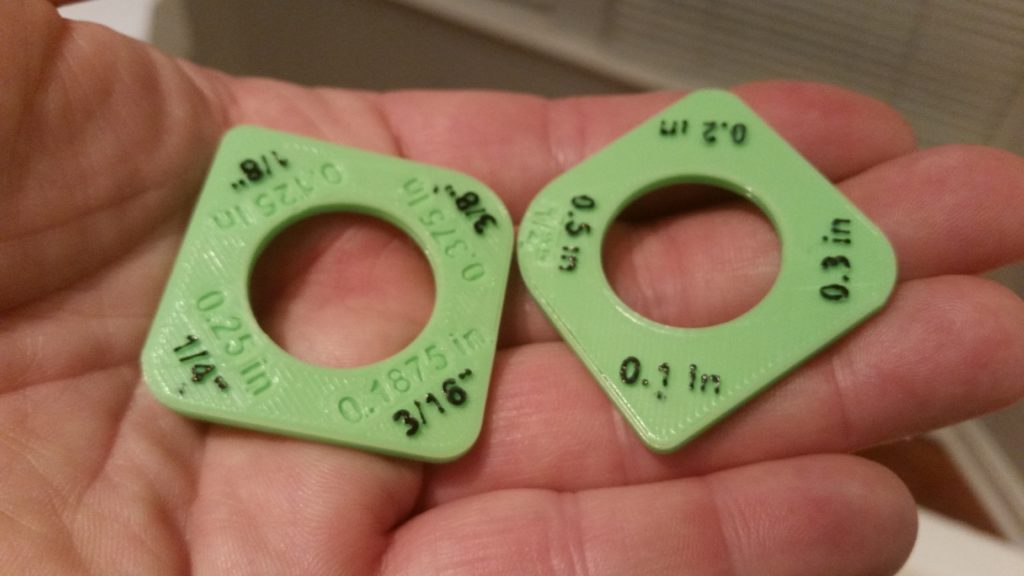
Then, to increase the radius dimensions’ visibility I highlighted them with a black Sharpie.
I then used the radius gauges to check the interior radius of the starter contactor corners. I started off with the 1/8″ side of the gauge, but as you can see it didn’t fit just right.
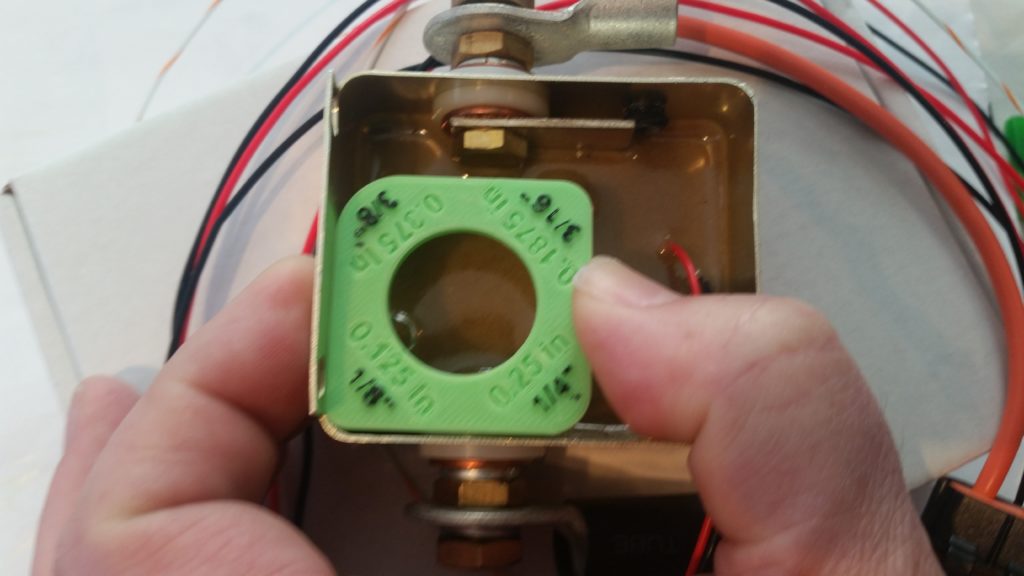
Moving along, the 3/16″ radius was pert near spot on. Interestingly, when I checked the dimensions I had used in my Fusion 360 CAD drawing, I had correctly guessed that the corner radius was 3/16″. Confirmed, and task completed!
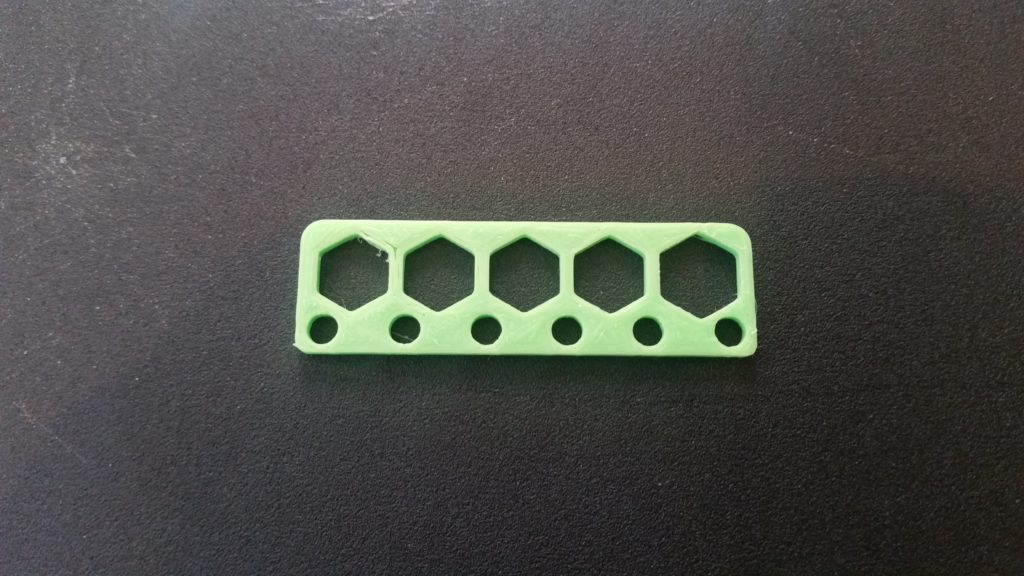
I then printed out the #6 screw and nut tolerance guide. I didn’t add labels to this printed piece because as I found out with the interior corner radius gauges above, labels add a considerable amount of time to the print.
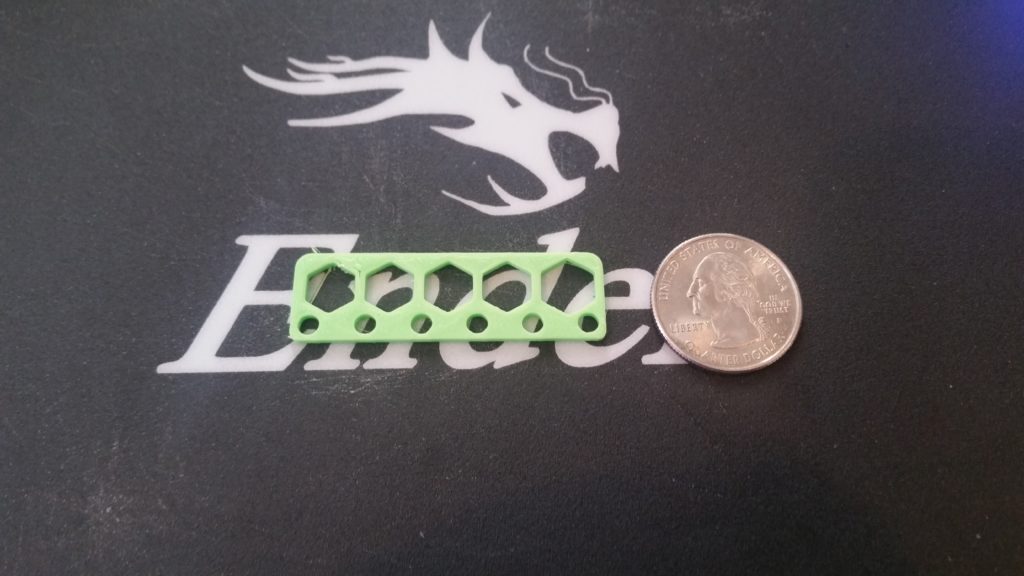
I then placed a quarter next to the gauge to add perspective to its actual size.
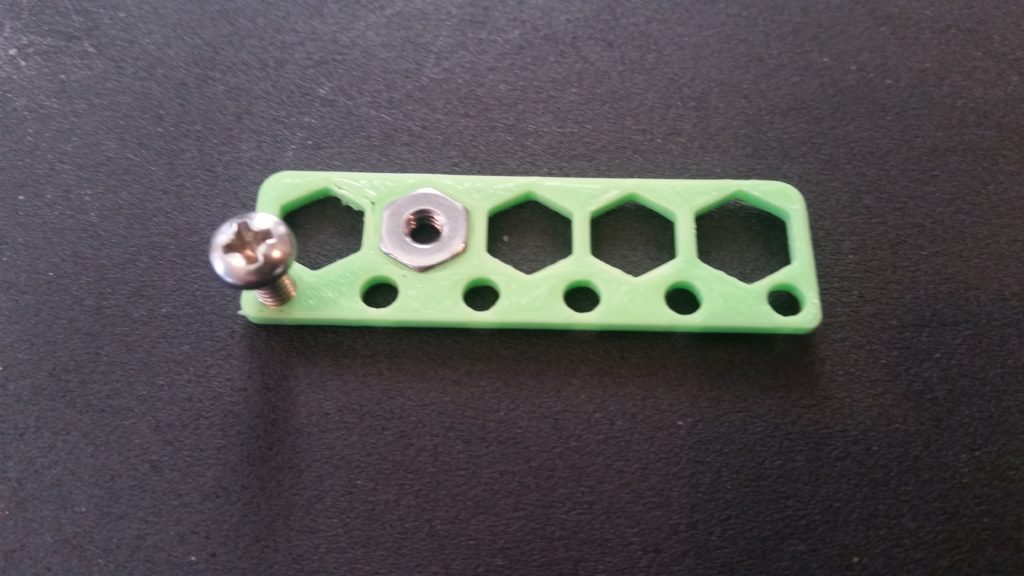
And then put the gauge to work as well to figure out the proper clearances for the starter contactor’s securing #6 screws and nuts.
As you can see, I’ve been quite busy 3D printing pieces, bits and parts for both the 3D printer itself and some aircraft related components.
In short, this 3D printer performs great and appears that it will be a huge benefit in facilitating the completion of the Long-EZ project.