
Yesterday and today I focused mainly on getting the air compressor positioned inside the air compressor closet, while also finalizing the design and configuration of the workshop’s compressed air system.
Besides figuring out where I would need the air hose couplers situated throughout the shop for decently optimized access and workability, I also had to account for ridding the air lines of excess moisture (quite common both in the south and near the coast) and ensuring it is dry for both my current tools, and any future tools I may acquire (wink, wink).
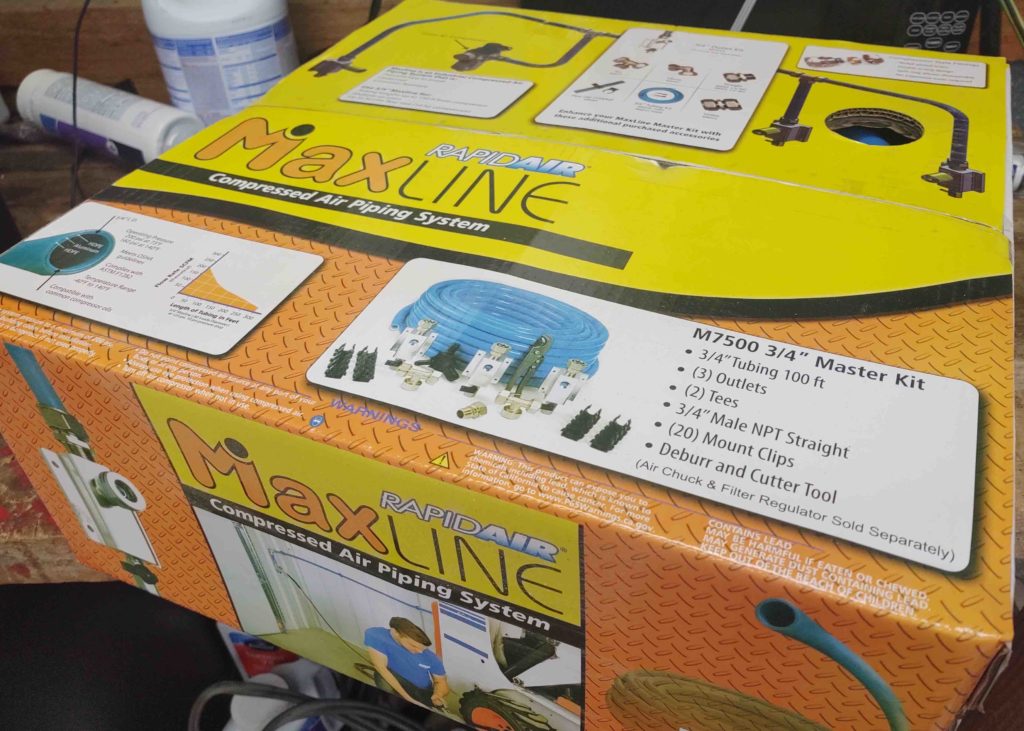
As for configuring the shop for access and connections for compressed air, I’m using RapidAir’s MaxLine air system piping kit from Northern Tools.
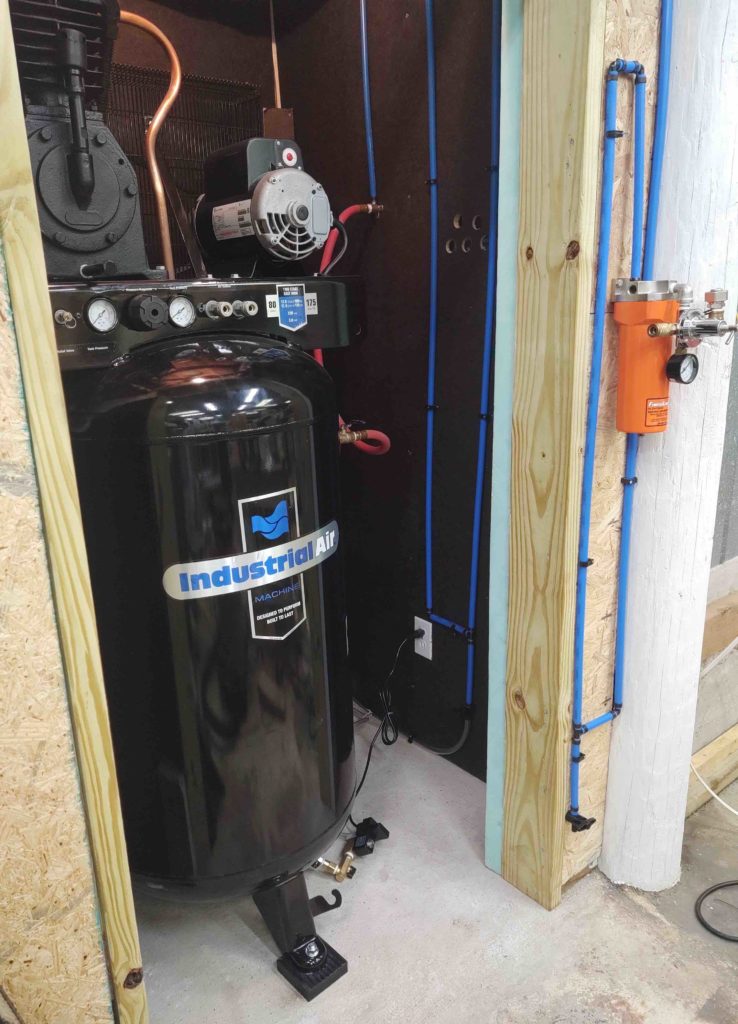
To facilitate moisture removal, I created two up/down air line water traps prior to the first point of contact for the above air line kit. The first water trap is in the compressor closet while the second one is just to the right of the compressor closet door, where it then terminates into a large filter/moisture extractor/regulator (orange thing).
Note the tubing legs extending down at the low points to collect any moisture in the lines. At the end of each line is a valve to remove any water in the lines.
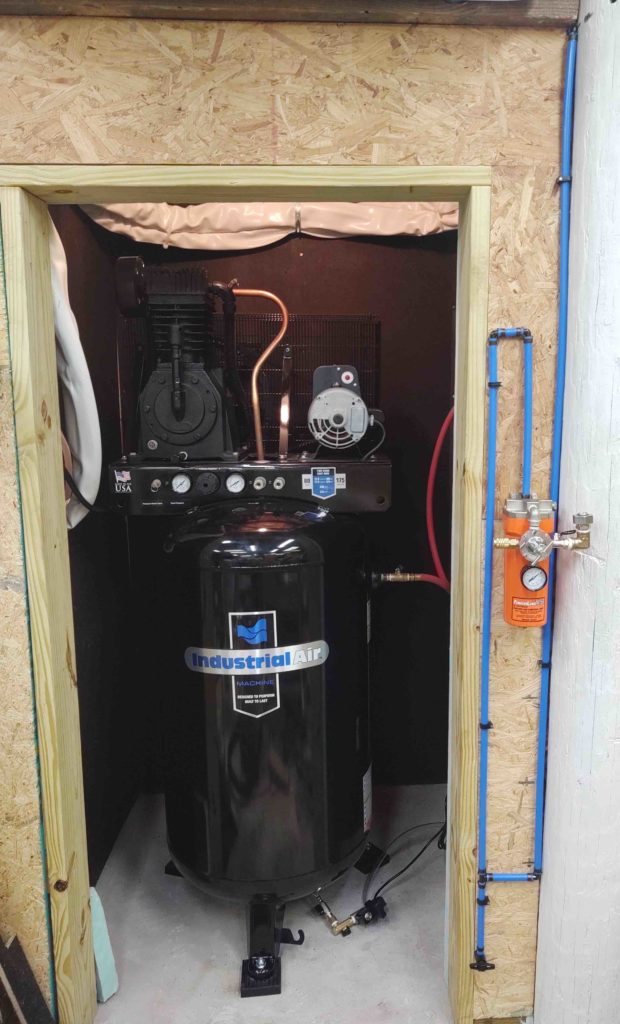
I also installed an on/off valve on the side of the compressor tank where the air exits into the shop compressed air line system.
Following the manual, I drained a bit of oil in the nearly completely full motor to the required level as denoted by the small glass bubble window on the lower front of the motor. I then fired this baby up and let ‘er run for a good half hour with the side valve open (I wired it up yesterday and very briefly turned it on just to check that the wiring was correct).
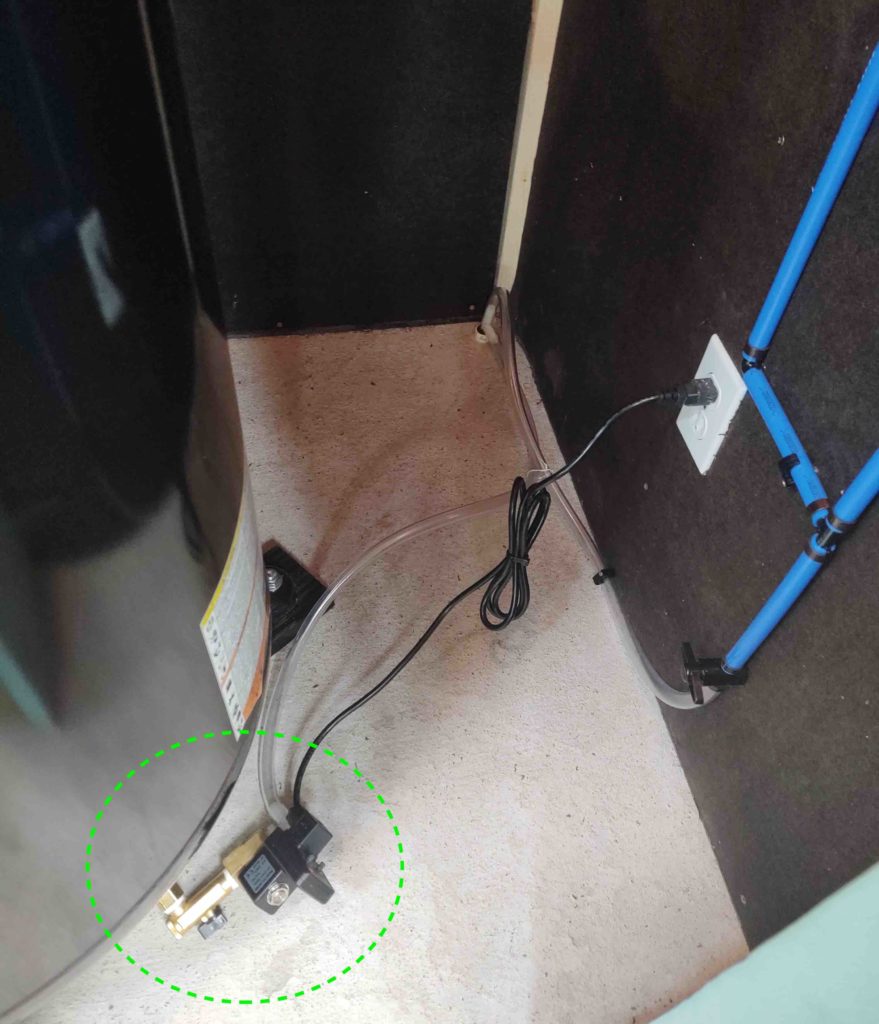
I also installed the auto-drain to remove any water in the bottom of the compressor. This should greatly help extend the life of this compressor tank since I’m not as vigilant as I should be in draining my compressors after use! I set the timer for the max time, about 45 min, and was actually pleased to hear it kick on unexpectedly as I was working elsewhere in the shop.
As you can see, I ran clear water drain lines both from the auto-drain and the interior closet water trap that tie into a plastic “T” fitting that I then placed into the drain pipe at the corner of the compressor closet.
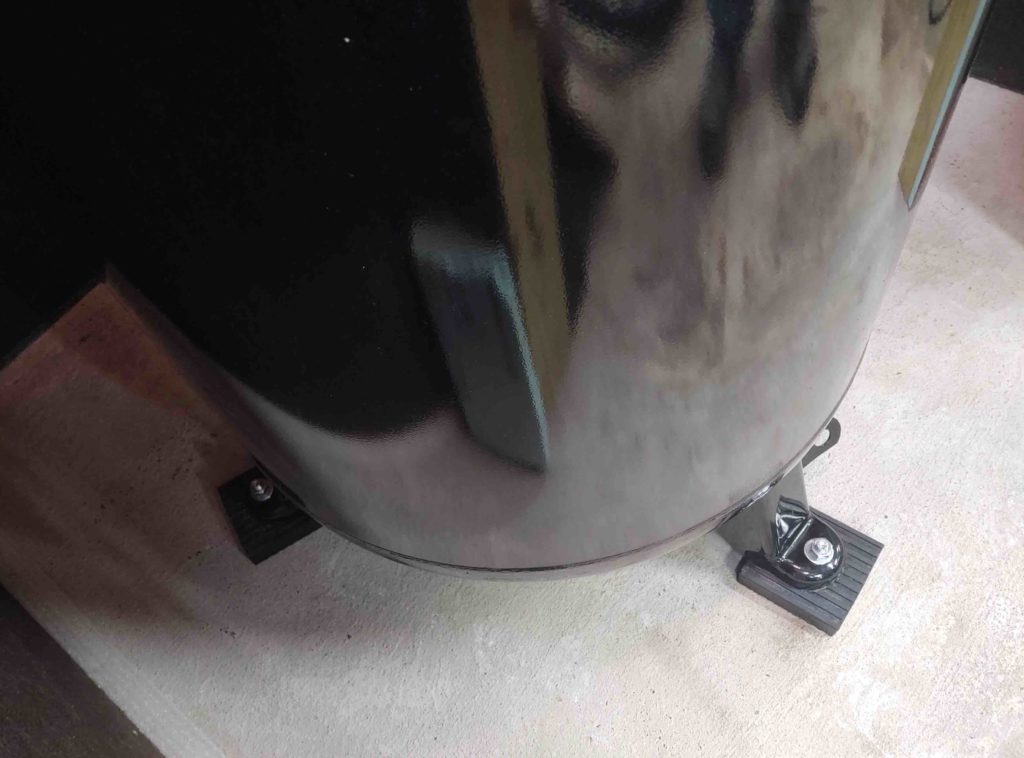
Here are two of the three compressor feet, sitting on their respective rubber vibration dampening pads and secured in place by 1/2″ bolts.
After getting the compressor bolted in place, I then turned it on to see how long it would take to go from 0 to the labeled 175 PSI. Well, it fell just a bit short of its mark by making it just above 160 PSI (fine with me) but in a very impressive time as it took only 5 minutes to fill up.
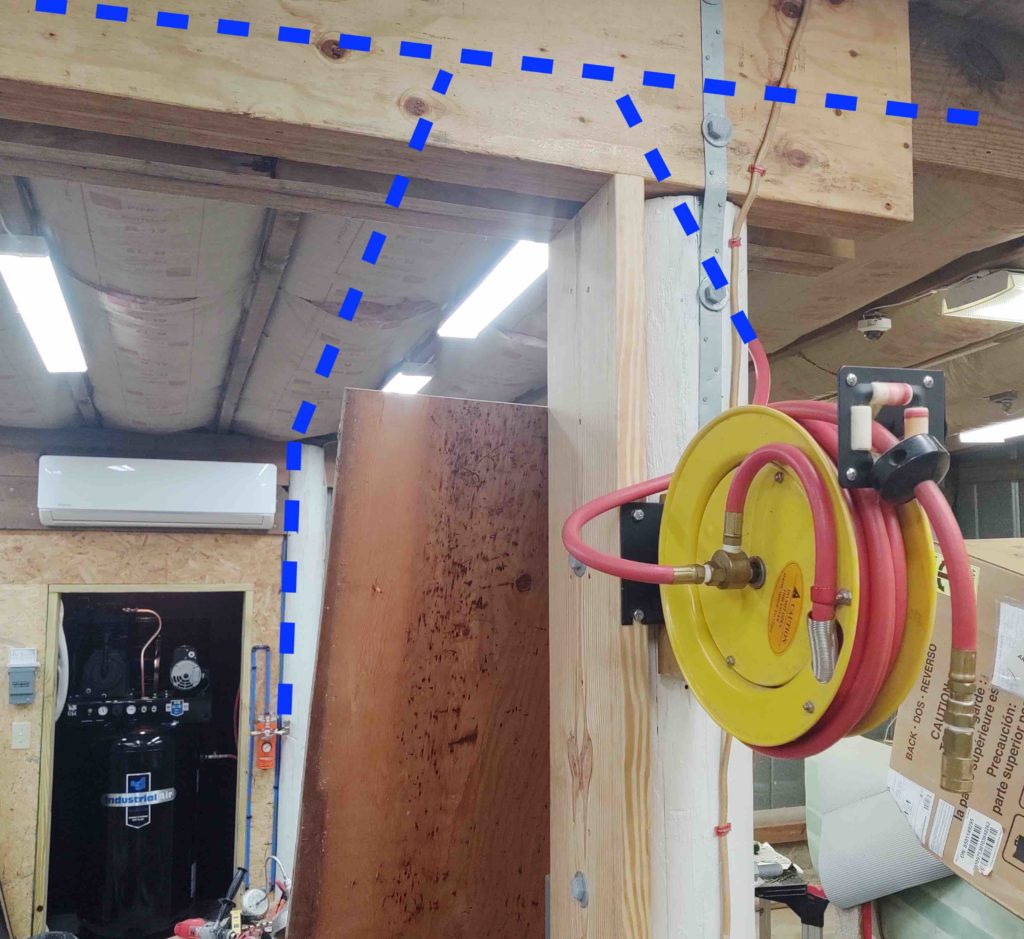
I then finished up the evening by completing one more task of installing my shop air hose reel to the center pole. In addition to the air hose coupler on the orange filter canister and the one on the end of the hose reel, I’ll have one at each end of the shop on the center poles, and one more at the front of the shop between the big bay doors.
Again, starting from the orange filter canister, the shop compressed air line system will get installed as shown by the dashed blue lines.
Tomorrow I’ll continue to knock out as much as I can on the air lines and workshop to in order to get back to work on the airplane build ASAP!