
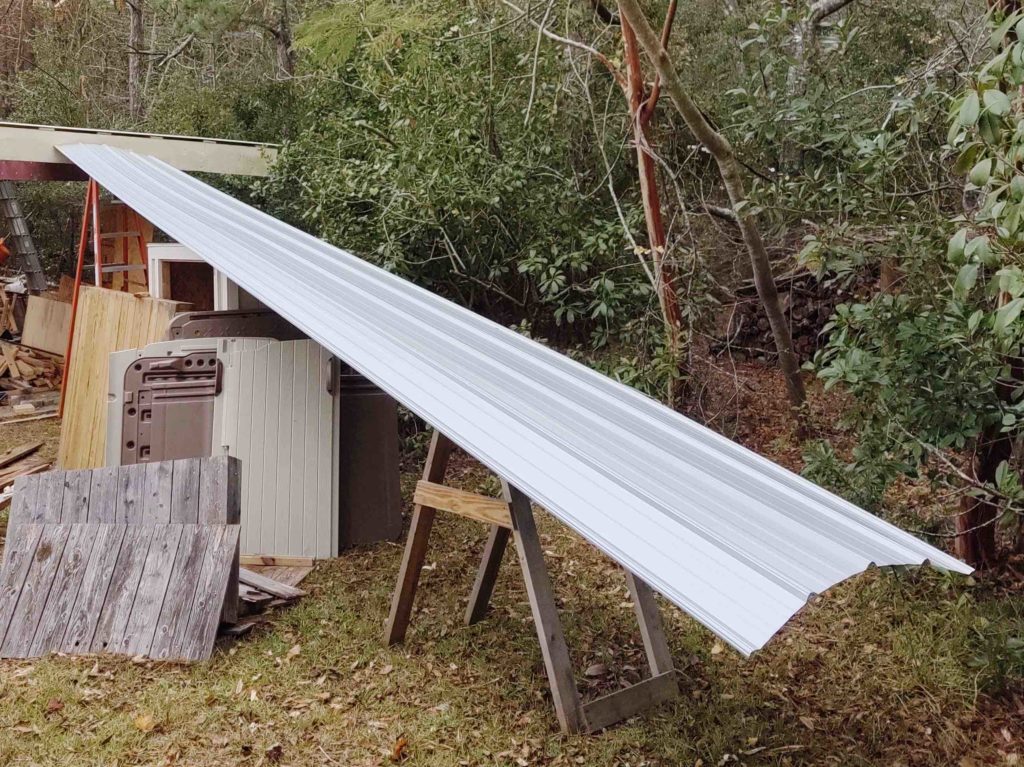
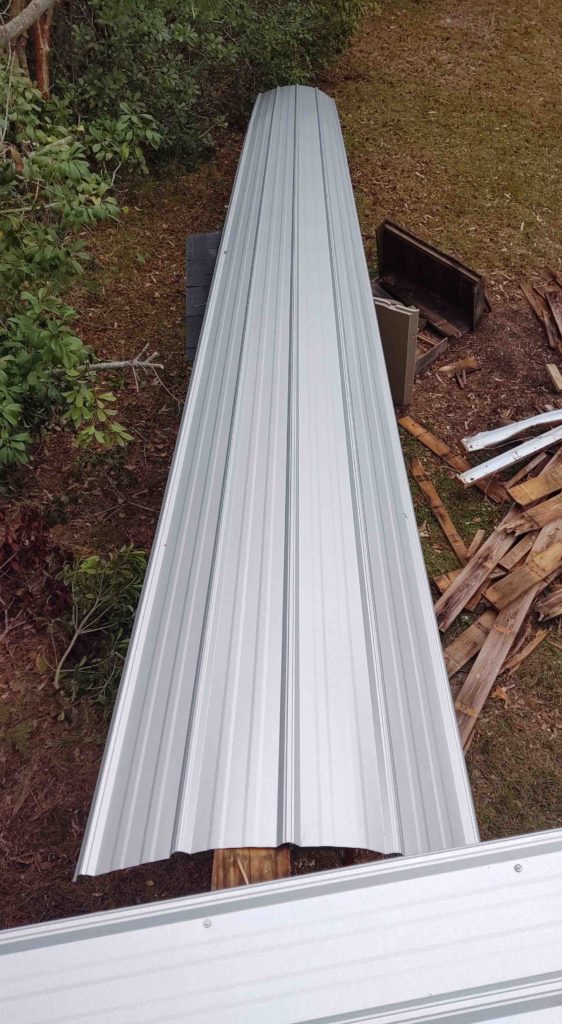
I grabbed a couple shots of my improvised ramp which is the MAGIC of my getting these 30′ long panels up onto the roof without any unwanted crimps in the panel surfaces… by myself!
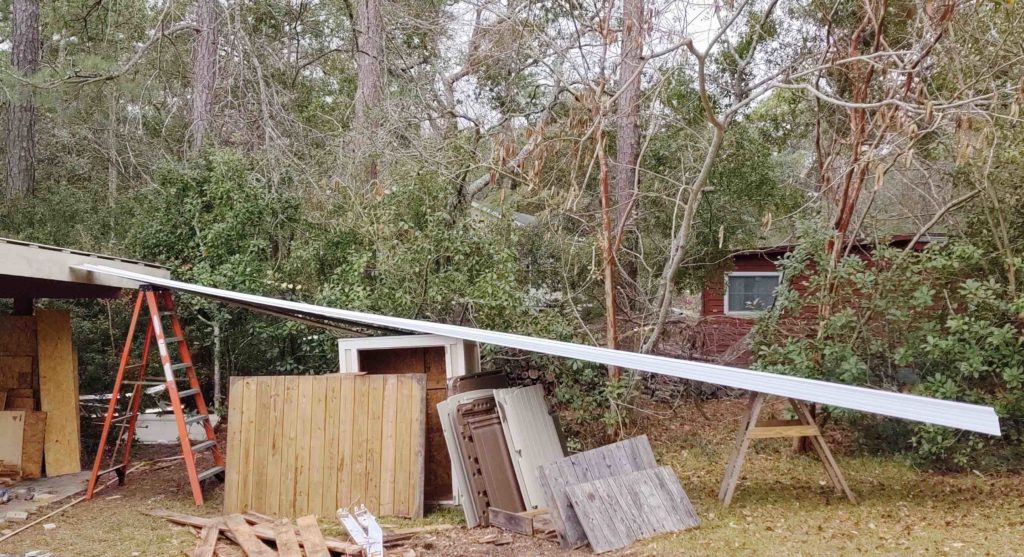
And here we have a shot from the roof, with the panel in position to come aboard! . . .
As I explained previously, since my workshop doesn’t have the requisite minimum slope of 3″ on 12″, I’m required to tape the seams with a 3/8″ double-sided butyl rubber tape (super sticky) and then screw the seams to each other.
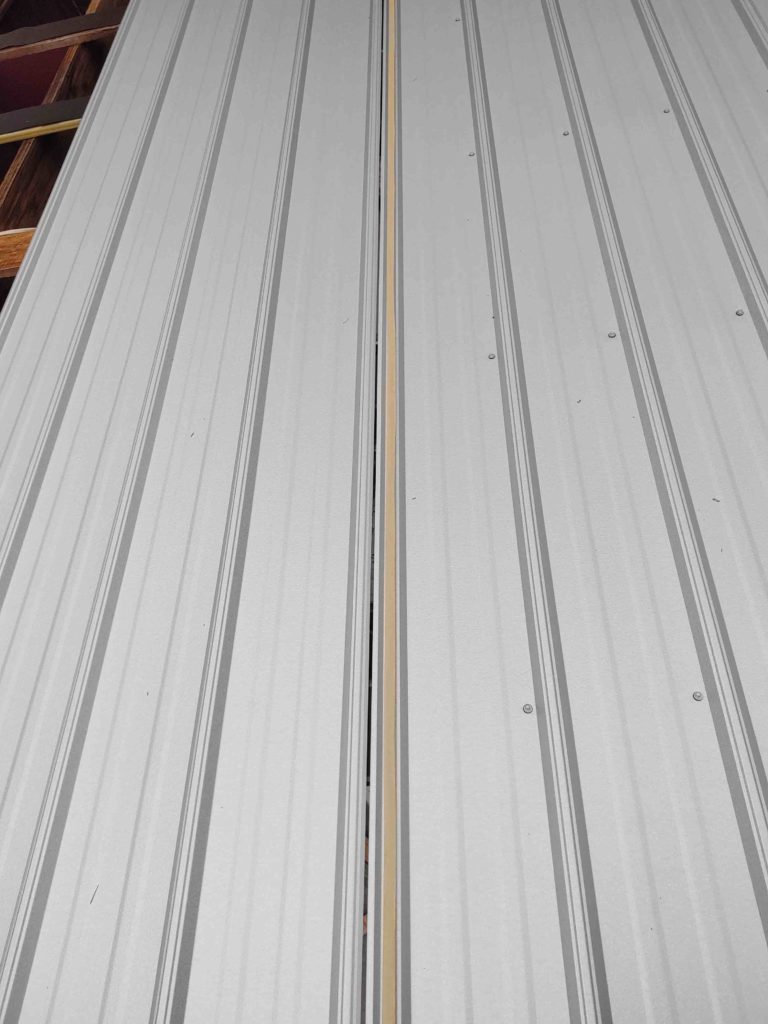
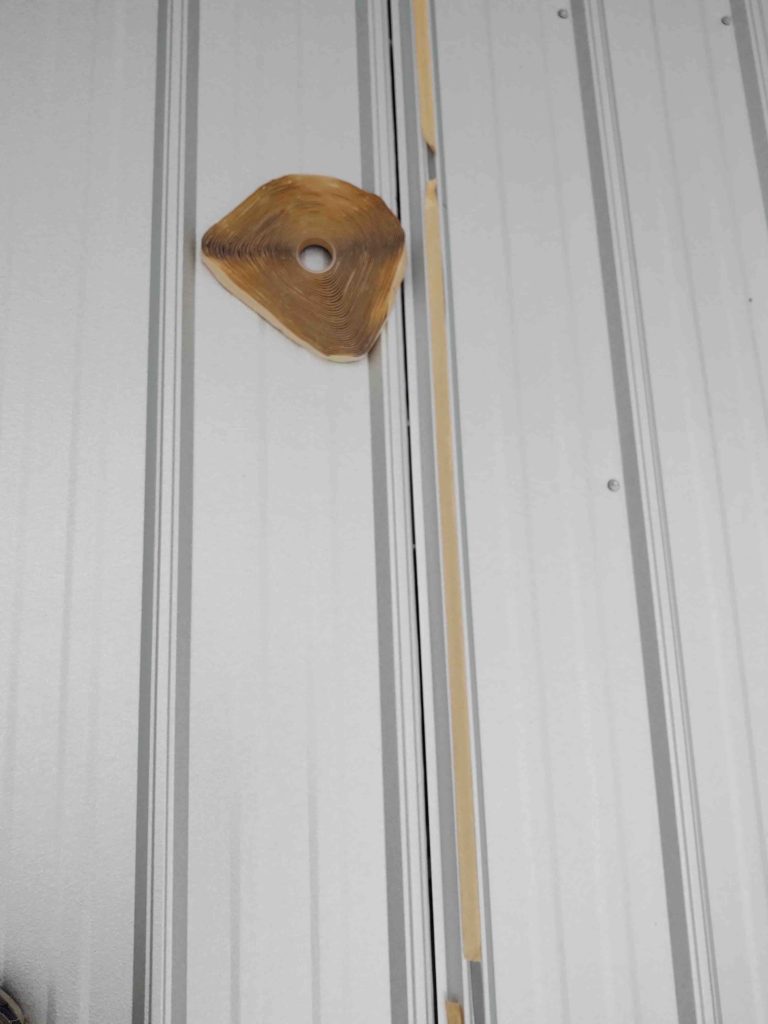
As an example, the two screws on top of the raised crown of the seam (below) are what’s used to compress the panel edges –and thus butyl rubber tape– together to provide much more watertight seams.
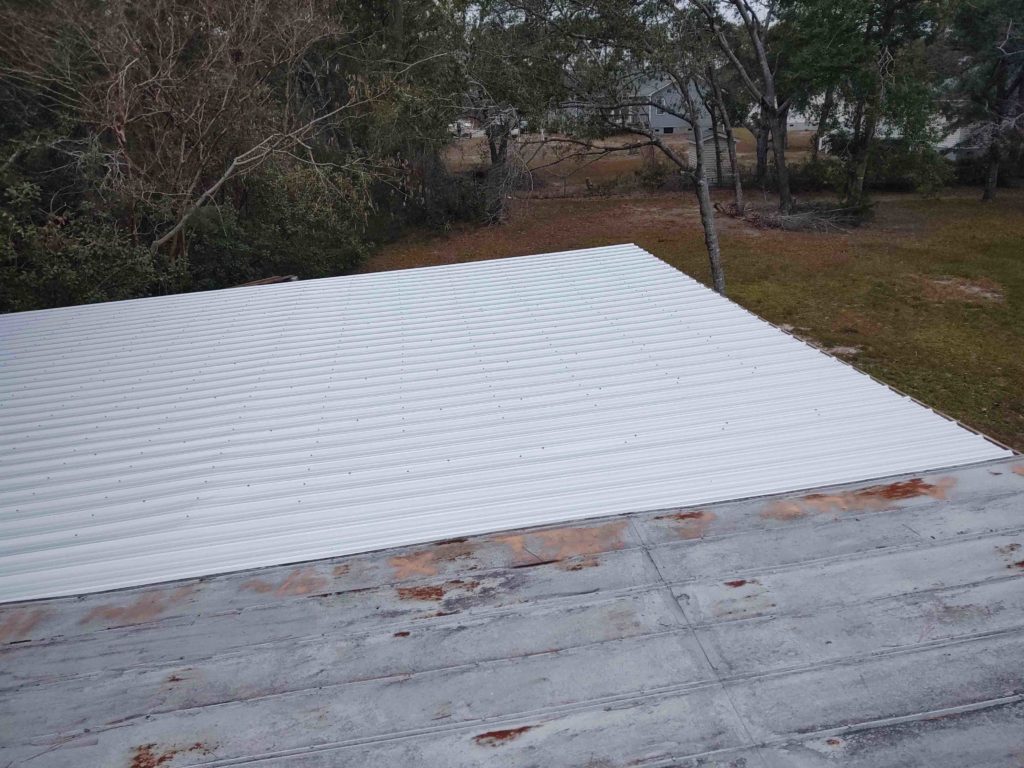
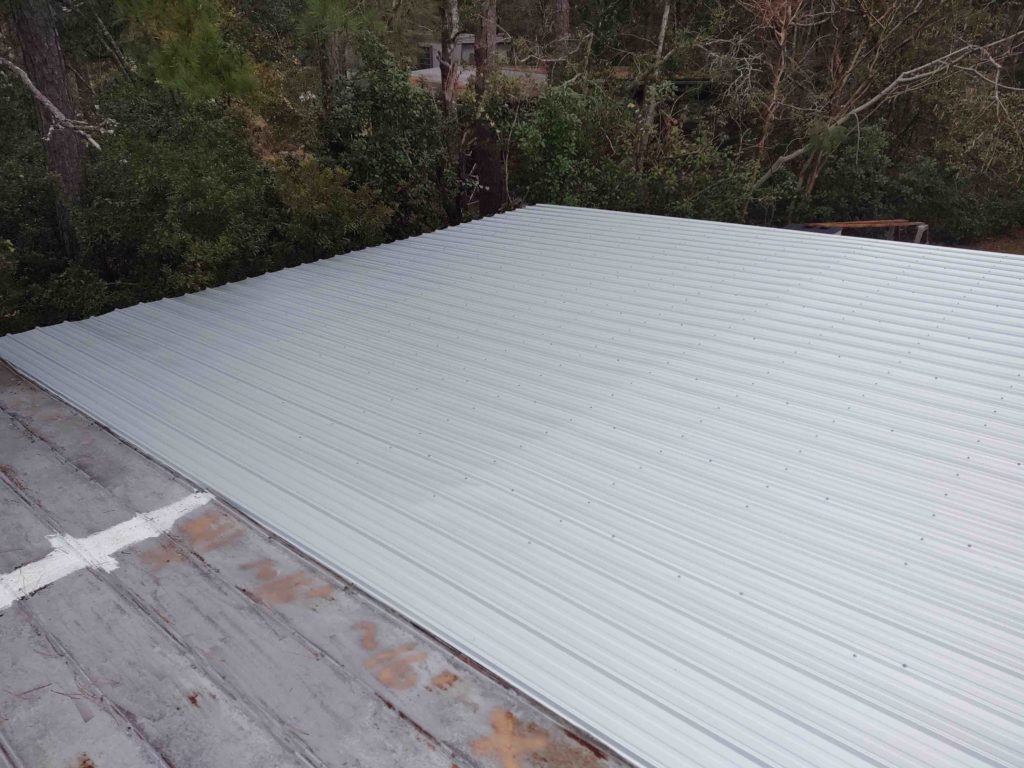
So enough with a pedantic discussion of my metal roof. The big news is that I was able to finish installing the 8 panels that make up the roof of the overhang/carport.
This puts me at over a third of the way done on reroofing the workshop. Actually a little more since I really don’t think I’ll need to replace nearly the number of purlins that I did on the exterior overhang.
Here we have the aft side of the finished carport roof. You can see in the pics how the new roof compares to the old, rusted nasty one…
Again, the weather forecast for the next week is for a lot of rain. I will try to squeeze in as much as I can on getting the rest of the roof knocked out, but the weather will certainly dictate my progress.