
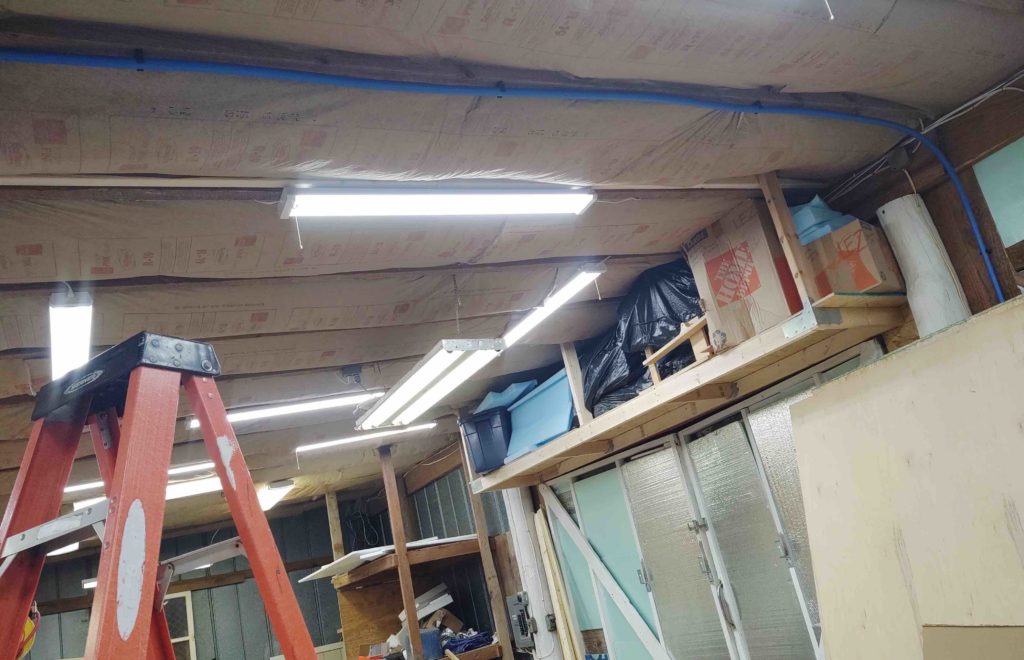
After I got the air compressor installed a couple of days ago I then started in on knocking out the installation of the workshop’s compressed air line system. I ran a line over from right next to the air compressor closet door that followed a ceiling joist over to the main beam, from which it hits an immediate “T” fitting and continues on down the length of the main beam with another “T” fitting about midpoint.
The first “T” junction on the left (upper left corner in pic below) swoops down down to feed yet another “T” junction that runs over to the right (carport) end of the shop, and also feeds the pole-mounted compressed air hose reel.
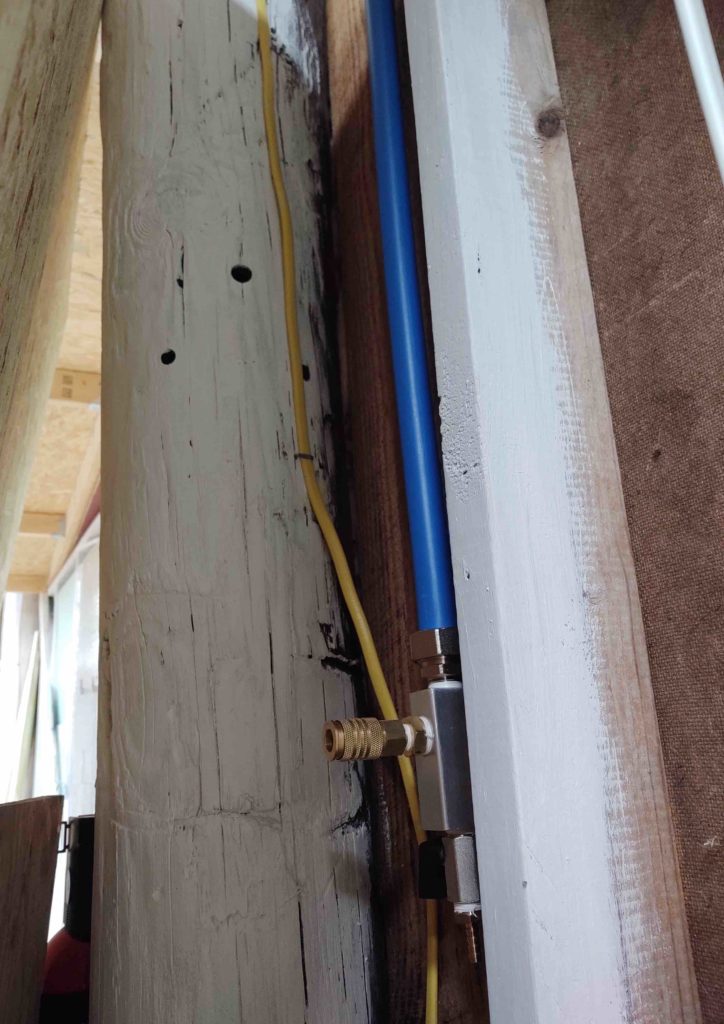
The mid-beam “T” junction carry an air line run forward to a coupler situated between the two main shop doors.

The main line then continues down to the very end of the shop to feed air to “end-of-the-line” air coupler (visible just above the plane’s nose in pic above).
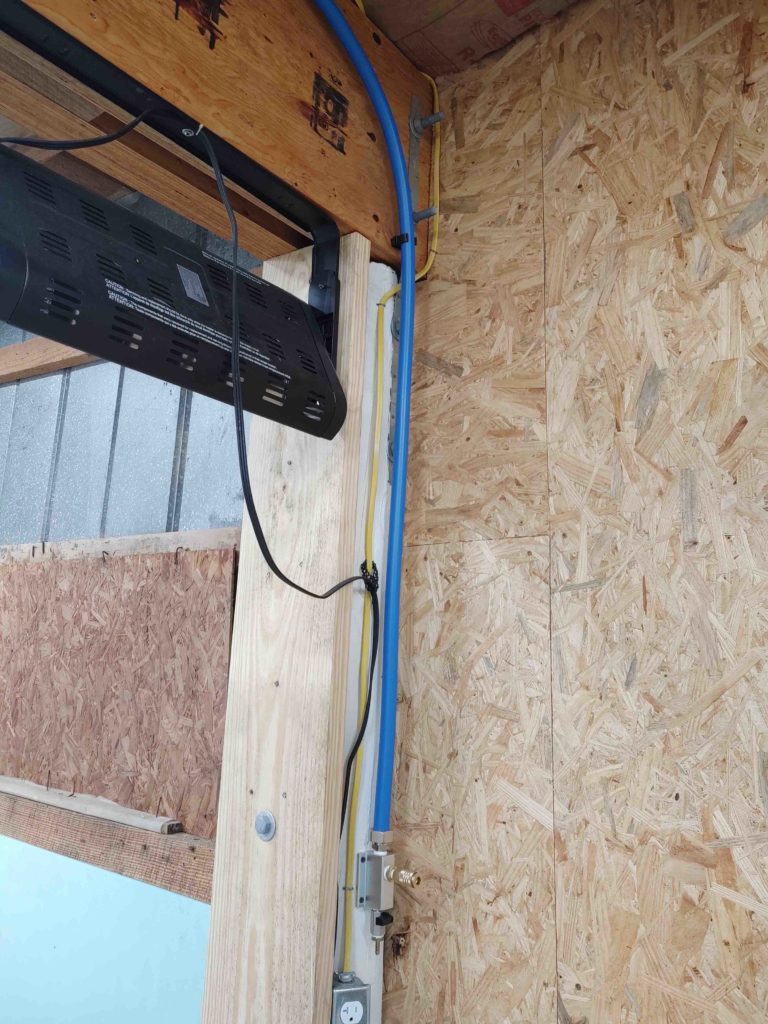
Here’s the line traveling forward from the mid-beam “T” fitting to the front wall coupler….
which we see mounted here.
From the first set of “T” junctions (upper right) we see the line coming down from the second “T” to the red air hose reel feed and then continuing over to the left to a coupler on the side wall middle pole.

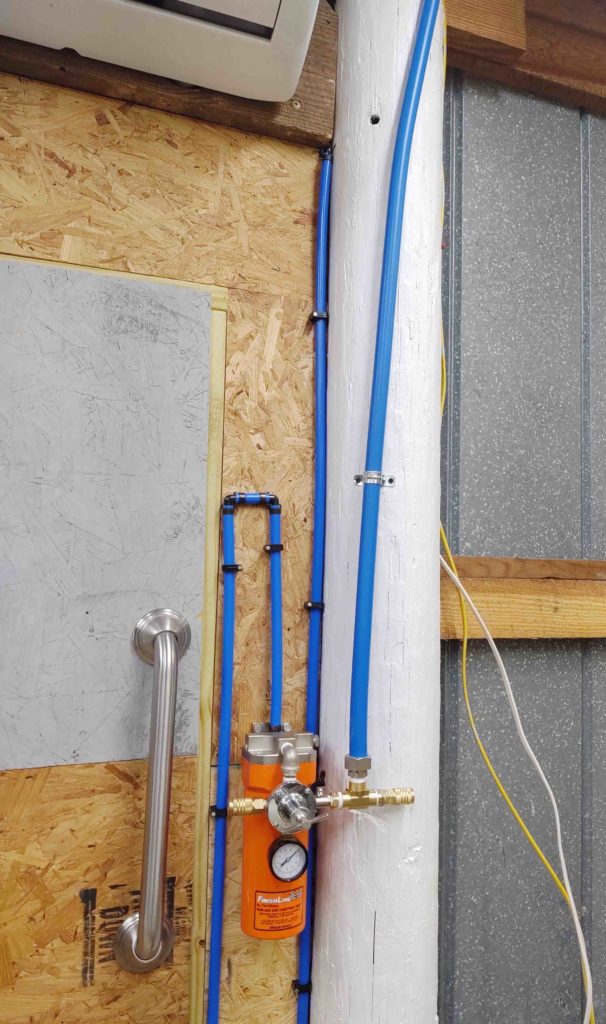
Before I could make the final connection between compressed air line system and the big orange filter I had to remedy an oversight that I had made in forgetting about a feed I’d need for the milling machine’s pneumatic tool changing drawbar.
As you can see below, I have a coupler on the left side of the big orange air filter, but that’s for miscellaneous air tools. On the right side I had previously installed the 90º elbow (which I’m holding below) for the workshop compressed air line system feed, but late last night realized I would also need a coupler hanging off the right side for a permanent line to the milling machine pneumatic drawbar. Hence, a freshly installed “T” fitting did the trick.
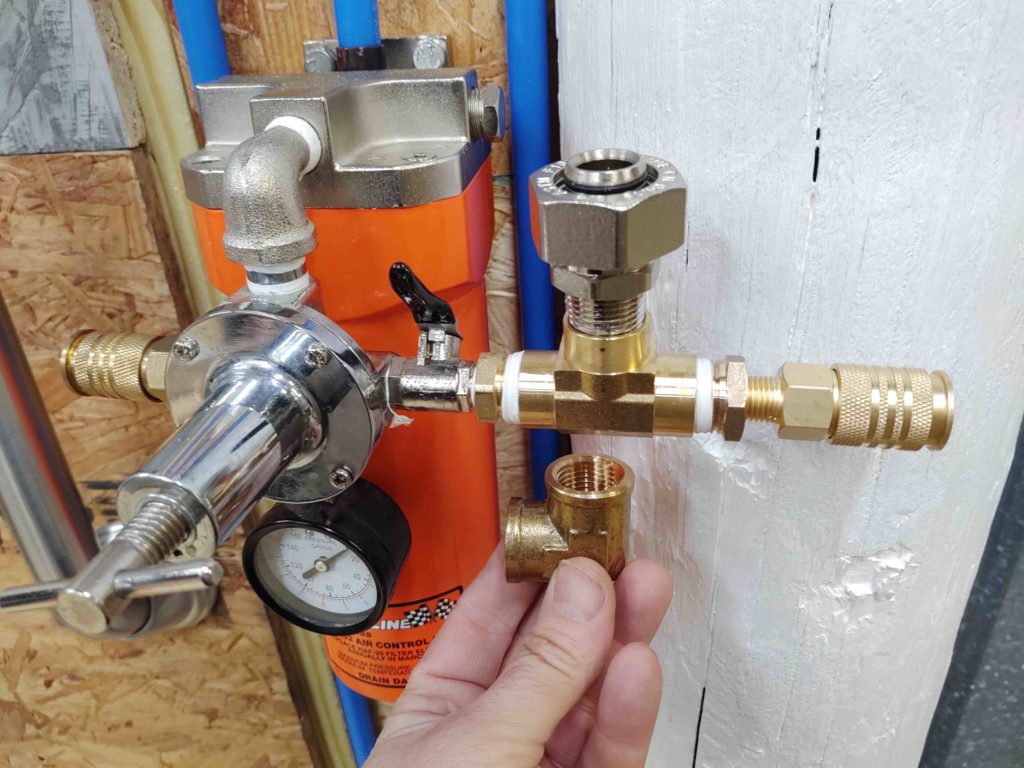
I then tied in the main shop compressed air line feed which in turn provides compressed air for the entire shop air line system.
I have one more desiccant filter to install on the center pole for an as-needed dry air feed for painting and any other future tools requiring dry air. I should have that knocked out in about an hour tomorrow.
I also have the plane’s seat cores packed back up and will be shipping those back tomorrow to Oregon Aero for modifications.
As for the workshop, you can see in many of the pics above that I have over half the walls yet to insulate and cover with OSB sheeting. I will start in on that tomorrow afternoon and hope to be finished with that in the next week or so.