
Today I pulled all the protective tape, plastic and paper off the bottom cowl to reveal the black stripes. I had some issues when I shot the sealer (which is exactly why I use it… it’s thin and highlights problem areas before final paint) which I mostly corrected before the paint coats, so I needed to be a bit more diligent in prepping the middle section for blue paint.
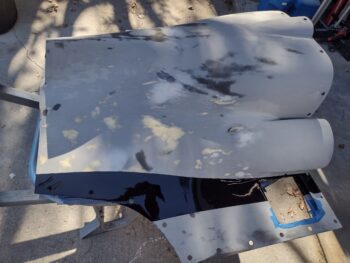

I first taped off the black stripes and outboard strips that will eventually be white.

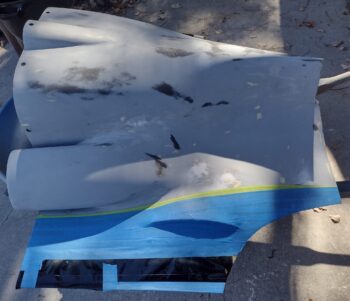
I then shot a good bit of the bottom cowling middle area spots with hi-build 2K primer. Some problem areas got 4 coats to ensure a smooth fill and transition after sanding.
Which I did next.
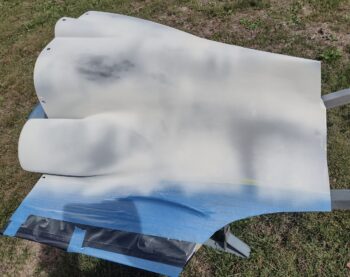
I let the 2K primer cure for its minimum 4 hours before DRY sanding it with 320 and 400 grit sandpaper. This took a good majority of the 2K primer off the bottom cowl (sorry, no pics) with a lot of bare carbon fiber and micro showing through.
After a thorough cleaning/degreasing and another 30 minute minimum dry time for that, I shot a good coat of sealer on it to not only seal the unprimered spots, but also to check for any irregularities that would need to be attended to… thankfully there were none.
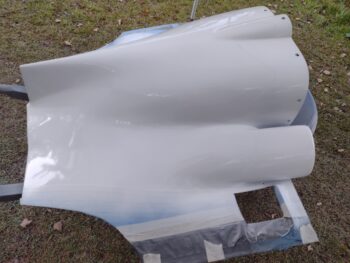

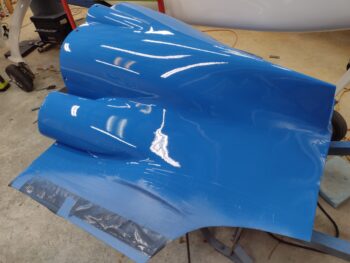
I then shot the middle area of the bottom cowling with the blue.
I’ll note that getting into the slotted gaps both inboard and above the air intakes, as well as inside them —with the air pressure and fluid volume turned way down and the spray patterned narrowed— still resulted in a bit too much paint… which interestingly caused a run on the AFT outside of the left air intake. No biggie as most ALL the painted bits on this bird will get buffed out.
Other than that run, and mixing up a bit too much of this expensive paint in fears of running out mid-job, it turned out nicely.
More to follow… hoo-ah!