
To get the canopy settled and fit into its “no-kidding” final position in its relationship to the longerons, turtledeck and frontside glare shield, I felt I needed to do the final finish on the glare shield… which long ago I had settled on duller sheen carbon fiber (because, well, it IS a glare shield after all).
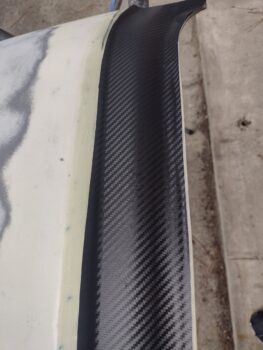
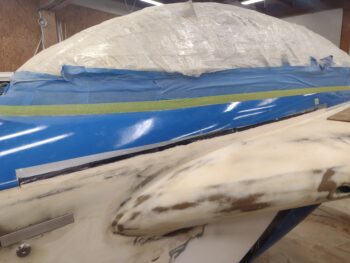
I have a roll of carbon fiber vinyl that after sanding and cleaning up the glare shield, I attempted first, in essence, to “wrap” the glare shield with this stuff.
It looks great, and I love the pattern as you can see here.
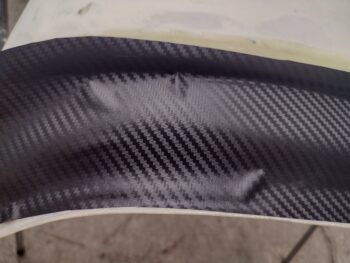
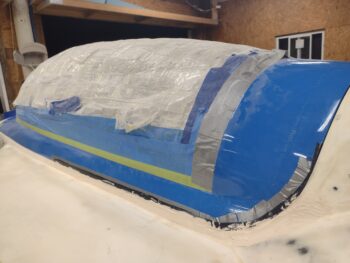
The issues appeared as I got to each outboard side where uncompliant bubbles showed up. I’m sure there’s probably some expert way to vinyl wrap this thing, and I could have watched a video or two on YouTube and maybe figured it out.
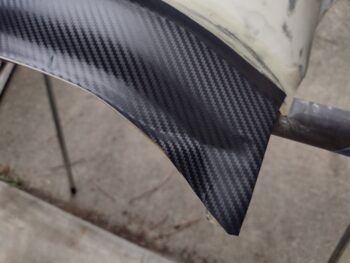
But instead, I simply punted on the vinyl idea and went “old skool” by laying up a ply of carbon fiber and then peel plying it. Done.

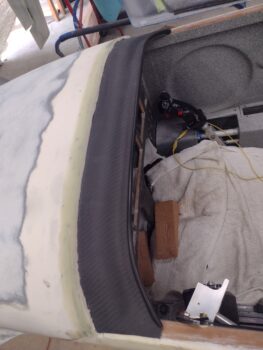
Here it is a bit later. And since I got really good coverage on the peel ply (no bubbles or missed spots) I am going to simply leave it as is, since it is dull and will keep any sun glare in check. Plus, if you look closely the weave mimics the approximately 45° angle as the vinyl (I cut the carbon fiber first before telling myself I should give the vinyl a crack at the glare shield).
While the peel plied carbon fiber glare shield layup cured, I took the opportunity to shoot some matte clear coat on the strip of rock granite paint on the very aft underside edge of the glare shield.
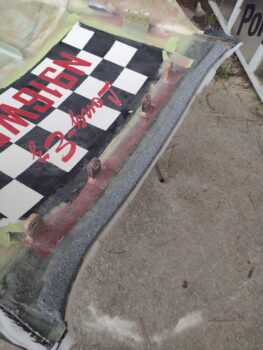
Which you can see here after I reinstalled the aft nose/avionics cover.
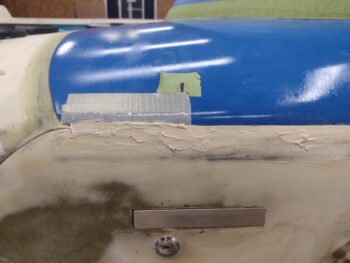
I guess I didn’t grab a shot of me again laying up a narrow strip of BID over the shaped foam along the longeron. This was of course after I dialed in the closed position and fit of the canopy in regard to the foam.
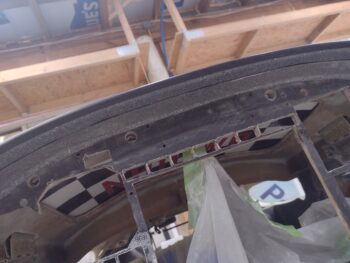
Here I’m applying micro along the longeron —with canopy frame bottom edge taped— to both fill the gap between longeron and canopy frame AND get the longeron aligned vertically so it’s level with the canopy frame. This is the first round of micro . . .
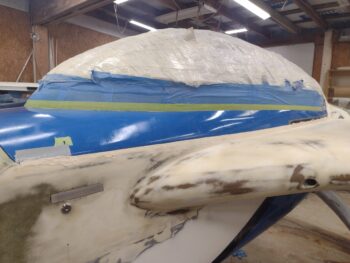
After the first round of micro cured, I popped the canopy open and pulled the tape and then taped the remaining canopy bottom edge to then apply micro along those seams. I say those because I added micro on the aft end . . .
And at the very front end of the canopy frame-longeron seam.
Here’s a wide angle shot of the phase II micro ops to get the final canopy frame to longeron gap and seam dialed in (yes, this too I did many, many months ago but apparently it needed another round of tweaking).
And with that, I called it a night.