
Chapter 21 – Strake Build
Since my original Chapter 21 page covers the ancillary fuel-related components (fuel tank select valve, fuel lines, fuel pump, etc.) I created this page to cover the actual strake build.
11 January 2014 — Well, as I was trying to nail down some particulars & plan out how I was going to build my strakes, I went to Nate Mullins’ wonderful Long-EZ build site. Now, before I get too far into this, you have to know that my catch snarky phrase of late–well, over the last couple of weeks–has simply been: “Sometimes it’s better to be lucky than good.” Ok, I was going through Nate’s strake-building adventures chronicled on his MyKitLog build site, when ironically, or maybe I should say coincidentally . . . oh, what the hey, we’ll call it serendipitously, I ran across the part where he stated that when he acquired his Long-EZ project, that it came with both the Aerocad/Aerocanard strake kit, and the Featherlite Strake Leading Edge Kit. Thus, he had to make a choice between the kits when he built his strakes, so he went with the Aerocad kit.
Now, I have bugged Mike & Larry at Feather Lite every few months, since I started building my Long-EZ in April 2011, to see if they had started making the Foam Strake Leading Edge Kits. I’ve talked to a fair number of builders, the Old Guard, etc. to know that the strake’s leading edge can really detract from a canard/ez’s look if not done well. I really liked the idea of capping the entire leading edge vs. building the plans method, joining the strake tops & bottoms to LE as far back & away from the leading edge as practical (in the straight, not curved, area), and having a wet leading to add to the fuel amount in the strake. Unfortunately, in late 2012 Mike & Larry had had enough. Apparently they felt I was by then a mature enough builder that they could break the bad news to me: they had no plans of ever making the strake leading edges again (they can’t because the foam manufacturer changed the actual chemical properties of the foam… and now it can’t contour properly to the forms).
So, when I read Nate’s strake building account, I asked myself in disbelief, “Could it be?!” Well, a quick email to Nate asking if he still had the Featherlite Strake Leading Edges and would he be willing to sell them to me, fortunately came back with a resounding yes! Eureka! (Well, actually Featherlite! But hey, they’re all good guys!)
A little bit of coordination later, and a ensuing rendezvous between Nate and my ‘ol northern Virginia neighbor Richard (who now lives in Kentucky an hour or so from Nate in Tennessee) and I was the new proud owner of a “new” set of Featherlite Strake leading edges. I would say I’m the happiest guy in the world, but I think that would actually be Larry Lombard from Featherlite ‘cuz that crazy yahoo will stop calling & bugging him about those damn strake leading edges. In addition, I’ve been able to banter about a bunch of different build ideas with my new Long-EZ buildin’ buddy Nate!
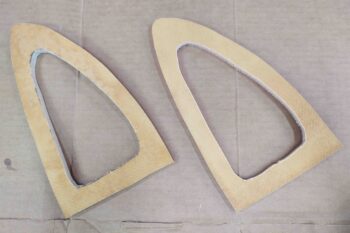
And here they are:
Since Richard still visits the northern Virginia area often, he’ll be bringing up the kit in May. BTW, I was teasing Richard that there must be some cosmic connection between him and Featherlite, because he was the one who drove me to the cargo terminal in his truck to pick up my crates of Featherlite foam cores to ship them off to Germany.
•••
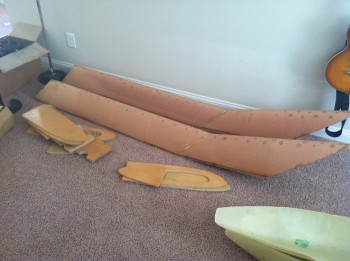
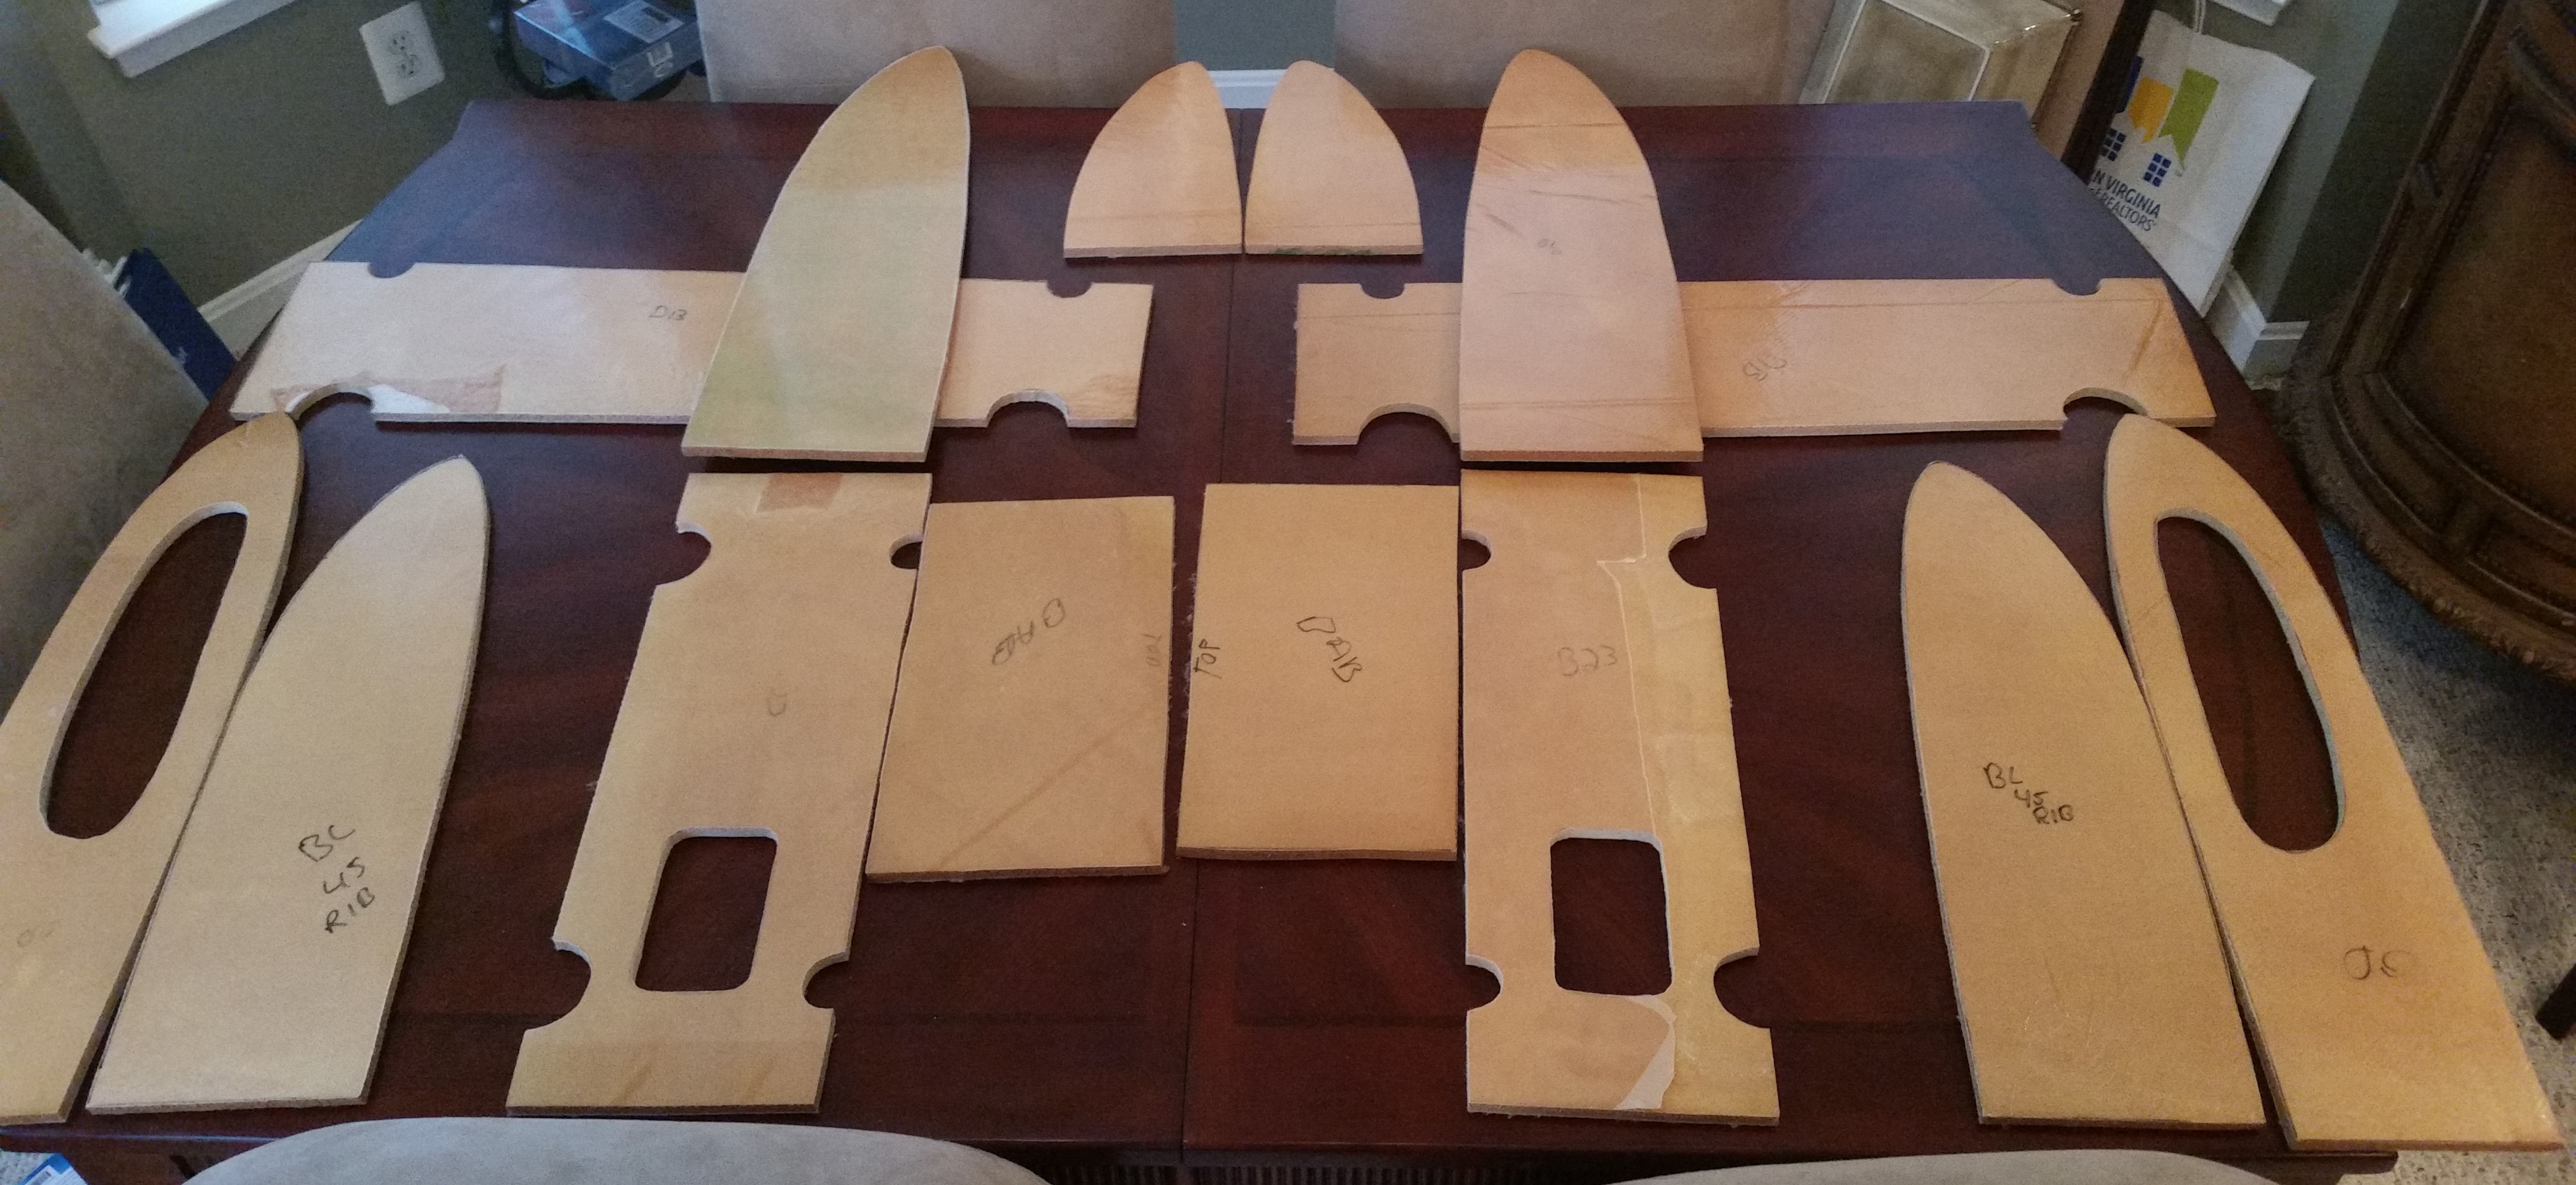
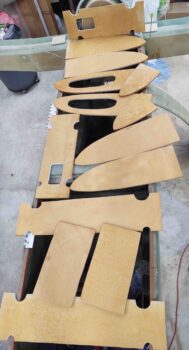
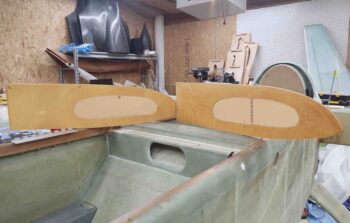
30 September 2015 — After getting settled back in from being at Rough River this past weekend, I set about to do a proper inventory of all the strake ribs and fuel tank baffles from the Feather Light Strake Leading Edge Kit that I bought off Nate Mullins back in late 2013 and finally just picked up.
Here’s a shot of them below back AT MY HOUSE! The pieces all have a shiny covering on them which is just an extra layer over the peel ply. All the parts will need a final trim before final installation, but having these parts pre-glassed and pre-cut should save me days on the strake build.
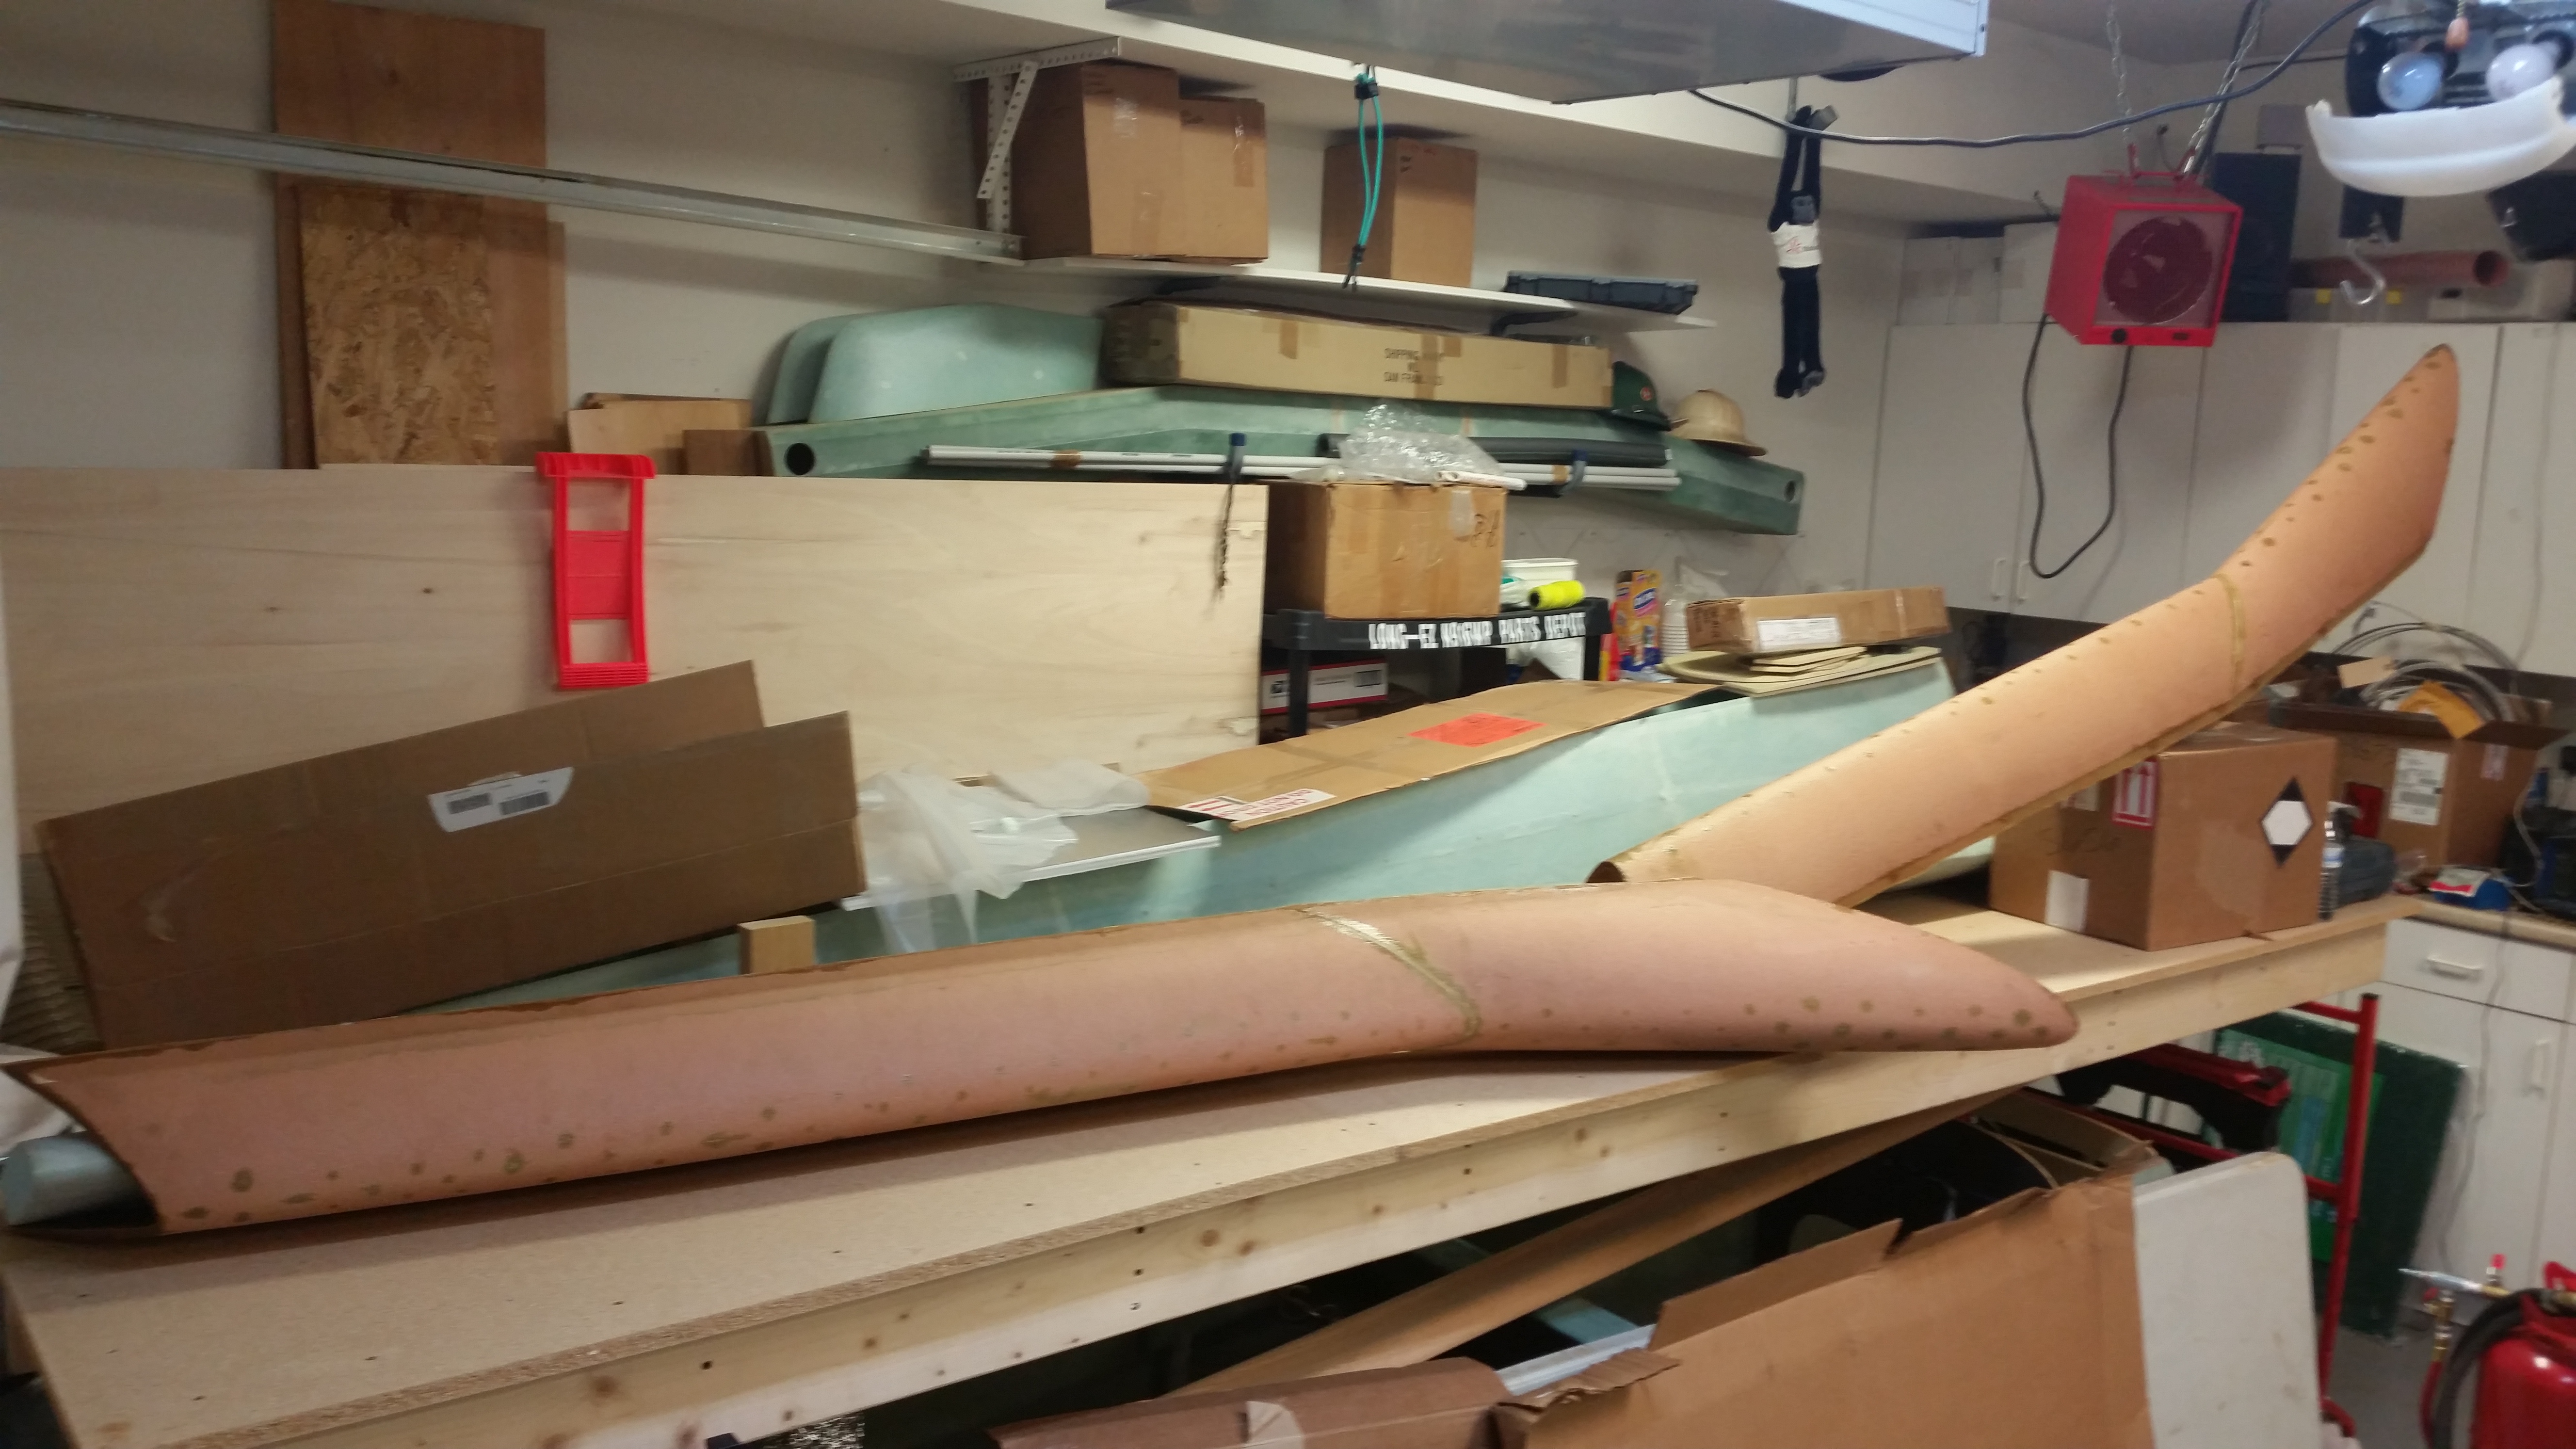
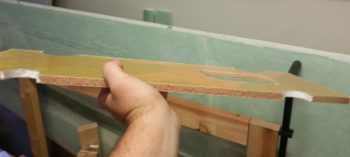
I cleaned up the inside glass of the leading edge pieces, and then set up for a pic before the were once again stored away.
•••
15 July 2018 — Today I took some leftover micro and knocked out another strake rib by filing in the mouse holes with the micro … almost! I then realized I forgot the cutout in the middle part of the rib! That will need micro on the last 2 recent ribs that I’ve just done.
•••
10 November 2020 — Today I removed the canopy and roll bar in prep for the upcoming strake build.
I then spent a couple of hours pulling peel ply and cleaning up the prefab Feather Light strake ribs and baffles that comes in their strake leading edge kit. I would say on about 25% of the surfaces they had overlapping peel ply which made it kind of a pain to remove… and took a bit longer. I would have saved 45 minutes if I didn’t have to deal with the multiple peel ply layered seams.
[Note: I also worked on the wing bolt mod, covered on its own page].
Still, I can’t complain that after less than 2 hours of peel ply removal I’m about 80-90% ready to start assembling/building my strakes.
I say 80-90% because some of the edges need to be cleaned up and better aligned with the original plans measurements and shapes… nothing overly extensive though.
Also, a significant mod that I plan to do is removing more of the aft sidewall in the back seat area, just forward of the CS spar, to add more arm access (read: comfort) into the baggage compartment for the GIB. I contacted Mike Beasley since he did this exact mod to query him on fuel capacity. You see, when you do this mod you angle the BAB baffle (fuel tank inboard wall) a lot more towards the back corner of the fuel tank. This takes away about 2.5 gallons of fuel each side.
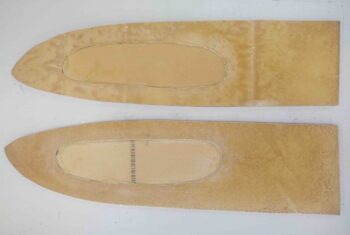
Which leads us to mod #2. This is often done by builders regardless if they do the “GIB elbow room mod” above. And that is to simply use the slanted outboard OD rib –that is usually only for strake strength/rigidity– as the outboard fuel tank wall. This pushes fuel outboard and you gain a fair bit more fuel capacity. I know Nate Mullins did this, as a number of other builders did as well. IIRC, Wayne Blackler advised me to do this as well.
Now the downside. Since the spar angles aft from BL23 out to roughly BL55, putting fuel out here starts adding weight to your aft CG. Not ideal. Thus, as I often do, after my discussion with Mike I decided to compromise. Since this area is a “dead cell” or a simple open air pocket anyway, I will simply split it roughly in half and only use the more forward part of this open space. That will get me close to or slightly exceed reclaiming what would be my stock amount of fuel, while also giving me a much more comfortable back seat area, all with minimized (if any) negative affect on my aft CG.
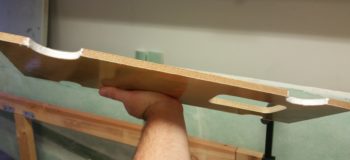
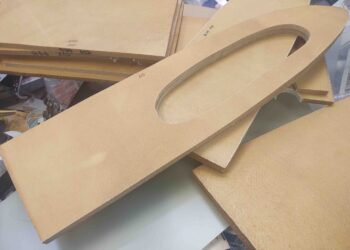
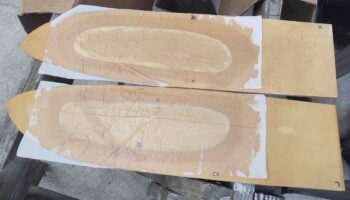
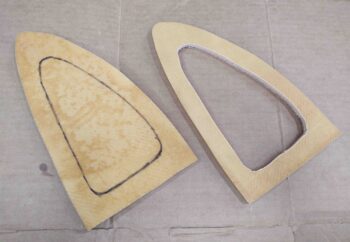
Here are the OD ribs, unfortunately with the lightening/access hole precut in them that I will fill in to configure another forward side fuel pocket. This will also require me to cut 3 mouse holes for normal tank fuel flow in the existing RB45 outboard fuel rib.
•••
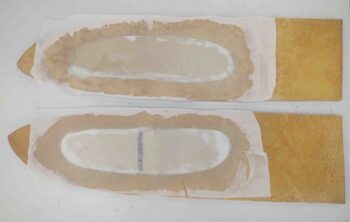
11 November 2020 — I traced out the holes in the strake OD ribs onto 3/8″ thick foam and made plugs for the holes.
I had planned on immediately glassing these ribs to get them curing when I realized my new (bought within the last year) jug of EZ-Poxy hardener was essentially a big brick. I work with MGS all the time and am not used to having to cook my hardener after a long period of non-use (or NO use in this case, since it was new and never opened).
I then spent a good hour giving my EZ-Poxy hardener a steam bath.
A bit later my EZ-Poxy hardener had finished cooking, so I put it to work. I micro’d the edges and the center area of the strake OD rib plugs, then laid up a ply of BID (wet) and peel plied it (wet).
•••
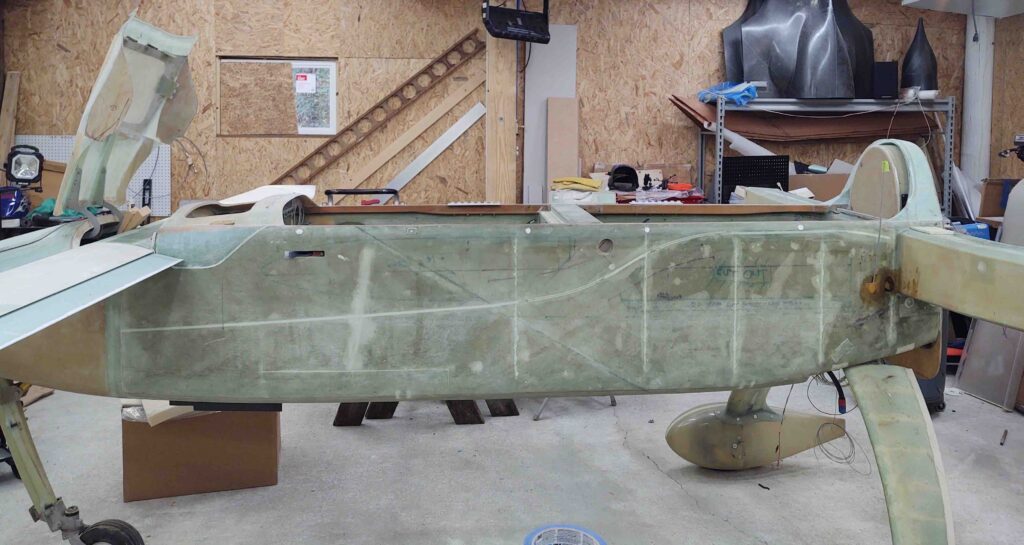
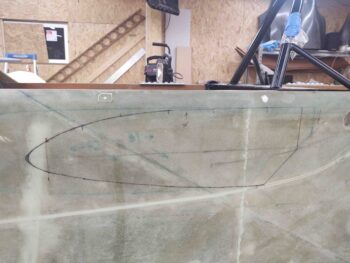
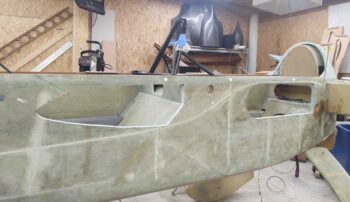
19 November 2020 — Today I spent about 2 hours marking up the sides of the fuselage –as per plans (all but the rounded front tip)– for the strake cutouts.
Here we have the front left fuselage strake cutout marked up.
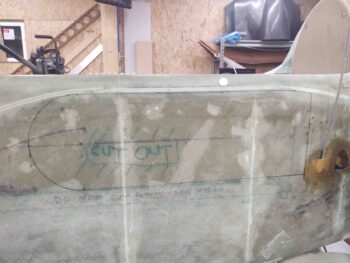
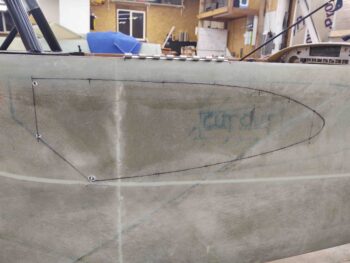
And the aft left strake cutout as well.
I then cut out the strake openings in the fuselage, ensuring to cut just a hair inside the line to sand a smooth line afterwards.
I’m doing what I call the “Steve Volovsek Elbow Room Mod,” which I learned about from my buddy Marco. Instead of starting the aft side of the GIB strake opening 15″ forward of the CS spar, as per plans, you start the opening way aft: mine is 5″ forward of the spar. As the name implies, this mod allows the back seat passenger to rest their arms inside the strake openings, which really opens up that area back there to help reduce the feeling of confined quarters and adds quite a bit of comfort for the GIB.
As a pittance of a counterbalance however, I did move the rounded front edge of the GIB strake opening aft 1.5″ to end up at 28.5″ forward of the spar, vs. the plans 30″ forward of spar. I figured this would add back in just a skooch of rigidity without any really access room being lost.
[BTW, Mike Beasley incorporated this in his recently airborne Long-EZ, and Ary Glantz followed suit] I myself have been planning to incorporate this mod since very early on in the build.
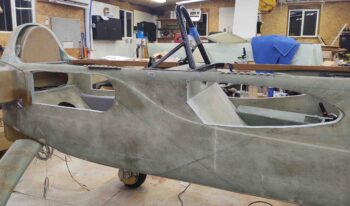
I then did the same thing on the right side. Here’s the fuselage front strake cutout marking.
And here’s the right side fuselage strake cutouts, which completes this initial task for the strakes. Again, I still have to sand the cutout edges to get them dialed in nice, straight and smooth.
Before I actually cut out the strake openings in the fuselage, I tested the saber saw bit on one of the included strake outboard ribs. With a nice clean cut on the outboard rib, I then proceeded forward with using the saber saw for cutting out the fuselage strake openings.
After the strake openings were cut out, I then went back and cut out the middle area of the other strake outboard end rib. On both ribs the width of the remaining rib material is about an inch.
I’m adding these access holes since I don’t want a solid rib staring me in the face when I remove the wings. On the outboard end of the left strake I’ll have 2 GRT magnetometers mounted: One for the HXr EFIS and the other for the Mini-X EFIS. Clearly I’ll need access to those.
On the outboard strake on the right side I need an accessible pocket in case my nose mounted transponder antenna is causing noise issues (an oft-reported clicking with new S-mode transponders) and I need to remount the transponder and/or antenna.
•••
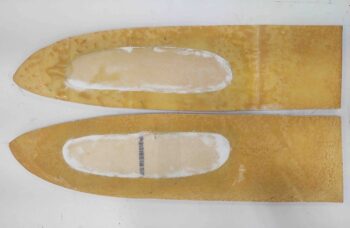
24 November 2020 — This evening I laid up a ply of BID on the outboard side of the strake OD ribs. Since I’m making the inboard side now a fuel cell (the forward part), I glassed it using EX-Poxy. But since the outboard side doesn’t touch fuel, I’m using the way easier (to me) MGS 285 epoxy.
That being said, I did spend a good half hour prepping the ribs to remove dead micro, etc. to get these ready for glass layups.
About 1.5 hours later I had the 1-ply BID glass laid up and peel plied.
•••
25 November 2020 — I started off today with a quick pulling of peel ply from the strake OD ribs outboard side one ply BID layup. All looked good so I chucked them on the pile of other strake ribs and baffles and pressed on.
•••