
Chapter 19 – Wing Root Ribs
16 June 2013 — I started preparation to complete the wing root rib layups for both the Left & Right wings.
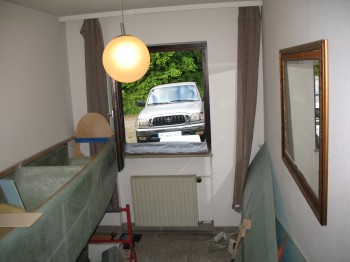
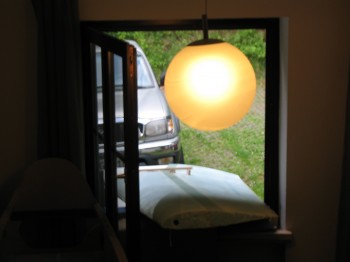
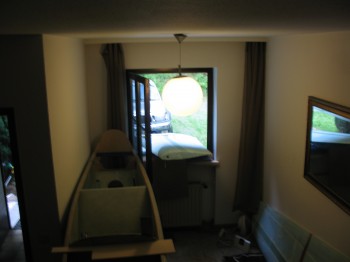
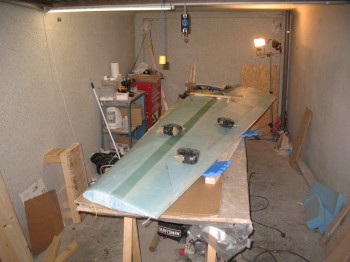
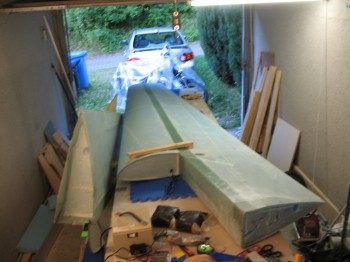
To do this, I obviously needed to get the wings out of my environmentally controlled storage facility and into the garage. Going out the front door required not only a doctorate’s degree in trigonometry, but even more than that, I could have used another person. So I was forced to do some out-of-the-boxing thinking: Hmmm, let’s review our adages . . . one saying is that “when God closes a door, he opens a window.” Works for me.
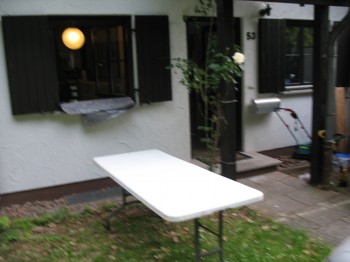
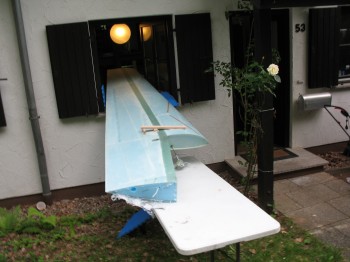
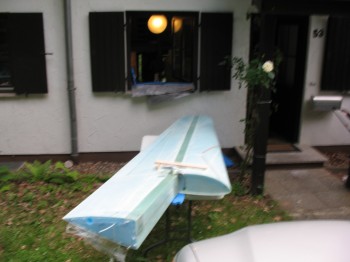
I prepped the “receiving end” of my thru-the-window transfer outside of the house by placing my trusty fold out table in position, with some cut foam floor mats to cushion the “landing.” Of course I prepped the window sill area to protect the wing from getting tore up. Then through the window the wing went (say that fast 5 times).

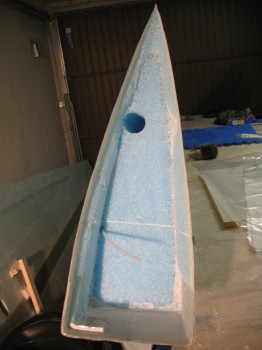
I pulled the protective foam plug from the wing root to expose the entire wing root area that I’d shaping & glassing. I then reviewed the plans again one final time before starting to work.
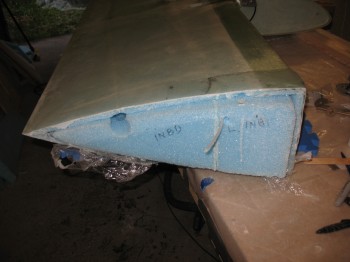
I marked up the areas where the foam required shaping & cutting & went to work with my razor knife & PermaGrit tools.
I worked a couple of hours before I was ready to clean off the exposed glass of left over foam residue and dead epoxy for the upcoming glass-to-glass layup. However, it was late on a Sunday night & I didn’t want to rouse the neighbors with my Dremel tool, so I finished up what I could of the wing root work by hand.
•••
17 June 2013 — Today I finished Dremeling the dead micro & foam off of the Left wing root surfaces that will get glass-to-glass layups when I glass the wing root rib.
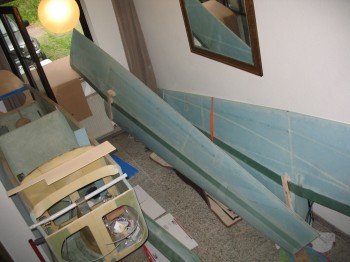
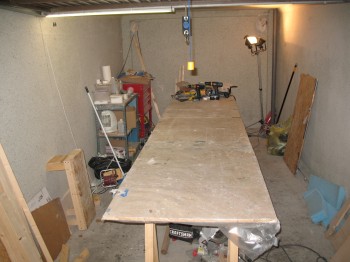
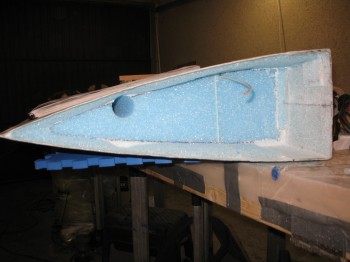
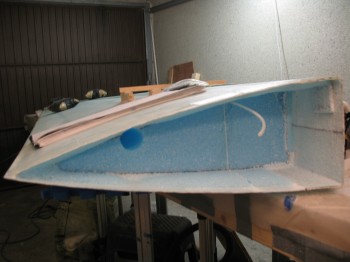
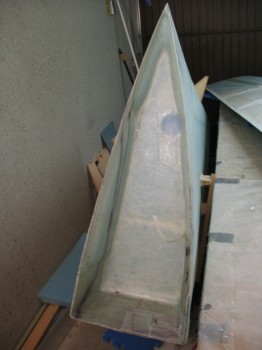
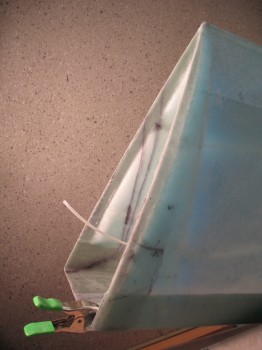
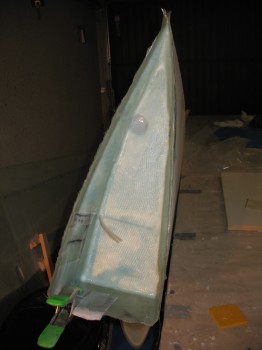
I set the Left wing nose down propped up on a wood step situated so that the wing was leaning along the work bench.
I double checked & made some minor finishing touches to all the wing root surfaces that were going to get glassed, then I vacuumed the entire wing root area.
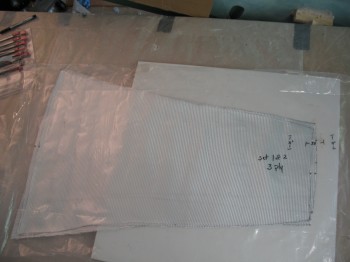
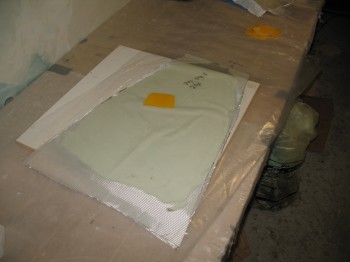
I located the glass that Gina had cut for me last year for this wing root layup & inventoried it all.
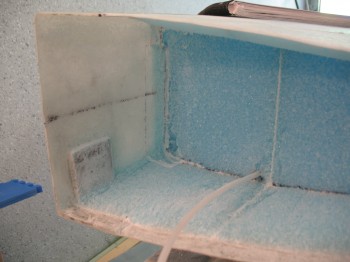
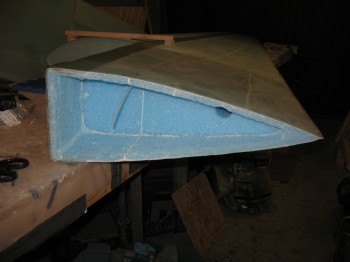
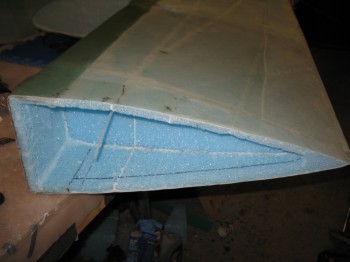
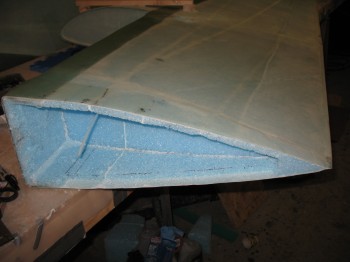
With all the glass on hand I started the Left wing root rib layup. My first order of business was putting a flox fillet around the 3 exposed sides of the 1/4″ aluminum extrusion (LWA6) in order for the glass to have a smooth transition around this hunk of metal protruding into the wing root. I then used micro paste for the foam corners, any divots and missing chunks, and for the edge of the foam transition to the glass where some of it chipped away here & there.

I then microslurried the rest of the blue foam field & pre-pregged a 2-ply BID layup. The entire wing root layup calls for 3 plies of BID, but since it was a fairly complicated layup with so many angles involved that I just wanted to get a good glass base in there, and then follow it up with a 1-ply layup to “feel” if there were any issues with the layup.
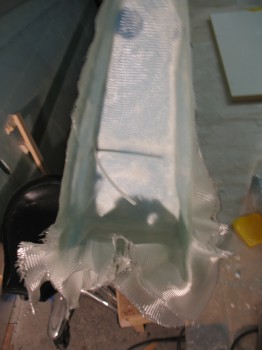
This layup (#7) was fairly tough simply because of the complex curves & angles involved. Plus, there was a lot of extra glass because of the multiple boxlike 90° sides & the narrowing of the wing profile, and it all had to go somewhere! But I eventually got all the glass in there, including the 3rd ply of BID, working out the wrinkles and removing any minor overlaps.
I used the Dritz scissors to trim the glass down to within a 1/4″ of the existing glass edges.
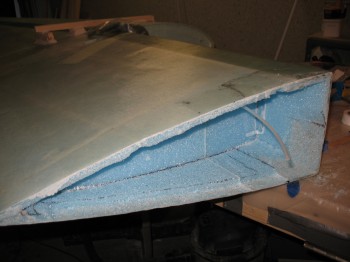
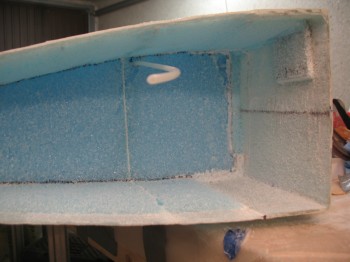
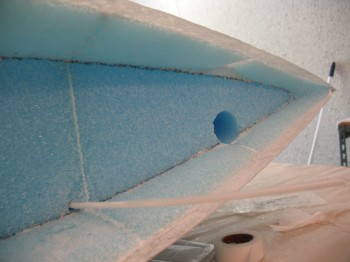
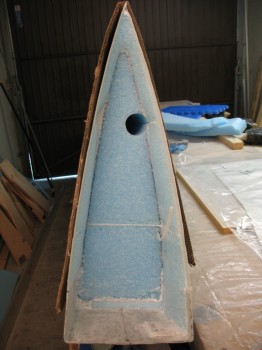
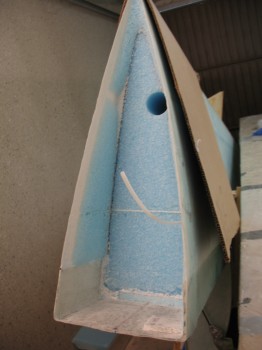
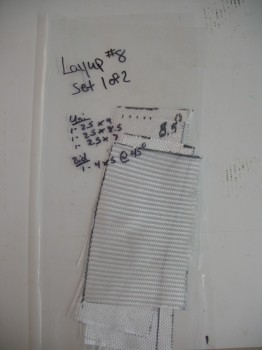
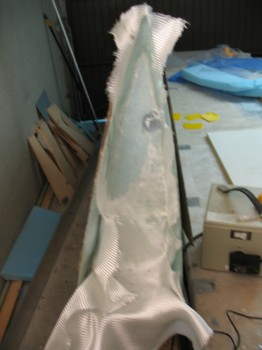
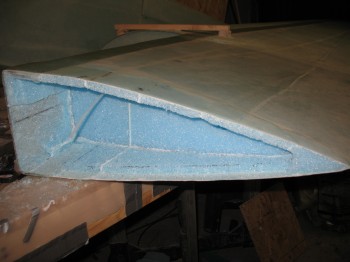
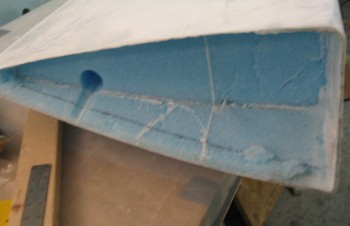
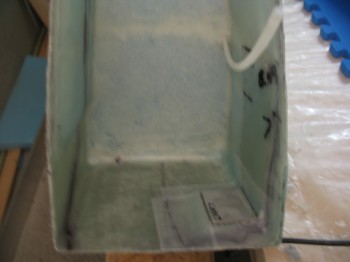
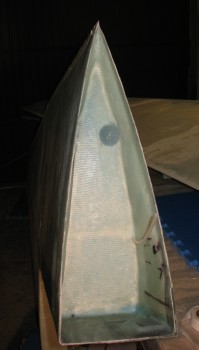
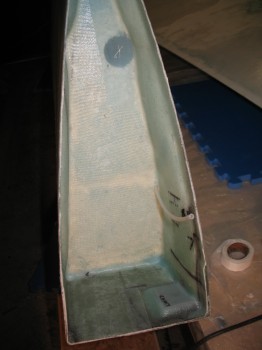
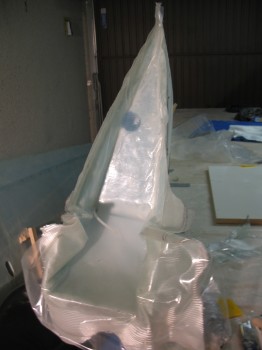
I then glassed the stepped 2-1/2″ 3-ply UNI strips layup that started 1″ below LWA6 and was stepped above LWA6 (layup #8). Once the UNI strips were glassed in place, I installed the very last of all my aluminum extrusions that I had made last year, LWA7, and clamped it in place with a spring clamp.
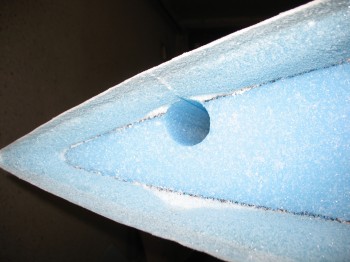
I peel plied around LWA7 & around the aileron control tube hole (towards the top of the wing root rib in the pics below). Both of these areas will get more flox & glass later on. I then let this layup cure after a number of “final” checks.
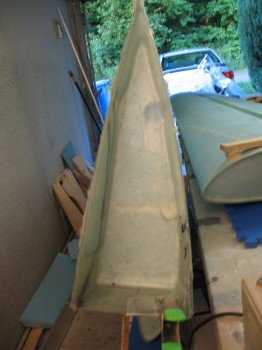
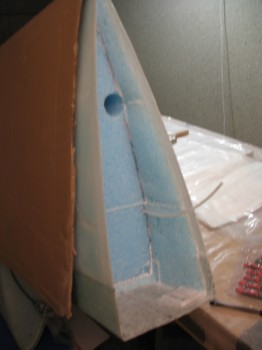
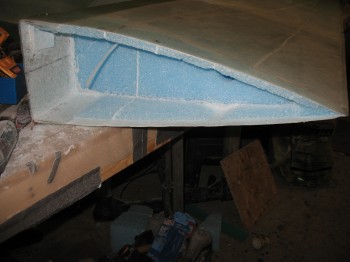
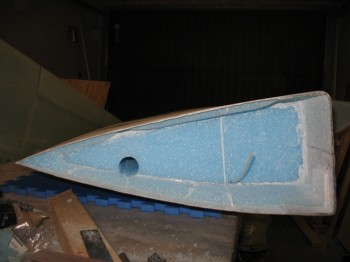
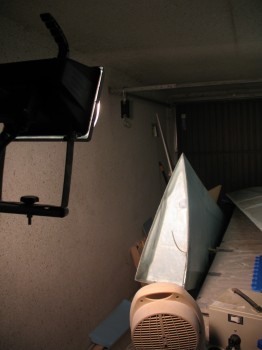
As the Left wing root rib layup was curing, I pulled the Right wing out of the my Environmentally controlled storage facility (via the window again) & placed it on the work bench (shown in the above pics too).
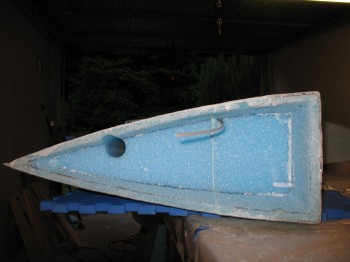
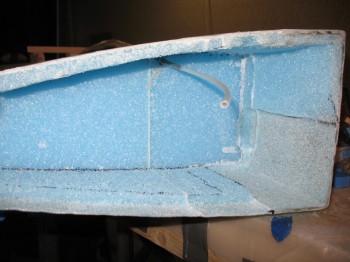
I started knife cutting the foam on the Right wing root to shape the foam.
I had started to use the Dremel tool for a bit when my cutoff disk decided it was done with this endeavor and went flying across the garage. Yet another time when I was happy that I always where eye protection, even though it didn’t even touch me. I had gotten a fair amount done, but with that being my last cutoff wheel, I had to switch bits and the going was significantly slower.
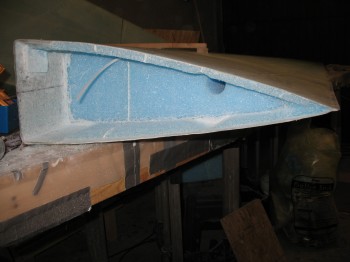
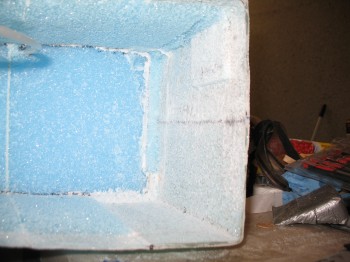
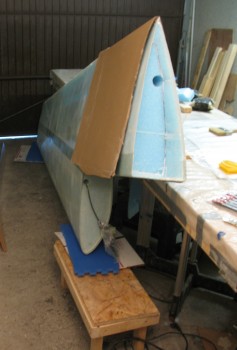
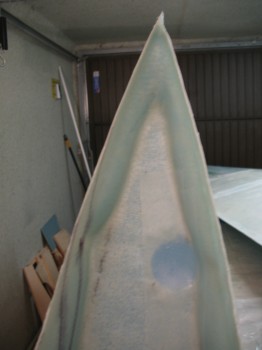
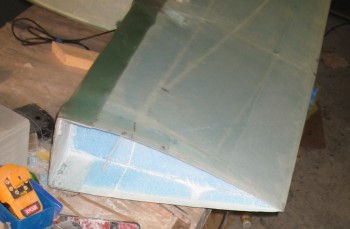
I kept at it for about 45 minutes & then flipped the wing over and began working on that upper inside of the Right wing root.
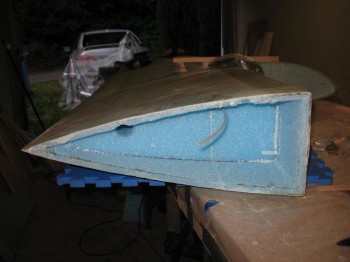
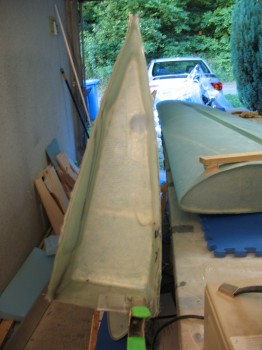
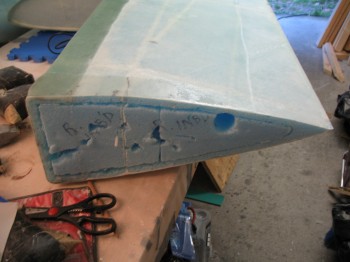
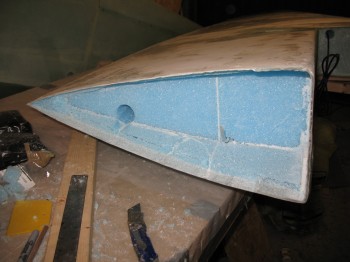
If you remember back when I was prepping the Right wing just prior to glassing the skin, I cracked the top of the wing root shell and repaired it just prior to skinning the wing. You can see the micro repair lines in the pic above, and remnants of that repair (a toothpick to hold the foam pieces in place) in the pic below.

I finished prepping the top wing root border edge by hand using a razor knife, PermaGrit tools & sandpaper.
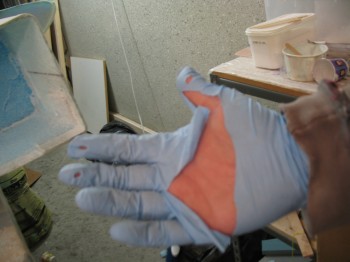
Of course there are always ‘casualties of build,’ and not surprisingly it’s quite often the hands! (or gloves in this case)
I went back to the Left side wing root rib layup and knife trimmed the edges of the glass. The layup wasn’t fully cured so I reclamped the LWA7 extrusion & put a light & a heater on it to help “motivate” it to final cure overnight.
•••
18 June 2013 — Today I started on the Left wing root rib by sanding down the area around the aluminum extrusion LWA6. I floxed the edges around the newly attached LWA7 with fillets/ramps so the glass would contour nicely over & around it.
I then glassed a 1-ply BID layup on top & covering LWA7, overlapping onto the immediate glass around LWA7 by about 1 inch. I had some leftover epoxy so I went ahead & peel plied this layup. I then let it cure.
A little while later, after buying some more Dremel cutoff wheels, I finished removing the dead micro & foam from the Right wing root area.
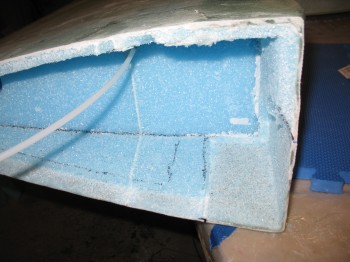
I then positioned the Right wing along side the work bench, propped up on the wood step, and then prepped the wing root for glass (layup #7).
I used thick flox for the fillets/ramps around the LWA6 extrusion, micro paste for the corners, divots & dings, and microslurry for the remaining foam fields.
And just like I did for the Left wing root, I wet out 2 of the 3 plies of BID in a pre-preg setup.
I then glassed the 2-ply BID pre-pregged layup into the wing root.
This layup was a royal PITA! Much worse than the first. The glass just did not want to cooperate & was not laying into the wing root easily. I finally got the first 2 plies laid up, then I glassed the last single BID ply into the wing root. I finally got it, but it wasn’t a layup I’m overly proud of as far the weave orientation. It ain’t a pretty layup, but I think this dog will hunt! I have no doubts it meets specs, it was just a very frustrating time of it.
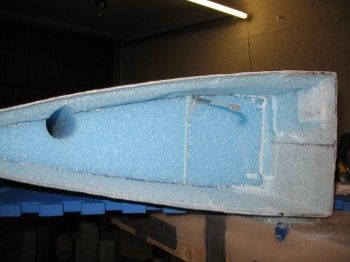
With the main 3-ply BID layup complete, I then glassed layup #8, the 3-plies of 2-1/2″ wide UNI strips that are stepped at the end furthest away from the extrusion. These UNI strips all extend 1 inch below LWA6, and are laid up in step fashion above LWA6 (on the interior side of the wing top). I then epoxied in & clamped the ACTUAL VERY LAST aluminum extrusion (LWA7) of all the ones I cut & prepped last year (I misspoke when I claimed that the Left wing’s LWA7 was the very last of the extrusions). I then peel plied the UNI layup around LWA7 & around the aileron control tube hole.

I then set the light & heater up on it and let it cure.
•••
19 June 2013 — Sorry, no pics today.
I razor trimmed the glass on the Right wing root. I let it alone for a few more hours to lock in a “final” cure & then sanded the glass edges & pulled all the peel ply.
As on the Left wing, I sanded down the area immediately around LWA7. I also had to lightly sand the surface of LWA7 and vacuum it to get some gunk off of it.
I filleted/ramped the edges of LWA7 with thick flox & glassed the 1-ply BID layup over it, overlapping about 1 inch onto the surrounding glass.
I peel plied the top and bottom edges of the BID layup, and then let it cure.
•••