
Chapter 20 – Lower Winglets
30 May 2013 — Also, although I’m not 100% one way or the other on whether I’ll have lower winglets installed or not on my bird (leaning more pro vs against), I would like an upgraded look compared to the stock look. I don’t necessarily abhor the stock lower winglets (my buddy Marco growns even at the mention of them, and threatens constant Unfriending on Facebook if I install them! ha!). Anyway, I’ve started my research and am flirting with a redesign on my lower winglets.
•••
31 May 2013 — I’ve been figuring out & playing with some initial design changes on the lower winglet. I came up with this below. Although I won’t be using this design, I thought I would post a pic just to show some of the design processes I’m working through.
•••
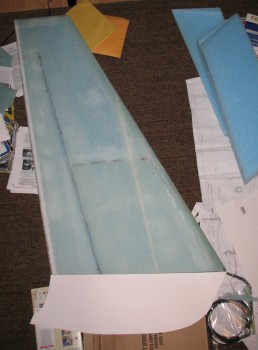
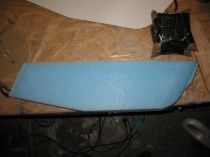
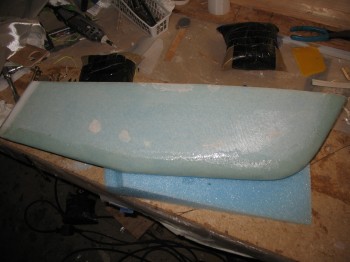
4 June 2013 — Over the last few days I had researched a lot of different lower winglet designs & tried a number of different cutouts until I found the one I finally liked. There is no drastic difference from the original stock plans lower winglet compared to my new design, which is really just a stock look but with a lower profile.
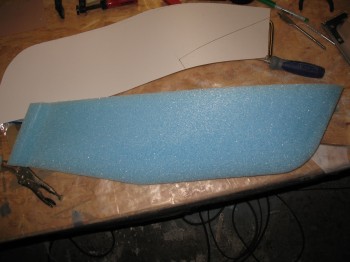
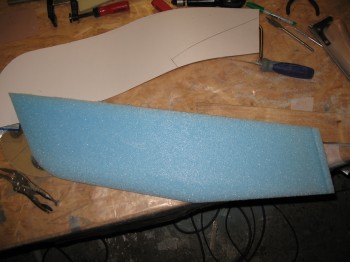
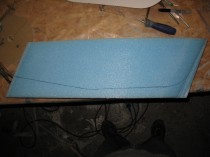
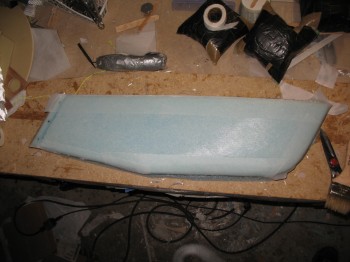
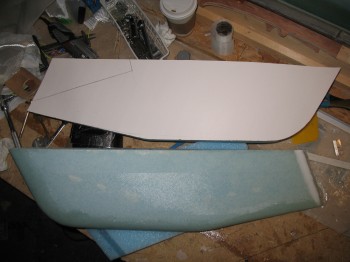
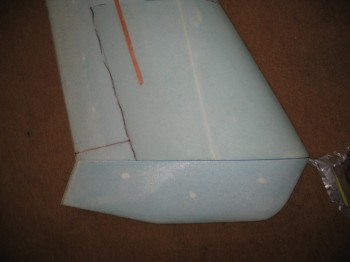
My finalized version of the lower winglet is 1.8 inches shorter top to bottom (or narrower if you look at the profile) than the stock plans version. Also, the angle starting from the aft/trailing edge and moving forward to intersect the flat looking bottom line is moved significantly forward than the plans version. These are essentially the “Mini-me” lower winglets of the plans version. I cut out the new design with white poster board.
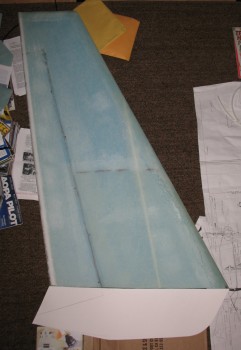
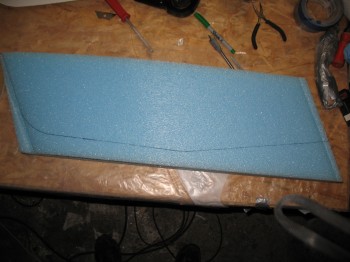
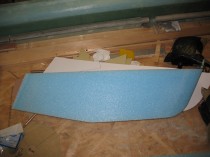
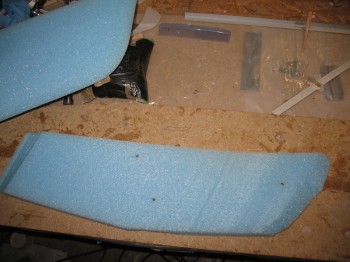
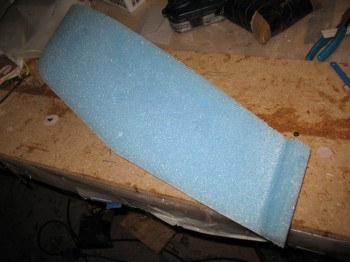
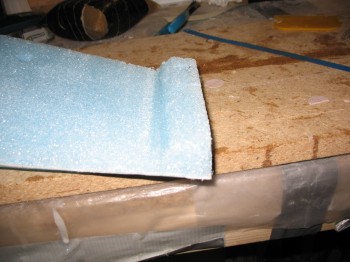
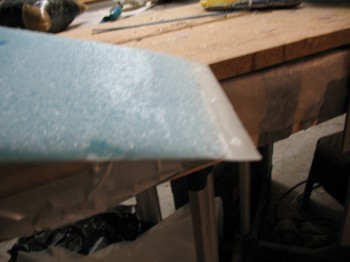
With my new winglet design in hand, it was time to get to work. I started with the Left lower winglet, placing the template on top of the winglet and tracing out the template with a Sharpie. I then simply cut along the marked line as close to 90° to both sides of the winglet as I could get it.
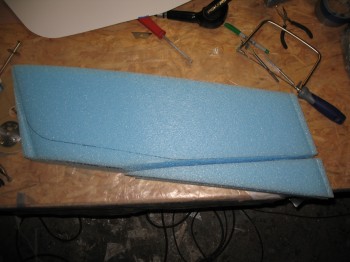
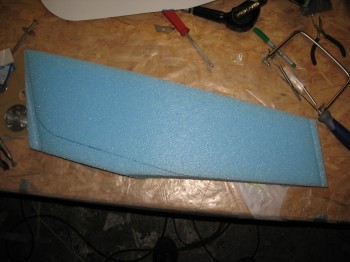
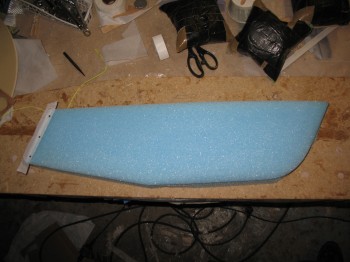
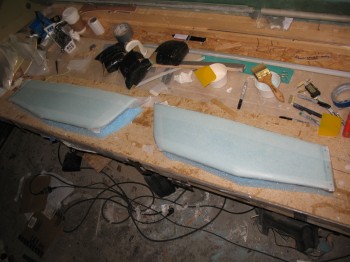
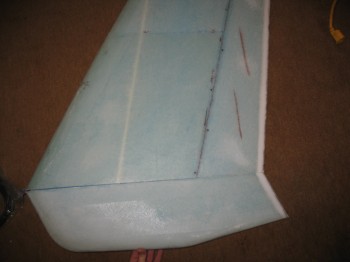
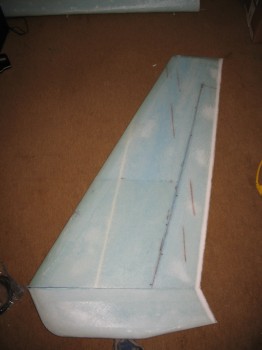
Once I got the basic shape cut out, I then had to hand sand the new lower winglet to its final form. I used the unmodified Right lower winglet as a general guide to figure out the shape & rounded contour of its edge all the away around the bottom outline of the winglet.
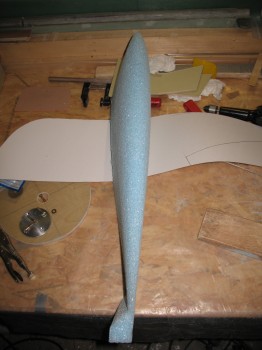
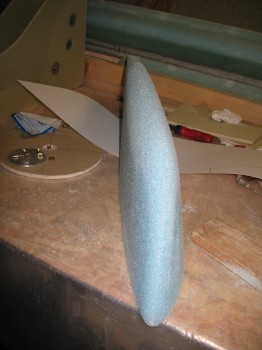
Once I was 95% complete with the Left lower winglet, I started on the Right winglet.
•••
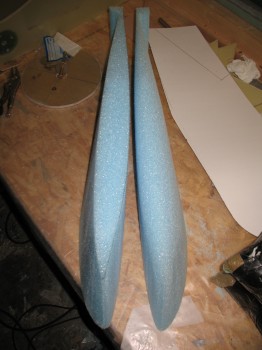
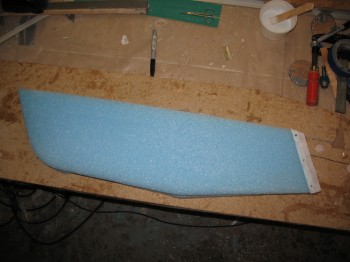
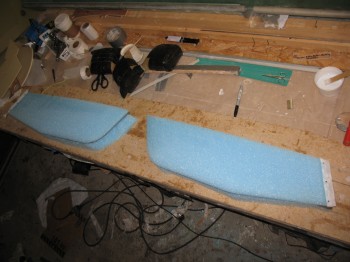
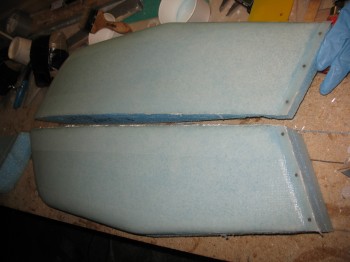
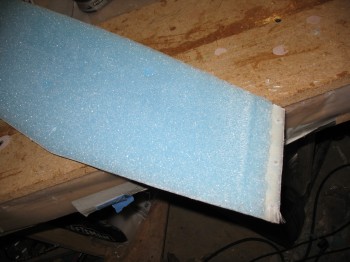
5 June 2013 — I started out by finishing the shaping of the Right lower winglet.
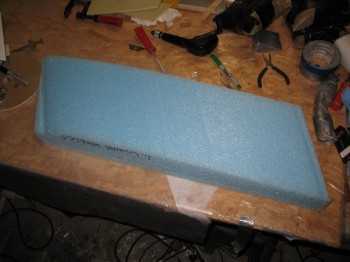
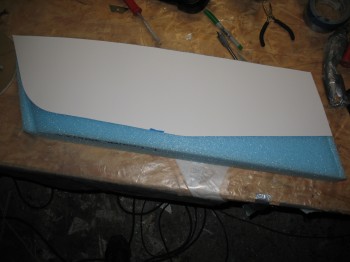
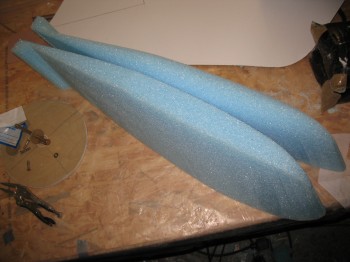
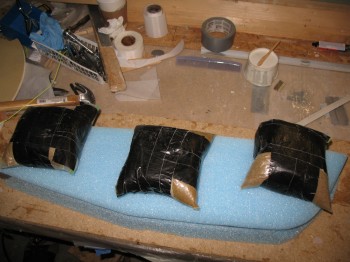
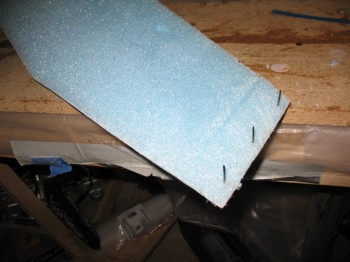
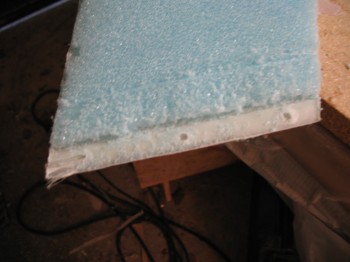
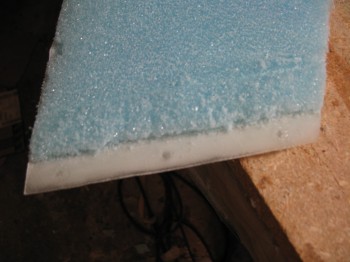
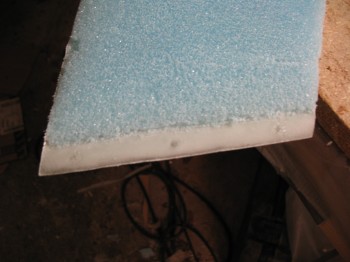
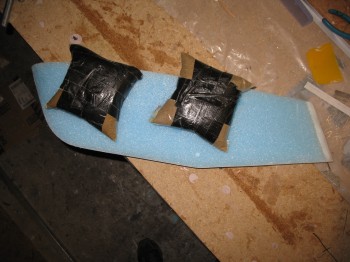
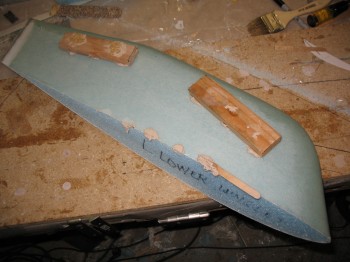
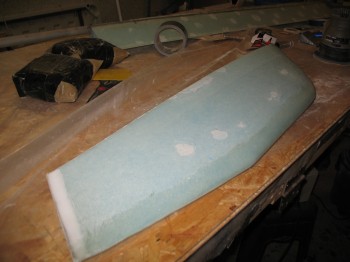
I then shaped foam bases (from the original foam that the winglets were cut from & encased in when they were shipped to me) to mount the winglets to during glassing so that they would maintain their shape. I screwed the foam bases to the work bench with 3 wood screws.
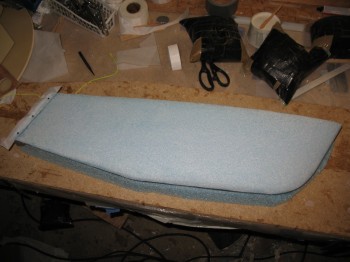
I mounted the lower winglets to the foam bases using 5-min glue & weighed them down while curing.
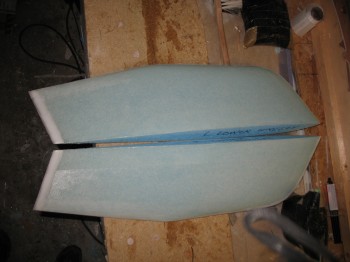
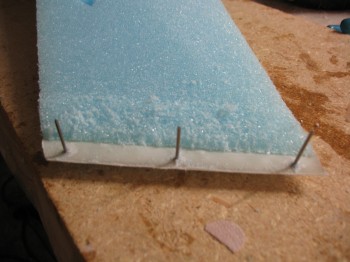
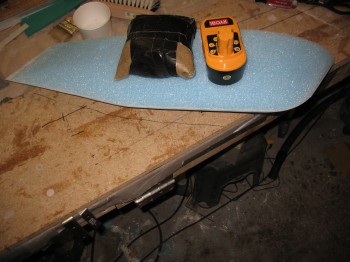
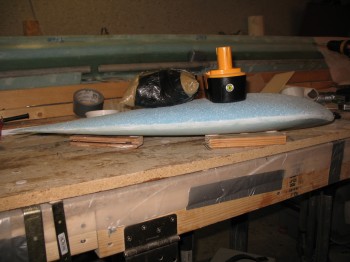
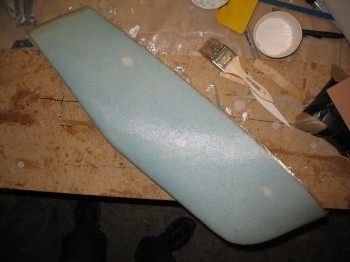
With the winglets mounted to the bases, I prepped them for glassing. I vacuumed the winglets & tacked in a 1″ peel ply strip along the TEs.
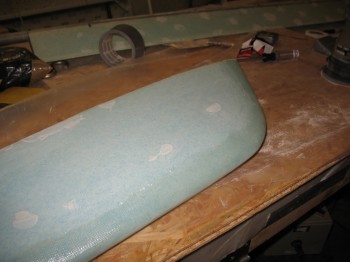
I the micro’d the foam, working on only one winglet at a time.
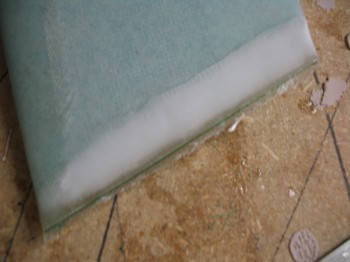
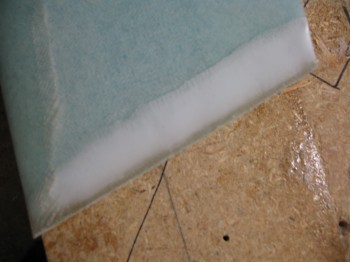
I glassed each winglet using 2-plies of UNI at ±30° bias.
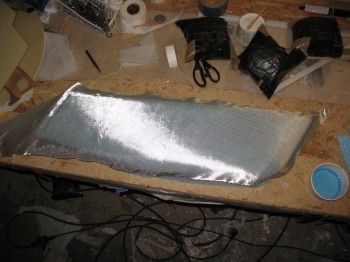
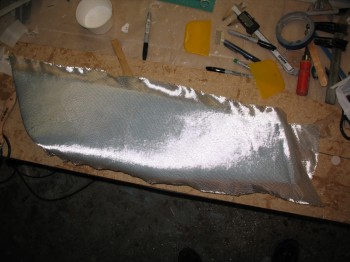
I then peel plied the edges after laying up the glass plies.
•••
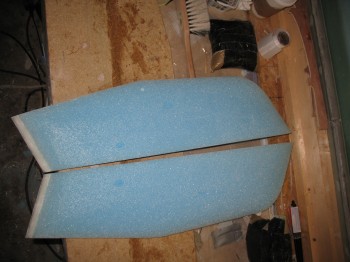
6 June 2013 — I razor trimmed the glass on my lower winglets and then pulled the peel ply off.

•••
8 June 2013 — I started off today by sanding the lower winglets’ leading, bottom & trailing edges. I sanded the TE trough and filled it with dry micro.
I cut off the lower winglets’ fish tail & removed the peel ply & nails, and then sanded to shape.
I transferred the cut UNI from my cutting table in my downstairs workshop to the garage.
I sanded the LE, bottom edge & TE for a smooth transition when I glassed the second side of the winglets.
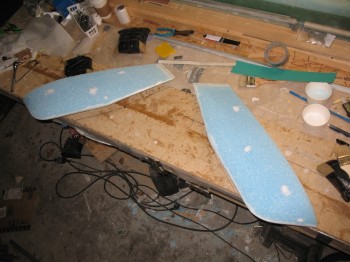
I scrounged around & found 4 scrap pieces of wood as spacers & mounted them to the workbench with bondo.
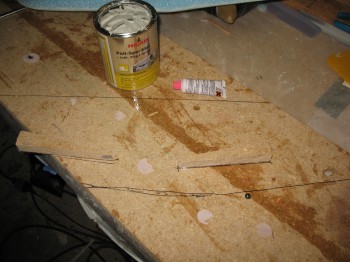
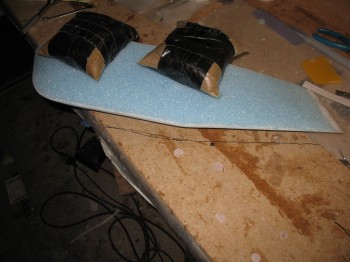
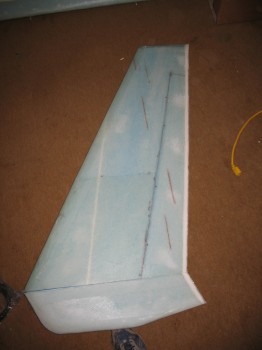
I then bondo’d the 2 winglets down to the workbench, using the scrap wedges to prop up the narrower bottom edges of the winglets so I had good solid platform at the appropriate angle to glass each winglet. It also gave me clearance to wrap the glass from Side B for a 2 inch overlap onto the LE & bottom edges of the Side A glass.
I then weighed the winglets down while they cured.
I used dry micro to fill in the plugs that were extricated from the foam when it was 5-min glued down to secure when I had glassed Side A.
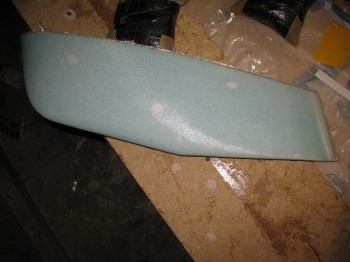
I used micropaste with a little flox mixed in for my usual LE foam prep/fill. Then microslurried the “field” on one winglets & glassed the 2-ply UNI layups (again, sequentially & one at a time). Since I didn’t want to waste glass, on the Left lower winglet I started by laying up 2-pieces of UNI butted up against each other for the first layer, then covered that with the second ply which covered the entire winglet. I then left the winglets to cure.
•••
9 June 2013 — I started today by popping the lower winglets off of the wood blocks that they were bondo’d to. Then I chiseled a bunch of cured bondo off the winglet surfaces.
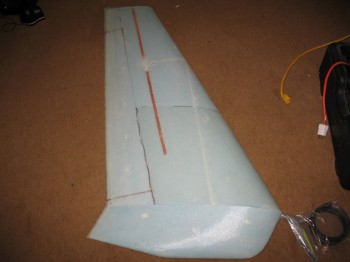
I then marked, cut & sanded the TE of both lower winglets.
•••
16 June 2013 — After snapping some pics of the cowling, I then sanded the Left & Right elevators and the Left & Right lower winglets, then cleaned them up, vacuumed up the dust and took them down to the basement in preparation for getting packed up, shipped off and stored for a year.
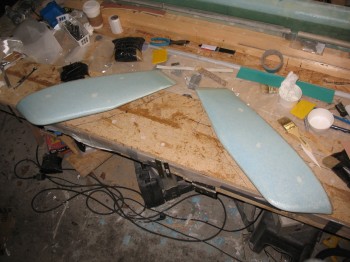
Once down in the basement, I took another opportunity to check the fit, finish & look of the lower winglets “mounted” to the upper winglets:

•••