
Chapter 20 — Upper Winglets
6 August 2012 — I started constructing the winglets while I was working on the right wing build, and actually the Left wing as well. I had micro’d the Nylaflow rudder cable conduit into the Right wing and waiting for it to cure some before I glassed the top of the Right wing, so I took a break. Since the major sections for the Left wing, FC1-FC5 were already micro’d together, I went downstairs and micro’d the Right upper winglet pieces together.
•••
8 August 2012 — I micro’d the Left upper winglet pieces together … correctly! (Lucky for me there’s only 2 pieces to it!)
•••
1 September 2012 — Today I switched gears from Chapter 14 CS Spar to focus on Chapter 20, the Upper Winglets. I’ll knock these out as the CS spar box cures completely for a few days.
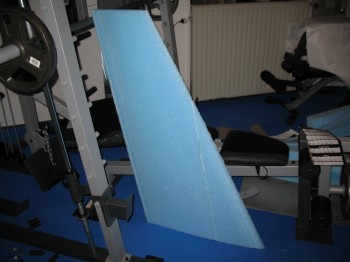
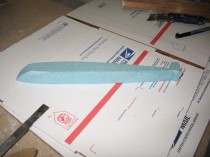
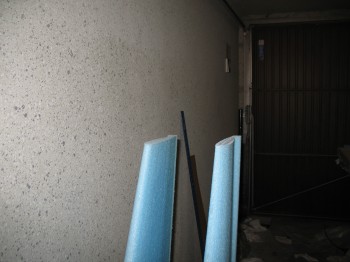
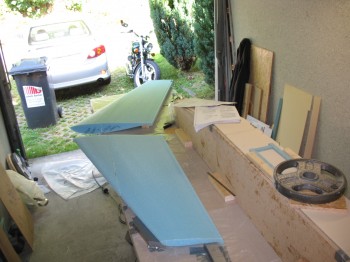
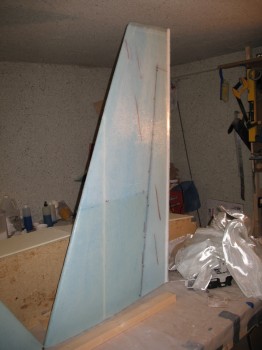
The first thing I did was work on the cosmetics of the Long-EZ’s upper winglets. I have noticed a lot of beautiful Long-EZ’s that seemed like the very top of each winglet was simply hacked off and stolen…. very square. I would like my winglets to have a rounded look, swept back from the front and smooth all the away around. So that, my dear friends, is what I worked on today.
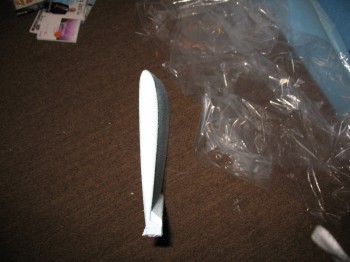
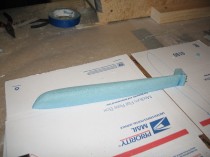
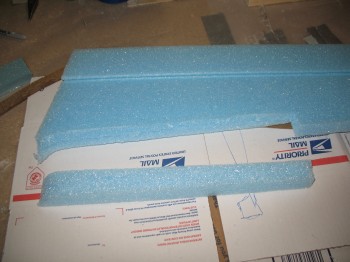
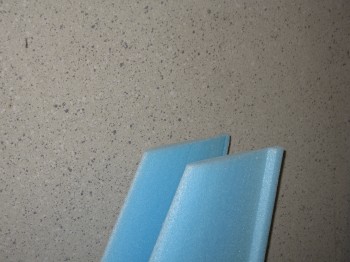
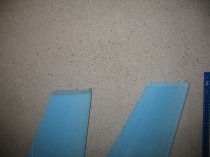
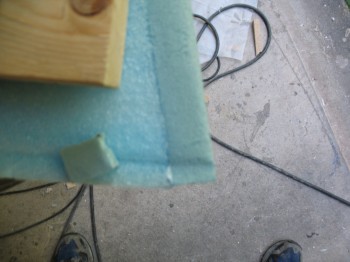
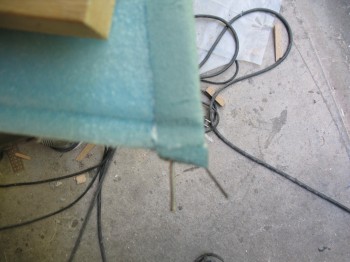
I started out with a scrap strip of blue PVC foam. Now blue PVC foam is not known for its ease of shaping, but I wanted something that could not be easily damaged with one swipe of the sanding block. I slowly shaped the rounded blended top cap for the winglet.
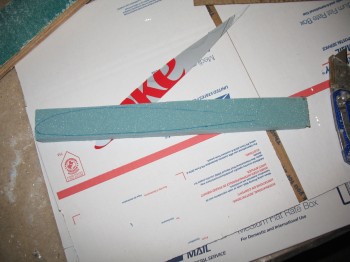

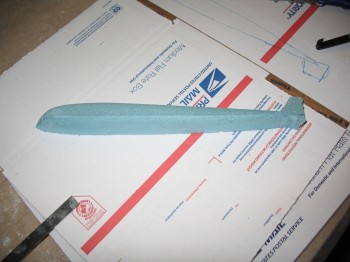
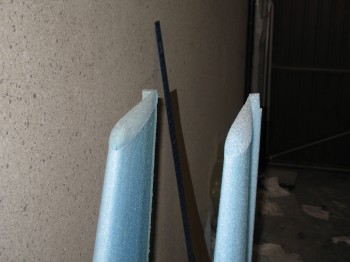
I double-checked a ton, but finally got a good shape I could work with.
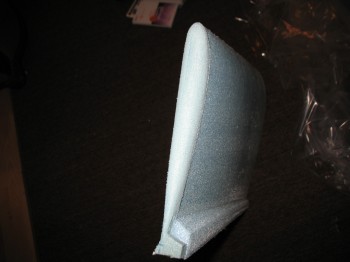
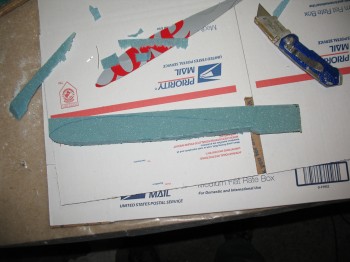
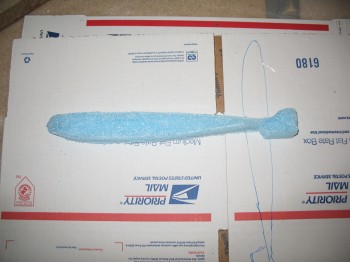
I refined it just a tad more to get the finish & shape I was looking for….
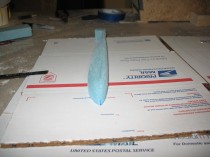

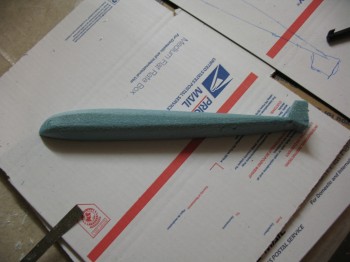
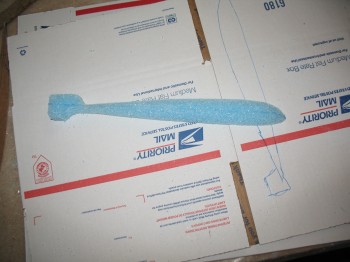
And then, just to try out something different, I made the other side from the more porous blue wing foam.

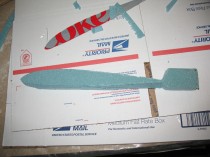
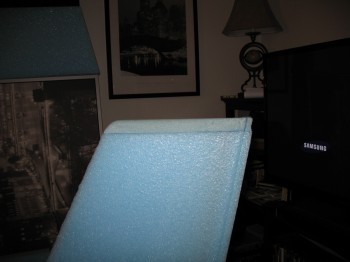
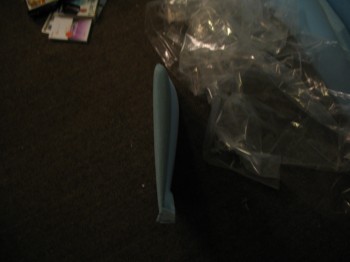
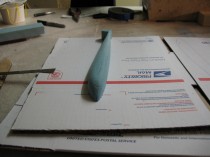
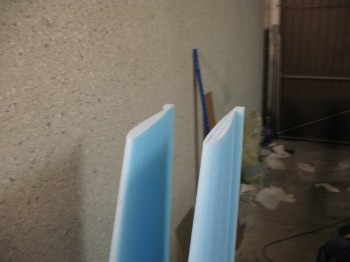
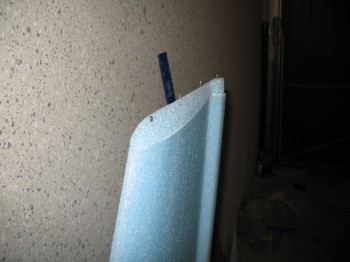
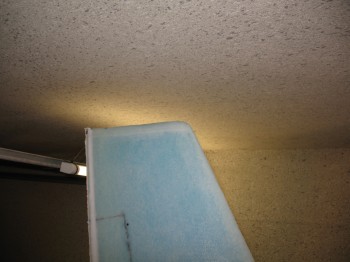
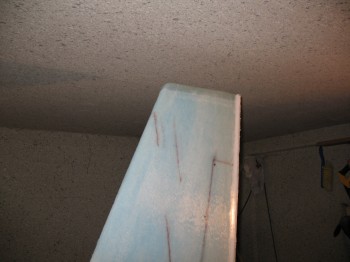
I continued to mock them up on the tops of the winglets, and then continued to refine the shape of the top caps.
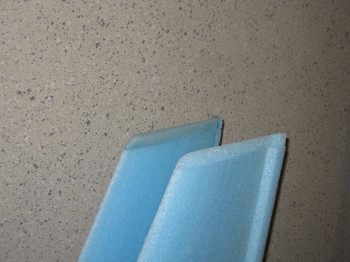
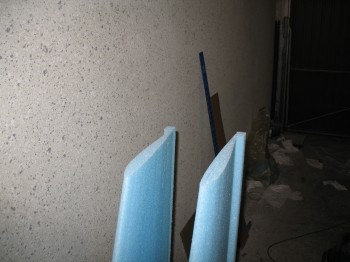
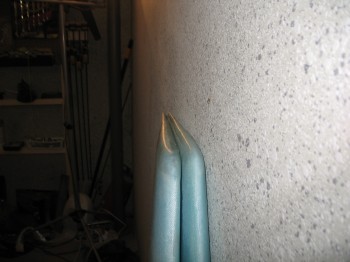
Once I was happy with the shape of each side, I micro’d the new tops onto the winglets & held them in place with nails.
•••
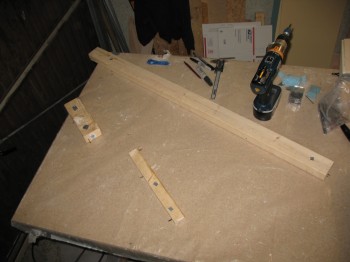
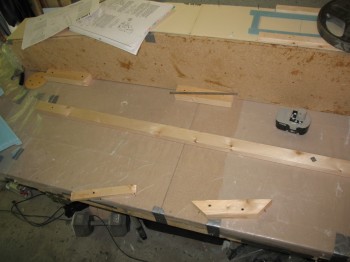
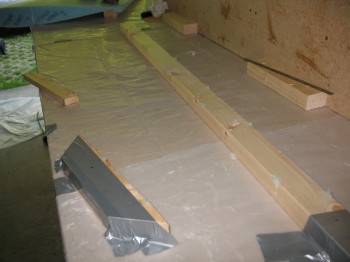
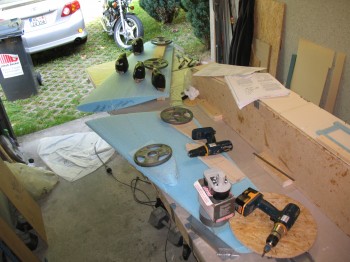
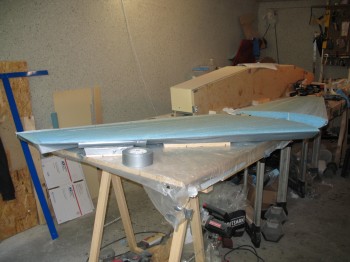
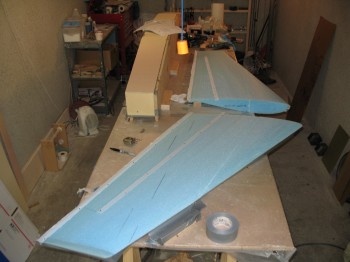
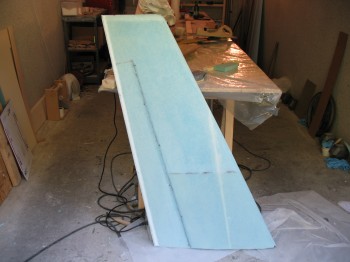
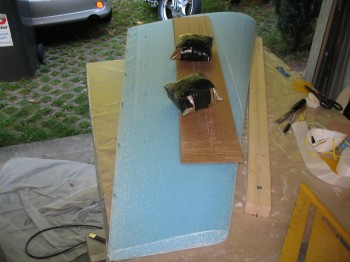
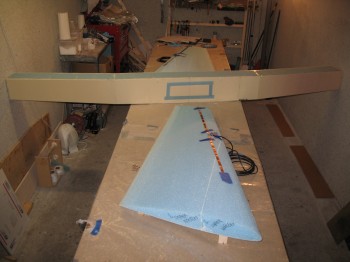
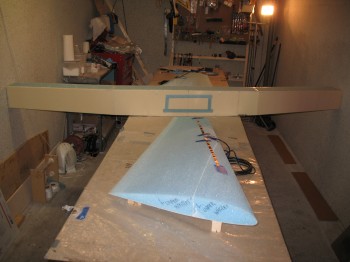
2 September 2012 — Today I cleared some area off of the workbench next to the curing CS spar to set up the mounting boards for the Left & Right Upper Winglets. I’ll be skinning the outside of the winglets by glassing 2-plies of UNI crossing each other at about 30° (or 60° I guess, depending on how you look at it!).
Once I have the mounting boards screwed down to the table, I put bits of duct tape over the screws so they don’t inadvertently get epoxied or floxed into place. The mounting boards do 2 things:
1) They stabilize the winglets, making them much easier to glass.
2) With the winglets secured in place, they won’t warp as the glass cures on the one side of the winglet. Making for a straighter, truer winglet.
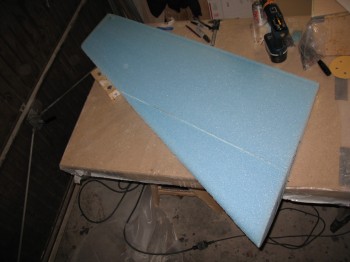
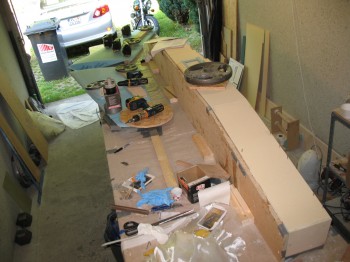
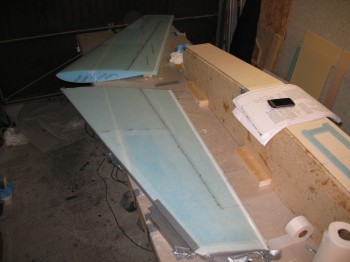
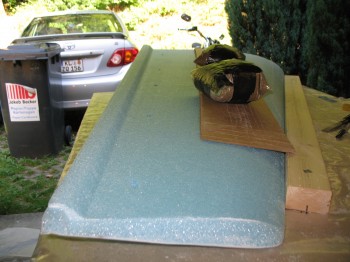
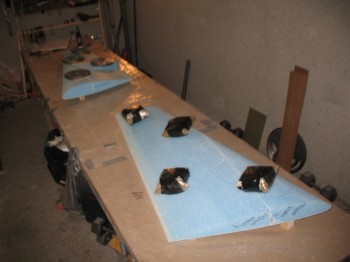
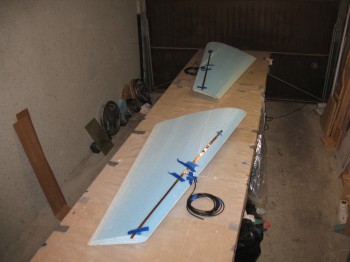
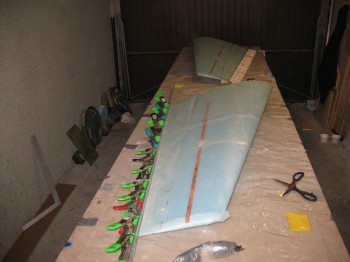
Once I got the proper spacing down so the winglets laid true on the wood mounts, I floxed the winglets to the mounts by adding little dabs of flox along the wood surfaces & laid the winglets on the mounts (Before I removed the mocked up winglets, I marked the edge so I knew where to place them back down). After I mounted the winglets to the floxed boards, I weighed them down to ensure a good seal.
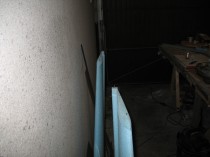
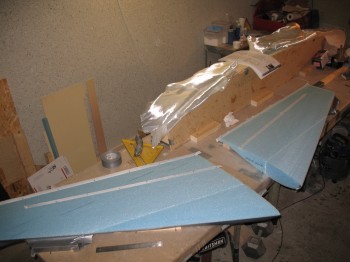
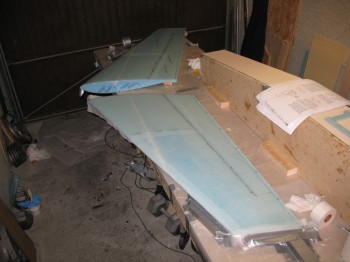
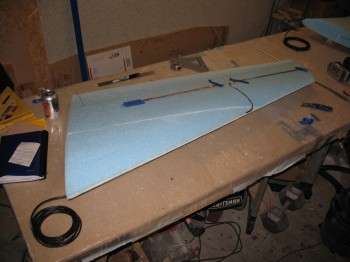
Below are some good shots of the curing CS Spar along with the weighted down winglets.
With the winglets weighed down & curing onto their respective mounts, I prepped for the upcoming layups. I charged my Dritz scissors and soaked/cleaned some squeegees.
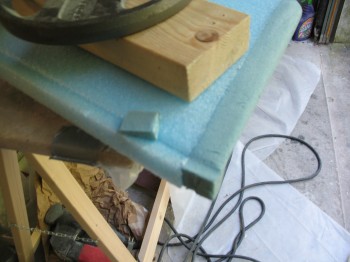
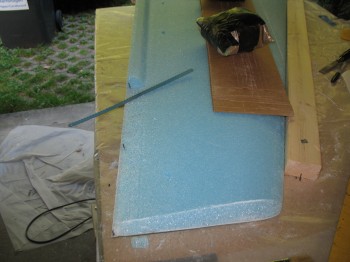
Also, my decorative top cap on the Left winglet was lacking at the tail end, so I cut & shaped a small foam wedge to add to the TE. I micro’d it & held it in place with a thin nail.
I then went back to prepping for the upcoming layups.
I went to my cutting table in the downstairs shop to cut 2 pieces of 38″ x 54″ UNI and 2 pieces of 38″ x 64″ UNI.
I left the glass in the downstairs shop. Since the flox on the winglet mounts had cured, I went back the garage to prep the winglets’ outside surfaces for glass. I pulled all the weights off and then used the Dremel tool to remove all the dead micro in the seams & joints. I then carefully sanded the leading edges smooth. I also marked up where the rudders would be going (like the ailerons getting cut out of the wing structure, the rudders also simply get cut out of the glassed structure of the winglet).

Obviously the winglets get glassed to the wing, and just like the wing, they get a reinforcement piece of BID glassed onto the surface area that will get glassed to the wing. I made a cardboard template of the area where the BID pieces will go. After I cut the 2 pieces of BID–1 for each winglet–I then used the same template to cut the peel ply that would cover the pieces of BID.
I vacuumed the entire top surfaces of both winglets & then taped the LE halfway along the entire length. I then tacked on a 1″ piece of peel ply down the TE trough that runs the TE length of the winglet, top to bottom. Before I could do this though, I had to physically create that trough on both upper winglet caps that I added.

I also threw in peel ply down the center of the seam of where the rudder will get cut out of the winglet, since the foam & glass inside there will get removed with a glass-to-glass layup occurring where the peel ply gets removed (at least along a good portion of the peel ply… I’ll still have to prep some glass that has only foam attached to it).

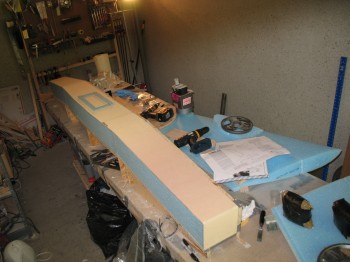
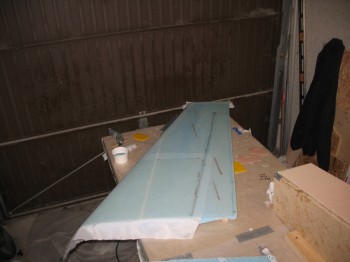
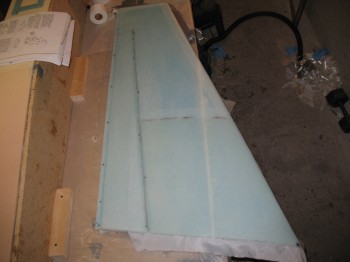
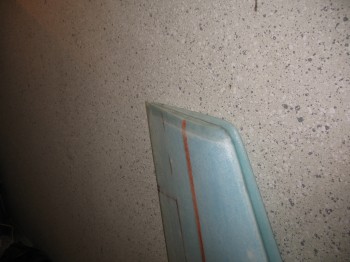
Ready to do some layups, I grabbed my glass from downstairs & double checked my winglets’ surfaces. As you can see in the pic above & below, I added angle marks to allow me to get my glass laid up in the correct orientation.
I dry micro’d the channels (where I had cut the dead glass out) & microslurried the fields. I then started glassing like the wind!
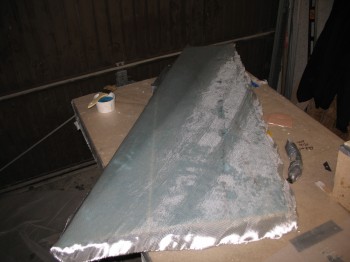
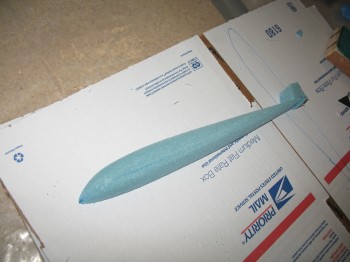
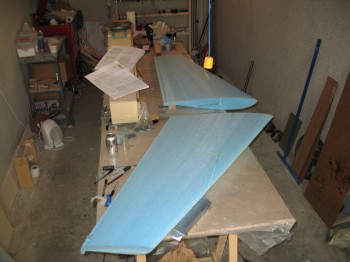
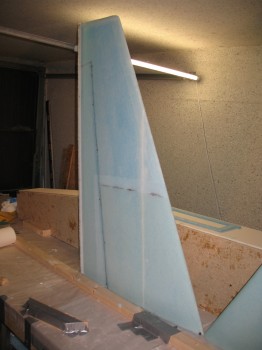
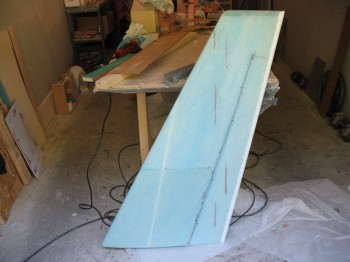
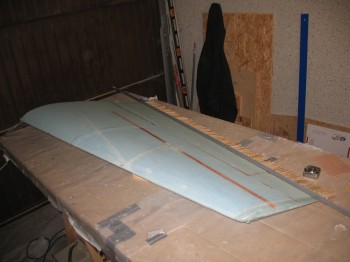
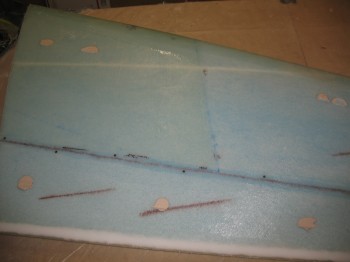
Above pic shows second ply of UNI getting glassed on. Below are the finished Left & Right winglets.
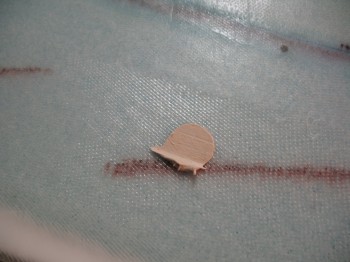
The pic below shows my last minute top-cap add-on/repair result.
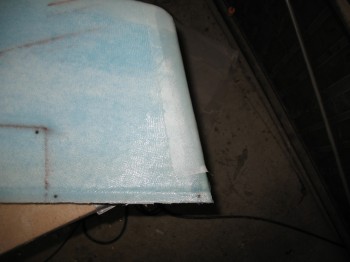
After the layup had cured for a little bit, I removed the tape from the LE. The peel ply was having a hard time wrapping around the sharp bend of the LE & top, so I coaxed it a little by taping the dryer part of the peel ply and then wrapping it around the winglet LE & attaching it to the dry foam underneath.
After the winglets had cured for quite a while, but while still tacky, I micro’d in the TE trough with dry micro.
•••
3 September 2012 — Today I started out by removing the tape & the peel ply from the winglets’ edges… and of course I cleaned up a lot of peel ply gunk.
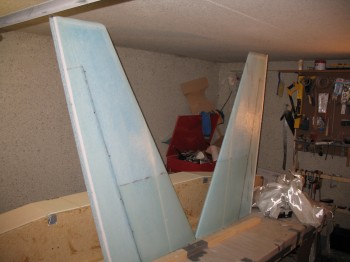
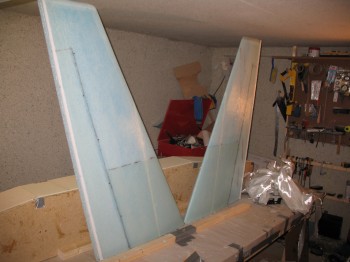
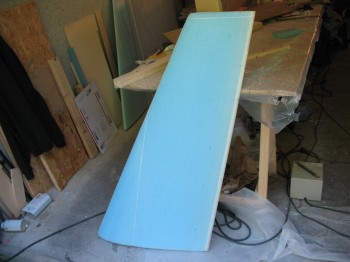
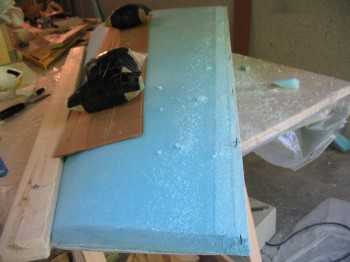
I removed the winglets from their mounts… everything looked good!
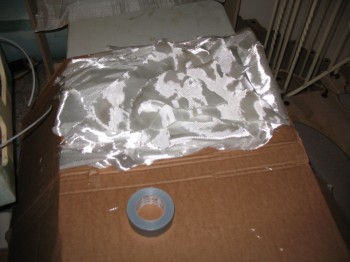
I then cut the UNI, BID and peel ply for glassing the second/last/other side of the winglets. The pic below is just a shot of some of my leftover glass scraps. There’s a lot of glass that gets left over and I try to reuse as much as possible. One thing about fiberglass is that if it gets wet, with virtually anything liquid including water, sweat, or especially epoxy, it’s done for & must be thrown out. Also, if it’s physically damaged it can’t be reused.
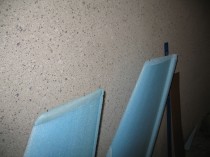
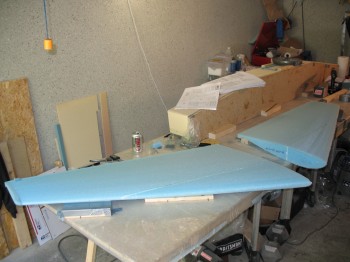
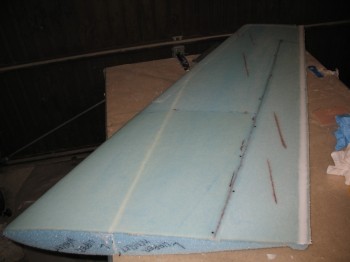
Another couple shots of the winglets.
I weighed down the winglets, one at a time, and cut off the fishtail & removed the peel ply from the trailing edge. I will say one good thing on the winglets is that when the glass & epoxy are this fresh the TE peel ply comes off A LOT easier! (whew…)
Glassing the final layups on the winglets were going to be a lot easier if I could use more of the work bench, so I removed the CS spar from its jig (since it had cured for ~3 days) and tore down the jig.
After tearing down the jig & getting all the jig pieces removed, I did a fairly thorough cleanup.
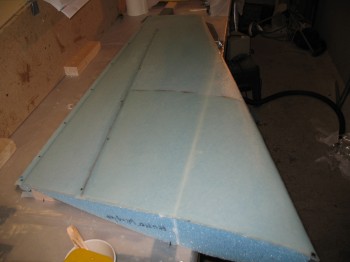
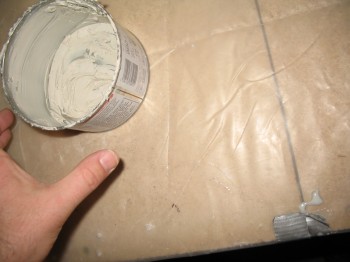
I remounted the winglets Inboard side up (bare blue foam), sanded down the LE & Dremeled the dead micro from the winglets. As you can see below, I had used almost an entire can of German bondo over the last few months of the build . . . at least I think it was bondo?! I don’t read German!
I refilled my epoxy jug & hardener bottles . . . apparently all this building is gettin’ it done since I only have about 2 gallons of epoxy left.
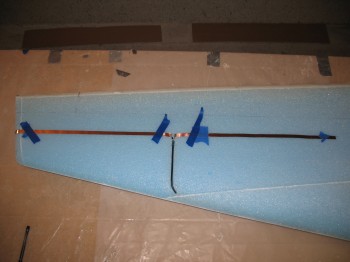
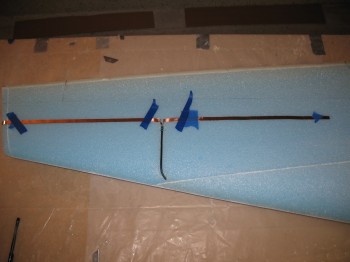
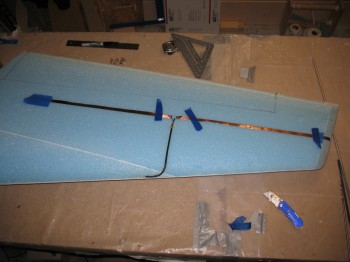
After getting the consumables reloaded, I made 2 COM antennas with 17 ft leads. I then took them out to the workshop & mocked them up on the winglets (albeit they are not in the correct location on the winglets in these pics).
•••
4 September 2012 — I resanded the TE & rudder on the right winglet.
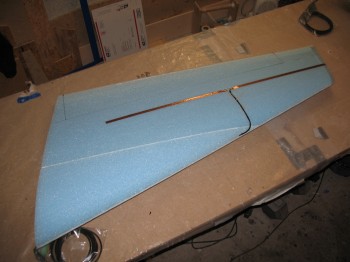
I then installed the COM antennas onto the winglets . . . in the proper position this time. I of course had to drill a long channel at the LE of each winglet and then work the antenna cable lead down through it. It took a little bit of time, but it wasn’t that difficult.
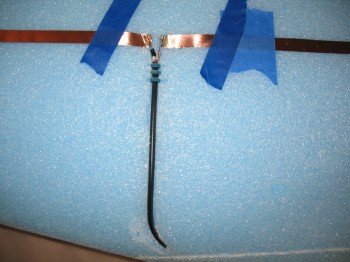
I did have a minor issue with the Left antenna when actually sticking it onto the surface of the winglet: the last 1/4″ of copper foil ripped off as I was setting it into place! I simple reattached it with just a hair overlapping (maybe 0.5mm) & did a continuity check. My multi-meter rang out loud & strong so the connection was good! As long as I didn’t disturb it when laying the glass up … so it was fine.
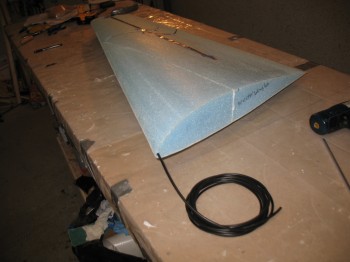
Once I got everything set up, I bagged the antenna cable leads & carefully vacuumed the entire surface of each winglet.
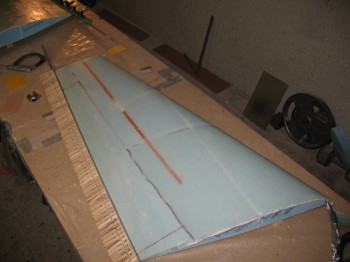
I micro’d the foam surfaces & joints, including the antenna leads & runs, and then glassed a 2-ply UNI layup crossing at approximately 30° & the 1-ply BID reinforcement for attaching the winglet to the wing. I also peel plied the BID layup & the LE overlap. This was of course on one winglet at a time.
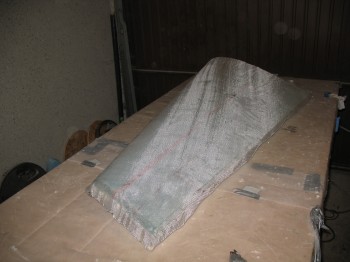
Again, I used my lengths of aluminum angle to clamp down the TE edges so they cured straight & even.

•••
5 September 2012 — Today I pulled the peel ply from the Left winglet & took the TE clamps off.
The Right winglet still seemed just a tad tacky after a few hours. But it was only a few hours after the layup & it turned really cold, so I turned on another heater to kick the heat back up over 70° for a few hours.
I rechecked the winglet later and it looked fine… I probably laid it up just slightly on the dry side, but not too bad.
I pulled the peel ply from the Right winglet and then Fien sawed both TEs & bottom edges. I then sanded the TEs… both winglets looked good.
Later on I removed the bondo blobs with a hammer & chisel… often just takes one sharp whack for them to come off (It was too late to use a sander at that point).
•••
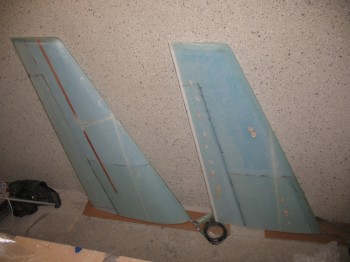
6 September 2012 — I sanded both winglets today, then cleaned them up & put them in the living room.
•••