
CS Spar Test Fittings during “The Grand Mock-Up”
22 June 2013 — Today I pulled out all the stops . . . or should I say I pulled out all the pieces of the build so far. Before I am separated from my project while I spend a year in the Middle East for Uncle Sam, I wanted to get an idea of what this thing looks like put all together.
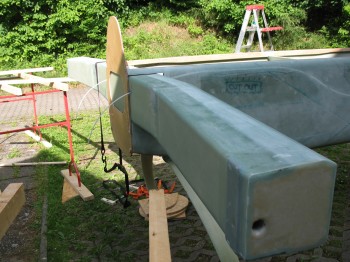
So I pulled the fuselage out into the front yard, and kept it covered while I collected the other components. Next up was the Centersection Spar which I placed into the fuselage for the first time since I completed it about 8 months ago.
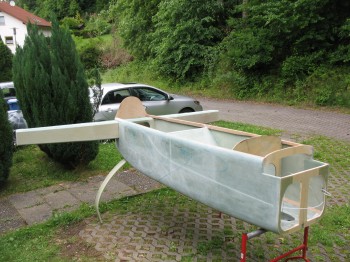
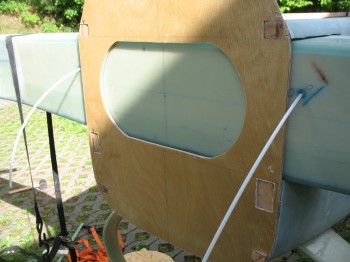
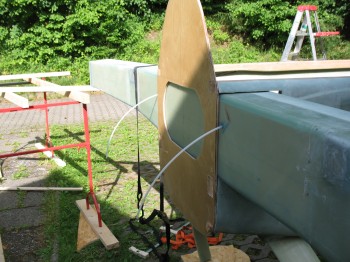
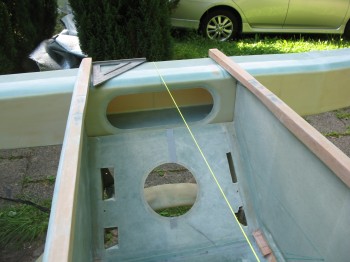
You can see in the pic below that I got the measurements correct for running the rudder cable conduit through the fuselage sidewall, then through the CS Spar and positioned just off the edge of firewall (the curved metal conduit bracket that the Nylaflo will run through will get mounted to the firewall).
I’m jumping ahead with the following pics below since they were at the tail end of the this grand mock-up as I was tearing it all apart, but I wanted to keep like pics together.

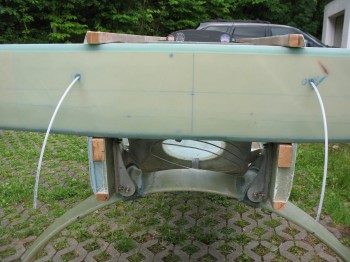
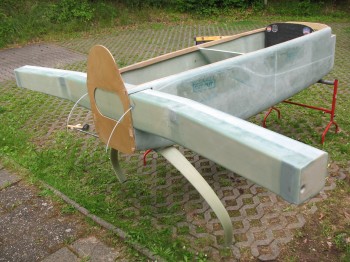
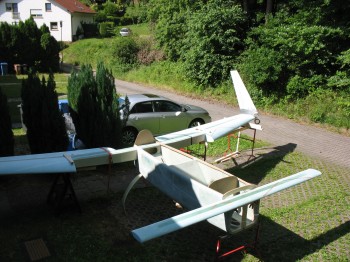
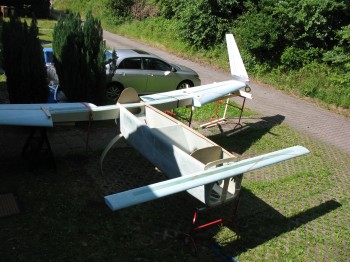
After I got the CS spar & firewall in place, I added both of the wings next. Again, besides the measurements provided to me in the plans, and of course a couple dozen confirmation measurements, I had not lined up either wing with the CS Spar to confirm that the hard points (aluminum extrusions) lined up with each other. Obviously, I was very relieved to confirm I hadn’t jacked any of my measurements up! Also, as you can see I had to throw on at least one winglet just to get an idea of how it would look. Although it was a little awkward to get it on the end of the wing so it looked half-way normal, I think I got in the ballpark. Well, and of course we can’t forget the canard… yes, it’s on there too!
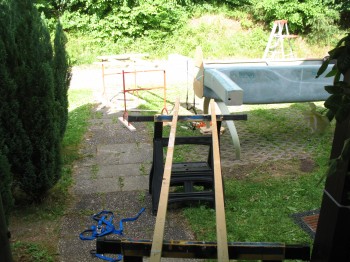
Once I got the pics above taken, now it was time to fill in what gaps I could to make it look at least a little like it had some mass to it. Next came the engine cowlings. The wind had picked up a little bit and I didn’t want to damage anything just to get some pictures, so I removed the Left winglet & put it inside the garage.
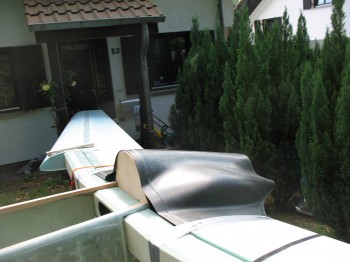
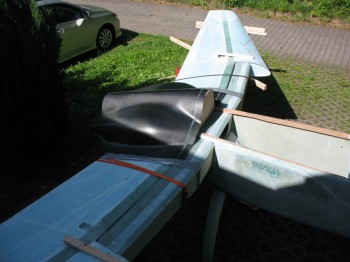
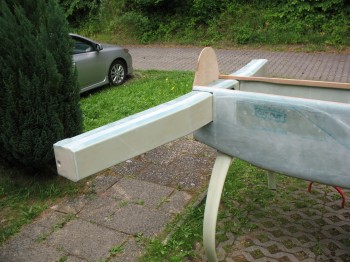
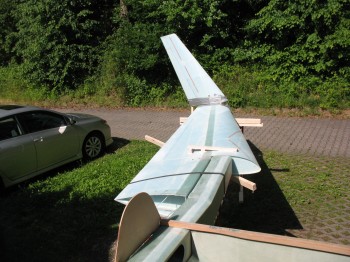
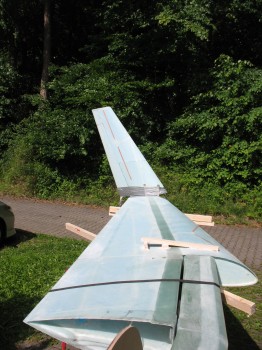
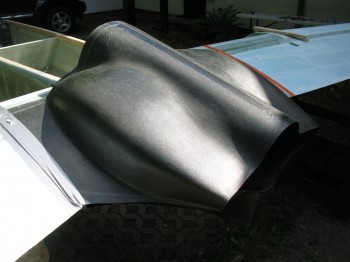
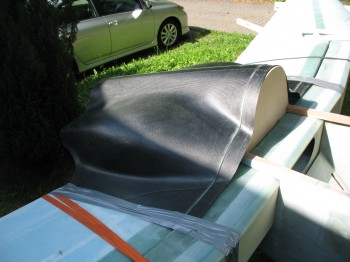
And then the following pics are more close-up shots of the upper cowling & CS spar-to-wing fit.
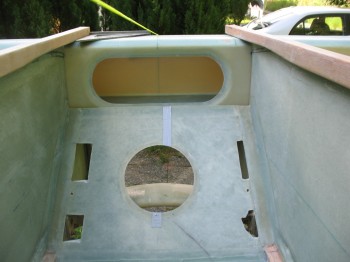
Finally, after I broke everything down and got the wings, canard, cowling & firewall back inside out of the sun, I spent some time looking at the CS spar, taking some measurements and looking at how square it was to the fuselage (this was a quick mock up to keep all the parts in the sun as little as possible–about an hour total time . . . and if you actually look at the shadow of the house on the mock-up from start to finish, there’s not that much movement). At this point the CS spar and the fuselage were in the shade provided by the sun going down on the other side of the house.
•••