Vortilons

Wing Vortilons

Vortilon construction is detailed in the Roncz Canard plans since they are a mandatory addition to the wings if flying the Roncz Canard.  There was a well-known Cozy accident that resulted from a main wing stall due in large measure to the pilot/builder removing the Vortilons before a test flight.  Clearly these little guys are critical to safety of flight when incorporating a Roncz Canard into the configuration.

Now, as far as classification . . . although these are specified & mandated in the Roncz canard plans (canard = Chapter 10), they clearly go on the main wings (wings = Chapter 19).  So I’m adding them here as noteworthy item, albeit I’ll leave this page “chapter-less.”
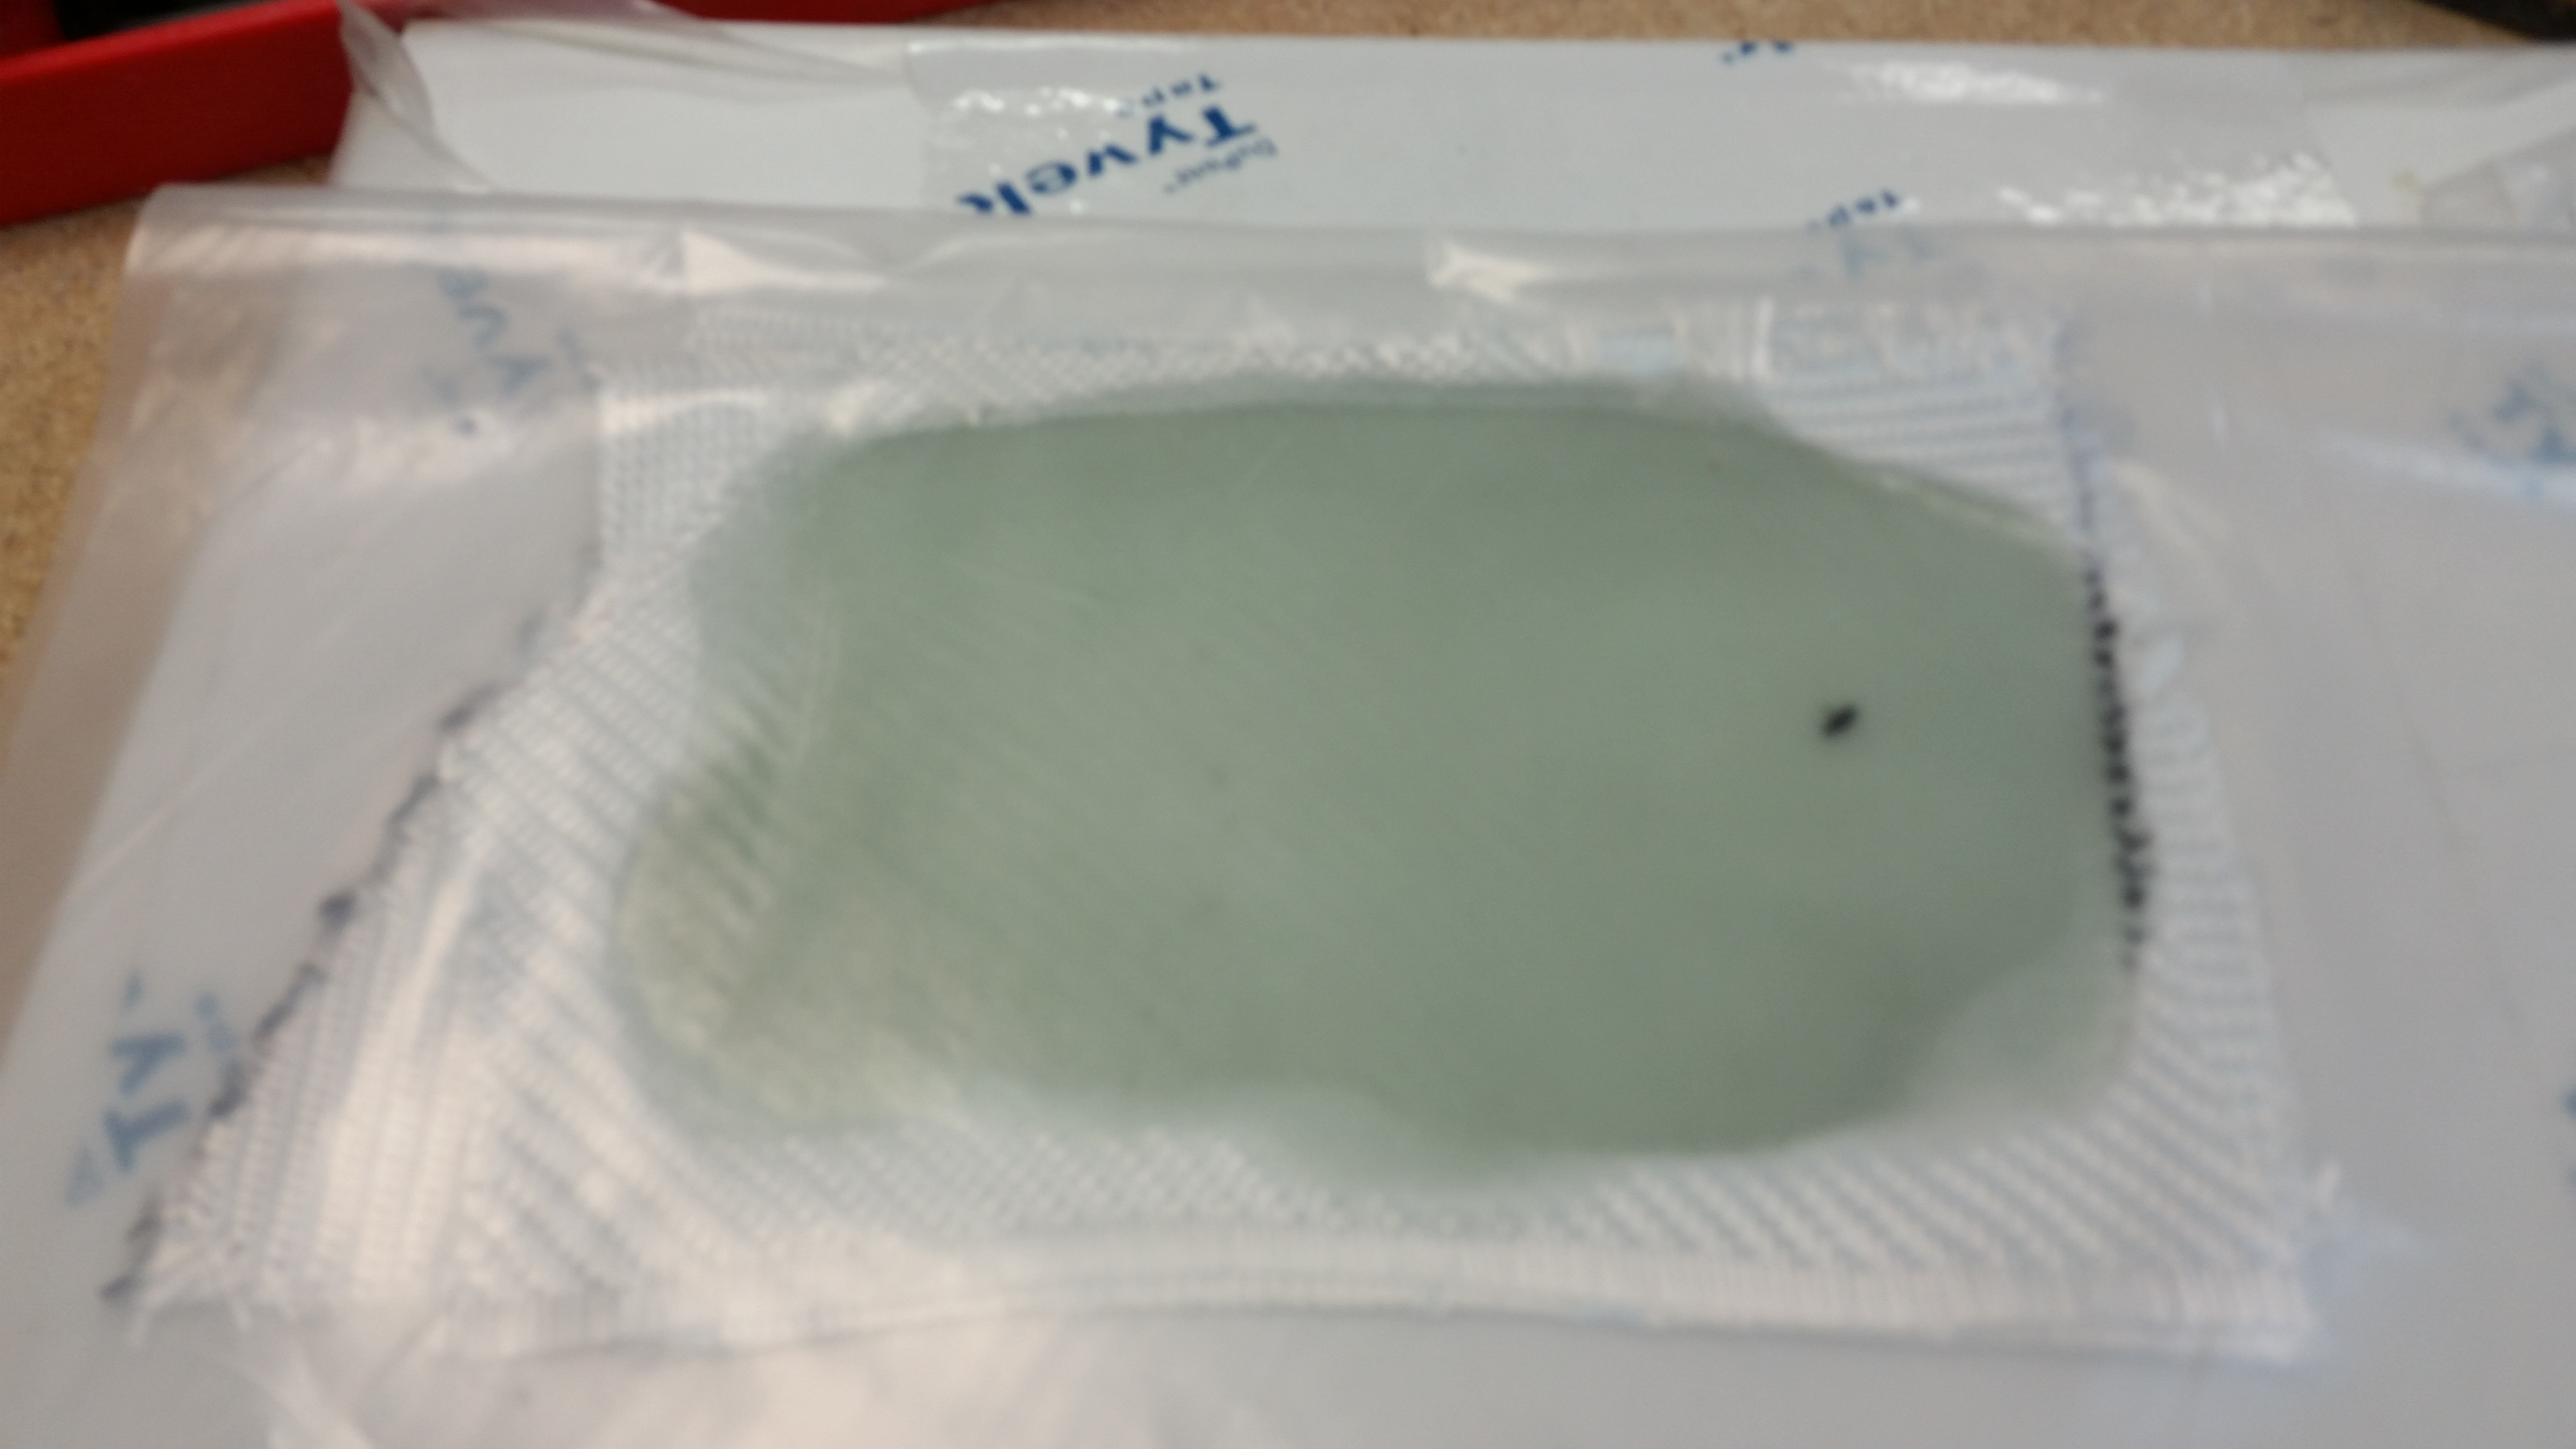
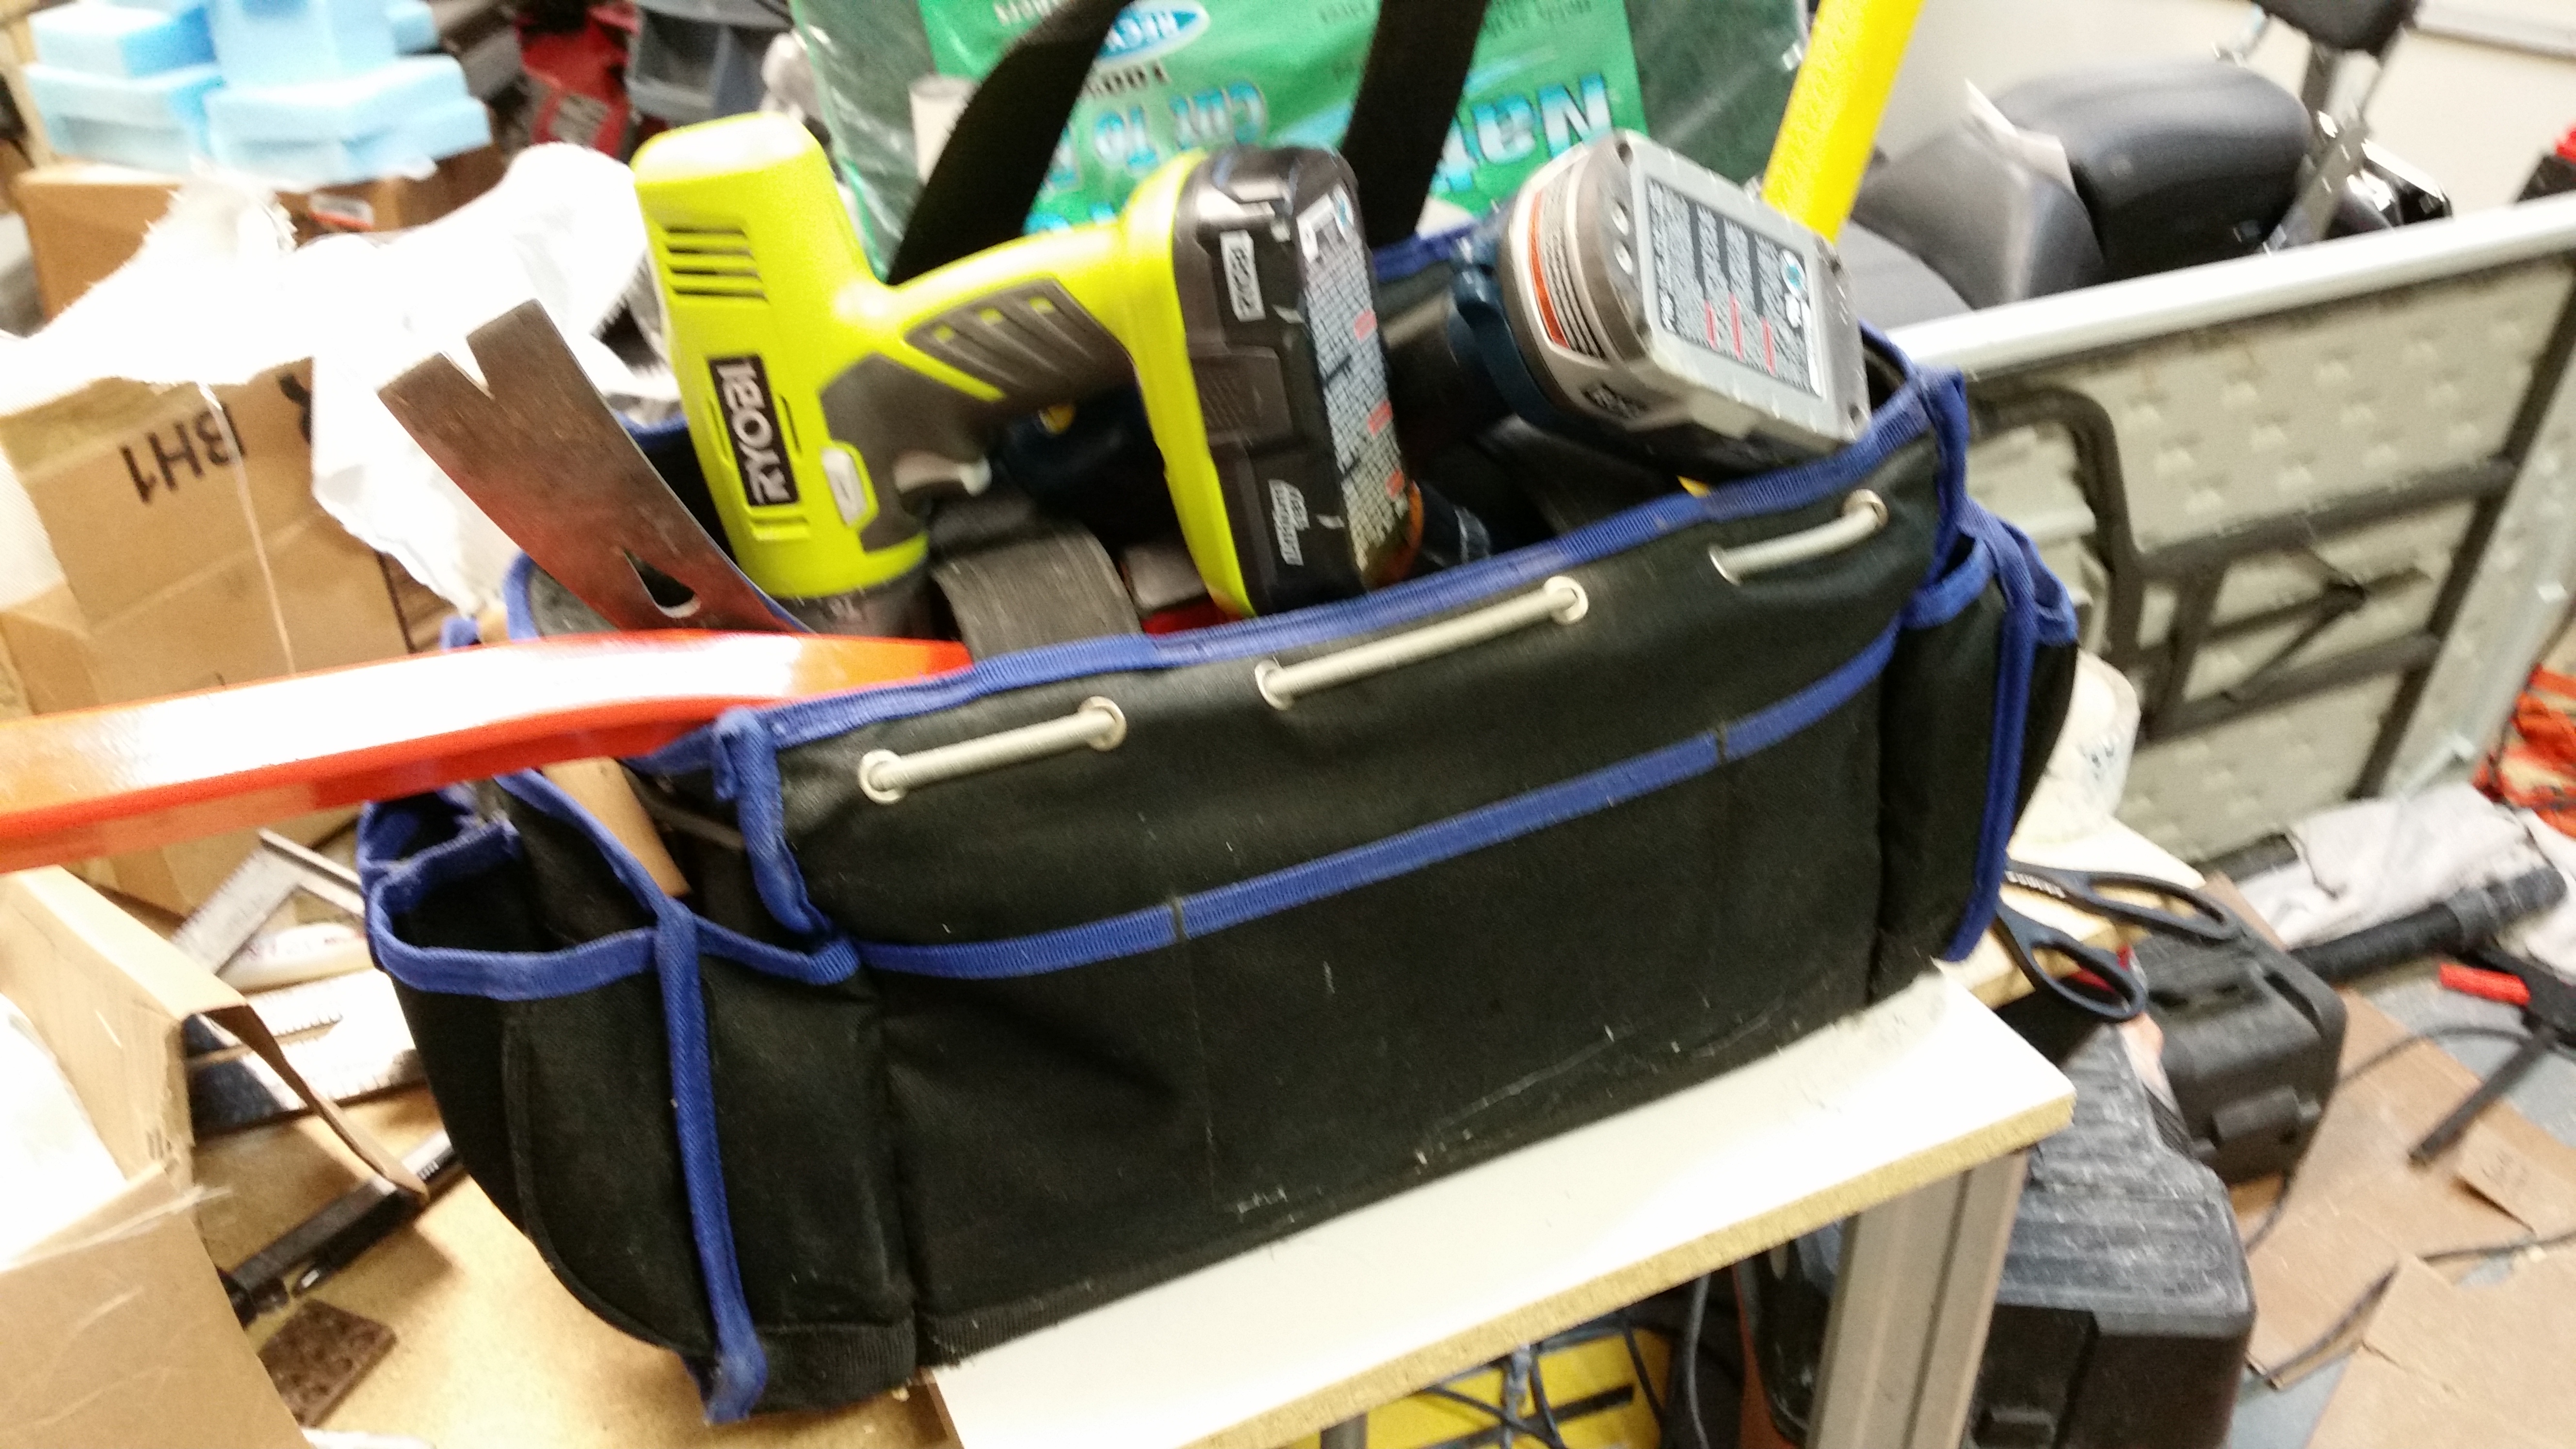
18 October 2015 Since I had a little bit of pure epoxy left over from glassing the left canard swoosh tip, I grabbed the BID scrap box and a piece of plastic to make a 4-ply BID sheet, of which I would cut out a Vortilon or two.  I laid the 4 plies of BID into a pre-preg setup and poured all the epoxy into the layup.  After heating up the pre-preg with the heat gun it flowed well enough to wet out all the epoxy.  I then put another plate on top of it and weighed it down with my heavy tool bag (pic below).

Vortilon 4-BID layupWeighing down Vortilon 4-BID layup

•••

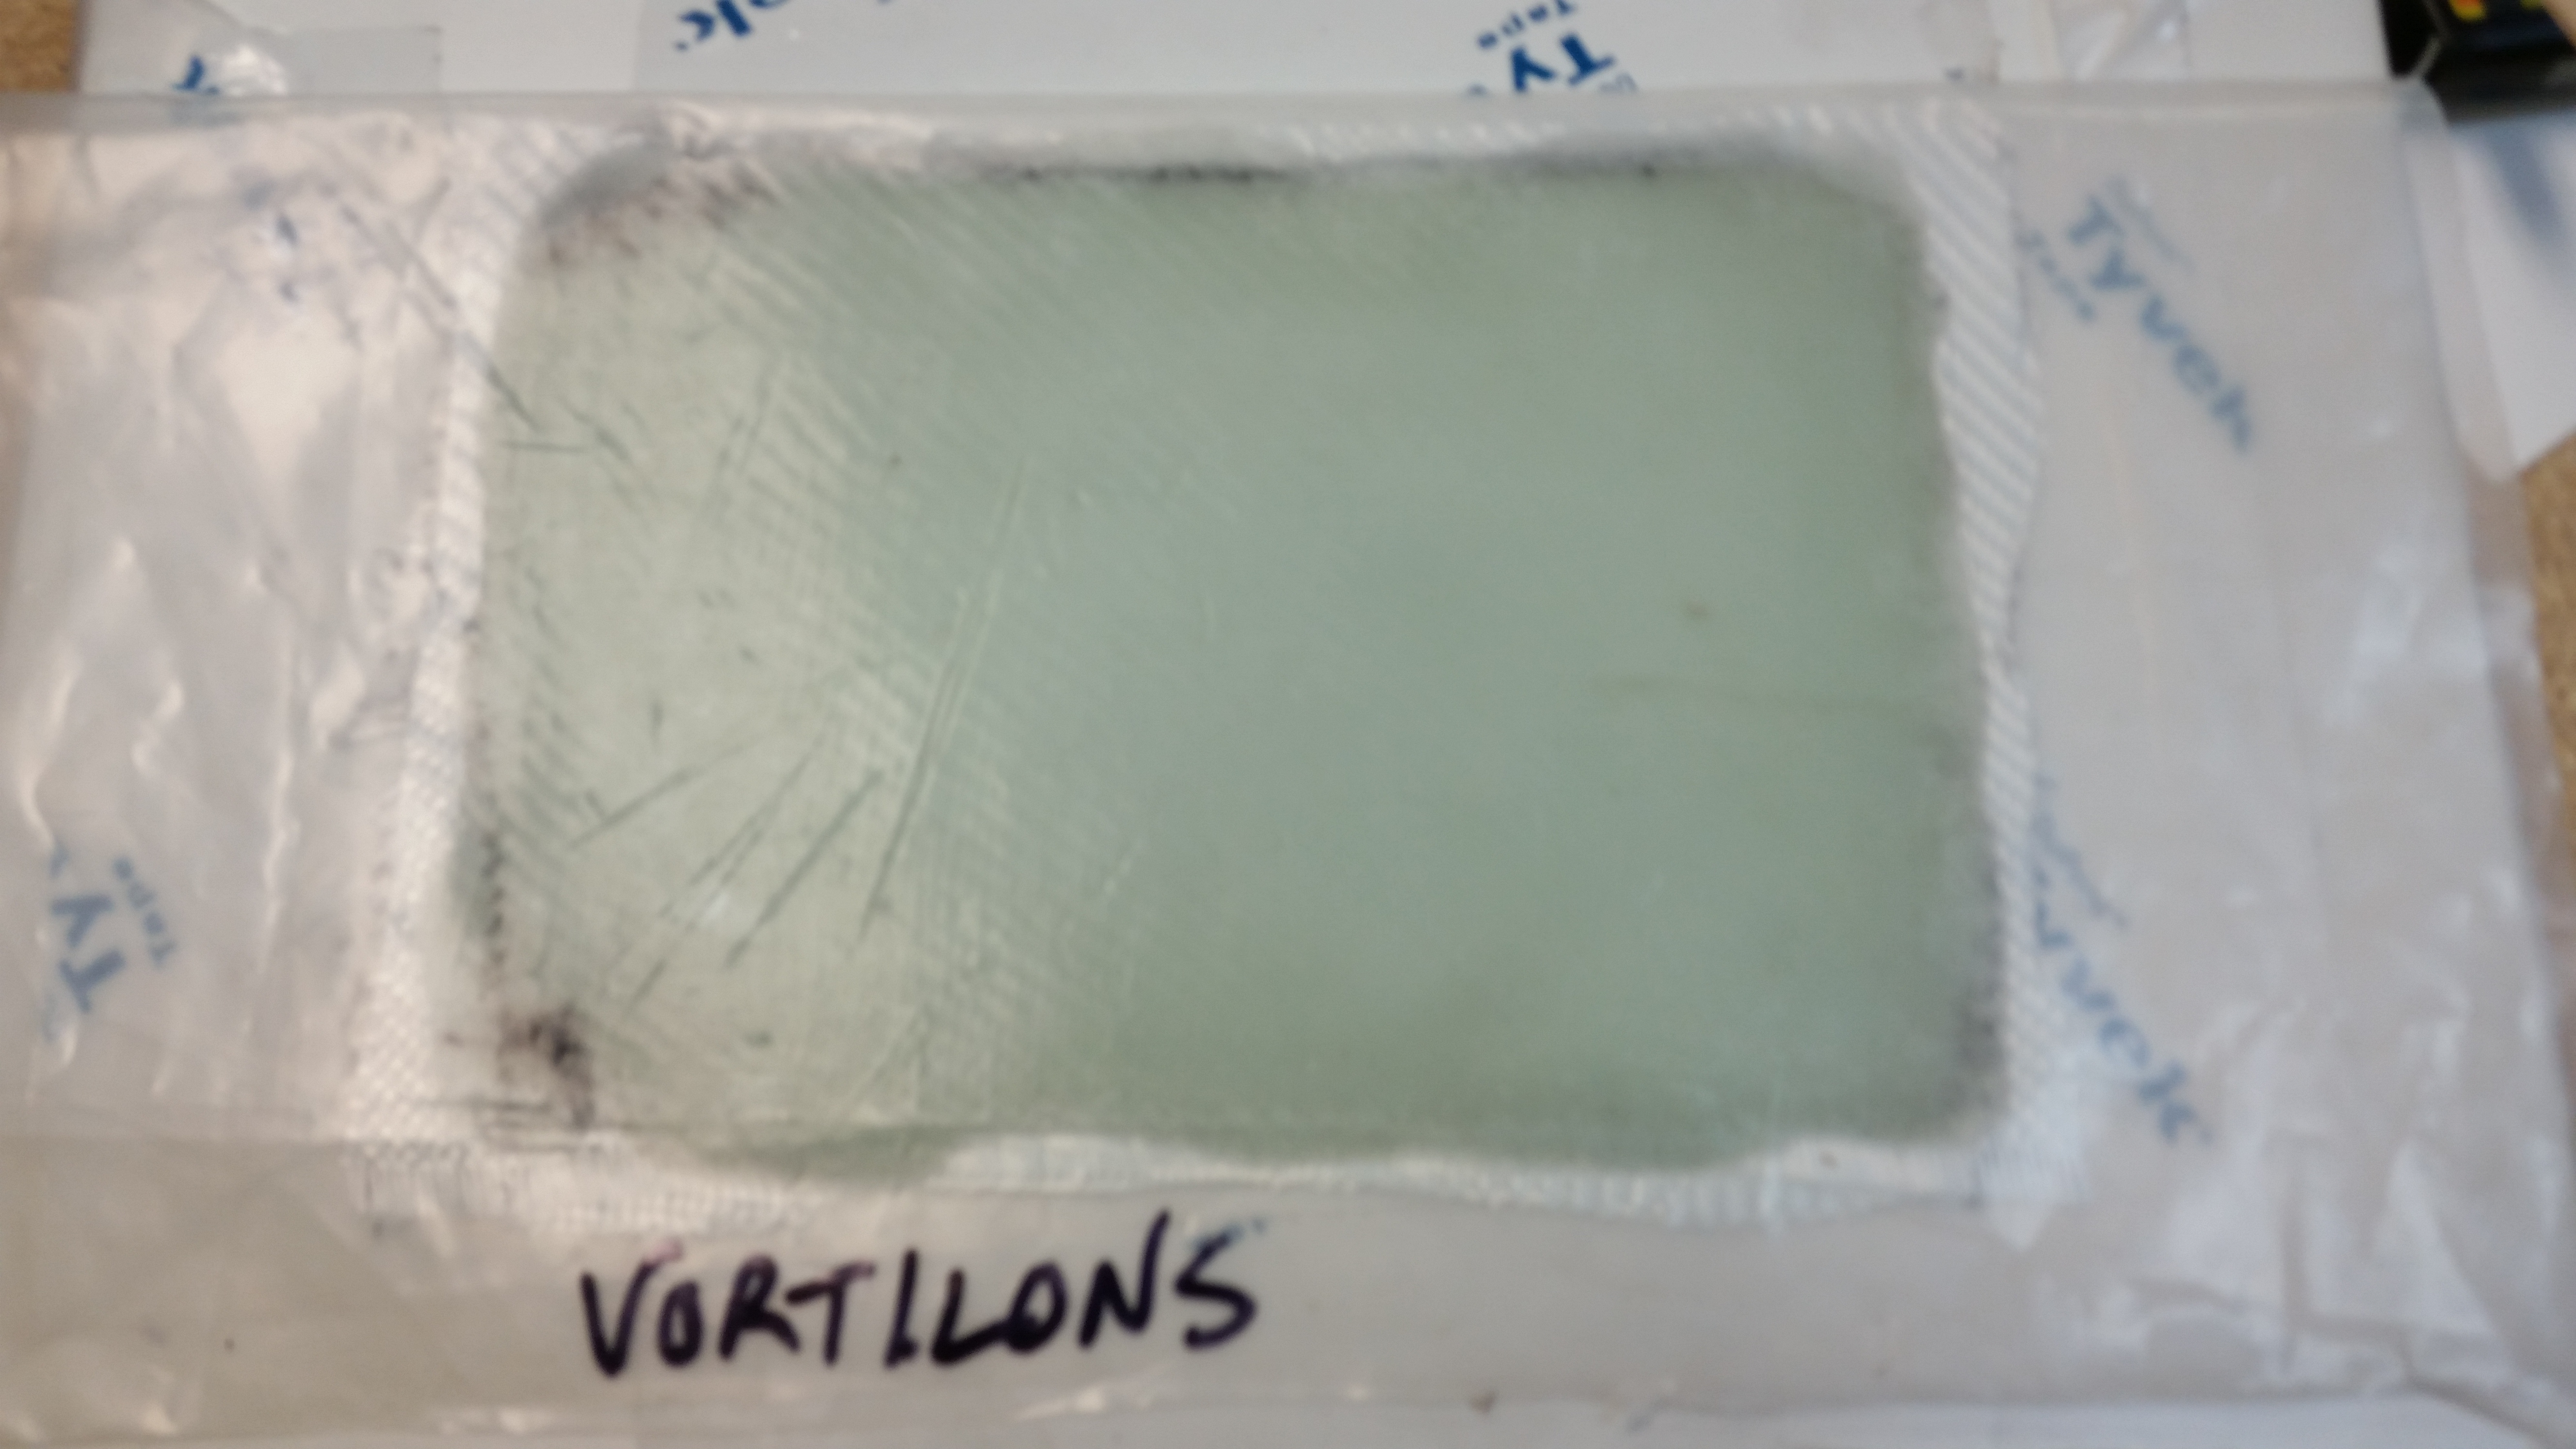
19 October 2015 — Since I had used some leftover epoxy yesterday to make a set of Vortilons, today I wrote it into the work plan to finish the set for both wings.  Here’s the 4-ply BID layup for two more sets of Vortilons.

#2 vortilon layup 6"x 8" 4-ply BID

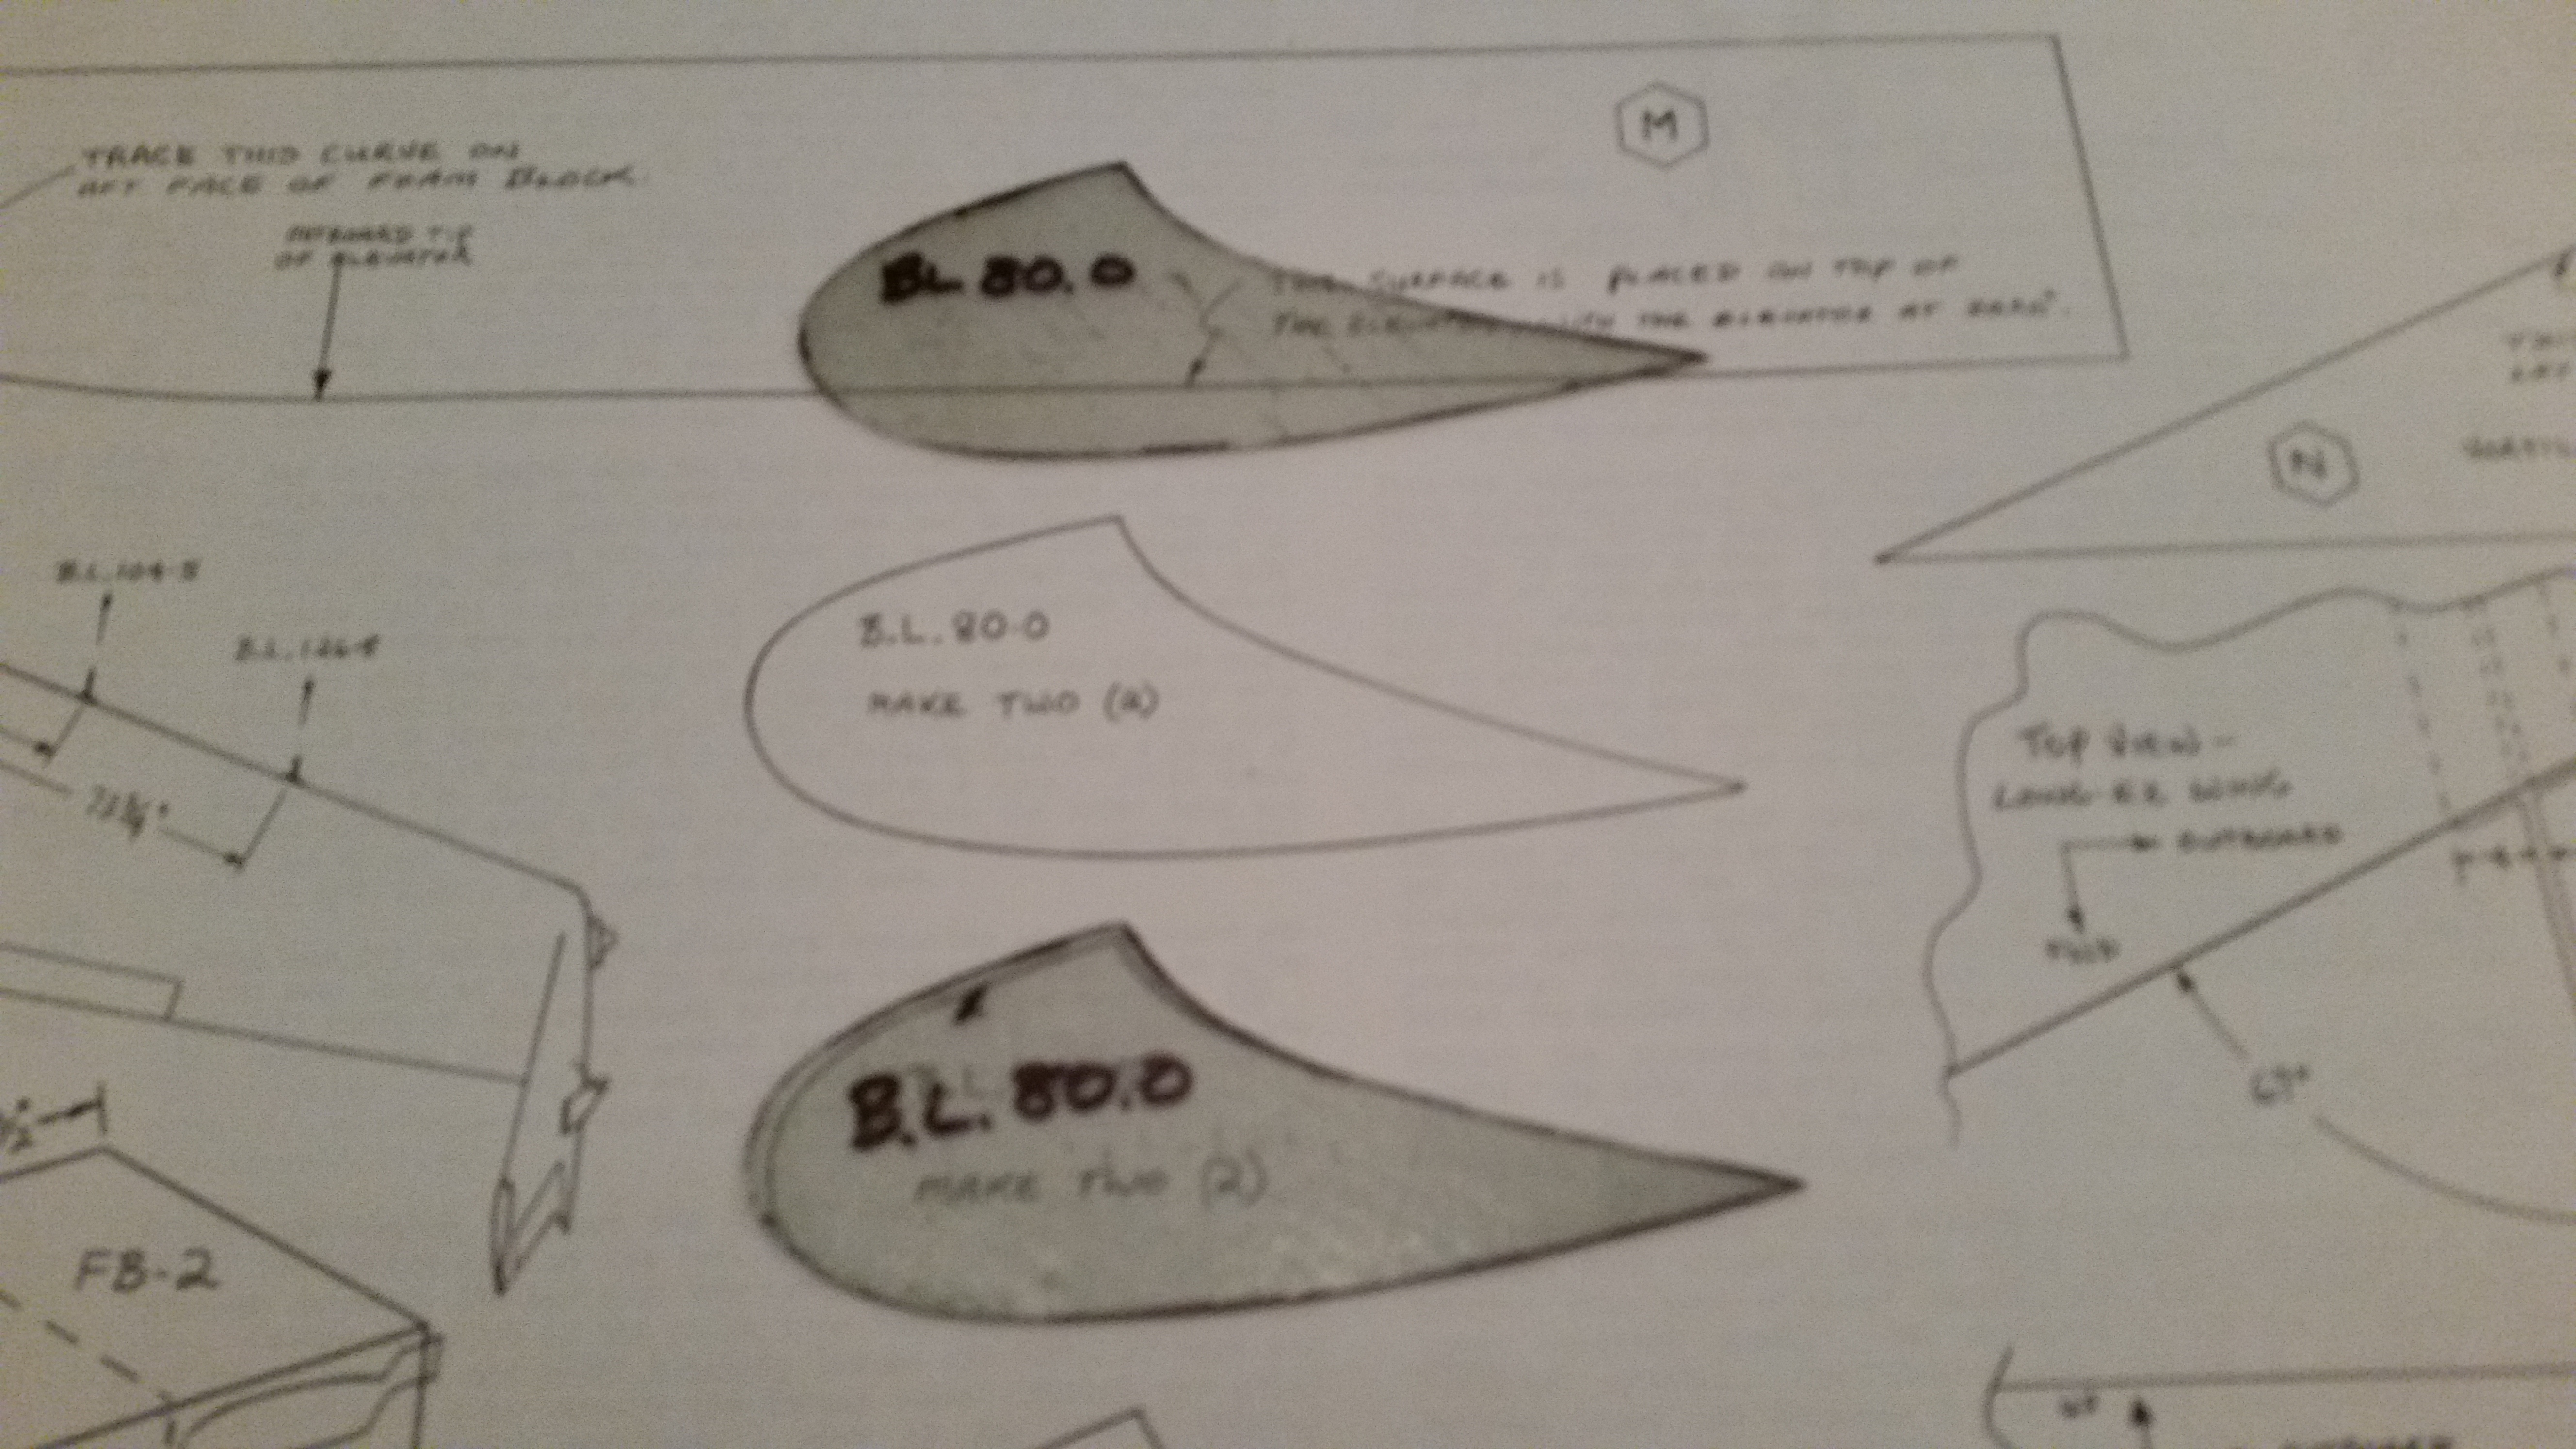
And here are the initial two that I cut from the glass I laid up yesterday.  These are the largest of the 3 sets of Vortilons.

BL 80.0 Vortilons cut

•••


Recent Posts

Project Update

Hi Folks, 

With the engine, exhaust pipes and cowling in my rear view mirror (I still need to get my exhaust pipe brackets final welded) I’m now in the final micro-finishing stage of this project. 

I had planned on pulling the engine early to start the micro and subsequent sanding, but due to the seasonal threatening cold weather, I needed to waste zero time getting onto the micro finishing.  Moreover, I simply taped up the plexiglass and seams around the canopy and am using that as my micro dust block for the cockpit.

To complete the micro finish on the bird I’ll need to have the canopy set in final position, so once the major wing and strake micro finish is complete, I’ll be knocking out the final canopy latch install.  Then the small remainder nose and forward fuselage micro completed.

Very soon after that I’ll be ready to pull the engine, cut and install the Titanium firewall and finalize the micro-finished top side of the bird to paint. 


  1. Chapter 18 – Modified canopy bracket Leave a reply
  2. Chapter 19/25 – Yeah, it’s cold! Leave a reply
  3. Chapter 19/22/25 – Lights & cameras Leave a reply
  4. Chapter 19/22 – Wing lights ops test! Leave a reply
  5. Chapter 19/22 – Light pockets painted Leave a reply
  6. Chapter 19/22 – Light standoffs installed Leave a reply
  7. Chapter 19/22 – Brackets & Standoffs Leave a reply
  8. Chapter 19/22 – Wing light mounts Pt. 2 Leave a reply
  9. Chapter 19/22 – Wing light bracket redo Leave a reply