
Hauling Fuselage to North Carolina
3 August 2018 — Today was about loading up the fuselage on the trailer to haul it down to North Carolina. [I’m posting this information here since it contains so many pics of the mounted canopy].
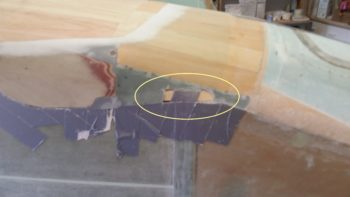
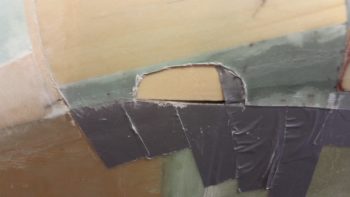
I started out by using the Fein saw to cut a notch on each side of the aft nose cover about midpoint where the openings for the canard will be located. I then spent a few minutes digging out the foam to create a channel from one side to the other. This channel will be used for transiting tie-downs through the nose.
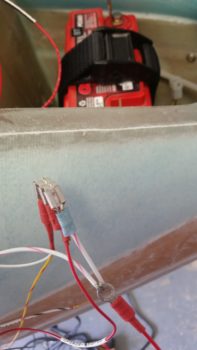
I then spent a bit of time reconnecting the wiring (with the requisite bit of troubleshooting) for the nose gear system.
I then got to work rolling the fuselage out of the shop and positioning it into place for loading it onto the trailer.
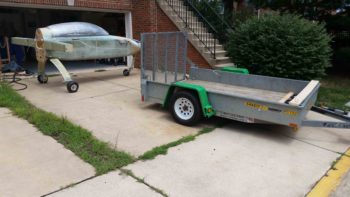
I then wheeled the fuselage into position just on the edge of the trailer ramp, with all 3 wheels positioned so that the fuselage was on the trailer CL.
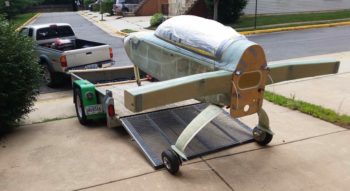

I then rolled the fuselage up into the trailer and secured it into place.
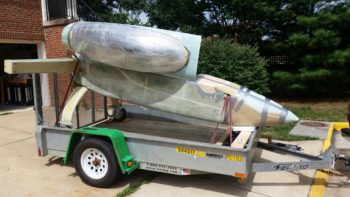

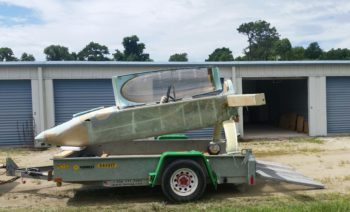
A few hours and one rainstorm later, I had the fuselage and canopy ready to roll!
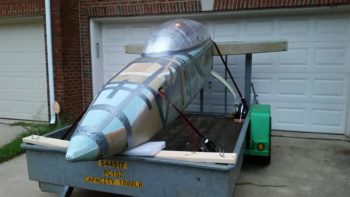
With duct tape in all the right positions, I was ready to head off on my trek down to NC.

•••
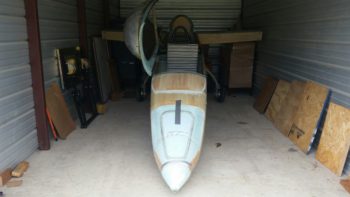
4 August 2018 — This morning I finally got around to getting over to the storage unit to put the bird in its new cage for awhile: a 10’x20′ storage unit.

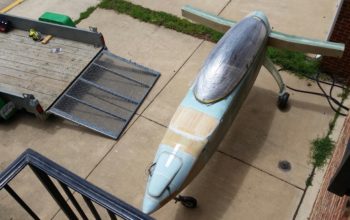
One last trailer shot before I unloaded the fuselage. I have to say I’m loving the canopy. The fit and geometry is still spot on and it’s simply a treat to open & close the canopy…. and moreover to have a canopy mounted to open & close!!
Since the front rollup doorframe of the storage unit is a few inches narrower than the CS spar width I had to do some angling machinations to get the fuselage into the unit, but it still went in without too much effort.
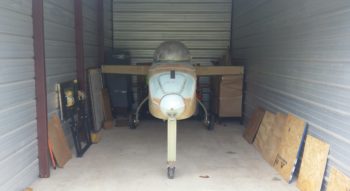
Having not seen my nose or canopy with the bird in the grazing position, I wanted to get a wide angle grazing shot.
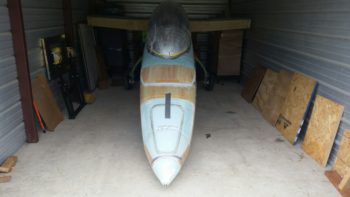
And a closer grazing shot….
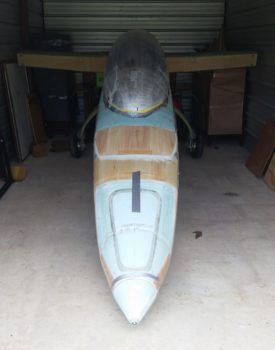
And finally a grazing shot with the canopy open.
I have to say it’s a relief to have moved the fuselage safely down to NC without any incident.
•••