
Adventures in Welding
December 2012 • January 2013 • February 2013
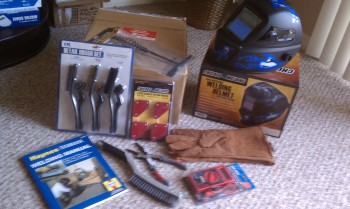
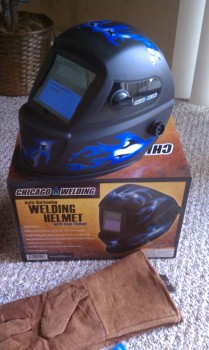
This post covers the past month or so of welding endeavors. I signed up for a class at the local adult learning annex that covers mainly stick and TIG welding, with a little MIG thrown in there as well. Of course, with all my welding stuff literally scattered across the globe, I ran to Harbor Freight to pick up some less expensive gear. Their welding helmets got great reviews online and I was able to pick up a $79 version on sale for $39, so I was fairly pleased. It works great too!
(BTW, sorry for the blurry pics, my camera has been a little funky lately… but considering it’s lived through Afghanistan deployments, being dropped off Mt. Kilimanjaro & is now slathered with epoxy as the official build camera, it’s not doing TOO bad… I hope.)
More after-Christmas presents!
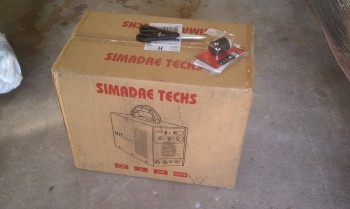
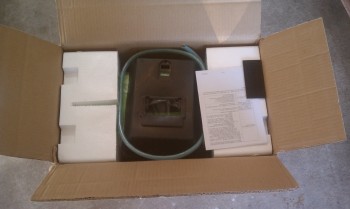
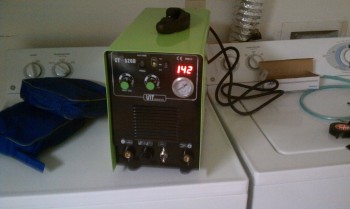
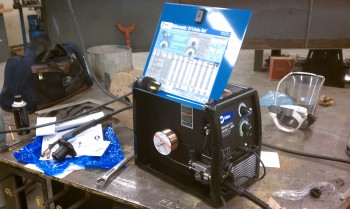
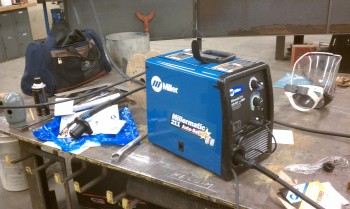
 I spoke with my welding instructor about using my own welder, if I was to get one, and he was very agreeable to it. He told me that it would need to be dual voltage because the 220V power at the school was 3-phase. So dual voltage was definitely a requirement. I was able to pick up a cheaper TIG welder that got great reviews off eBay (after a ton of research) for less than $400 with shipping. I received it in good shape & unpacked it . . . all the components looked to be fairly good quality (not uber high end, but sturdy).

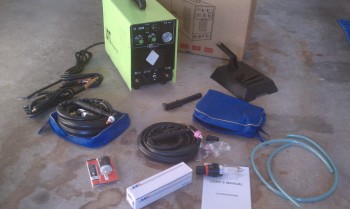
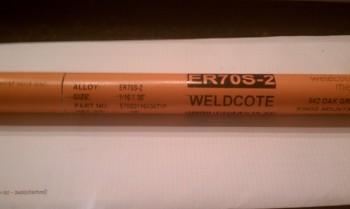
I also picked up some TIG welding rod.
I had to add my own power plug. Since I can only use 120V at school, I installed a robust plug from Home Depot.
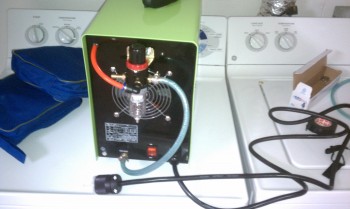
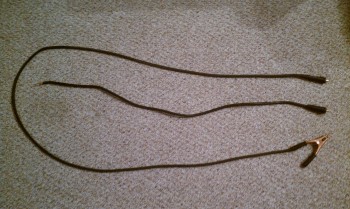
I also went to my local welding supply and had them make me a new grounding clamp cable. It’s over double the length of the one that came with the welder.
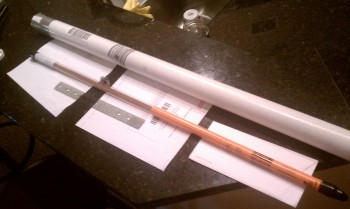
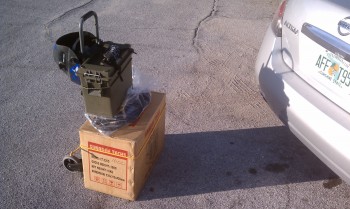
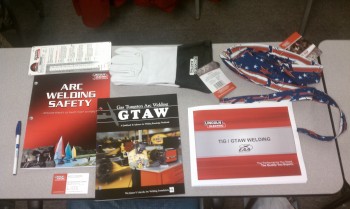
 Below is my “kit” that I used to haul my welder to/from class a couple a nights a week.
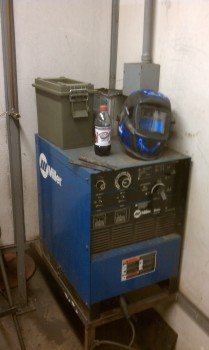
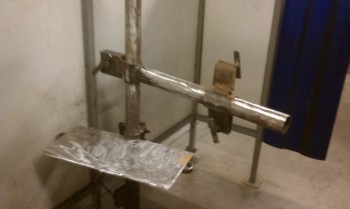
Of course my portable welder is a far cry from the monsters they use at my welding class, and the welding station setups they have for handling big chunks of metal!
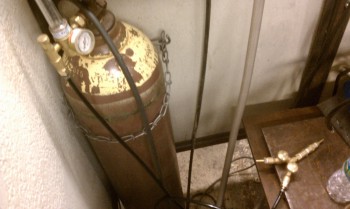
The best part of this welding class was that I could use all the Argon I wanted each night of class!
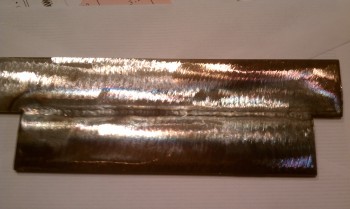
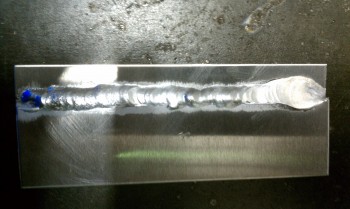
Below is my first weld using TIG. I ran this bead without welding rod filler, since I was just trying to get the motion down at first.
One of my classmates picked up a Miller MIG machine right before class ended. A very nice machine (my MIG welder in storage is an eBay special like my TIG).
•••
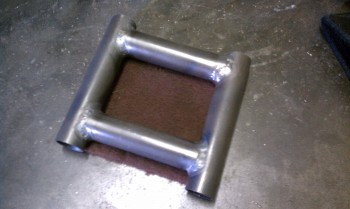
5 March 2013 — The first weekend in March I attended the EAA SportAir TIG Welding Workshop in Griffin, Georgia. Great class! I would highly recommend it for anyone who is looking to do TIG welding specific to Aircraft building, both with 4130 steel and aluminum.
This is my first experience welding aluminum . . . what a different animal. Glad I’ll only be working with 4130 steel for my rollover assembly. Still, it was fun to try something new.
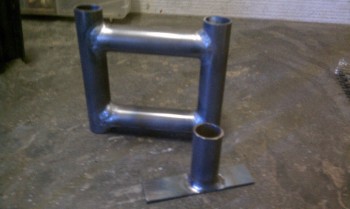
Below are a couple of practice projects we did in the workshop. I added a few pieces to a few them of them to make it a little more realistic. Our instructor was fantastic and really helped lock in our TIG site picture, pointing out how to improve our techniques & showing us a few tricks. It helped immeasurably.
August 2013 — Since I found out I was going to spend a year in the Middle East courtesy of the U.S. Air Force, I offered to “store” my welder at my buddy Marco’s workshop. Of course I thought it would simply stay in the box unused, but apparently he had other plans for it! (ha! Of course I’m kidding. I knew Marco would put it to the test, being a highly capably machinist/metal guy, and luckily for me it passed his rigorous standards!)
Click here to Marco’s initial assessment of my welder, and of course to see a much more detailed discussion on TIG welding in general than I could ever give.
And click here to see Marco’s Chapter 8 – 4130 Rollover Assembly build using my welder. Great stuff!
•••