
Chapter 24 – Covers, Fairings, & Consoles
28 June 2013 — [Note: Some of this is repeat material from Chapter 16 and 24]
I took a bunch of large pieces of scrap BID and laid them out on a FRESH piece of 32″ x 48″ sheet of 3/8″ thick foam. I planned out the layup for the back/inside of the armrests and interior-cockpit consoles and pilot seat back. (I had already created a “cut-sheet” diagram depicting how I would layout and then cut the console pieces from a 32″ x 48″ piece of foam).
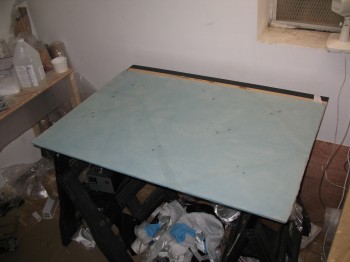
I then began the layup of 1-ply BID onto a 32″ x 48″ on a fresh sheet of 3/8″ foam. Since I would be adding different layers of glass, corner tapes, etc, I peel plied the entire sheet.
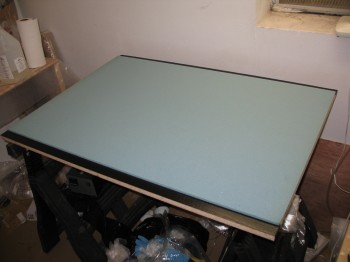
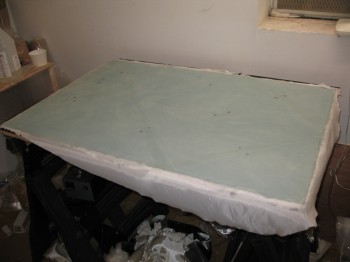
After it cured I knife edged the sides, but left the the peel ply intact.
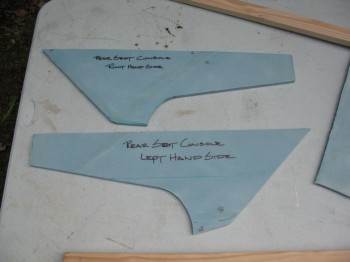
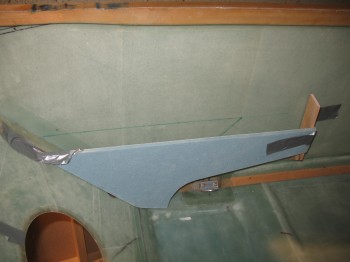
 I drew up the Right & Left rear console sides, but before I cut anything out I played around with & tested the angles a bit.
FYI – the Right side consoles are detailed in Chapter 16 while the Left side consoles are detailed out in Chapter 24.
•••
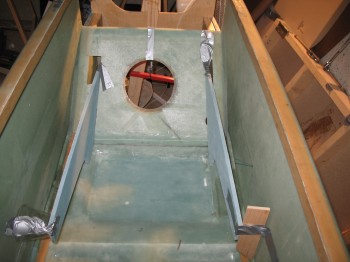
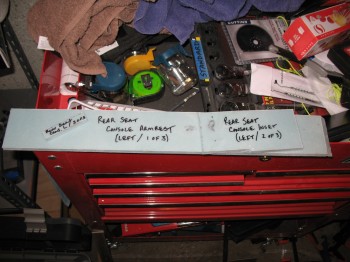
30 June 2013 — I pulled the foldout table outside and cut up the 3/8″ foam sheet into Chapter 16 Right-hand side panels, Chapter 24 Left-hand side panels, and Chapter 8 Rollover structure base (front seat back cap). First, I cut the Left rear console (You may notice that the Left rear console is not per plans. Instead of making it more like a basic triangle, I made it a mirror of the Right rear console).
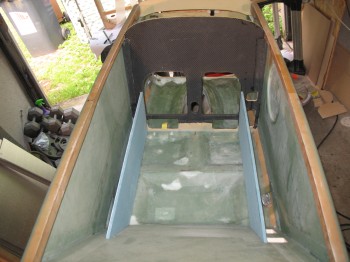
I mocked up the sides of both front seat consoles.
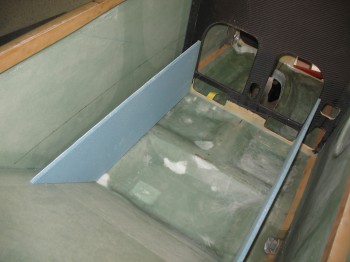
Then I turned my attention to the rear seat consoles. It took a little bit of time fine tuning the angles, mainly between the rear seat back and console junction.
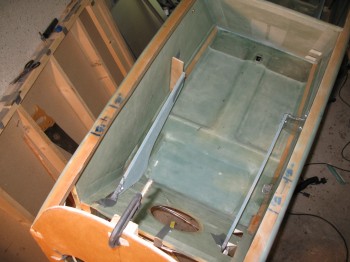
After I got the sides of the consoles fitting decently, I cut the tops and checked out how those fit. Grant it, I had to take into account that their sides are straight and the fuselage walls are curved, so the fit obviously wasn’t exactly like they will be when ready to install.
The front console sides are wedged in nice and tight, so mocking up the tops are no problem. However, the rear consoles are jury-rigged in place with tape, so even though I did a cursory check, I didn’t mock them up like I did the front… or take any pics.
•••
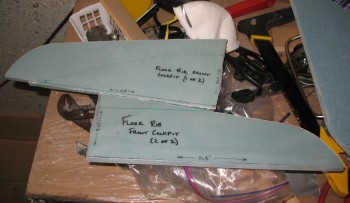
9 July 2013 — I gathered up all the individual parts of the Chapter 16 and 24 consoles, arm rests & front seat ribs for some pics, as shown below:


•••
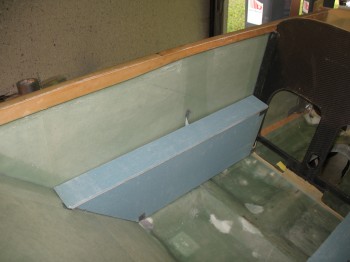
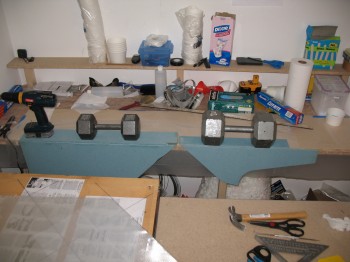
19 July 2013 — I went to work on the fuselage interior consoles (arm rests) in the downstairs shop. On the Right front and the Left & Right rear seat consoles, I mounted the top to the sides with finish nails through the foam. I then pre-pregged about a 1-1/2″ of strip of 1-ply BID and laid it up in the corner along the seam between the tops and the sides of the 3 respective consoles. These will get more glass later when they get installed into the fuselage, so about a 3/4″-1″ overlap on each part will hold it fine.
I used straight fast hardener & let the consoles set for around 15 min, then I turned them right side up and set them on the side of the work bench, held in place with weights so that they would cure at the proper right 90°angle between top and sides.
•••
20 July 2013 — I started the day off focusing on the fuselage consoles. I cleaned up the BID tapes I glassed last night on the consoles/armrests & removed the nails holding the console tops to the sides.
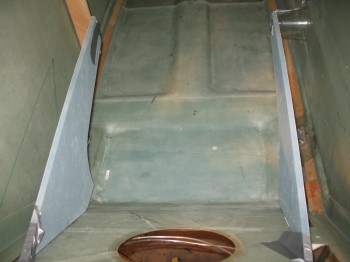
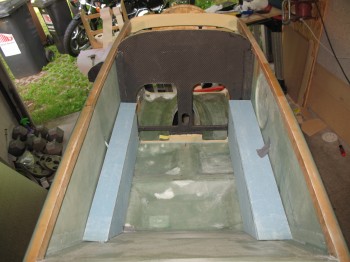
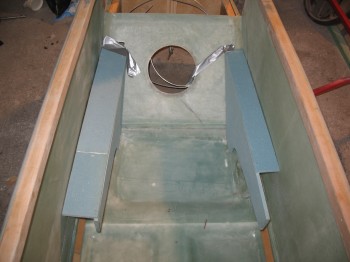
I then took the consoles out to the garage and mocked them up in the fuselage. Again, since the fuselage side is curved and the console side edges are straight, I was just looking for the general look, fit & position of the consoles. I then rounded over all the corner edges with a 3/8″ router bit.
I cleaned up any left over/excess micro and errant strands of glass on the 3 consoles. I’m waiting to build the front Left console until I nail down the mounting configuration for my throttle quadrant. The final tally on the consoles today is that the Right front & Left rear consoles are ready for exterior glass.
Now, the plans call for simply glassing 2 plies of BID over the entire exterior of the console and overlapping the layup onto the sidewall, fuselage floor, seats, etc. to secure it into place. Since I won’t install these before they get shipped back to the States, I want to provide the foam with a little protection. Thus, I’ll be glassing one ply of BID onto the exterior of the consoles, and then using a 2″ BID tape AND one more entire layer of BID to attach the consoles to the fuselage later on. It will add just a bit more weight, but then I don’t have to worry about my foam getting all dinked up in the upcoming move back stateside.
•••
12 December 2015 — Since Chapter 24 covers “covers,” I put a plug here for the the NG30 Cover. If you would like to see details on the NG30 Cover please see Chapter 13 – Nose & Nose Gear.
•••