
Initial Project Planning
Trying the Long-EZ on for Size . . .
6-9 March 2011 – After doing a fair amount of research I scrapped the idea of plunking down $19,000 for a Glastar kit in lieu of the Long-EZ Pay as You Build Plan! I mean, besides, everyone knows that you SAVE money by building your own airplane! HA!
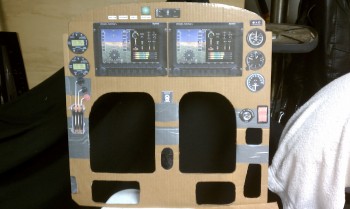
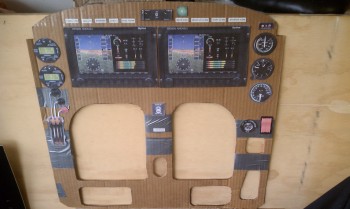
Being a newbie, I had to know what I could cram on the instrument panel and what (or who) I could cram into the cockpit.
But, being a project manager in my job instilled in me some tendencies to plan this thing out a bit. I’ve seen too many real-world projects fall flat on their face due to failed planning. And worse yet, I’ve seen havoc wreaked because a majority of project planning was based on assumptions and/or gut instincts.
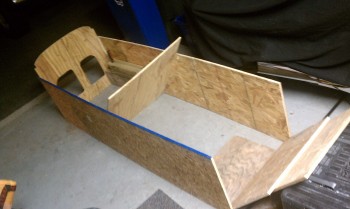
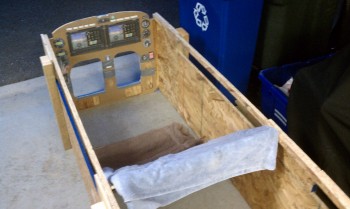
Having only been around a Long-EZ when I was about 13 years old, I wasn’t exactly sure how the feel would be in the cockpit. I had been to the airports around the area and hadn’t seen a Long-EZ, so I figured I would quickly build one myself! (Now that’s a plan!) I cut up some OSB flooring sheets to make a mock fuselage. I didn’t have enough OSB, but after a quick trip to Home Depot I was able to finish my fuselage mockup.
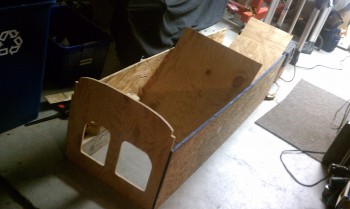
My initial fuselage mockup was just a little too short (in length & height). And more importantly, the stock width seemed just a little too narrow so I widened the fuselage mockup initially by 2 inches.
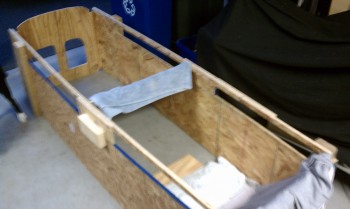
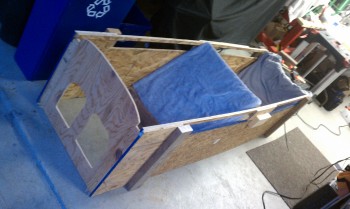
The 2-inch wider fuselage was better, but it actually felt a little too wide. I played around with different widths and plugged in the number for all the bulkheads to keep the width ratio the same and not mess with the fuselage’s shape.
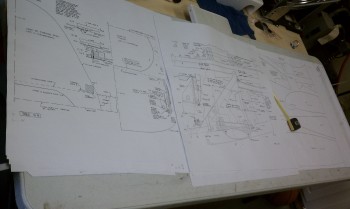
Of course to build the fuselage, I had get acquainted with the plans and their layout in fairly short order.
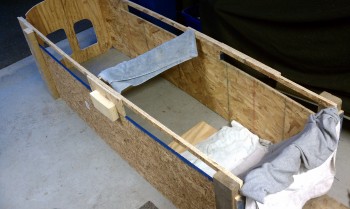
I finally settled on a front seat width of 1.4 inches wider than what the plans called for. This width would give me a little more elbow room, but not so much that I felt like I was going crazy on the widening effort. After having a few buddies try out the back seat–and actually fitting!–I checked the block for the fuselage passing my size test!
So let’s build this puppy!