
Chapter 25 – Finishing Headrest & Rollover Assembly
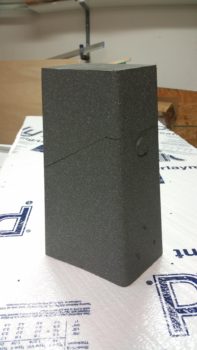
24 October 2015 — Although it’s a small piece of the headrest, I figured I would account for the GPS antenna puck cover since I was working on it. Here’s a couple shots of the micro finishing & cheese grating of the GPS antenna cover that will go on the top of the headrest (along with the ice shields that will cover the elevator weight slots in the canard).
Cheese grating vs not cheese grating:
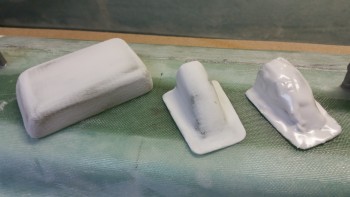
And then when all are cheese grated:
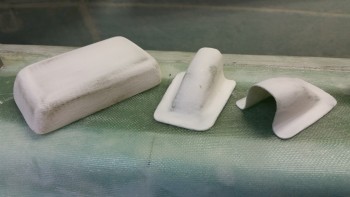
Next, I’ll final sand all these parts and start in on getting 3-5 epoxy wipe layers on this stuff.
•••
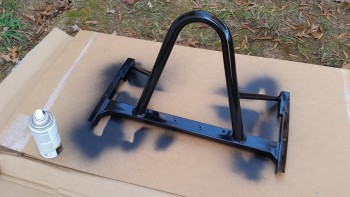
4 November 2015 — Today I was able to carve out a little time to work on the rollover assembly. I needed to sand down the base of the rollover on each side to clean up the irregular surfaces & shoot it with primer again.
I sanded round #1 using 100 grit paper on each side, then did a final round #2 sanding with 220 grit paper.
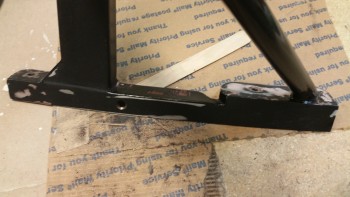
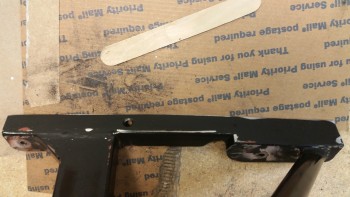
I then cleaned up the freshly sanded surfaces with Simple Green, took the rollover assembly outside and shot the sanded areas with 3 coats of the same Rustoleum gloss black primer that I used previously.
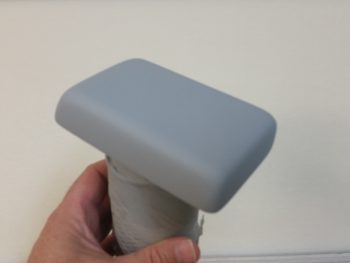
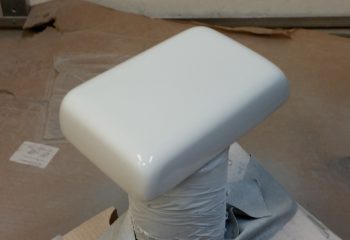
After hitting the rollover assembly with a few coats of primer, I decided to test out my boat paint on the headrest GPS antenna puck cover (which has clearly had pure epoxy and primer finish applied to it since my last post above).
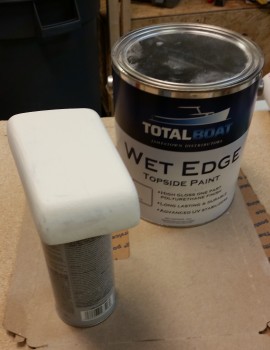
I duct taped the antenna cover to the top of a paint spray can and then brushed & tipped on the first coat of white boat paint. This will be the first of a few test applications I use to see if I’m going to move forward with using boat paint, or at least this brand of boat paint.
•••
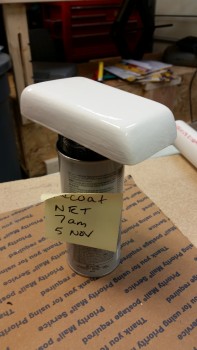
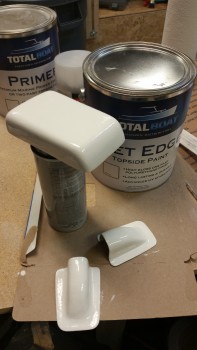
5 November 2015 — Tonight I sanded down the first coat of final top coat paint on the headrest GPS antenna puck cover, and then sanded down and added the first coat of final white paint to the elevator outboard weight ice shields.
Now, to be honest I haven’t been blown away with the performance of this boat paint. I don’t have negative feelings towards it either, but the jury is still out. I may need to look at a better way of applying it, because on these parts I just used a cheap paint brush. Thus, we shall see . . .
•••
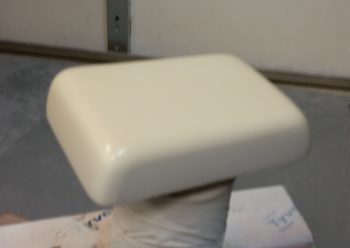
8 November 2015 — I happen to really note the color of the boat paint on the headrest GPS antenna cover and the ice shields. It’s not a bright white, as the primer is not, so I’ll be calling Jamestown Distributors this week to figure out the way ahead on that. I want the white on my bird to as white as possible… not the 1970’s dull off-white stuff. So I’ll be evaluating the paint as I move forward.
•••
10 November 2015 — I broke out the new paint to try it out. As I said before as I was looking at the actual color of the white boat paint I had ordered before, in contrast with the white label on the gallon can and a standard white piece of paper, it clearly looked off white. To compare and contrast the new paint I sanded down half of the headrest GPS antenna cover with 220 grit paper, and then painted it with the new paint. I have to say that A) the new boat paint went on much easier and laid down much better than the old boat paint, and B) the new paint seems to have more of a “blue” hue vs a “yellow” hue, as you can see below.

•••
29 April 2017 — Today I sanded down the GPS antenna cover that will sit atop the pilot head rest. It too has presented a fair number of challenges. I’m hoping over the next week to get these darn things knocked out!

I then sanded & primed the the GPS antenna cover.
•••
10 May 2017 — Today I spent a little bit sanding down the GPS antenna cover, and it needed a few dabs of Metal Glaze for some blemish cleanup. In addition, you just might be surprised how intricate the sanding job is on this thing, just to get what is seemingly a fairly simple & basic shape.
Here’s the other side that I also hit at the lower edge with some Metal Glaze.
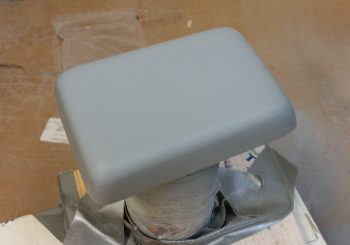
And here’s the GPS antenna cover with 3 more coats of primer, which it will need to help finalize its shape. After I give it a good wash, barring any more shaping requirements, I’ll hit it with a couple of coats of dull off-white primer as the final coat & color.
•••
11 May 2017 — Today, my last task of the evening was to wet sand & Simple Green wash the GPS antenna cover.
After I prepped it for more paint, I hit with 3 coats of white primer/paint to cure overnight. This antenna cover will not be a gloss color, but rather either semi-gloss or even flat.
•••
14 May 2017 — Tonight, my last official build act for the evening was wet sanding the Garmin GNS480 GPS antenna cover. I then hit it with 3 good coats of matt clear coating (yes, crappy pic).
With that, I closed up shop for the evening and left the lovely paint fumes to themselves.
•••
3 November 2017 — Today, again, was an unseasonably warm day . . . but I suspect that won’t last long. Yesterday was as well but I wasn’t mentally prepared to get something ‘on-the-block’ and painted. Today I was.
I figure my current tasks are such that I can do them in the garage as long as I have heating of some sort. Painting is a different animal however, and unless I want the entire shop filled with paint fumes for a good day or two, I like to get painting done outdoors.
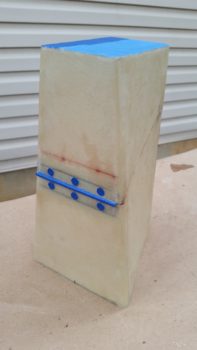
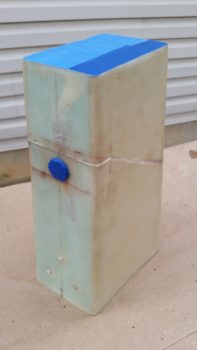
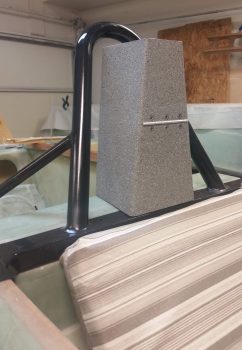
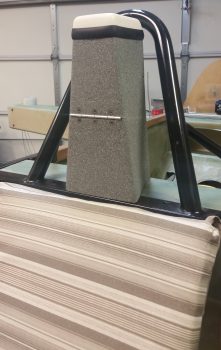
So I started off today prepping my pilot seat headrest for paint. I considered removing the hardware but that would be too much of a pain, so I simply covered it all with blue tape. I then gave it the once over and did some light sanding and hit it with a flat razor blade in some spots to get the surface smooth. Then I gave it a good wash down with Simple Green, rinsed it well and then dried it off.
I took the headrest outside, hit it with 2 light coats of primer as you can see in the before & after pics below.
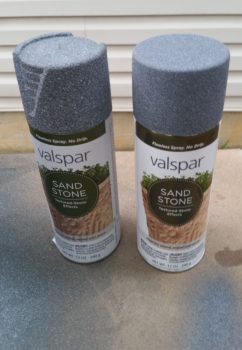
I suspected that I was going to run out of the darker Valspar Sand Stone top paint –which I did after 1.5 passes– so I picked up another can the other day while I was out. But an odd thing occurred that I’m not sure if I’ve seen before. The cans had different lids both in shape and color, yet the cans themselves were identical, with the same name, model number, etc. Yet still, the paint was DIFFERENT, and did in fact match the color and texture on the lids which you can see are clearly different. I tried shooting a test patch with the new paint, and sure enough it was different… how odd. Good thing I noticed and didn’t dive right in and continue painting the headrest with a slightly different color!
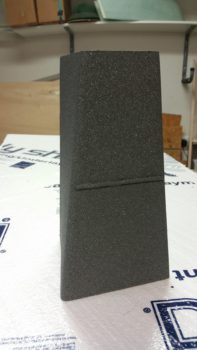
A little later I brought the headrest inside. Interesting how dark it looks under shop lights vs. out in the daylight.
•••
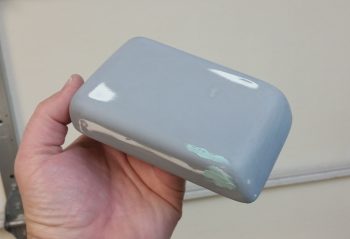
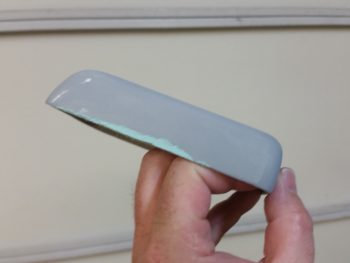
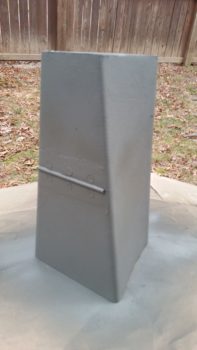
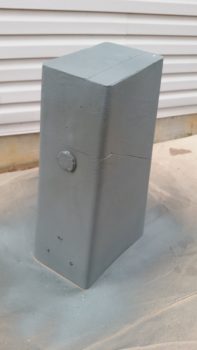
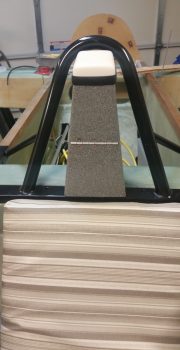
3 May 2018 — Today was the first day in a LONG time that has been warm enough for painting. Since my pilot headrest was still taped up from the first round of painting this was definitely low hanging fruit. [You may remember the cans of spray paint, although labeled the same, were distinctly different colors so I dumped my 2-tone cabin paint scheme and am simply going with one color]. I painted a couple of coats of the gray granite on the head rest and then after about 4 hours I hit it with a couple of coats of matte clear coat. A few hours later, when the clear coat had cured to the point to allow handling, I removed all the protective tape from the headrest.
I then attached the RAM air ball with a screw and put the keys back in the lock (mainly in an attempt to help keep track of all this stuff!).
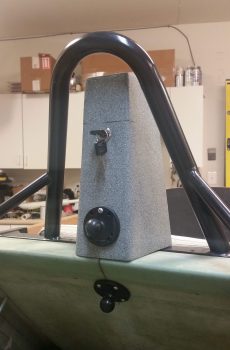
I then set the GPS antenna “radome” back on top… just something for a little fun and to spark some conversation at fly-ins! (grin)
•••