
Chapter 19 – Baggage Pods
Since the baggage pods attach to the wings I’ve annotated them in Chapter 19.
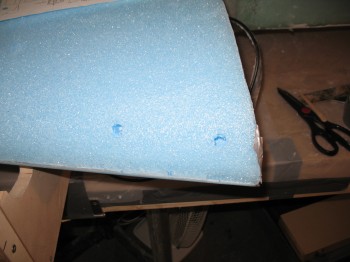
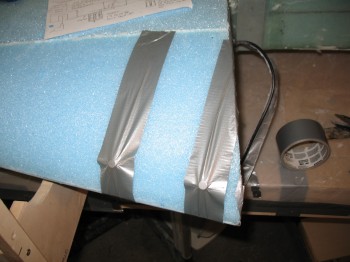
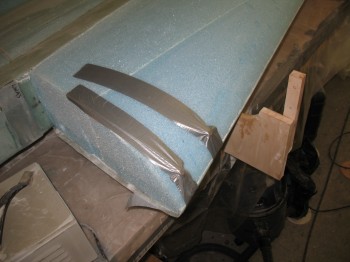
5 August 2012 — Today I went ahead and floxed in the threaded hardpoints for the baggage pods into the right wing. Obviously, I didn’t flox in the 4 hardpoints on the bottom of the wing & will wait until I actually install the baggage pods for those. I’ll do the 2 on the top of the wing since they are much more visible, and wanted those holes to be as clean as possible. For the measurements, I came back 1.75″ from the LE & set them 4″ apart.
•••
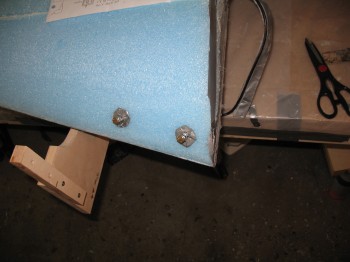
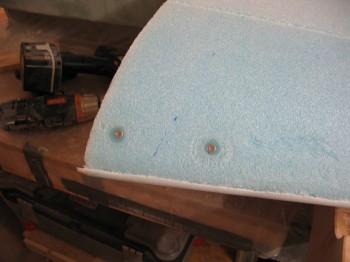
6 August 2012 — Today I removed the bolts/taped washers from the baggage pod threaded inserts & Dremelled the edges flush with the wing foam surface.
•••
19 August 2012 — Today I floxed in the two upper baggage pod threaded inserts on the front of the left wing. I taped them in place so that the flox cured nice & flush with the surface of the foam.
•••
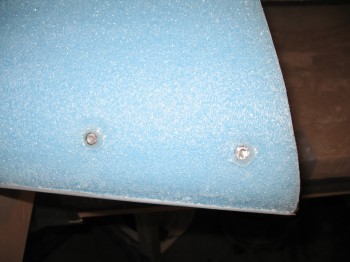
20 August 2012 — Today I took the tape off the baggage pod threaded mounts. I have to say they came out good.
•••
8 August 2018 — Today I decided to get some of the prep work knocked out on the baggage pods.
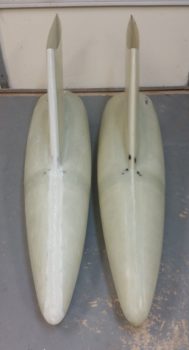
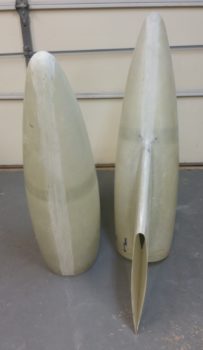
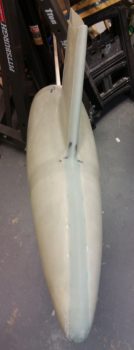
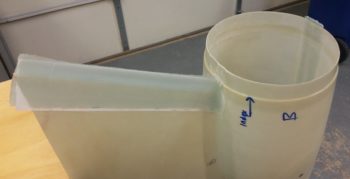
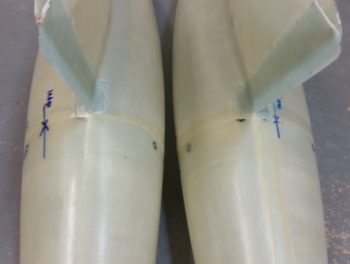
The first task was to sand the depression all away around the seam down the front of the pylon and the body of each baggage pod. Below you can see the baggage pod on the left has been sanded while the one on the right has not.
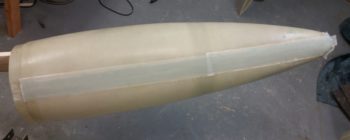
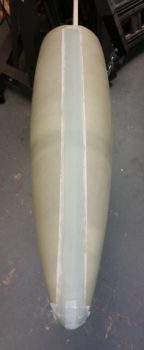
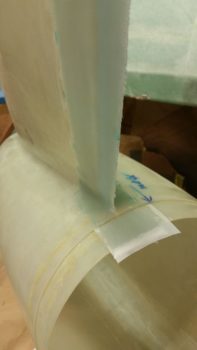
And here’s the bottom side seam sanded as well. The depression that Gary Hunter created about the seam is deep enough to handle 3 plies of BID.
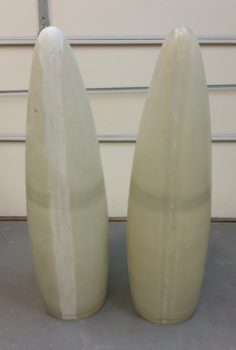
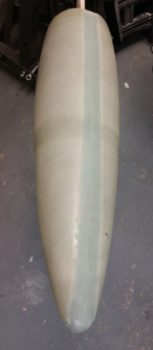
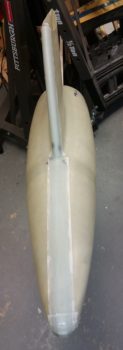
Here we have both baggage pods’ forward sections sanded about the CL seams.
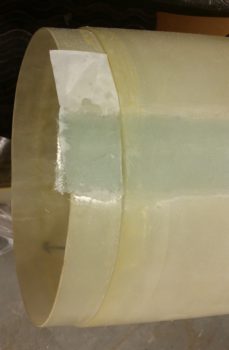
I then laid up 3 plies of 2″ wide BID tapes around the seams & inside the depression on one of the baggage pods.
•••
9 August 2018 — I took a short break this morning to pull the peel ply and clean up the edges of the major CL seam layup on baggage pod #1.
Later this evening I laid up a 4 ply pad of BID on the aft bottom end of baggage pod #1 that will serve to reinforce the lip for attaching the baggage pod aft cone.

I then laid up 3 plies of BID around the main CL seam on baggage pod #2 just as I did on the first baggage pod last night. I then peel plied the layup.
•••
10 August 2018 — I started out again by pulling the peel ply and cleaning up the major seam layup on baggage #2 earlier in the day.
Then later on I did the small glass layup on the aft bottom interface ring for the aft cone to attach to on baggage pod #2. Optimally this would be an extension of the major seam layup, but with the joggle right there I didn’t want to mess around with a good chance of distorting either portions of the layup, so I just separated these layups into 2 distinct parts.
Although my way is not as optimal in strength as carrying the glass all the way through, I have no doubts it will be plenty strong for my baggage pod ops. In fact, since the matching layup on pod #1 wasn’t quite thick enough, I laid up 5 small plies of BID here on pod #2.
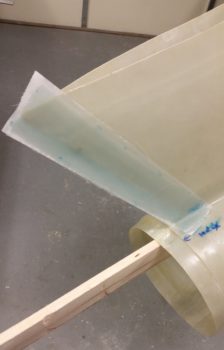
I then laid up 3 plies of BID –as per Gary Hunter’s instructions– on each side of the pylon’s trailing edge of baggage pod #1. Right at the trailing edge, filling in a small gap between the 2 layups, is a bead of flox. I then peel plied the layup and left it to cure.
•••
11 August 2018 — Today I pulled the peel ply from pod #1’s pylon TE layup, but I really didn’t get a chance to clean it up or trim the glass. As you can see in the pic below, I didn’t get around either to trimming the glass on the lower perimeter layup on the tail cone mounting flange on pod #2.
I did however get the pylon TE layup glassed on pod #2. After laying up the 3 plies on each side I then peel plied the layup. I will say that what makes this layup a little tricky is the flox wedge that lies between the 2 sides of glass coming together as the transition for the rather thick pylon TE. Of course the goal is to get an even amount of flox all the way along the edge to get a nice uniform glass-to-glass shear bond.
With the bit of epoxy I had left over from the pylon TE layup on pod #2, I glassed in 5 plies of BID on the top flange of pod #1 to fill in the CL depression and even out the tail cone mounting flange profile.
That’s it for today’s build escapades . . . and so for the pods themselves the heavy lifting is over for the more entailed layups.
•••
12 August 2018 — I started out today by trimming all the overhanging glass with the Fein saw.
I then drilled pilot holes and clecoed the tail cones to the front pod sections. After that, I then drilled out the wider diameter holes for CAMLOC/Skybolt 1/4-turn fasteners.
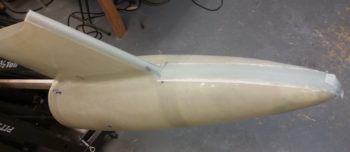
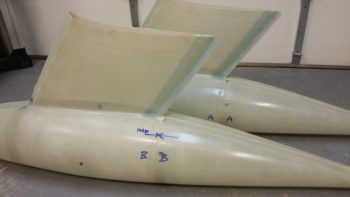
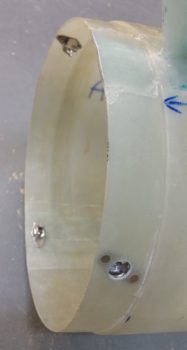
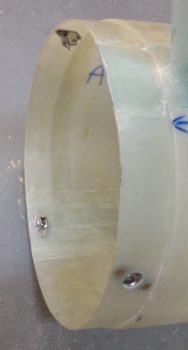
Here’s a shot of both the trimmed glass on the pylon TEs of both pods, and the top 2 CAMLOCs mounted in place.
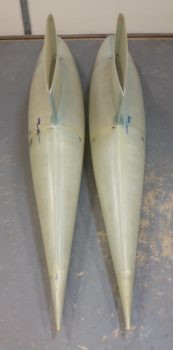
A wide view of the assembled and glassed (lower assembly) baggage pods.

A shot showing the “business area” of the glassed pylon TEs and the attached tail cones via CAMLOCs.
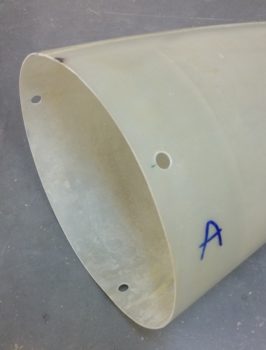
An example of CAMLOC attach holes on the tail cones.
And the Skybolt lightweight stainless steel receptacles. I have to say, these are quickly becoming my favorite 1/4-turn fastener receptacle. Light yet strong!
One slight issue that I had is that since I added extra plies of glass to the lower flange on one of the baggage pods, I will have to order a longer CAMLOC stud to use in lieu of the -7 stud I currently have on-hand for both bottom CL attach points. No big issue of course and I’ll simply add it to my next ACS order.
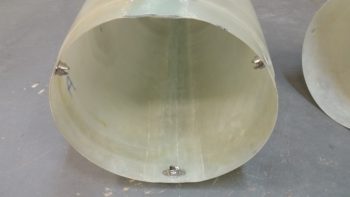
The first shot below focuses on the exterior side of the Skybolt receptacle (right side, in the hole) and the next shot focuses more on the interior receptacles. As a point of note, to set the interior side of the rivets on the upper receptacles I had to use a small piece of 2024 aluminum as an impromptu bucking bar.
•••