Section VI – Landing Brake
The Landing Brake plans are titled Section VI because they are a holdover from the Vari-Eze plans. In Chapter 9 of the main Long-EZ plans, the landing brake plans are simply called out in the the upper corner in a quick reference to the Section VI plans. Not only are the the Section VI plans Vari-Eze plans, but they were never actually incorporated into the Long-EZ plans or even relabeled to identify them with the Long EZ–so they are still titled as “Vari-Eze Section VI plans” with the new dimensions/instructions for the Long-EZ called out in Canard Pusher Newsletter plans changes.
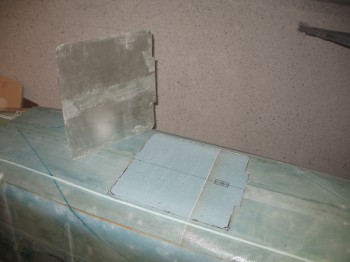
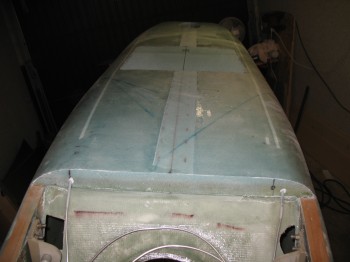
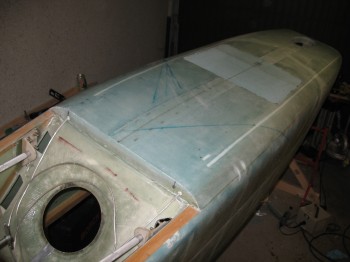
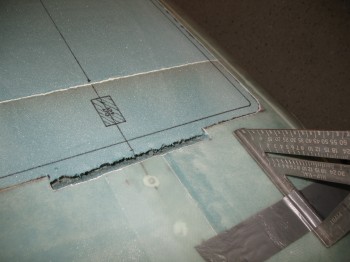
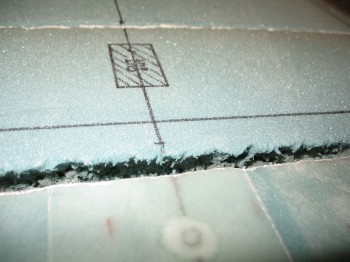
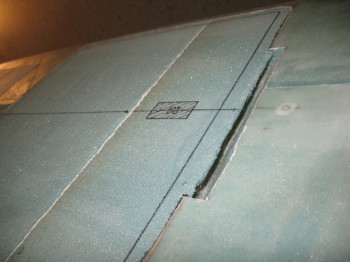
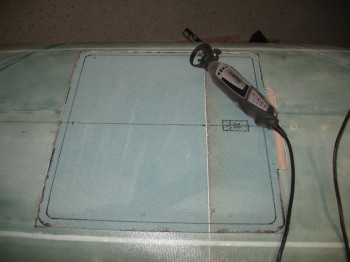
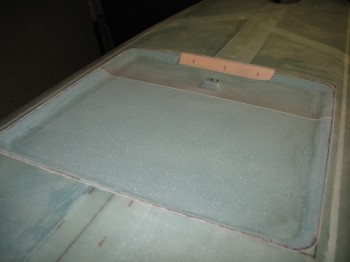
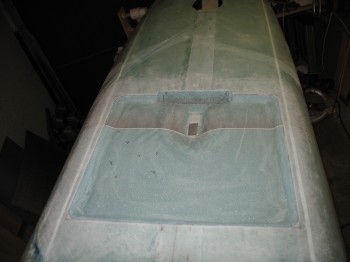
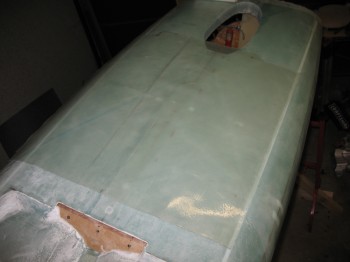
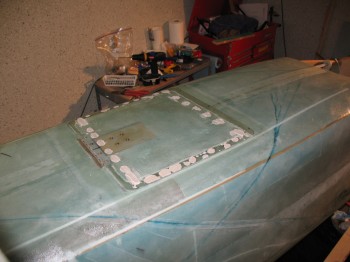
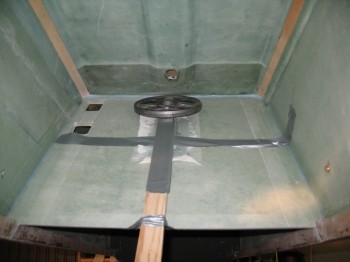
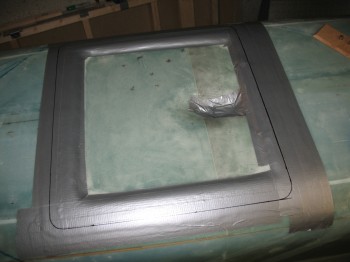
18 June 2012 — If you remember, well before I skinned the fuselage I covered what would become the landing brake area with duct tape. Now with the fuselage glassed, I took the Dremel and carefully cut the outline of the landing brake and removed the fiberglass brake outline and the duct tape.
•••
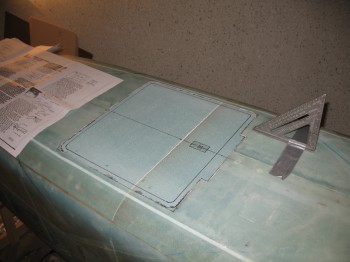
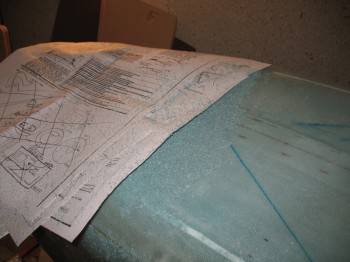
19 June 2012 — Today was all about the landing brake. I got all my tools and the Section VI plans together and deployed to the workshop, where I started in on some serious foam-work.
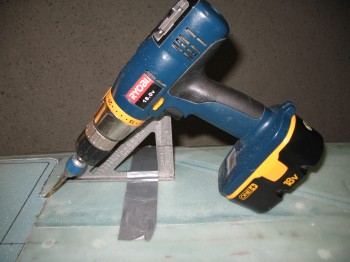
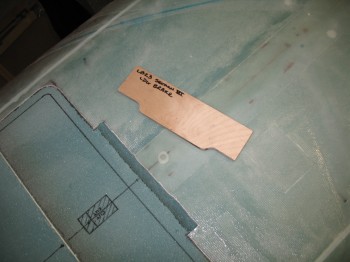
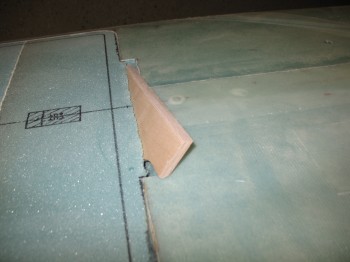
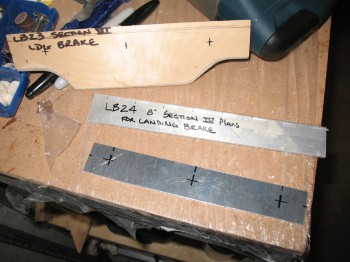
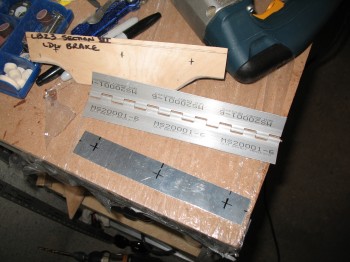
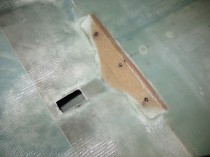
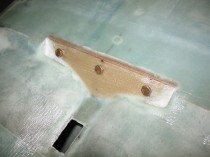
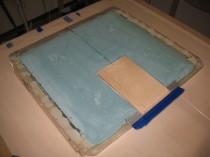
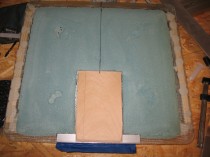
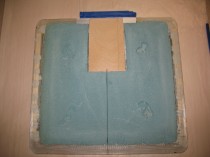
The first task out of the gate was drilling a 45° channel for the landing brake hard point, a piece of 1/4″ Finnish Birch (same stuff as the firewall), to be embedded. This hard point, or LB23, is where the 3 bolts that attach the fuselage-side landing brake hinge will be mounted. Quite a number of builders put 4 bolts in—why I’m not sure since I haven’t read anything stating that 3 bolts are not doing the job—so believe or not I listened to Burt and didn’t change the number of bolts (just how they were mounted! HA!)
The channel is made by simply using a drill with a 1/4″ bit to “router” out the foam. Not the most elegant of ways to get the channel made, but effective (and per plans… just saying!). I also used my perm-grit tools to clean up the channel and then shop-vac’d the bits of foam out.
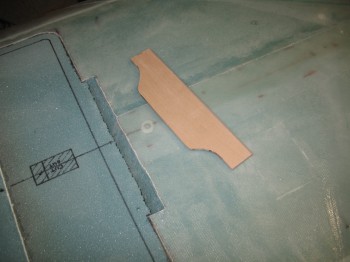
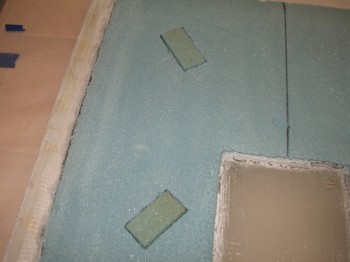
Since the landing brake sits just to the rear of the front pilot’s seat, the 45° at which the channel is cut puts the landing brake hard point right over the hump that runs down the middle of the GIB’s Left & Right foot “trays” (depressions). Thus, the shape of LB23 could no longer stay in its initial rectangular shape (due the depressions) and required some major modifications. LB23 had to be “dog-eared” on each side and the top and bottom edges had to be beveled at 45° so it would fit.
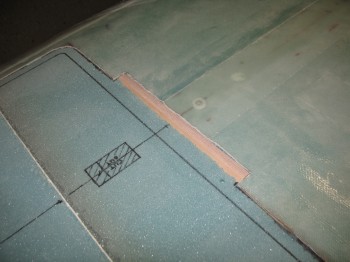
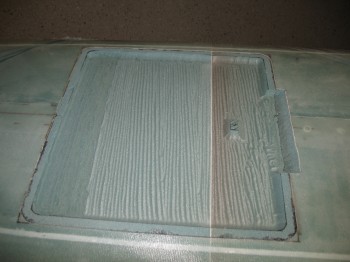
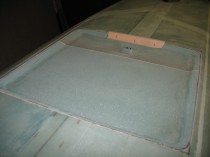
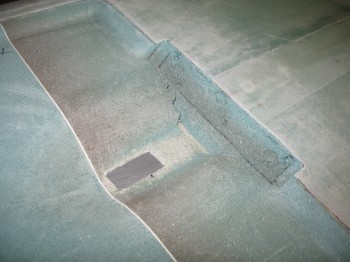
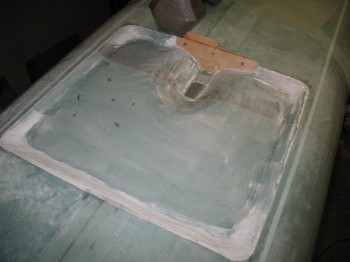
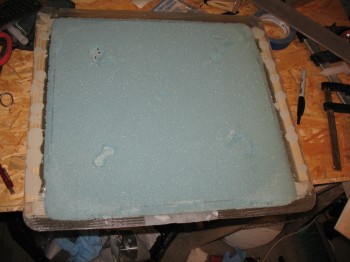
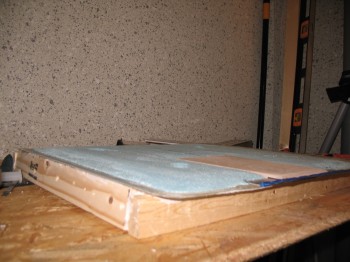
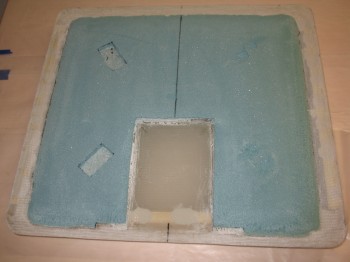
After LB23 was snuggly emplaced into its channel, I started the process of removing foam out of the entire landing brake area to create the depression needed for the brake “flap” (or door) to sit flush with the fuselage when it’s in the stowed (up) position.
I started off using the Dremel tool, but it was taking way too long with its small bit so I quickly switched to the plunge router…. which of course went a lot quicker! Like butta!!
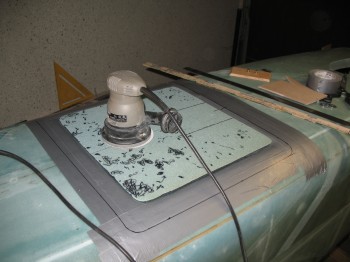
After I had made a rough depression by ‘masterfully’ extracting foam from the bottom of the fuselage, I sanded it with an orbital sander. I then used a sanding block to knock down & curve the sides so it all flowed some what smoothly together.
I finished up by marking the bolt locations in LB23 (the 3 crosshairs on the wood piece).
•••
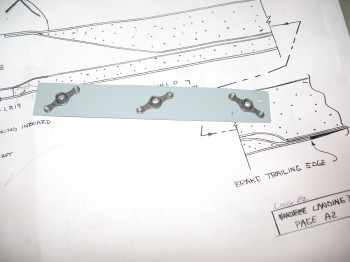
20 June 2012 — Today was a rather slow day. Talking with Aussie Long-EZ Guru Wayne Blackler (the beautiful silver Long-EZ on the banner is his creation), he mentioned that he would have most likely put nutplates in behind LB23, vs the plans way, to make installing the hinge bolts a much easier process. The plans have you gluing three 1/4″ blocks of aluminum and then drilling & tapping them through the fiberglass after everything is glassed and you’re ready to mount your 3 (or 4 if you add a fourth bolt) bolts. In thinking about it, I prefer not to drill “blind” and would rather deal with a known quantity. So I decided to take his advice and install a thin metal plate with 3 nutplates riveted to it. This assembly would then get floxed to LB23 and sit behind it (out of sight) and be imbedded in the foam. Sounded like a good plan!
The only problem was I didn’t have any thin metal on hand, and I had no rivet capability either (although I had the full compliment of rivets called for in the plans). So I went on a shopping spree. I bought 0.5mm Anodized aluminum (for the nutplate) and a pop riveter set at Praktiker (German Lowe’s). I then bought some simple green, abrasive pads and the highest end primer I could find on the base.
I got home too late to really start any shop work, so I checked out a number of CP newsletters and researched the Internet & blogs. Part of my research was making sure I understood the (fairly) early CP switch from solid rivets to pop (cherry) rivets.
That is all!
•••
21 June 2012 — Well, being a noob I decided NOT to use the 0.5mm anodized aluminum and went with 0.063″ 2024T3 aluminum instead as a plate to secure the nutplates behind the LB23 hard point. I wasn’t sure if the .5mm aluminum was robust enough for the task and the time difference wasn’t favorably to using my “call a friend” option, so I accepted the extra ounce of weight and pressed on.
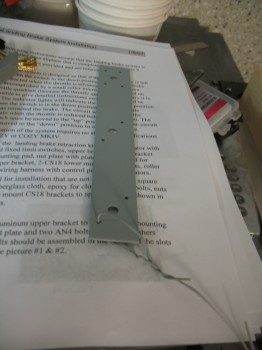
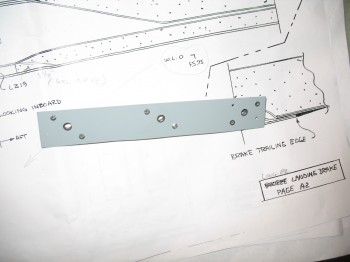
I cut the aluminum into a 1.1″ x 8.0″ piece, marked the 1/4″ bolt holes and the 1/8″ rivet hole positions for the K1000-4 nutplates. I drilled the 6 ea 1/8″ holes first then I drilled the 3 ea 1/4″ holes. On one end the 1/8″ rivet holes didn’t line up just right, so I flipped the nut plate on the opposite angle and re-drilled.
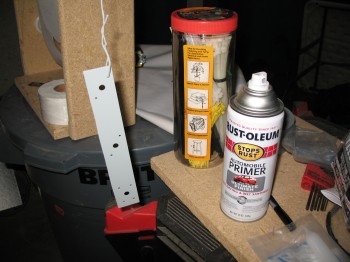
I chamfered all the holes and then prepped the aluminum plate for primer by washing it with simple green (amazing stuff) and 60 grit 3M pads. Once it was dry, I hung it on a wire and rattle-can primed it with Rustoleum. [You may be asking why I didn’t Alodine the 2024T3? Well, I was trying to. I had alodine and alum-prep… IN THE STATES! Which of course I couldn’t ship over to Germany. And as hard as I tried (via Aircraft Spruce.EU… great folks!) I could only get aluma-prep, but not Alodine. I tried everything I could think of, but try a Google search in German! I did however eventually get the Alodine as well.]
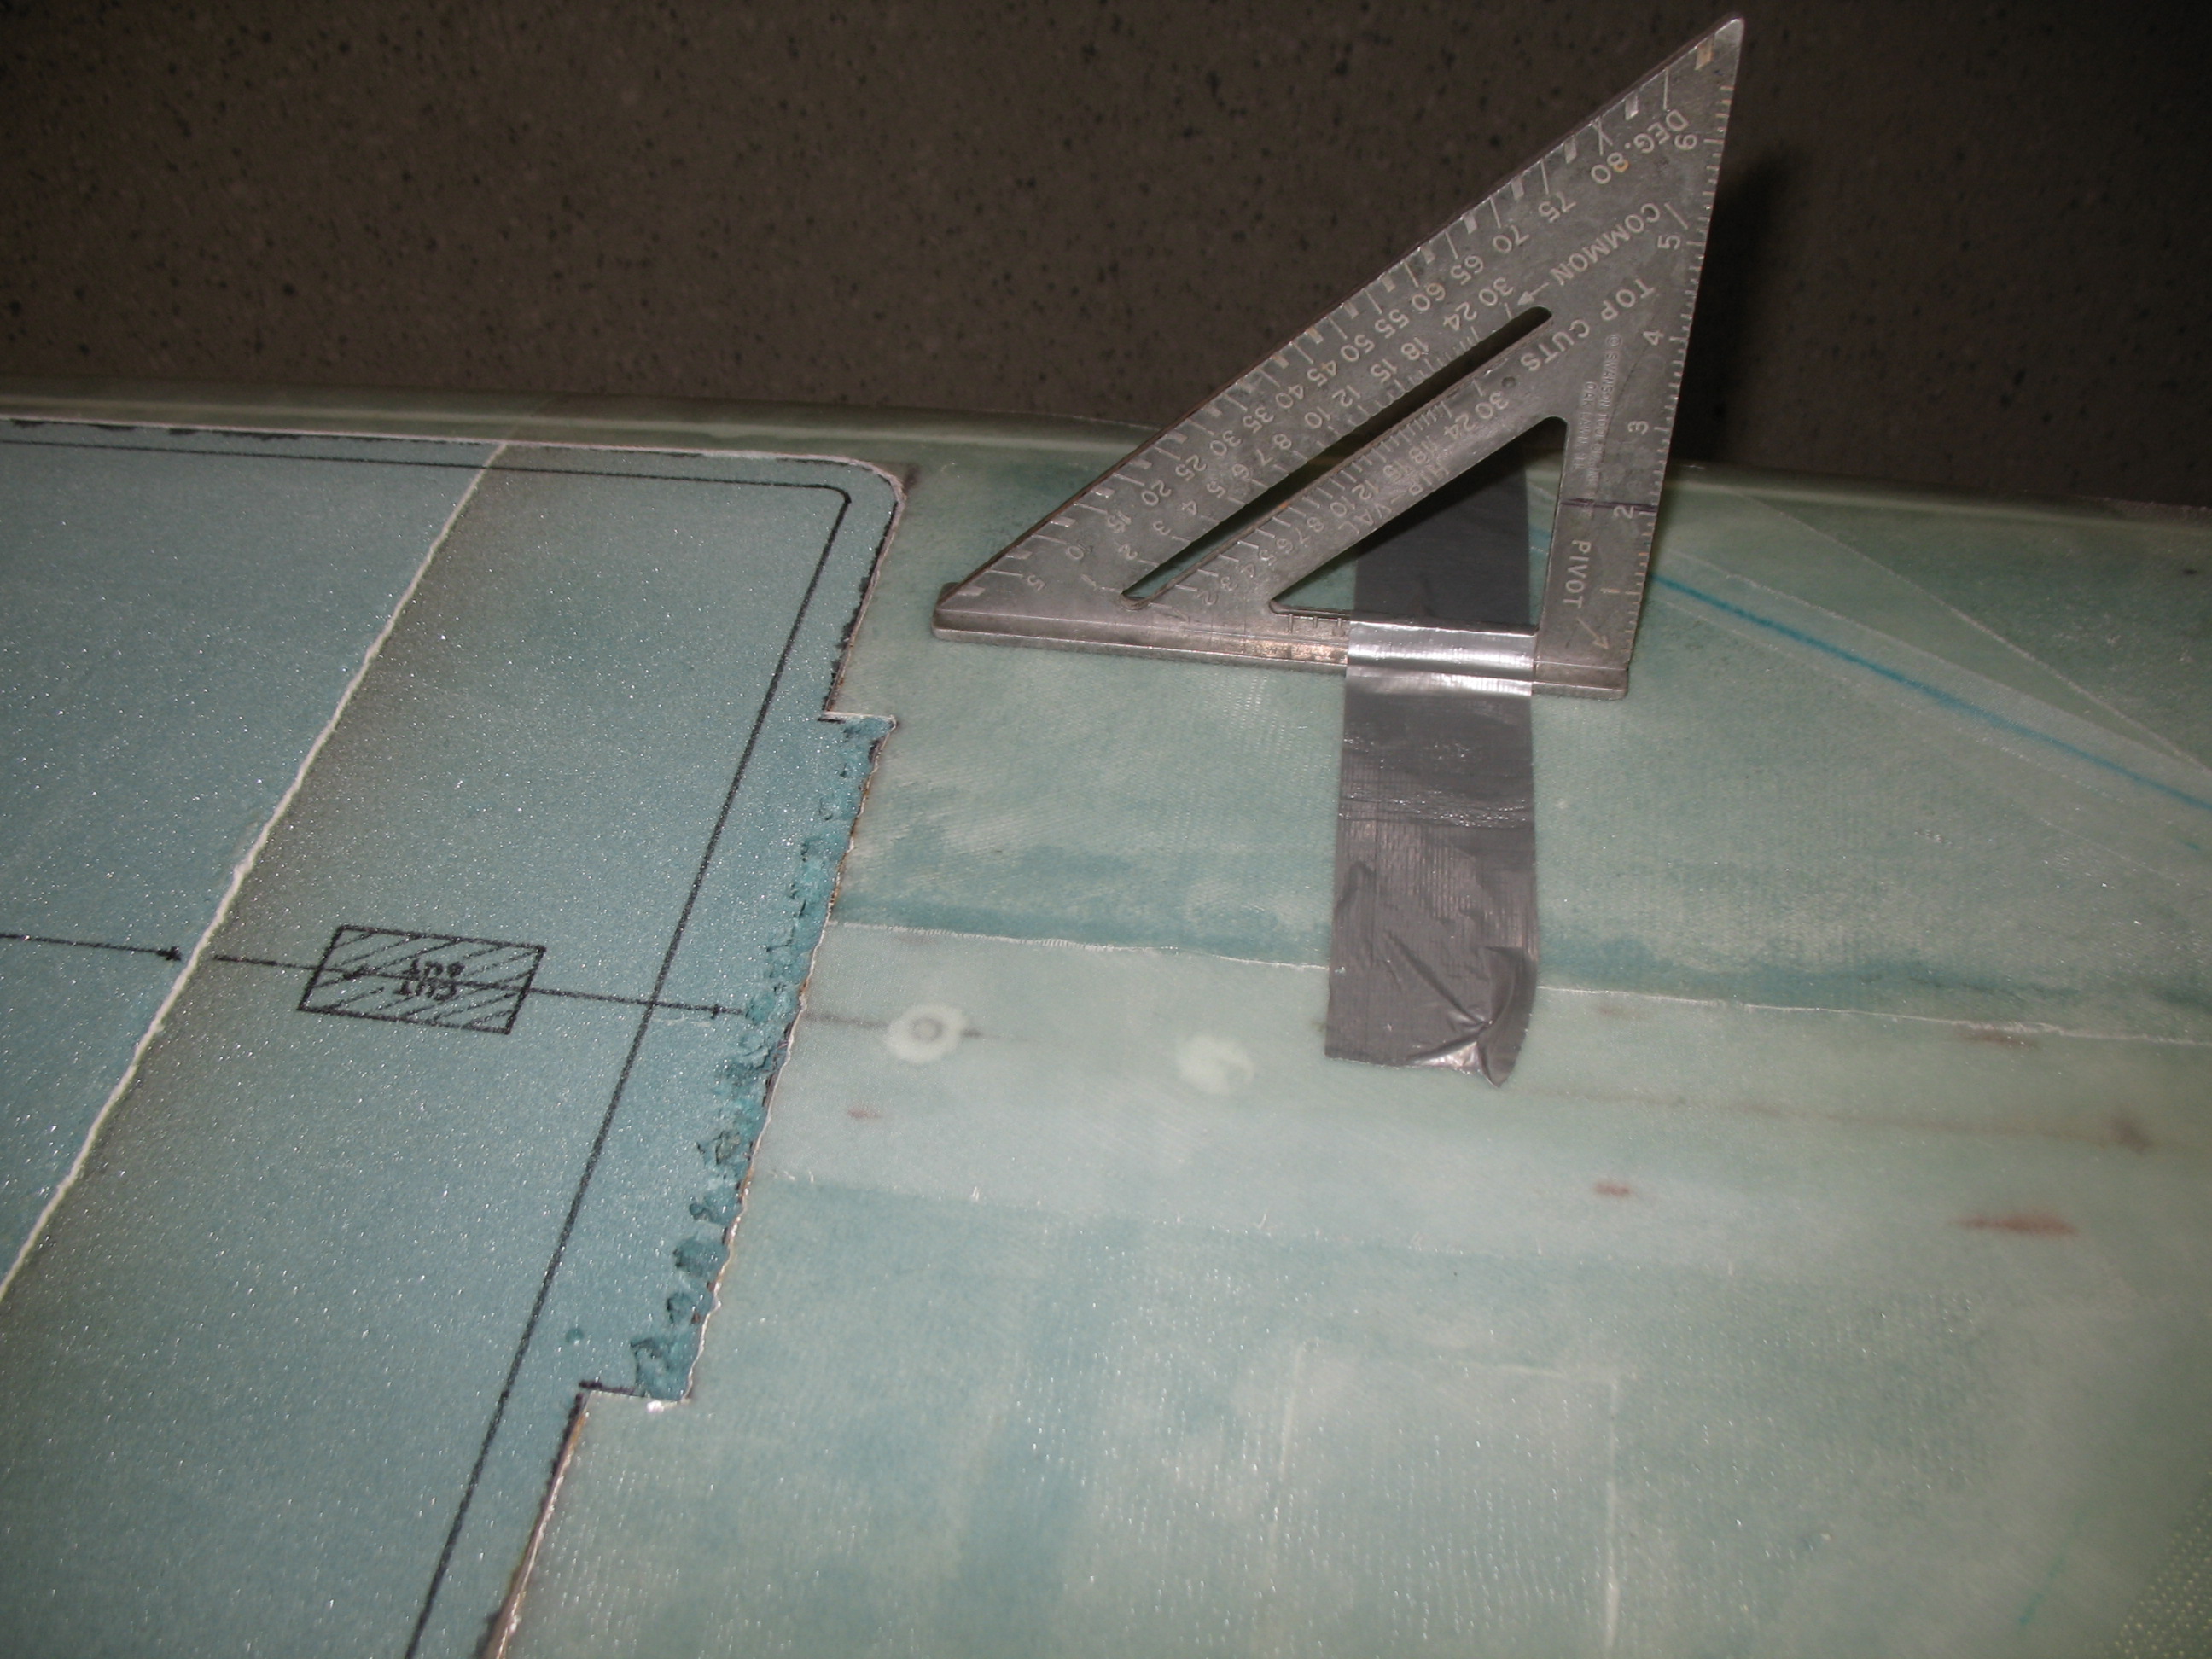
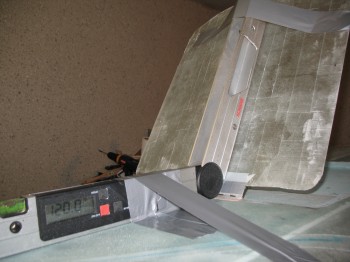
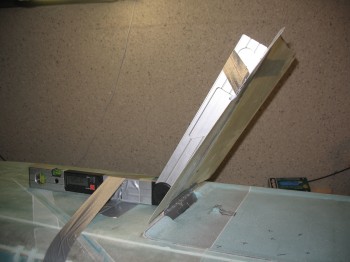
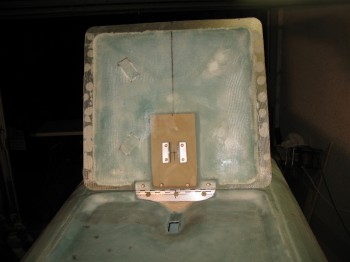
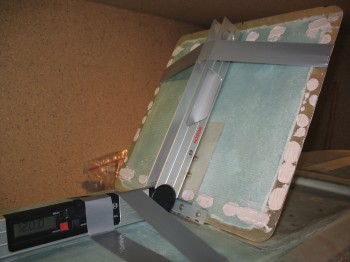
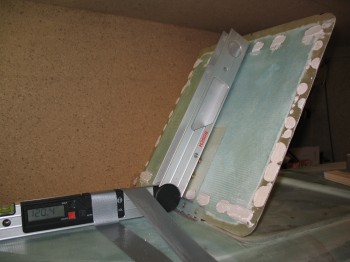
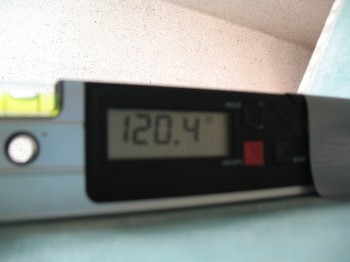
While the primer dried I mocked up LB23 and temporarily attached the hinge using duct tape. I used the landing brake fuselage glass outline, that I removed initially, as the landing brake door. I set it at the required 60° angle (the digital square shows 120°, since to get 60° you have to subtract it from 180°: 180 – 60 = 120). Now that was EZ!
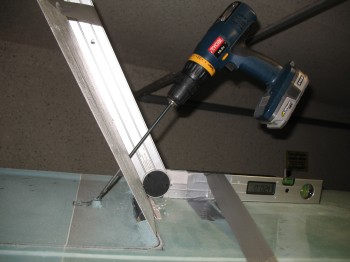
Since I’m using Jack Wilhelmson’s Landing Brake Actuator, I used the measurements out of his included instructions. I drilled through the “landing brake door” at the 3.7″-from-hinge position down through the bottom of the fuselage.
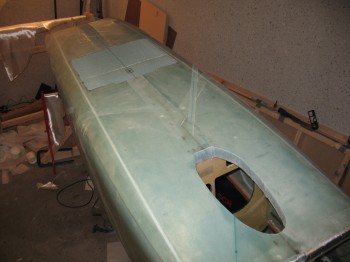
After I got the hole situated, positioned and drilled, I cleared out the foam and sanded it down to the bottom (inside-fuselage) glass just aft of LB23. The depression is primarily for the bracket (LB18) that holds the electric actuator arm to the landing brake door. After I sanded the foam out, I sanded and prepped the underlying glass (again, the glass that is actually the fuselage floor on the inside of the fuselage).
After all that mucking about with the fuselage landing brake foam, the primered 2024 aluminum plate was ready for some nutplates. I pop-riveted the nutplates on the aluminum piece and then lined the whole assembly up with LB23.
I then pre-drilled FROM THE BACK SIDE (where the nutplates will sit) the hinge mounting bolt holes (1/4″) ALMOST (but not quite) all the way through LB23. So, on the face of LB23, facing up/out, I had 3 very small 1/32″ pilot holes showing. On the backside of LB23 (where it mates to the nutplates), I had 3 each 1/4″ holes, matching the pattern of the nutplates, that went about 95% of the way through the plywood… so that I had one little thin piece across the top of each hole. Why? To ensure I kept epoxy out of the nut plates, make it easy to drill out the holes to gain access to the nutplates, and also keep the drill bit as far away from each nutplate as possible.
•••
22 June 2012 — Today was all about clean-up on previous steps, and prepping for the next few steps for the landing brake (sorry, no pics).
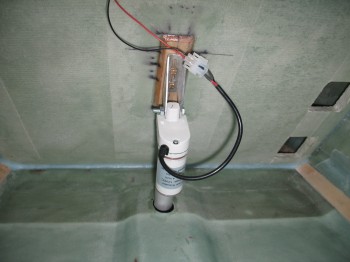
I cut the hole in the fuselage floor for the landing brake electric actuator arm (again, purchased from Jack Wilhelmson). I then mocked up the actuator arm, both open and closed.
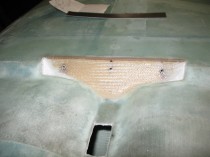
I also mocked up the landing brake hinge wood hard point (LB23) with the rivet nutplate. Once I knew the clearance required for the rivet nutplate behind LB23, I cut out the foam for the outline of the nutplate.
I final sanded the entire landing brake depression on the bottom of the fuselage.
Finally, I marked the location of the actuator’s top mount point on the aft side of the pilot’s seat.
•••
23 June 2012 — First off, I had another visitor stop by to help! It seems like the locals are very helpful around here… ha! Actually, if I weren’t building a composite bird I think I would use this guy’s striking colors on an airplane. Brilliant scheme!
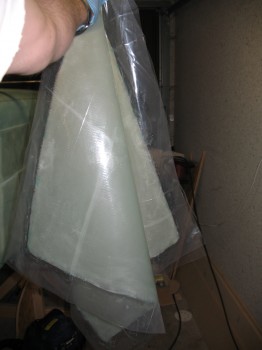
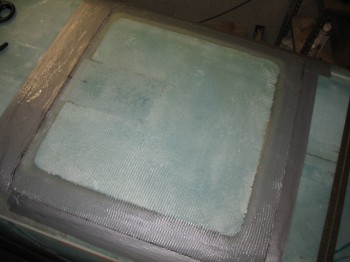
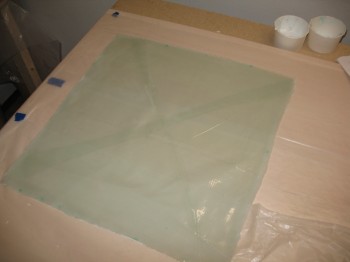
I started today by making up a 24″ x 24″ 2-ply BID “Poor Man’s” pre-preg set-up. I also cut out a 4″ x 10″ piece of BID.
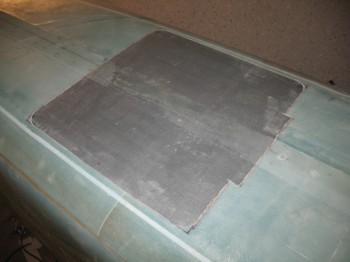
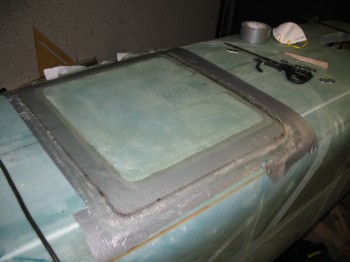
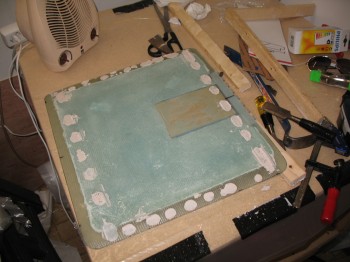
I then sanded down the outer edge of the glass that surrounds the landing brake depression. I started by tapering the transition edge of the glass and ended with a good sanding out about 3-4″ from the glass edge. The goal is to knock the square edge off and get the edge of the glass to flow into the foam so as to obtain as smooth of a transition as possible. The sanding out 3-4″ from the edge is to prep that glass to ensure there’s a good bond between it (the fuselage glass) and the new glass that will get laid up to make the “floor” of the depression area… tying everything together to make a “new” fuselage bottom. Once I had the outer glass edges sanded, I vacuumed up the mess and made sure the foam depression area was nice and clean.
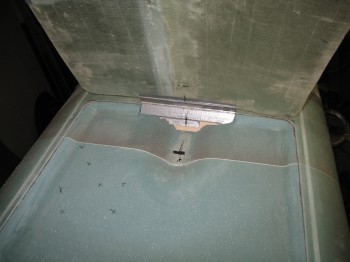
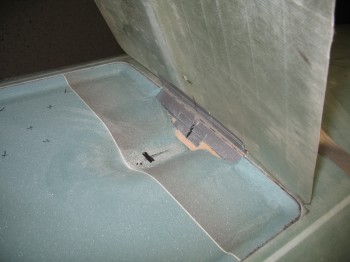
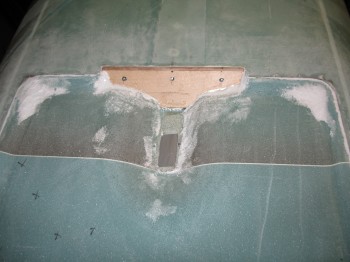
I floxed and micro’d in LB23 with the nutplate attached, or should I say “quasi” attached. It took a little bit of time to ensure the nutplate was lined up exactly behind LB23. A yard-stick came in handy for getting everything aligned. (There doesn’t seam to be a lot of glass showing around the actuator arm hole, and although it doesn’t show it here there was about a 1/4″ glass-to-glass contact all the way around when I glassed it. The angle was steep so I used flox on the edges of the foam to create a mini wedge shape going back under the foam a little as well).
I dry micro’d the corners, gouges, rough spots, and edges, and then went to my downstairs shop to wet out the pre-preg set-up I had made up earlier. I took my wetted out pre-preg to the garage shop and set it aside as I wet micro’d the remaining foam.
I applied wet epoxy to the LB23 hard point (I had hit both sides of it earlier with a 36 grit sanding block to rough up the wood so that the epoxy would grip better) and to the fiberglass edges surrounding the foam depression.
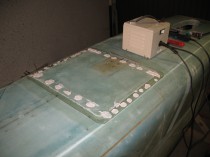
Note: You can see in the picture above a bit more micro towards the aft edge of the landing brake depression than the front. I had removed a bit more foam than I would have liked, and wanted a shallower, less abrupt, transition angle—thus the added micro. And although it seems like there’s a lot of micro, it actually wasn’t a very thick layer.
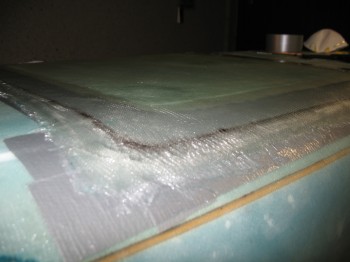
I glassed the 24″ x 24″ 2-ply BID pre-preg layup onto the landing brake depression area, added the 4″ x 10″ reinforcement ply of BID over the LB23 area, and then peel plied all the edges.
•••
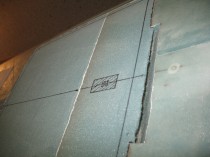
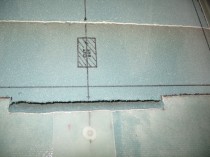
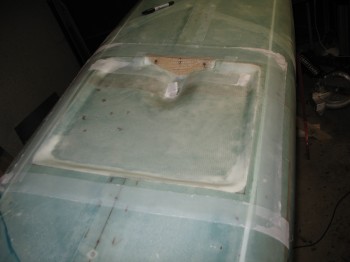
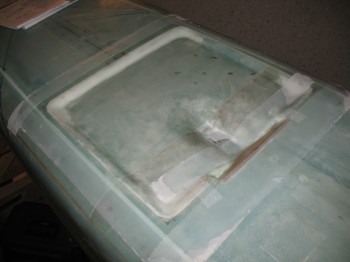
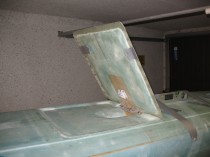
24 June 2012 — I checked the landing brake depression layup and it looked good! I forgot to mention that before I glassed the depression area, I covered the 3 each ~1/32″ holes in the center of the bolt hole markings–on the OUTSIDE/UP-SIDE of LB23–with a small piece of duct tape to keep any epoxy out. You should be able to make out the small pieces of silver tape under the glass in the pics below.
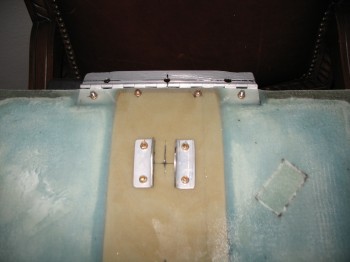
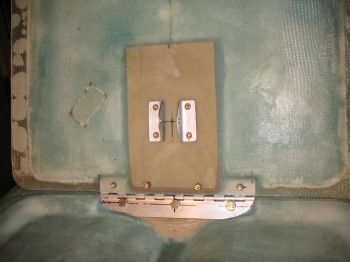
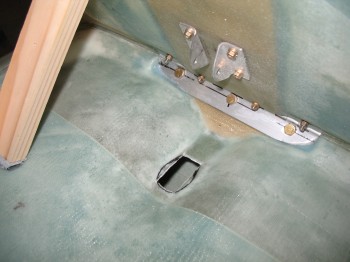
As I’ve mentioned before, with the MGS-285 system you get a very clear cure, so you can see everything underneath… kind of like an animal with see-thru skin. Sometimes looking at other builds where AeroPoxy, EZPoxy, etc. was used it makes it seem more “finished” since you can’t really see through the glass structure and the layers are quite opaque. Conversely, quite often the x-ray vision that MGS provides makes it easy to locate buried “treasures” under the skin… of course my 3 landing brake hinge bolt locations being what I’m on about here. Thus, being able to clearly see my 3 Sharpie targets allowed me to quickly drill my 1/4″ bolt holes through the 3 plies of BID and a very thin layer of Birch plywood (remember: 95% of the depth of each hole in the plywood–sitting in-place over each nutplate–was pre-drilled).
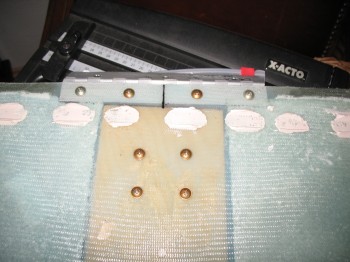
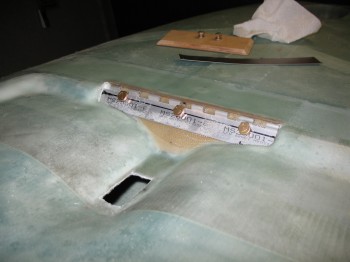 I sanded the edges of the glass in and around LB23. I had to really get in the corners to make it so I could get the hinge mounted in there, or so I thought. I have to admit, since I hadn’t really seen a lot of pics/depictions of this install, I realized that I was winging it to a degree and that I was in some what uncharted territory. After sanding the corner insets just in front of LB23, I set out to fit in the hinge. This required removing some of the upper edge of the hinge (lower as the pictures are oriented since the fuselage is inverted). I ended Dremeling about a 3/16″ radius off of each corner of the hinge. Once I got the hinge set, I mocked up the hinge fit and started the bolts to make sure they would fit, which they did. All looked good, except one thing . . .
I realized after the bolts were in, that I probably should have adjusted for the angle at which the hinge sits in comparison to where the bolts are positioned. With the bolts along a line centered from top-to-bottom of the hinge, once the hinge is tilted back, it brings the head of the bolt up closer to the actual hinge point. So, even the bolt shanks are actually center-of-mass on the hinge, the bolt heads look like they are positioned just a tad too high. I considered trying to fix this, but then what would it really effect? I figured apathy would probably be the best course of action here: Oh well, if it works it was “done correctly” (Snark alert!)
Next, it was time to start prepping for the actual landing brake construction. To start, I taped up the fuselage edge all around the landing brake outline with 2 plies of duct tape.
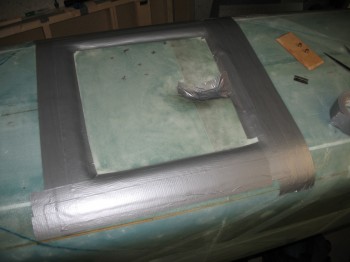 I then, once again, grabbed the glass piece that I originally cut out of fuselage to use as an outline template for the landing brake ‘door.’ I marked the outline with a black Sharpie.
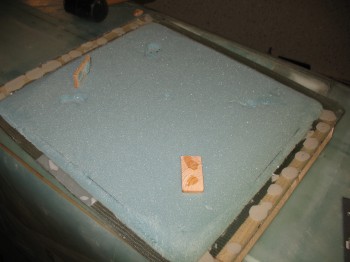
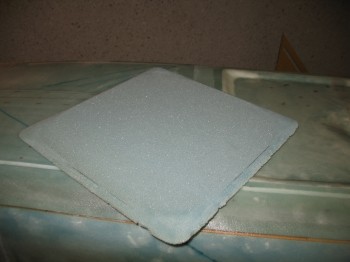
 So, there comes a time, in retrospect, that you do something in an attempt to conserve resources that ended up making the job a lot more difficult. Well, this next step was one of those scenarios. I mentioned previously that I had tried a lo-vac layup with some lightweight fiberglass cloth that went south in a fairly ugly manner. I was able to easily rip the cloth off the foam once it cured, so I was left with a decent amount of 3/8″ foam with a thin layer of epoxy on it. Well, I’m cheap… I didn’t want to order more foam and have it shipped to Germany, so I figured I would use it. It worked, but to quote an oft-used Bob Nuckolls phrase, it was not “an elegant solution.” Thus, the black squiggly lines you see on the foam are the leftover Sharpie marks depicting some of the remaining epoxy remnants, after I shaped it of course.
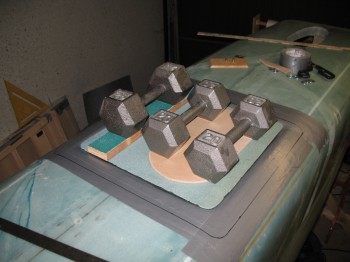
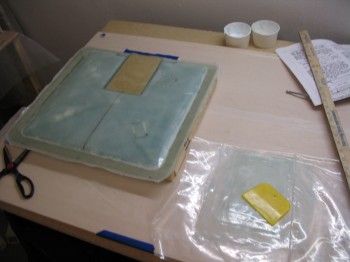
 I cut ~0.2″ wood spacers from a 2×4 & 5-min epoxied them to the inside of the landing brake depression on the fuselage side and to the landing brake foam. I then threw some weights on top of the landing brake to ensure it all cured in the correct position.
I then cut LB19–the center 1/4″ Birch plywood–reinforcement piece that gets embedded into the center of the landing brake ‘door’ (adjacent to the hinge) to provide the hinge a solid mounting point. I made LB19 a tad bit bigger than plans, since I was using slightly thinner foam (I crosschecked the use of 3/8″ foam with a couple of old-hat builders) for my landing brake. My final LB19 dimensions came out to be 7.7″ x 4.5″.
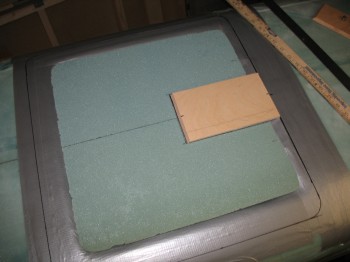 Once my LB19 was cut & beveled on one end, I laid it out on top of the landing brake foam and traced the outline. Next, I sanded off the excess epoxy crap off the “top” of the landing brake, and then, thinking I would make it a little easier on myself, I decide I would throw some peel ply under the glass layup of the landing brake’s outer skin. This way when I went to flox LB19 to the outer glass, the glass texture would be already prepared and the amount of sanding much reduced (it worked to a fair degree). I pinned the peel ply in place using standard staples.
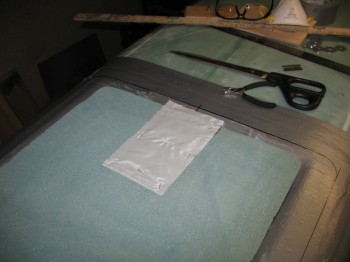 I went inside to my downstairs lair and prepared a 3-ply BID “Poor Man’s” pre-preg setup and wetted it out. I took it out to the garage and set it aside for a little bit while I micro-slurried the “top” of the landing brake foam. I laid up the 3-ply pre-preg ensuring that I got all 3 plies over each of the black landing brake border outline.
I waited a few hours until the layup got tacky, and then I knife-trimmed the edge at 1-1/2″. After reviewing my build notes I realized about an hour later that I was only supposed to leave about a 1/2″ edge, so I knife trimmed 3 sides down to a 1/2″ overlap, and on the hinge side cut it down to 0.35″ overlap for clearance.
•••
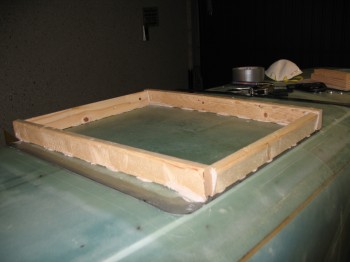
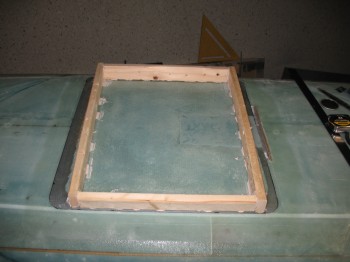
25 June 2012 — The layup over the foam landing brake looks good… all cured nicely. I cut up some of the wood strips that comes in each delivery of foam from Aircraft Spruce to make the frame that will hold the shape of the landing brake door/flap when it is removed. After I cut the pieces to length I bondo’d them into place on the face of the landing brake and let the whole setup cure for a couple of hours.
After the bondo had cured, I carefully popped the whole landing brake/wood frame assembly off of the fuselage. These operations never occur without some damage. As Jerry “Skip” Schneider points out in his well-researched CozyPlan Unabridged Dikshunary: “Pop Off” means -Pry with crowbar and frown with dismay at the resulting holes. . . . Exactly! So that folks, is pretty much what I did.
After removing the wood spacers and cleaning up the inside of the landing brake door a bit, I marked, cut and removed the foam for LB19. I then removed the peel ply and sanded the glass to remove any offending epoxy.
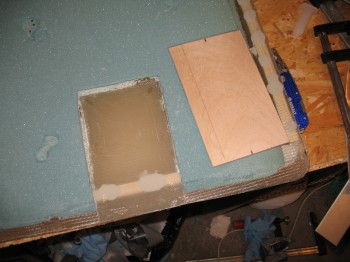 I then cut a notch in LB19 for the hinge (LB24) and a 45°angle near and at the hinge side for clearance.
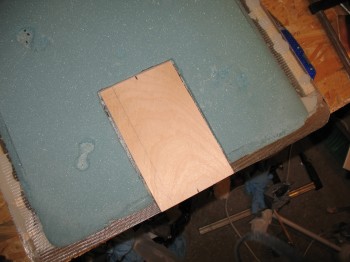 I sanded the landing brake foam to shape and then taped up the hinge (LB24) loops for glassing, so no epoxy gets inside the hinge assembly.
I didn’t get around to sanding the glass edges of the landing brake, so I’ll knock that out tomorrow.
27 June 2012 — I sanded the inside and outside edges of the landing brake for glassing. I also sanded the hinges for flox grip. I then cleaned up the glass in the hinge area.
Glass Prep: I made 2 individual pre-preg setups: 1) 3-plies of BID to cover the inside of the landing brake, and 2) 3-plies UNI/1-ply BID for the reinforcement layup over LB19.
I cleaned up the ripped-out foam (from the wood spacers) by enlarging the holes to ~1″ x 2″ rectangles. I made plugs the same size as the holes to fill them in.
I floxed the LB19 reinforcement plate into place and the LB24 hinge into its place at the edge of the glass, with some of its middle area overlapped by LB19.
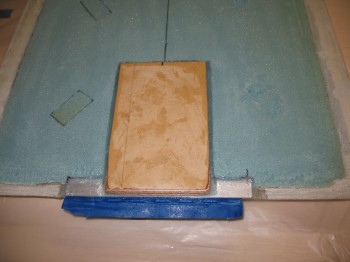 I then micro’d the plugs into place, along with any dings, the torn up foam along the edges and the entire face of the landing brake.
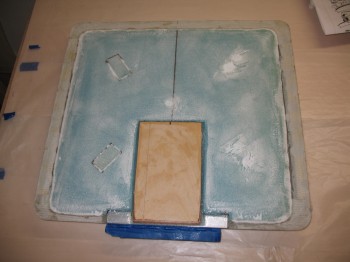 I wet out my #1 3-ply BID pre-preg and then laid it up on the landing brake face. After it was squeegeed out and set nicely, I trimmed the layup glass to within a 1/4″ of the edge to ensure that no separation occurred and that there was a nice glass-to-glass bond.
I wet out my #2 3-ply UNI & 1-ply BID pre-preg and laid it up on over LB19 for reinforcement. This reinforcement is called out as an unnumbered plans change in CP43 pg 4. Although I followed the intent of the plans change, I slightly modified it since my plies are bit larger (as is LB19) and I swapped out the plans small top UNI ply for a top-cover protective BID ply. I like to have BID as the top ply over UNI where I can.
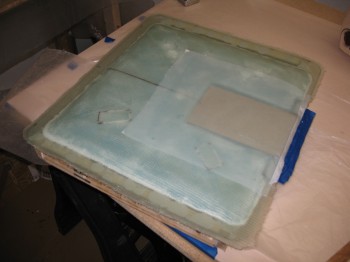 I peel plied over & around the reinforcement layup, being very careful around the floxed-in hinge. After a few hours I knife trimmed the edges. It looked really good. After another couple of hours I took it out to the garage (all this work was completed in my downstairs shop) and mocked it up. Looked good and I was happy with the results!
•••
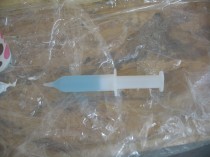
28 June 2012 — Well, I had set a heater up next to the landing brake to aid the layup in curing, which it did, but apparently I set the heater just a little too close because it left me a medium and small-sized set of delaminations. The delams were both in the corner closest to the heater. So I pulled out my trusty hand drill and drilled some small holes on the edges of the delams/air bubbles and also rounded up a syringe. I mixed up some epoxy with fast hardener, filled the syringe and gave the landing brake its due injections.
I also sent out the heavies to take care of the problem, literally. Since there were a couple of slight, yet unsightly, bubbled glass areas, I weighed down the glass near the offending sites after their injections.
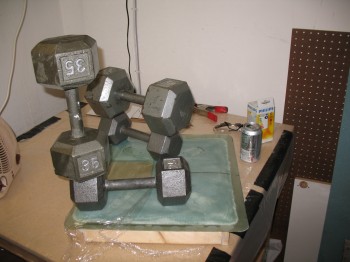 Before I shut everything down for the night, I pulled the weights and checked my repair work. It all looked good, let’s just hope it stays that way! I scraped off the excess epoxy from the layup and pulled off the wood frame that was bondo’d to the landing brake.
•••
29 June 2012 — I found a couple more small delams today! This is getting to be like the instructions for SHAMPOO!! Drill holes, mix epoxy, load syringe, inject delams, cure, and repeat!
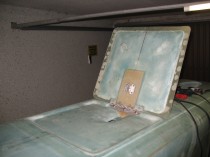
With the landing brake cured, I mocked it up on the fuselage to ensure it had held its shape. It was ever so slightly twisted with almost a .1″ gap at the aft right corner, but with very slight pressure it flattened out nicely/easily.
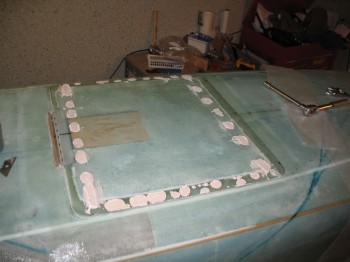 Between the buildup of finish micro around the landing brake’s edges that will create a transition to the fuselage, and the pressure from the electric actuator holding it up in place (i.e. closed), I think it should be fine. If not, I can always work with this landing brake to get it dialed in, or build another one. If I do build another one, I’ll be a little bit more careful with the application of heat!
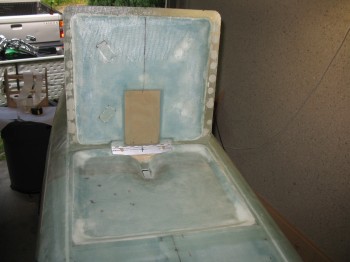
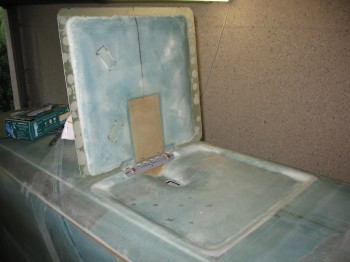
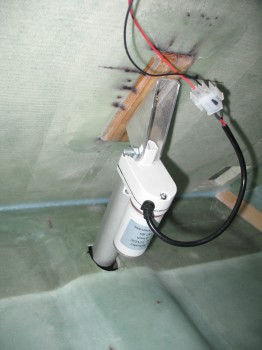
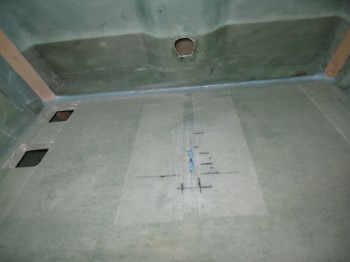
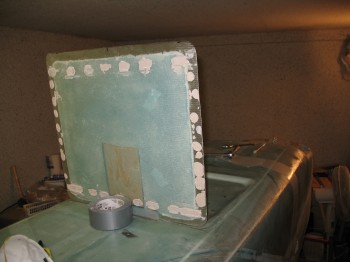 The last pic below shows the landing brake actuator arm hole from the inside of the fuselage.
1 July 2012 — Well, the first thing I did today was something on the landing brake. So if you have any good guess as to what it is you’d be right if you guessed something to do with a syringe and injecting epoxy! When I floxed the LB19 plywood reinforcement piece into the center of the landing brake foam, with one side floxed to the outside skin, the flox apparently didn’t squeeze out as smoothly as I would have wanted. Thus, there are veins of air running through the area between LB19 and the outer skin. I grabbed another trusty syringe and injected a very wet flox mixture into these veins and once again ridded my apparently air enriched landing brake of a little bit of that excess air. It looked pretty ok when I finished.
•••
8 July 2012 — I started out by spending a decent amount of time reviewing the Section VI plans to ensure I was not screwing anything up (which I’m quite adept at sometimes! HA!)
I broke into the hardware bins to get the screws & nuts that would be used to hold the landing brake ‘door’ to the hinge and the mounting brackets (LB18) that will actually hold the landing brake door to the electric actuator arm. Note: Even though the hinge is floxed into the landing brake, it clearly needs a little more something to hold it on, so screws are installed through the inside & outside layers of glass with the hinge lying in between the two layers of glass.
I marked the landing brake for the 4 hinge holes and the 4 holes for LB18. I then drilled all the holes and installed the screws on the hinge and on both sides of the LB18 brackets.
•••
9 July 2012 — I permanentaly installed the landing brake/landing brake hinge with flox. I bent the hinge pin as per CP 30 so it looked like a wavy piece of wire.
The flox squeezed out from under the hinge plate into the hinge itself, so I had to keep working it back and forth to to get all the excess flox out.
Also, before mounting, I constructed a 0.5 mm anodized aluminum shim for the middle hinge bolt hole area to keep the hinge straight.
•••
11 July 2012 — Today was all about the landing brake.
I had to grind out a divot immediately above the middle bolt that attaches the landing brake hinge (LB24) to the fuselage (LB23) since the bolt head was keeping the landing brake from closing all the way. This goes back to my earlier statement that even though the bolt holes were drilled at the centerline dimension-wise of the hinge, when the hinge is angled back the way it is it moves the bolt line up. This was the cause behind the middle bolt hitting the landing brake. However, a little improvisation took care of the issue.
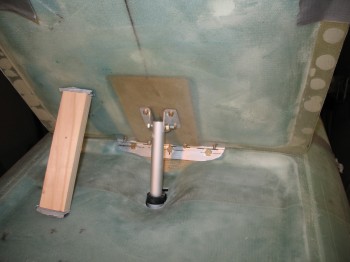
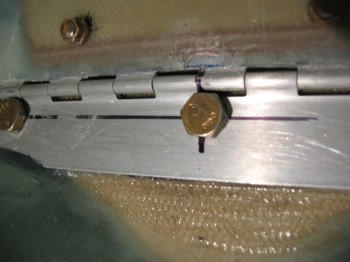 After I got the hinge closing issue resolved, I made up a template of the electric actuator body and then mocked up the landing brake actuator. As I was extending the actuator in and out I noticed the end of it, where it attaches to the landing brake bracket (LB18), was twisted just a bit so that all the bolt holes would not align. That took me offline for a bit as I had to figure out how to get the bolt hole on the end of the actuator arm straight again. I attempted to call the manufacturer but couldn’t get a hold of them. I tried Jack, but no joy. I then looked at the exploded view in the PDF online. As I methodically & slowly took the actuator apart, I realized that the actuator arm tip could be turned hard against a phenolic plate. That fixed it!
I cut the actuator hole in the fuselage a little wider & longer and shaped it to the outline of the main actuator body (not just the arm) since the entire actuator had to be able to get thru the hole.
After I got the actuator hole squared away, I spent a fair amount of time mocking up the actuator angle, position and the opening/closing of the landing brake door.
After figuring out the proper location of the seat back landing brake actuator mount, I cut & drilled the holes in the front seat back.
 I micro’d the holes & floxed on the mounting bracket. I pre-pregged a 2-ply BID layup measuring 3.8″ x 8.3″ and glassed the bracket onto the rear of the front seat back. I then peel plied it and weighed it down.
12 July 2012 — As for the landing brake, I extended the landing brake actuator hole aft by about 3/16″. I then readjusted the topside metal mounting bracket–on the rear side of the front seat–up by 1/8″. This locked in the landing brake door/flap opening angle to 59.6°.
And here’s a look at this guy in action!
Although there is some finishing steps that need to be completed to form the edge of the landing brake even with the fuselage, I am declaring Section VI complete!
•••
27 July 2012 — When I finished the main landing gear, I mocked them up on the fuselage to test out how the fit, the measurements and how they looked. I then hooked the battery up & tried out the landing brake in some what of a more “operational” setting!
Lookin’ Good!
•••
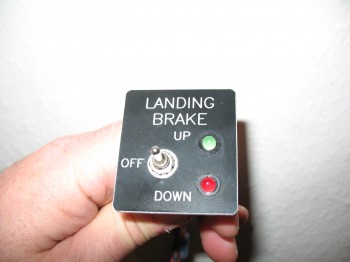
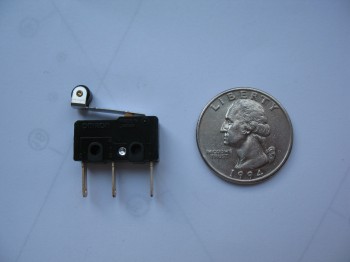
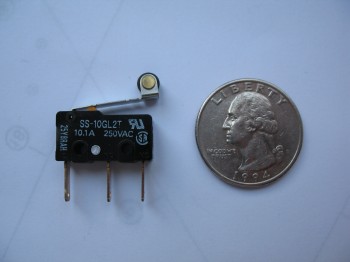
7 May 2013 — My buddy Marco asked me to take some pics of my Landing Brake Switch that came with the landing brake setup I got from Jack Wilhelmson at eznoselift.com.
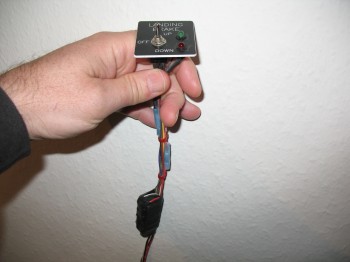
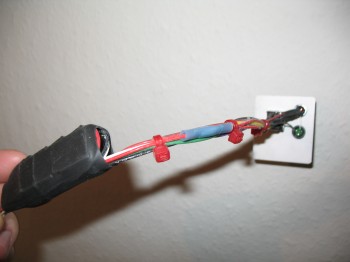
I took a pic of the switch & its wiring, and the microswitch that is used in the system as well.
•••
1 May 2017 — Finalizing the P4 connector wiring allowed me to do something with minimal extra effort: test out the operations of the Landing Brake using the throttle-mounted landing brake switch. I haven’t actually run the landing brake in (I think) going on almost 5 years now! So, to knock some of that rust off . . . here goes:
•••

