
Fuselage Wrap-Up Actions
This page covers 1) Fuselage sanding & clean-up, 2) Fuselage bottom aft end to rear seat wedge fill glassing, and 3) Fuselage post curing. [Per plans the Nose Wheel Cover (NB) is mounted during this timeframe. However, I chose to hold off on mounting the nose wheel cover (NB) until the nose build, so it’s covered in Chapter 13].
17 July 2012 — Today was all about cleaning up the fuselage. Since I cut F22 to the original specs, and the fuselage bottom foam changed in thickness from the original 1.6″ to the currently supplied 1.75″, I have an overhang of 0.15″ (1/8″+) of foam dropping below the edge of the bottom of F22 (oops!). I’ll deal with that later when I build the nose. For now, I removed and cleaned up the overhanging glass from when I skinned the fuselage.

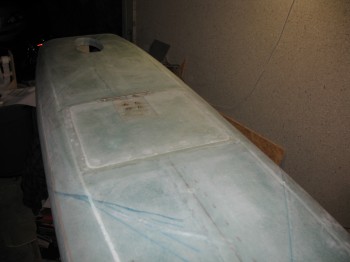
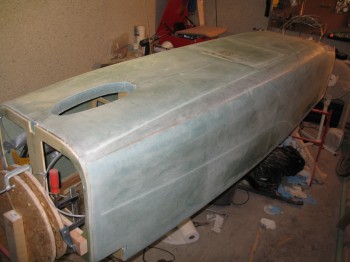
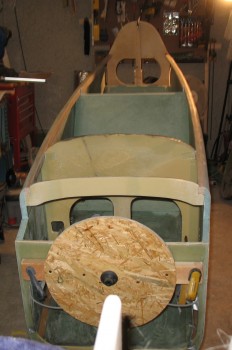
I then proceeded to give the external fuselage a light sanding to knock down whatever excess epoxy was left from the fuselage skinning. The pictures make it look like the glass completely changes color, but most of the color change is from the fiberglass dust.

I also sanded down the landing brake areas including the leftover bondo from the “speed brake flap” construction and the interior fuselage side of the assembly.
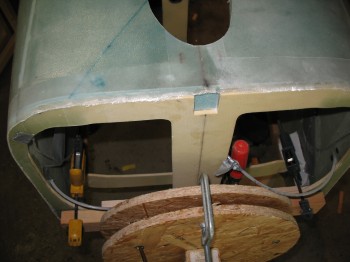
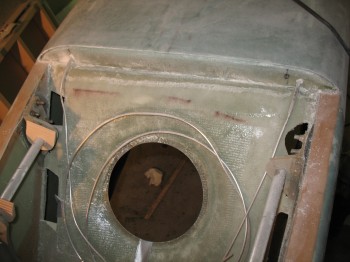
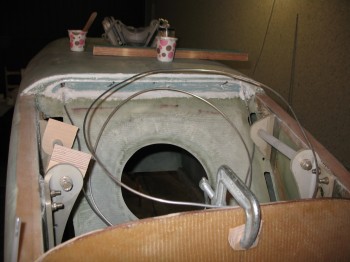
I Dremeled away dead glass overlapping onto the firewall and knife cut & sanded in the landing gear and hellhole area. I also removed, via Dremel, dead glass from the left lower rear seat area where it overlapped just aft of the fuselage bottom (on the hellhole side). I then sanded the aft side of the rear seat. I did a bit of Dremel-work in the area to knock out any dead glass as well.

Of course I didn’t sand any of the sidewall areas that would eventually get cut out for strake access.
 •••
•••
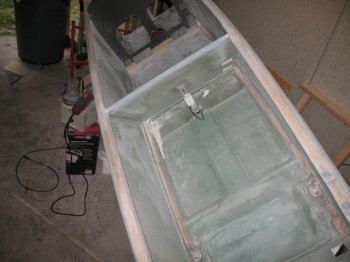
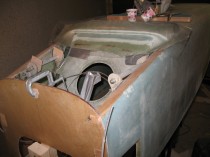
18 July 2012 — Today I started out by cutting & removing some excess glass at the bottom of the instrument panel.
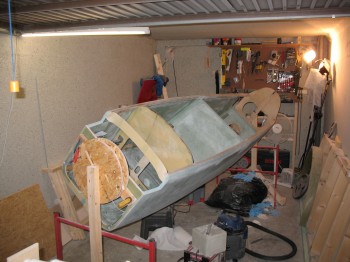
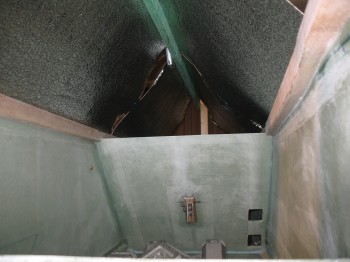
I then sanded all of the interior fuselage including sidewalls, front seat, back of instrument panel, floor pan, and front of rear seat. I also knife scraped and sanded the inside, top and immediate exterior of the upper longerons.
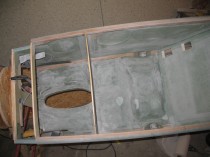
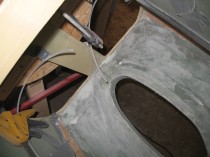
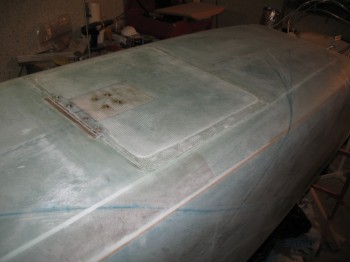
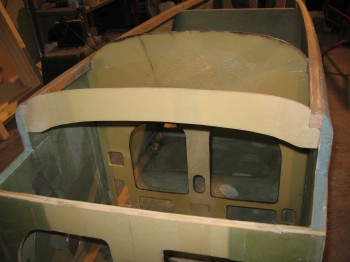
 I sanded smooth a micro repair on the rear seat pan [You may have noticed, and I failed to mention, that when I started cutting the channel for the brake lines I cut through to the inside of the rear seat pan about an inch long. The reason why is because the left side of the seat pan has a smaller side shelf than does the right, and I was remiss in not taking this measurement into account and was using the measurement for the left side shelf. You can see the errant cut in the second pic below].
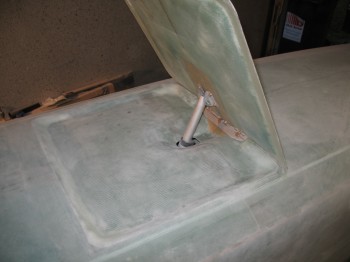
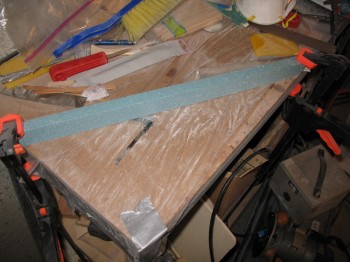
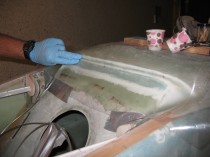
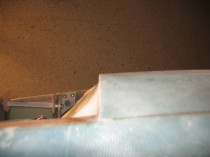
I decided since I was going to have some type of removable hell hole cover (Yes, let the debate over that rage on as well!) that I would clean up & shape the very back edge of the fuselage bottom. This would also allow me to secure the first few inches of the brake lines.
So I devised a plan, and cut a triangular wedge of blue foam to build a mini ramp on the back of the fuselage bottom foam, right where it meets the bottom aft part of the rear seat. I of course turned the fuselage back upside down to work on this.
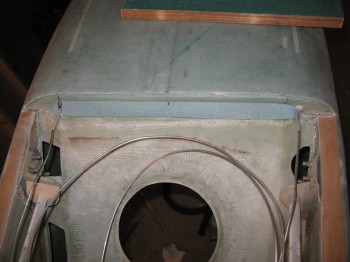
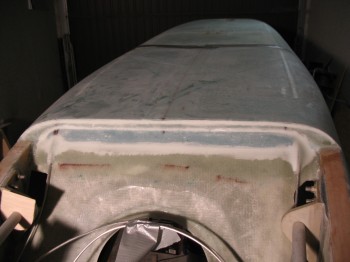
I micro’d in the foam wedge & all the foam surfaces and laid up 2-plies of BID over the entire lower aft fuselage and aft rear seat junction. I also covered the brake lines with dry micro and the BID plies. To ensure it stayed in place I used some duct tape and peel plied it as well.


 •••
•••
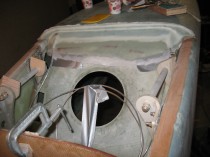
19 July 2012 — Today I knife cut the aft bottom fuselage layup at the front edge of the hell hole. I removed the peel ply, sanded and cleaned it up a bit.
I put 1-ply of bid on the rear seat back and the rear seat pan (fuselage bottom) junction, and patched the errant hole mishap.
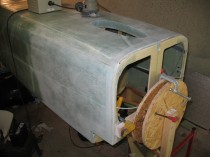
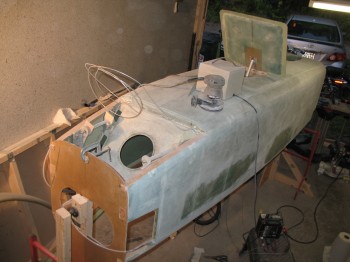
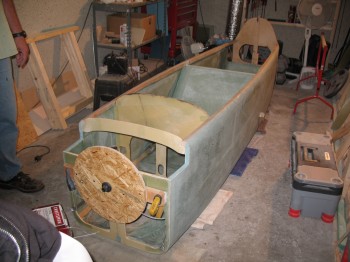
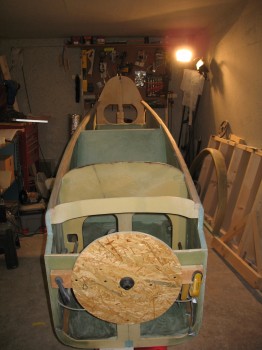
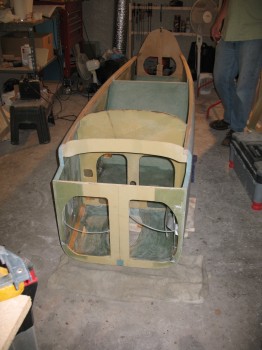
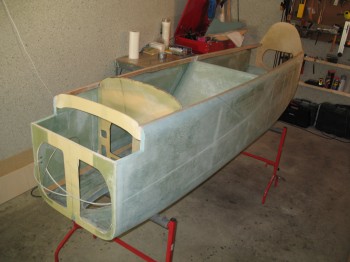
I then wiped down fuselage to remove all the fiberglass dust, took it off the spit and began taking a myriad of pictures.


•••
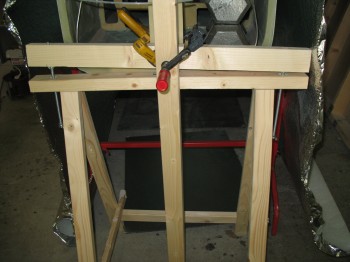
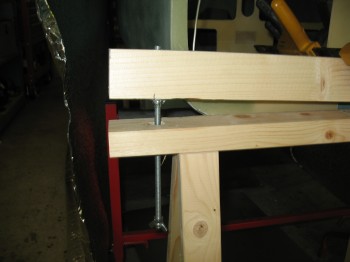
20 July 2012 — Today I focused on the post cure prep for the fuselage. I’ve spelled out the details and reasonings for the post cure below. My first task for the post cure effort was to make 2 stands that were capable of being adjusted on each corner in order to ensure that the fuselage is straight and remove any twist it may have. I cut threaded rods into 4 pieces measuring 9.75″ each. I used some 2x4s with holes drilled through each side and created a screwjack for each side of the 2×4, that will sit at the outside corners of the fuselage (sorry, no pics yet).
Post Curing
Now it’s time to have a serious talk about my fuselage and post curing. First off, post curing epoxy in basic terms allows the epoxy-laiden structure to be more resistant to the effects of heat. The key thing we focus on in post curing is the glass transition temperature or Tg. To help explain Tg, I pulled this quote off the amt composites web site:
“When a polymer system such as an epoxy is heated, significant changes occur in mechanical, thermal and electrical properties. These properties do not necessarily recover upon cooling. A considerable change in these properties can be seen above the glass transition temperature (Tg) of the epoxy. The glass transition is the temperature where the polymer goes from a hard, glass like state to a rubber like state. The epoxy will exhibit much physical strength and stiffness below the Tg.”
So what post curing does is simply drives the Tg up to a higher point. Post curing is done by heating up the part slowly and maintaining a high temperature for a matter of hours to days, depending on the epoxy system used. For MGS 335, that magical temp is 122° F and for MGS 285 it’s 170° F, although MGS 285 will still benefit from a 122° F post cure. My fuselage was built mostly with MGS 285, but has a significant amount of MGS 335 in it as well.
Naturally, there’s a lot of discussion out there about the benefits—or lack thereof–of post curing, especially since post curing can, to a large degree, happen naturally just by a composite aircraft sitting in the sun and having its surfaces being repeatedly heated by the sun. My thought (from a lot of research, not my own “expertise” here as any epoxy guru) is that it’s generally not required for the canard aircraft we build. However, I will post cure my fuselage for two simple reasons:
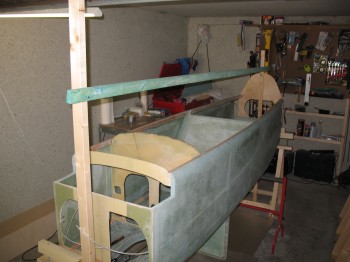
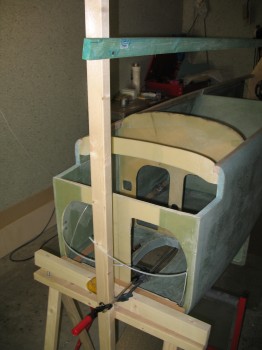
1. My fuselage has a very slight twist to it. As you can see from the weights that I piled up on top of it to keep it straight during the initial steps of my main gear install. In building a Long-EZ, just about every sacred measurement, from wing incident to the strakes, relies on reference to the longerons. They should be as straight as possible. So, I hope to set the fuselage straight and then post cure it to lock it in to position as best possible.
2. Again, since I’m building in Germany right now, I want to ensure that the fuselage maintains its shape as best possible once I get it as close to straight as possible. Once it goes in the shipping crate I have no idea what actual route it will take from Europe back to the States. I envision it sitting in a hot shipping container baking on the docks in Savannah, GA or some other decently warm locale. The higher the Tg is, I figure the more resistant it will be to any structural changes. Overkill? Maybe. But I figure the fuselage is the epi-center of a Long-EZ build, so I’ll try my best to get it, and keep it, as straight as possible.
•••
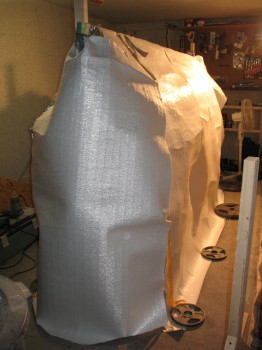
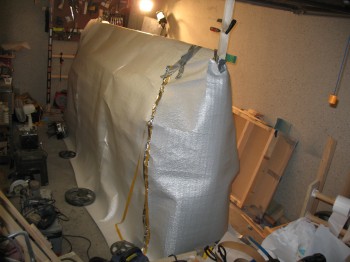
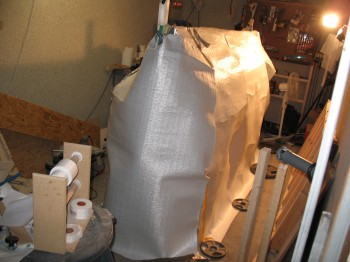
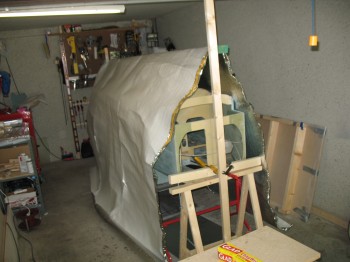
23 July 2012 — I prepped fuselage for Post Cure & spent a couple of hours locking in the fuselage so that it was level to within 0.1° across the longerons in all directions.
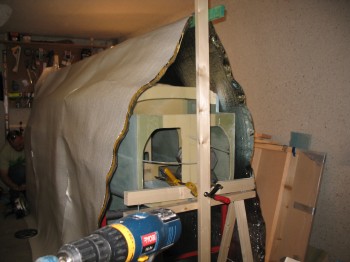
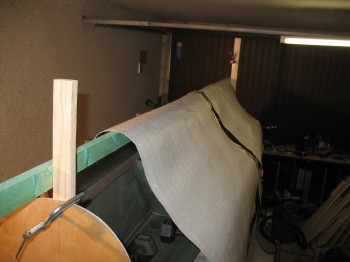
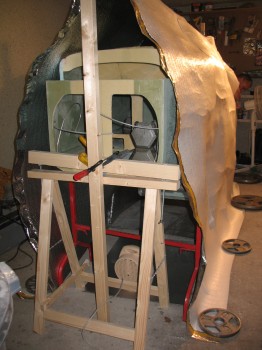
I covered the fuselage with a foil covered thermal barrier “tent” (or cocoon) and placed 3 portable heaters inside the barrier. I started the post cure at 3:30 am and the first average temperature reading was 105-107°F.

•••
24 July 2012 — A little before 1600 my Post-Curing fuselage hit 122°F. I’m going to keep it at that temp for at least a good 10-12 hours, and hopefully up to 15 hours. Overnight may get a little problematic maintaining that temp since temps tend to fall off drastically here in Germany.
•••
25 July 2012 — The temp on my cocooned post-curing fuselage stayed over 122°F until around 0530 am this morning. The cooling temps overnight finally caught up & the temp began to fall, albeit slowly. All-in-all I got almost 14 hours of 122°+ F temps plus quite a few hours more at the 115°+ F mark. I let it continue for another few hours and then began to turn off the heaters one by one to slowly bring the fuselage down to ambient temp. I turned off the first of 4 heaters at 0900. I turned off another heater at 1215, turned down one of the two remaining heaters to low, and opened up the back of the post cure tent. By 1430 all the heaters were off and I let it continue to slowly cool down.
After the fuselage was at ambient temperature, I took apart the fuselage post-curing setup. It all came down fairly quickly. I double checked the fuselage with my levels and it seemed to have worked. Without the weights in the fuselage, the longerons leveled out true and equal all the way around.
I spent over an hour cleaning and organizing the shop. I have a lot of epoxy to use. So in order to actually save the money I spent on the epoxy here in Germany I’m focusing more on the actual building and not so much on cleaning the shop back to a spit-polish after every chapter. I only have until October before I have to deploy to Tampa for 6 months, so I’m trying to get every bit of building in that I can. This is also another reason why you’ll see me building out of Chapter sequence, to get the biggest bang for my buck epoxy-wise. And since I have help right now with Gina being available to cut glass and mix epoxy, I’ll be focusing on the wings next and getting as much done on those as possible since they simply use the most amount of epoxy. That being said, I’ll still have a lot of epoxy left even after the wings are glassed, but they will definitely take the biggest bite out of my epoxy stock.
I then reinserted the Landing Brake Actuator into the fuselage.
•••