
The pics starting off are a bit more personal (read: people pics)…. the plane & mechanical stuff follow afterwards . . .
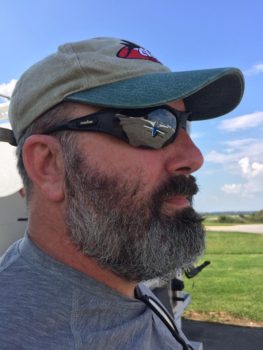
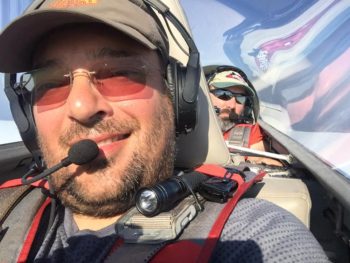
The first pic was one Marco shot while we were waiting for the fuel dude at Central Kentucky Regional airport. We were chatting in front of the fuel pump when Marco noticed the reflection of his bird in my glasses, so he quickly took this pic. As I’ve noted to a number of people that have been saying they don’t recognize me due to my full beard, the fullness of it is merely a result of me trying to pour as much energy as I can into the plane build… and not worry about “needless” things that waste time…. like shaving! haha!
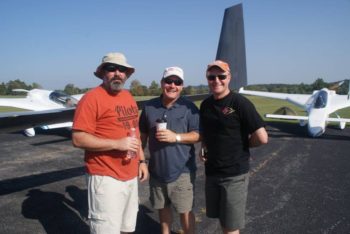
This was the first night’s dinner at a local pizza joint where Marco grabbed an opportunistic selfie of all of us…. note Marco in the lower left corner, Steve Beert upper left corner, then Mike Beasley, Bruce Sinclair and me (with my hand over my mouth, in shock over something “Potty Mouth Bruce” had just said! ha!).

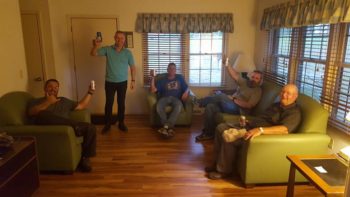
A bit later we had a few libations in our cabin… this pic was taken right before Nick Ugolini and Buly Alevant showed up.
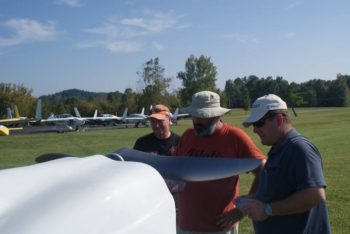
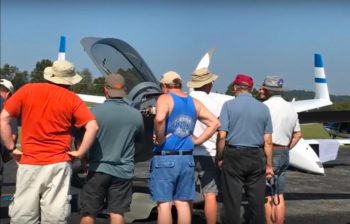
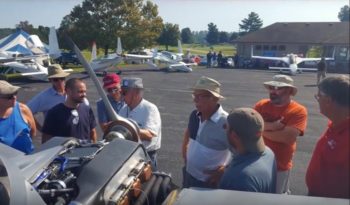
Here’s a shot of the next day, when Mike, Bruce and I were checking out Bill James’ Vari-Eze. John Lambert was walking around snapping pics, and shot the next few pics of us hanging around Bill’s Vari.
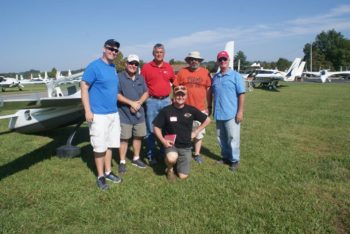
A shot of the gang with Bill James.
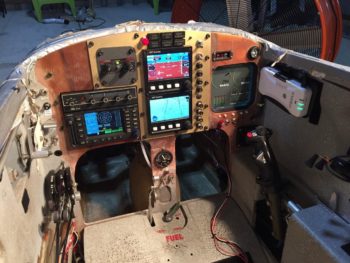
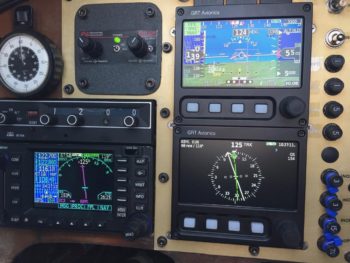
Understandably, Marco spent a fair amount of time fielding questions regarding his new instrument panel upgrade, which left me, Mike Beasley and Bruce Sinclair to fend for ourselves!
Here’s Marco’s new panel that he upgraded from traditional steam gauges. He installed two GRT Mini-APs as his PFD & MFD, and a Garmin GNS480 WAAS GPS unit. His Mini-APs have the capability to drive GRT AP servos, which he’ll be installing next. He did a great job on this panel, and just in time for Rough River too! (You can follow his panel upgrade adventures here).
When Marco took a breather from extolling the virtues of his GRT-based panel, we checked out Nate Mullins’ Long-EZ (cracks me up whenever I think about it, since for years Marco continuously stated that GRT would be his LAST choice . . . until he saw my Mini-X come to life on the bench! ha!)
All good things must come to an end, so Sunday morning found us on our 3+ hour trek back to home base (Chesapeake, VA).
Ah, mission complete!
I’m so grateful to have such an awesome friend like Marco, and to have great adventures as his GIB. But I have to say this RR really reinforced my passion for finishing my Long-EZ so next year I can relinquish Marco’s back seat to its rightful owner: his wife Gina!
Good times!
Cheers.
Ok, now for the STUFF!
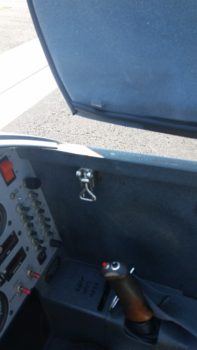
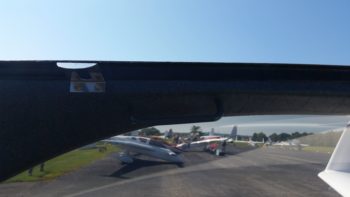
My first interest poking around the various birds at RR17 was how other builders had configured their nose hatch release latch. I took special note of Rick Hall’s freshly built Cozy IV setup.

Here’s Rick’s homemade latch catch:
I then noted James Redmon’s nose hatch release. His is from McMaster-Carr.
As is the other Berkut that was there that James helped build extensively.
Simple latch catch on the Berkuts.
Again, here’s the other Berkut:
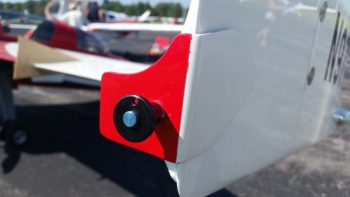
The Berkut’s also had this spring loaded button that provided the small force necessary to pop the hatch open.
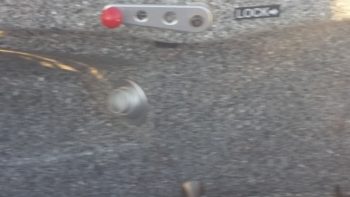
Here’s another nose hatch release. I also noted a myriad of folks placing their GPS pucks on top of their batteries… hmmm, interesting use of space.
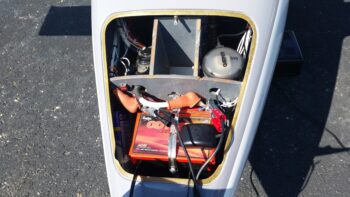
Speaking of space utilization, Terry Sherman followed Davenport’s design and added some baggage space flooring in the nose to keep the baggage from gumming up the rudder pedals.
I then had a number of discussions on aileron fences. Seems like everyone who has them, including James Redmon, really tout the positive impact they have on the flight controls.
Here’s some more. Again, seems like these might be a good trick to try.
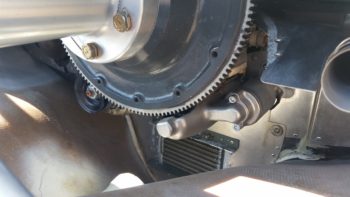
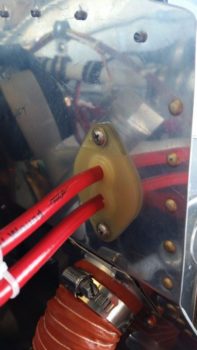
While discussing engine baffles with Buly (more on this in upcoming posts), he noted that I should ensure to place a steel cross brace between the alternator and starter.
I then noted some differences between many styles of baffles used in canards. Buly recommended that instead of making my own baffles, I order a kit from VANs. One advantage to the VANs baffle kit is that it exposes the alternator & starter so that they’re easily inspectable during preflight.
Terry Sherman has a cord plug to easily hook up and warm his engine. Good thinking…

Terry also has a one-way suction valve much like race cars do to vent his crankcase right into the exhaust pipe. I’m interested in this and will assess it much further.
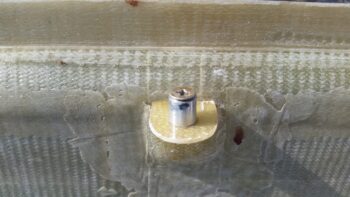
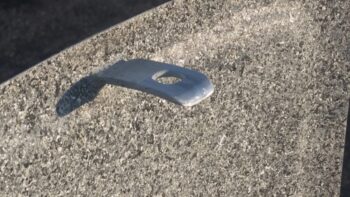
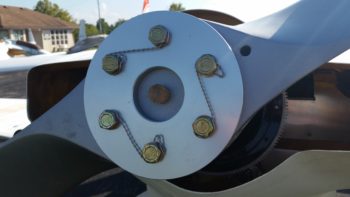
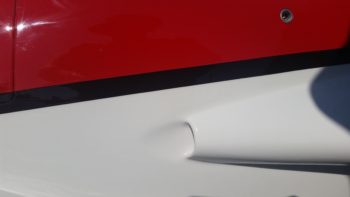
I noted on Rick Hall’s Cozy that he had a cork plug in the center of his Silver Bullet prop hub: Nice simple idea for keeping moisture out of the prop’s wood core.
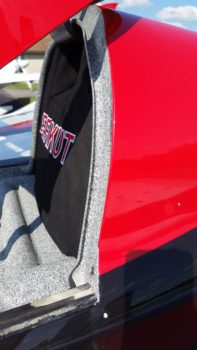
With the help of a world-renowned hand model (Bruce Sinclair…ha!), I was able to accentuate this pic of James Redmon’s removable nose avionics area cover [attached to the canard on the Berkut].
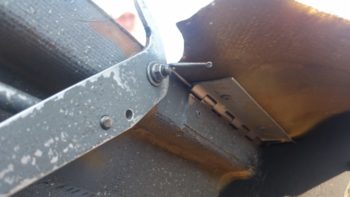
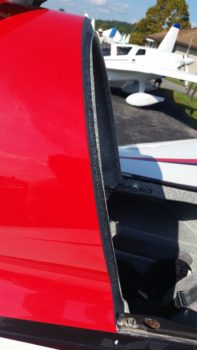
Steve Beert pointed out that the Cozy IV’s have a removable nose avionics area cover just aft of, and NOT included as part of the canard cover (as the Berkut’s is).

The Cozy IVs use a hinge pin system as seen on many standard tractor aircraft cowlings. The pics below show both the left and right side hinge pin assemblies.
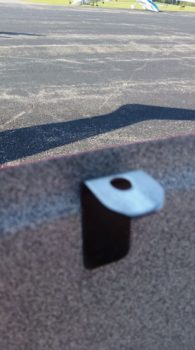
Back to James’ Berkut 13, I really appreciate the simple way he uses his outboard wing-to-winglet fairing to pin his rudder gust lock into place. Very nice.
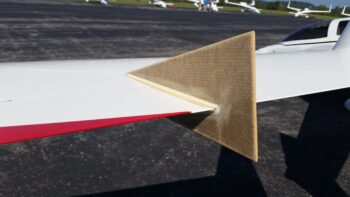
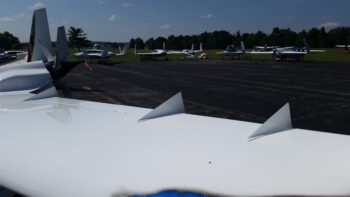
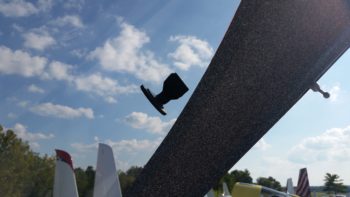
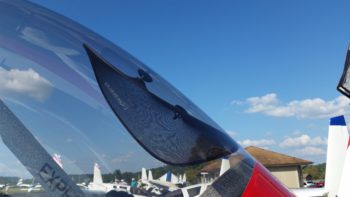
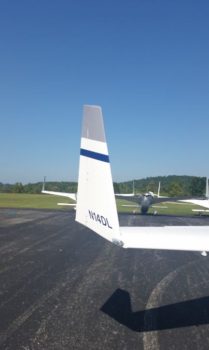
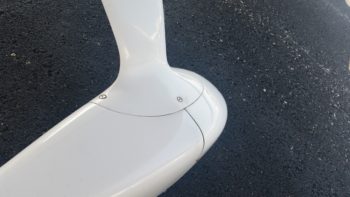
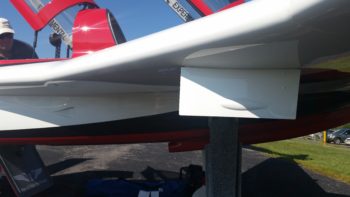
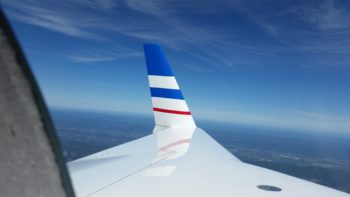
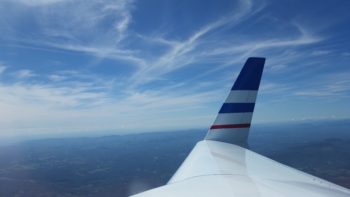
I then took note of some winglet configurations and N-number styles.

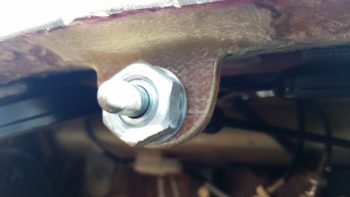
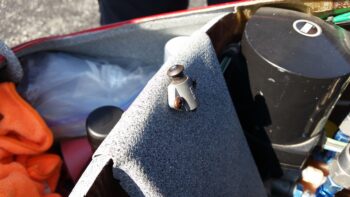
This looks like a robust way to secure the right side canopy if need be:
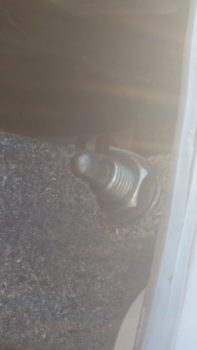
And a very cheap, lightweight, and simple solution for a canopy push/pull handle.
Here’s a cheap mirror that James Redmon attached to his canopy to see what’s going on behind him. He has one on the other side as well (I guess you could say it’s “a mirror image!” . . . yuk, yuk!)
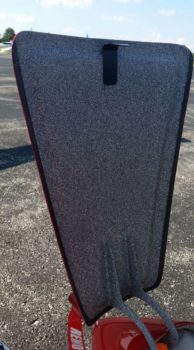
And a nice cheap & movable method to keep sunlight at bay.
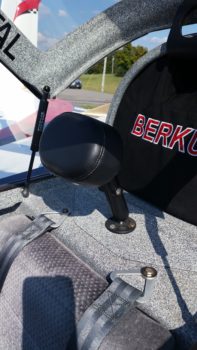
I also grabbed a shot of how James used a RAM mount for the GIB headrest. I like this since it would easily collapse if need be.
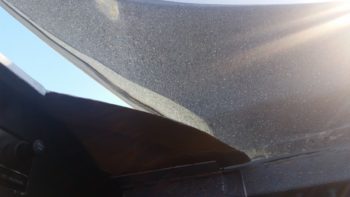
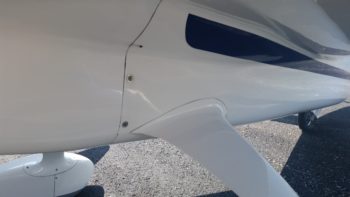
The Berkut has some nice features in its design such as these water runoffs that actually vent through a hole out onto the strake surface.
Since I’ve been working on my heating & fresh air ventilation system, I was interested in James’ pilot fresh air vent, which many other builders have copied of course. James painted his cover black…
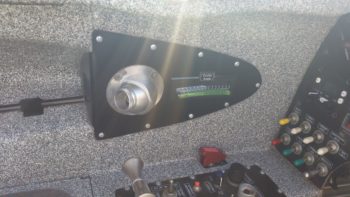
Where the other Berkut owner just used the interior paint to cover up the plate. Both look great so I wanted to capture a shot of each.
I had a nice discussion with James on his pilot fresh air intake scoop since he changed it from the original tear drop shaped inlet on the bottom side of the strake, just aft of where the new style (seen below) is now. James states the new style produces so much volume of fresh air that he had to make a restrictor for the inside of it, whereas the old teardrop style produced almost no fresh air and he could barely feel any flow with his hand pressed against the vent.
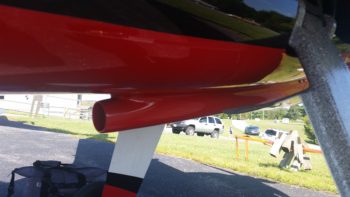
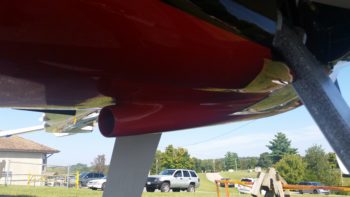
I took this shot for the paint colors, winglet configuration and N-number style.
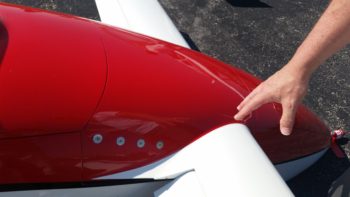
Not surprisingly, I see a lot of canard aircraft with some rather unseemly ways to tell exactly how much fuel is showing in their fuel site gages (read: ugly!). I really appreciate how clean and simple James depicts the amount of fuel in his fuel site gages (could very well be white on black labels from a label-maker, but still very clean and legible).
As before, I really liked the simplicity and style of this paint job.
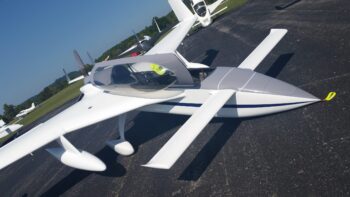
Also, the wheel paints were blended in nicely with the gear leg.
As were the gear legs to the fuselage…. nice work both on finishing and paint on this Long-EZ!
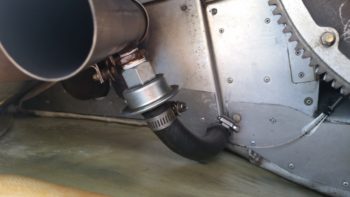
I also grabbed a few shots of James Redmon’s RAM air belly scoop since I’ll be doing very close to the same thing for my RAM air scoop.
Alas, then it was time to go home. But nothing beats FLYING back home in a LONG-EZ! Thanks Marco!

When Marco & I returned back to Chesapeake Airport, we had some time to kill waiting for Gina to come pick us up. So we meandered over to some other builders’ hangars to stop them from working for a while! <grin>
One of Marco’s EAA buddies, Dale, is working on an RV-9. He showed me his VANs baffling kit and highly recommended using it. He also showed me how he routed his SS lines for the manifold pressure and oil pressure sensors.
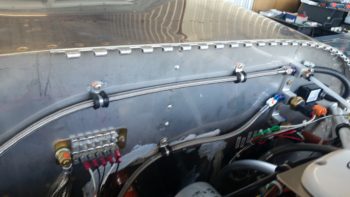
I also took note of how he ran his upper ignition wires through a hard grommet in the baffle wall.
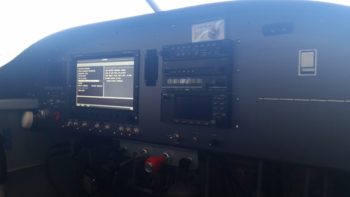
One of my biggest surprises was Dale’s instrument panel. It looked awesome and was the charcoal gray color I was looking for (vs matte black). He said it was simply a 3M vinyl product that he discovered other folks using and he got it off of Amazon. I’ve already pulled the trigger on some and can’t wait to test it out!
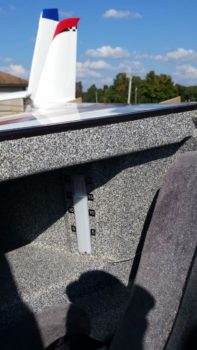
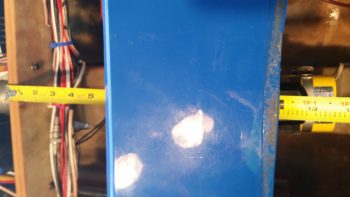
Before I left, as I was helping Marco work some stuff on his bird, I quickly took some measurements to use as a reference in the upcoming months when I construct the top of my nose.
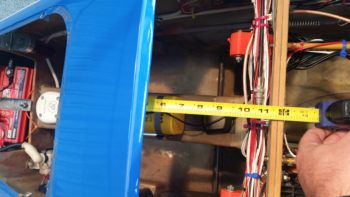
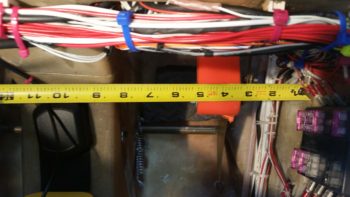
Out of curiosity, I also measured the distance between his NG30 and interior nose sidewall.
So that’s the last of what I have as far as our Rough River 2017 trip… hopefully these visual notes helped you in figuring out a thing or two as they did me!