Chapter 22 – ELT Install & Configuration
11 October 2017 — Today I started out by doing a fair amount of research on my ELT placement, which was why I didn’t want to glass in the outboard thigh support tabs last night. I’ve planned out my ELT location under the left side of the thigh support, but of course that can change if it doesn’t go in as planned. I’m installing an ACK E-04 ELT, so I called them today and confirmed the mounting parameters. I also learned that ACS sells a retrofit kit for this ELT, which is also a “starter” kit with just about everything but the actual ELT module. I went ahead and ordered the retrofit kit so that I could get my hands on the mounting bracket to install that as early on as possible.
•••
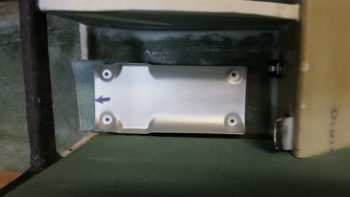
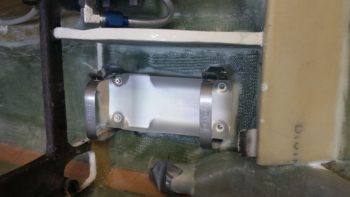
13 October 2017 — Today I tested out the ELT location using the mounting bracket that was included in the ACK E-04 Retrofit kit (read: “starter” kit, IMO) that I just received today [perfect timing!]. The kit also included the panel mounted control head, so I’ll be mounting that in the mockup panel as well.
•••
14 October 2017 — Today I started off with the main task of installing a CAMLOC in each corner of the pilot thigh support plate, with an associated mounting tab underneath glassed to the lower instrument panel bulkhead. Well, I quickly realized that to know exactly where the left side CAMLOC mounting was going to reside, I needed to the details of the ELT install. For example: If the ELT couldn’t be set in low enough under the thigh support, then the CAMLOC assembly might sit too low to allow clearance for the ELT and have to be mounted farther inboard. Also, if I did install the CAMLOC mounting tab, that’s just one extra extrusion to bloody my knuckles on as I worked on installing the ELT mounting bracket . . . see where I’m going with this? It’s all sequencing, right?!
Alas, it was time to work on prepping the lower instrument panel and fuselage floor for the ELT mounting bracket. The ELT is 7.75″ long, so it will extend out from under the seat just a tad, but not enough to get in the way while ingressing and egressing the plane. I also confirmed with the ACK ELT techs that a “few degrees” up or down is not going to affect proper ELT operation. And to be clear: the manual states that left & right should be no more than 10° off centerline, so for up & down I consider anything less than 10° to be ok (the tech didn’t provide an actual value).
I started the process by marking a channel for the ELT mounting bracket.
I then cut the very bottom of the instrument panel bulkhead, that makes up the bottom cross piece of the “map pocket,” which I removed right after I snapped this pic.
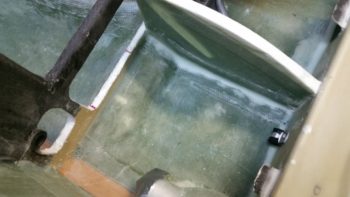
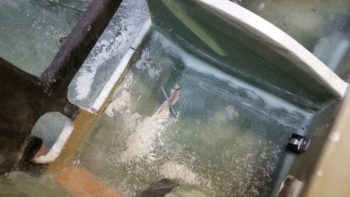
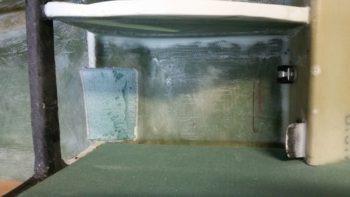
Then, over a few cycles, I trimmed the glass a little and then sanded the channel in the floor down. I kept doing this until I constantly got the angle of the ELT mounting bracket to about 3.5° nose high. I’m definitely going to call that a win.
I have a 3″ x 3″ x 7.75″ cardboard mockup that I made of the ELT. I tried that out a number of times during the floor channel excavation. Not one time did I have any clearance issues at the aft end of the thigh support channel. Actually, if you look in these pics the only issue I had was when I was re-leveling the fuselage at the longerons. My electronic level fell into the cockpit and put a nice divot in my front seat, then it slammed into the wedge duct top corner and dinged it up pretty good too.
I need to ponder a little more and assess just how I’m going to install the ELT mounting bracket. I have some ideas, but I wanted to let them germinate a bit before glassing this all up.
•••
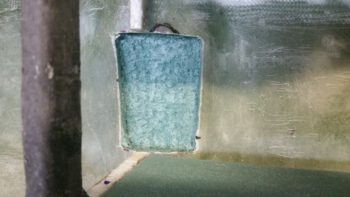
16 October 2017 — Today I dug out the foam a hair over 0.25″ deep in the area at the bottom left fuselage bulkhead that I had previously “flattened” to allow for the ELT mounting bracket to be installed.
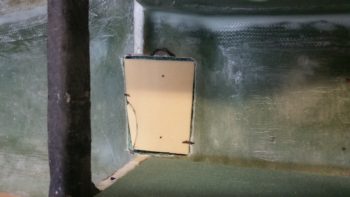
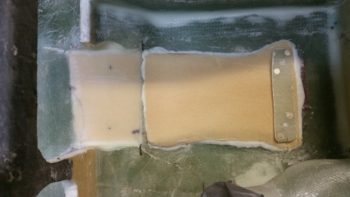
I then traced out the shape, grabbed a piece of H250 foam (to add more strength back into this somewhat critical area) and then trimmed the foam to fit. The foam piece I grabbed wasn’t big enough so I back filled the corner with a crescent shaped piece. For all the OCD’ers out there grabbing their inhalers, out of curiosity I just checked the price of H250 on ACS: $175 for a 2’x2′ piece! The first piece I bought was just under $100 back in 2011, and the second piece less than $120 back in 2013. So, it’s NOT cheap and I’m not wasting any to make something that’s getting buried in glass look perfect!
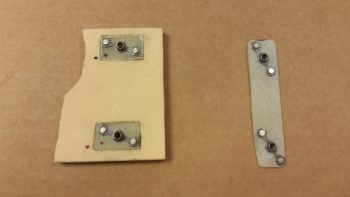
Note that you can see the 2 dots I marked up that show the front bolt positions for the ELT mounting bracket.
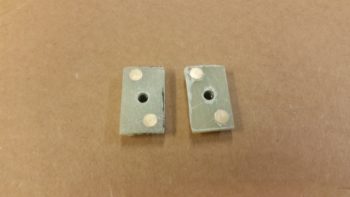
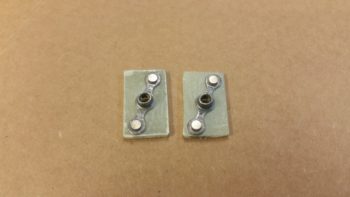
I then used some spare G10 Garolite pieces I had lying around to make up these 2 forward nutplates for the ELT mounting bracket. These nutplates will get buried under the uber expensive foam above.
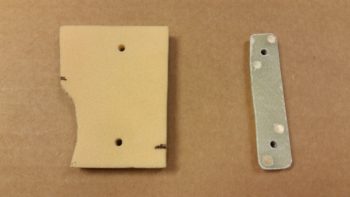
I then marked and cut depressions into the bottom of the H250 foam to allow the nutplates to sit flush. I then 5 min. glued the nutplates into the H250 foam. As the 5 min. glue was curing, I then made up a another, narrow 2-nutplate mounting plate out of G10 Garolite.
I then test fitted all my pieces/parts in prep for glassing in the H250 foam into the foam divot I started out making this AM.
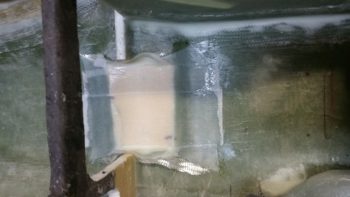
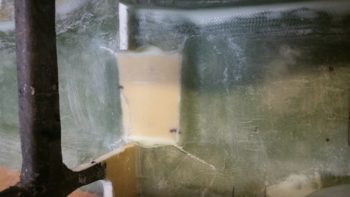
After prepping the nutplates by stuffing them with plastic wrap to protect them from nasties, I then flocro’d the H250 foam –with nutplates attached– into place. I then glassed 1 ply of UNI with the threads running in a nose-to-tail fashion, and then covered that with 1 ply of BID. I then of course peel plied the layup.
A few hours later I pulled the peel ply, cleaned up and did some judicious sanding on the freshly cured layup.
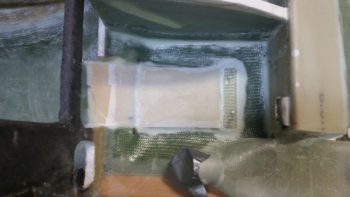
I then shaped a piece of urethane foam for the aft 2/3rds of the ELT mounting bracket base. At the very tail end of this aft foam piece will sit the longer, narrow 2-nutplate mounting plate. I taped up the bottom of the nutplates in this plate, set it in place in the urethane foam and then checked the front bolt marks through the front bolt holes on the ELT mounting bracket.
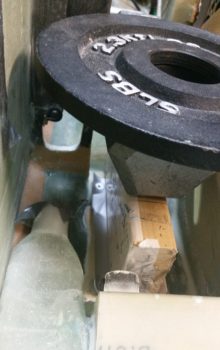
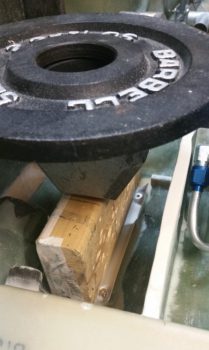
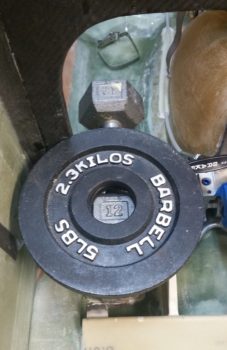
When the configuration looked good, I then micro’d the urethane foam base in place to the fuselage floor with the ELT mounting bracket set in place on top (to ensure the bolt holes were aligned). I then slid a 2×4 piece down the center of the ELT mounting bracket, ensuring that none of the bolt holes were covered up (ensuring alignment). I then placed weights on top of the 2×4.
Here’s another shot.
After a couple of hours, I removed the weights and cleaned up a bit of excess micro that had oozed out. I then sanded the top of the urethane foam base to match the top angle and elevation of the forward embedded foam base.
After getting a good prep in, I then glassed the aft ELT mounting bracket urethane foam base into place with 1 ply of BID.
•••
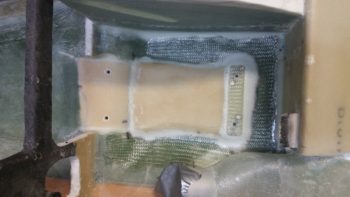
17 October 2017 — I started out today pulling the peel ply from the ELT mounting bracket base layup. I then cleaned up the layup and drilled access holes for my 4 embedded K1000-6 nutplate assemblies. Finally, I pulled the plastic wrap out of the mounting holes to reveal nice, ready to go screw mount holes.
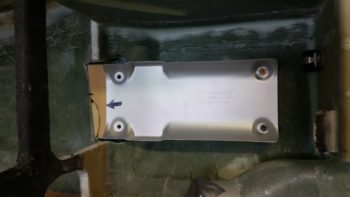
I then did a test install of the ELT mounting bracket. All was good except at the front, where the existing floor of the fuselage slanting forward up to, and including, the bottom panel bulkhead lip (the stuff that I cut out to make the ELT sit flat) was physically too close to the mounting bracket and was keeping the mounting clip from getting inserted onto the latch hook.
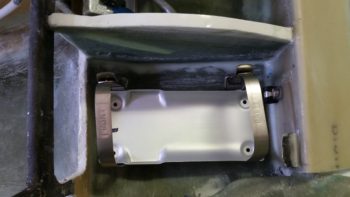
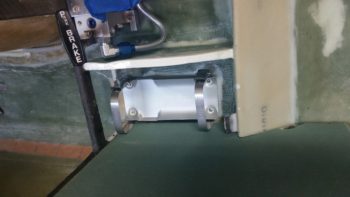
It took me 3 rounds of cutting, grinding and sanding to finally get it dialed in just enough where I could get the upper latch ring down over the lower latch hook. With that action, my ELT mounting base is officially installed!
I took a quick shot showing the clearance to the left of the ELT mounting base with the left armrest console sidewall.
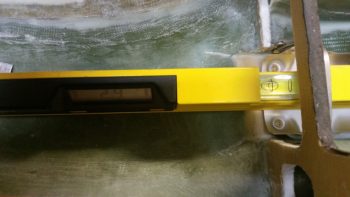
I then grabbed my digital level and tested the angle of the ELT mounting base: only 2.9° nose high… I’ll take it!
•••
20 November 2020 — After all these years I’ve finally decided where I’m going to mount my ELT antenna. For a very long time I had it in my mind that it would go near AC centerline on the back of the pilot’s seat, right next to the landing brake actuator.
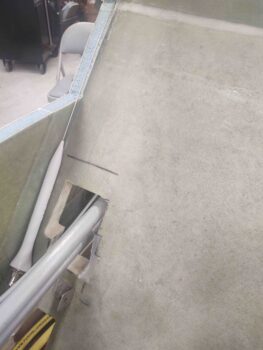
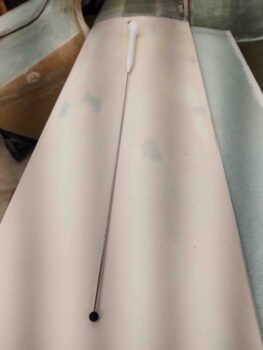
The problem was/is that the angle of the antenna connector did not flow well at all with the seat. So I decided to put it at the very right edge of the front seat, only flipped around backwards to get a better angle for the antenna cable connector (I called ACK and made sure it was ok to do so). Here’s the general location of where the ELT antenna will be installed.
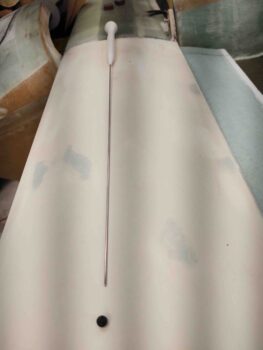
Once the strakes are installed, I will need to re-glass the edge of the front seat bulkhead where it meets the fuselage sidewall. At this point I intend to simply cover the ELT antenna with a ply or two of glass right at the very edge of the seat bulkhead. I also plan to drill a small hole in the pilot seat back structure and hide the top of the antenna in the side back.
To do that, I want the smallest, most nondescript hole I can make. But the ELT antenna has a protective black ball on the tip.
But a few minutes later, it didn’t (grin).
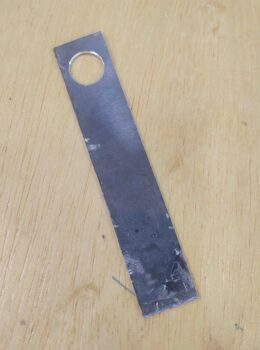
I then started constructing the ELT antenna mounting bracket. If you’re wondering why I’m messing with the ELT right now, it’s because I need to install 4-6 copper foil tape strips to create a back plane for the ELT antenna. At least 2-3 of these backplane strips will attach to surfaces that I plan to paint on the pilot seat bulkhead.
To get this task done, I needed to know the actual mounting position and configuration of the ELT antenna.
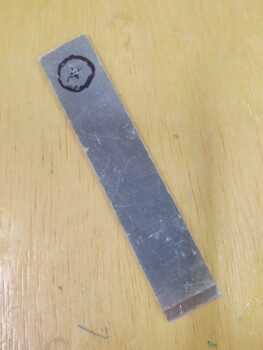 Here’s another shot of the ELT antenna mounting bracket…. I actually did a lot more on it, but, alas, I forgot to grab any more shots.
•••
21 November 2020 — Today was pretty much all about electrical stuff, in prep to try to get the interior cockpit painted while the weather is good.
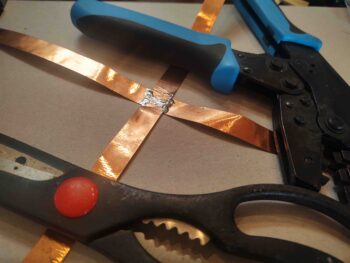
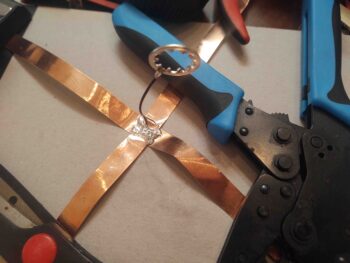
I started off creating a 16″ x 16″ plus sign out of copper foil tape for the ELT back plane. I started with one 16″ long strip of coper foil tape, and then added two 8″ pieces to it with a small gap in between them. I then simply added solder to all the edges and I got me an ELT backplane.
I then soldered the high-grip washer that came on the ELT antenna to a wire, and then soldered the wire to the copper foil strips. This will give me the required electrical continuity between the antenna mount and the backplane, as per the ACK E-04 manual.
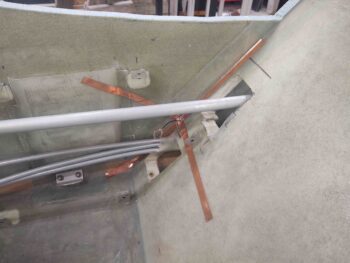
I then installed the ELT copper foil backplane into the right corner of the pilot seat. If you think the right angles for the backplane are incorrect, well, then you’d be incorrect… hehe. According to the owner and lead bubba at ACK, right angles like this are perfectly acceptable for a backplane. The big concern is actually having a backplane in a composite aircraft!
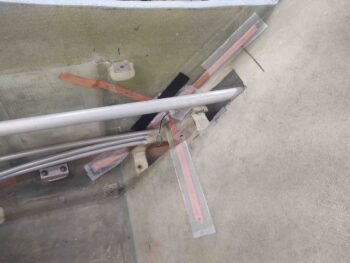
I then covered all the copper foil legs of the ELT backplane with a ply of BID. A fair bit of which I peel plied.
Jumping ahead a few hours, here’s the cured overlaid BID on the legs of ELT antenna backplane . . . yes, with MGS epoxy it’s hard to tell that there’s anything there.
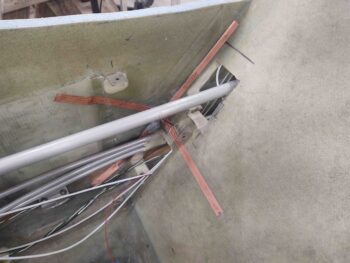
During the copper foil tape protective BID layup I added a couple plies of BID just below the crosspoint of the 4 backplane legs, and when it cured I floxed in the ELT antenna mounting bracket (in pic above too). Here it is a few hours later after the flox cured, with the antenna in place for a test fit. I think this dawg will hunt….
•••

